This page provides a tutorial for manually creating a heavy smoke effect for a fire simulation.
Overview
This is an Entry Level tutorial which requires no previous knowledge of Phoenix. A basic understanding of Maya would be helpful but is not a prerequisite for being able to follow along.
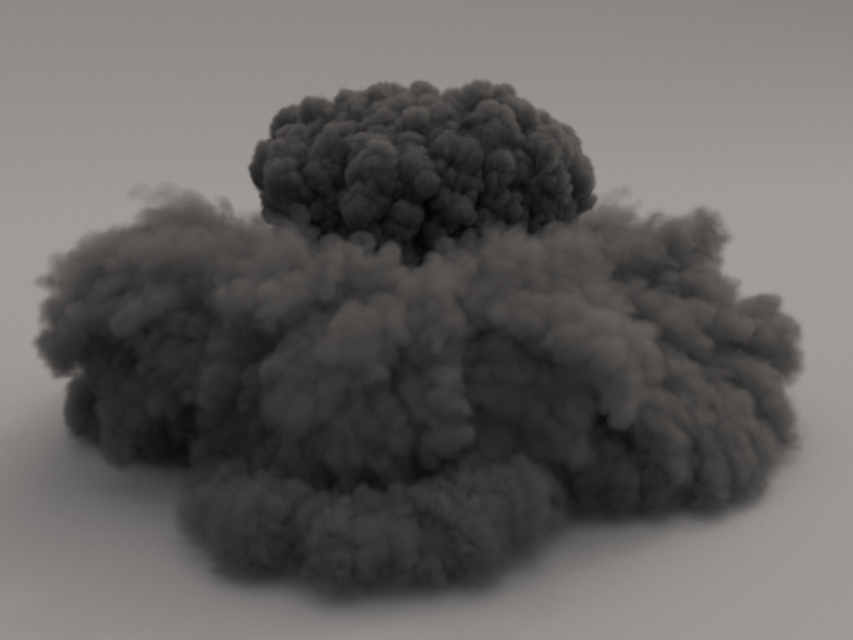
The instructions on this page will guide you in modifying a fire simulation to create a heavy smoke effect. The resulting smoke will sink and stay low to the ground instead of rising upward.
The Cold Smoke Quick Simulation button on the Phoenix Shelf will produce a similar effect as the steps below, but creates a more refined result that emulates dry ice.
Steps
- Start with a fire simulation such as the Simple Fire Simulation.
- Select the Phoenix Source and decrease the Temperature below 300 Kelvin. This will make the emitted fluid heavier than the empty cells and cause it to sink. You can find out more about Phoenix Grid Channel Ranges here.
- Increase the amount of Smoke that will be emitted.
- Select the Phoenix Simulator. In the Dynamics rollout, make sure that Uniform Density parameter is disabled.
- In the Output rollout, make sure the Smoke parameter is enabled.
- If the emissive component is not needed for rendering, uncheck the Temperature in the same section.
- Start the simulation.