This page provides a tutorial for manually creating a simple fire simulation.
Overview
This is an Entry Level tutorial which requires no previous knowledge of Phoenix. A basic understanding of Maya would be helpful but is not a prerequisite for being able to follow along.
This page guides you in creating a very simple fire simulation from scratch, using the Phoenix Simulator and other components.
The Setup a Fire (Quick Simulation) button on the Phoenix Shelf produces a similar, but more refined result, to the steps below using a single click. These preset buttons offer convenient starting points for a variety of simulations and can help familiarize users with Phoenix's components. For an introductory guide to using the Quick Simulation buttons, see the Getting Started with Chaos Phoenix Tutorial, as well as our series of QuickStart video tutorials found here.
Steps
1. Create a polygon sphere object in the scene to serve as the emitter object. You may use any polygonal object you'd like.
2. Create a Phoenix Simulator using the ( ) icon in the Shelf. Make sure the container encompasses the polySphere emitter object.

3. Create a Fire Source (Phoenix Source) in the scene using the ( ) icon in the Shelf, and click to place it next to the Simulator as shown in the picture.
The locator's size and position are not important, as long as it is easy to select when needed to access its attributes.

4. Select the Phoenix Source node, and under the Source Object section in the Attribute Editor, click the Edit Object Set button to open the Relationship Editor. This allows you to connect an object to the source to be the emitter of the effect.

5. Inside the Relationship Editor window, select the Object Set of the source on the left (e.g. phxSource_set...) and then click the polygon object to be the emitter on the right, so that both are highlighted, and then close the window.

6. Select the Phoenix Simulator.
Start the simulation using the button on the Phoenix Shelf, or by clicking the Start button in the Simulation rollout of the Attribute Editor.


7. The progress of the simulation is shown at the top of the Simulation rollout (or at the top of the viewport while the sim is calculating). To stop the simulation before it's finished, click the ( ) Stop button in the Phoenix Shelf or the Stop icon in the Simulation rollout.

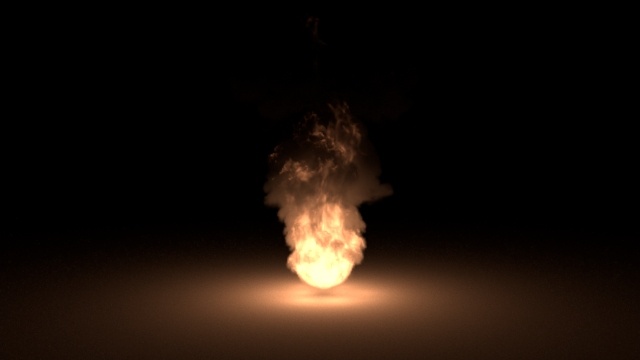
8. You can render the result while simulating.
When possible, build emitters to real-world scale. Phoenix uses real-world calculations to create its effects, so working with real-world units will make your work much easier. If you need to reduce simulation calculation times when working in real-world scale, you can increase the Grid rollout's Cell Size parameter.
Added V-Ray Plane to bounce light from fire and enabled GI
Notes
- The Setup a Fire Quick Simulation button on the Phoenix Shelf will automatically cover steps 2 to 5. It will also create a Phoenix Turbulence object in the scene to add variation to the fire's movement.
- In some scenarios, the fog may appear to have spots, disable the Use Light Cache parameter in the Smoke Color rollout to fix this.