This page provides information on the types of V-Ray Lights.
Overview
V-Ray for Rhino offers a number of lights essential for a good render. No matter what the type of the scene is, you can find the appropriate lighting options in the V-Ray toolbar or in the Asset Editor.
Depending on the scene and the effect you are trying to create with light, you might choose to use only one type of light or any combination of lights.
Below you can find detailed information on creation, application and UI functionalities of the different V-Ray lights.
UI Paths
||Asset Editor|| > Create Asset > Lights
||Asset Editor|| > Lights (right click)
V-Ray menu > V-Ray Lights
V-Ray Toolbar > VRay Lights
Creating a light item from the Asset Editor automatically places it into the viewport with (0, 0, 0) coordinates.
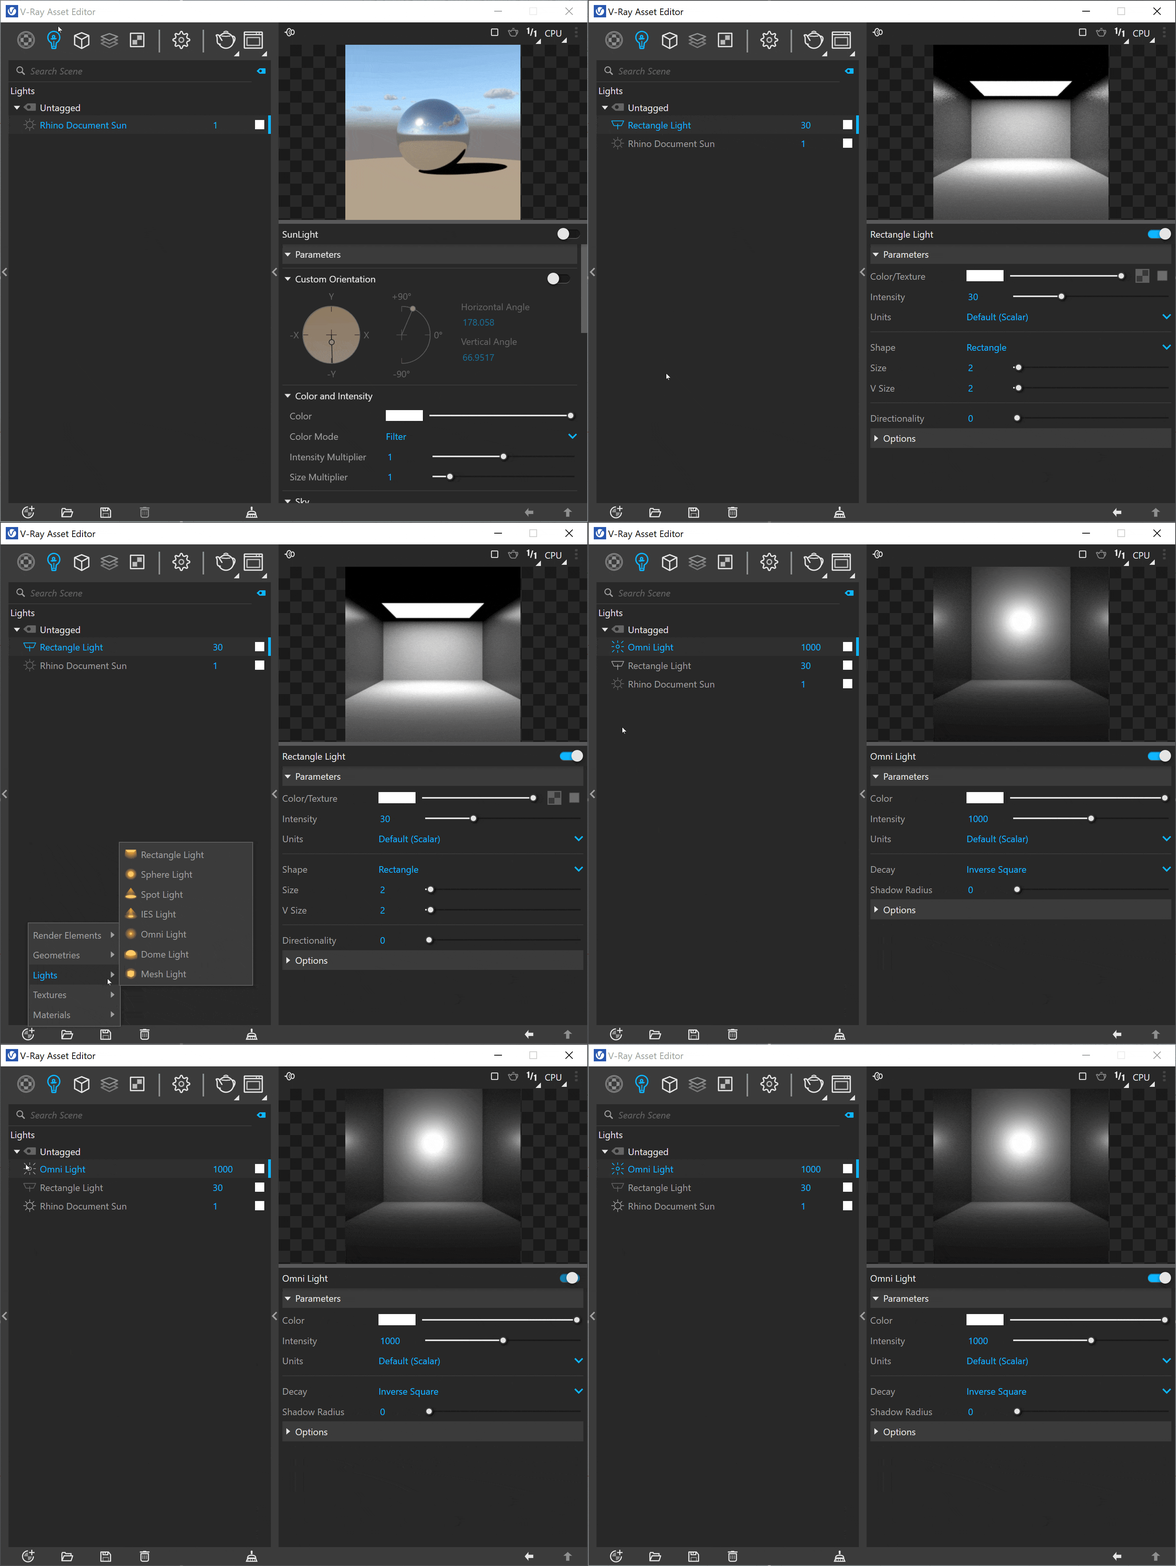
You can create lights in the Asset Editor from both the Create Asset button (bottom-left corner) and the Lights category icon (top). If the Lights category is empty, left- or right-clicking on the icon prompts you to create a new asset. Otherwise, it selects the category, in which case right-clicking on it opens the creation menu.
The Asset creation dropdown lists remain active when Ctrl key is pressed, allowing the creation of multiple assets in quick succession. The Asset creation dropdown lists can be activated via the Create Asset button or the Asset Category icons.
When changing the Units of a given light, its preview is updated accordingly. Changes of the light intensity value are displayed to a certain amount in order for the preview to remain illustrative.
Types of Lights
You can create the following types of lights using the Lights Toolbar:
Sun and Sky System
A Sun light is a spherical light source placed at a specific location which simulates the sun in the sky. A Sun light has some unique qualities:
- Sun light rays that strike the scene objects are treated as parallel to one another regardless of how far the Sun object is placed from the scene objects, producing the parallel shadows that our own sun creates.
- A Sun light is designed to be used with global illumination; when the light bounces around the scene, the resulting rendering looks very much like sunlight in real life.
- A Sun light can work in conjunction with a Sky environment background to provide realistic lighting and coloring for the scene when used with GI. Often, Sun/Sky is the only lighting setup needed in the scene to produce a photo-real rendering.
- The Sun/Sky combination is suitable for an exterior scene, or for an interior scene with windows or other openings through which the light comes.
For more information, see Sun and Sky System.
Omni or Point Light
The VRay Omni Light is a V-Ray specific light that can be used to create physically accurate lights that casts rays in all directions from a single source. For more information, see Omni Light or Point Light.
Rectangle or Area Lights
The V-Ray Rectangle light or an "area light" is a planar light source with the shape of a rectangle or circular disk. Rectangle lights are useful for simulating man-made light sources in an interior environment, such as lamps. A rectangle light can have any one of two different shapes: plane or disc. For more information, see Rectangle Light.
Spot Light
The V-Ray Spot Light is a V-Ray specific light source plugin that can be used to create a physically accurate light that directs a narrow beam of light with falloff. For more information, see Spot Light.
Dome Light
A dome light (also considered an area light) creates light within a dome or spherical shape to create a traditional global illumination setup. This Light is frequently used to load HDRI environment images. For more information, see Dome Light.
Sphere Light
The Sphere Light is a VRay Light object in the shape of a sphere, casting light outward in all directions. For more information, see Sphere Light.
IES Lights
IES lights are designed to simulate a light source's distribution pattern exactly as they behave in real life by loading and using an IES (Illumination Engineering Society) file. An IES profile contains details about the light's behavior, such as how the light passes through fresnel lenses, its intensity, and its and falloff. For more information, see IES Light.
Mesh Lights
The Mesh Light can create light sources that have volume and shape defined by geometry in the scene, without the need to use self illuminated objects and global illumination. For more information, see Mesh Light.
Directional Lights
The V-Ray Directional Light can create light sources that cast parallel light rays in a single direction. For more information, see Directional Light or Direct Light.
Rhino Light Sync
Rhino and V-Ray Lights have all their common settings synced together. Adjusting any of the Rhino Light properties updates them in the V-Ray Asset Editor's Light list and vice versa.
Three additional buttons are added to the Rhino Light properties for enhanced light instancing control.
Edit in V-Ray Asset Editor – Opens the Asset Editor and lets you adjust the settings of the currently selected light.
Select Instances – Selects all instanced lights.
Make Unique – The selected light instance is made unique.
Mesh Light creation is also available in the Rhino Properties Panel from the V-Ray tab. For more information, see the Mesh Light page.
Notes
Negative intensity values are not allowed for any of the lights. Since Rhino allows negative light intensity, V-Ray considers those as set to a value of 0.
V-Ray lights can be instanced by using the _Array command or Alt+drag the light object in the Rhino viewport. Exceptions are the V-Ray Dome and Sun Light.
In V-Ray Next Update 1.1 some of the render elements are rendered differently than before. The Lighting render element now contains all direct diffuse illumination and the GI element contains all indirect diffuse illumination. Similarly, all direct reflections of lights now go to the Specular element and all indirect reflections go to the Reflection element.
The context options of the Color Slot allow to Copy and Paste a color from one color slot to another, as well as to Reset the color selection to a default value.
You can reset the Input Number Slider's value to its default value by right-clicking on the slider and selecting the Reset context menu option.
- Most numeric V-Ray parameters come with a slider to make fine-tuning easier. Each slider is set to a default range of recommended or commonly used values. If a value above that range is used the slider adapts by increasing its range accordingly (2x the input value) to maintain usability. If a value below the current slider range is used, the slider again adjusts its range by shrinking it to twice the amount of the input value.
The slider range of some numeric V-Ray paramters does not indicated the parameter total minimum and maximum input values. The absolute minimum and maximum values of each parameter can be found by hovering over its spinbox.


