This tutorial shows you how to add a repeatable pattern on a geometry with the help of V-Ray Enmesh.
Overview
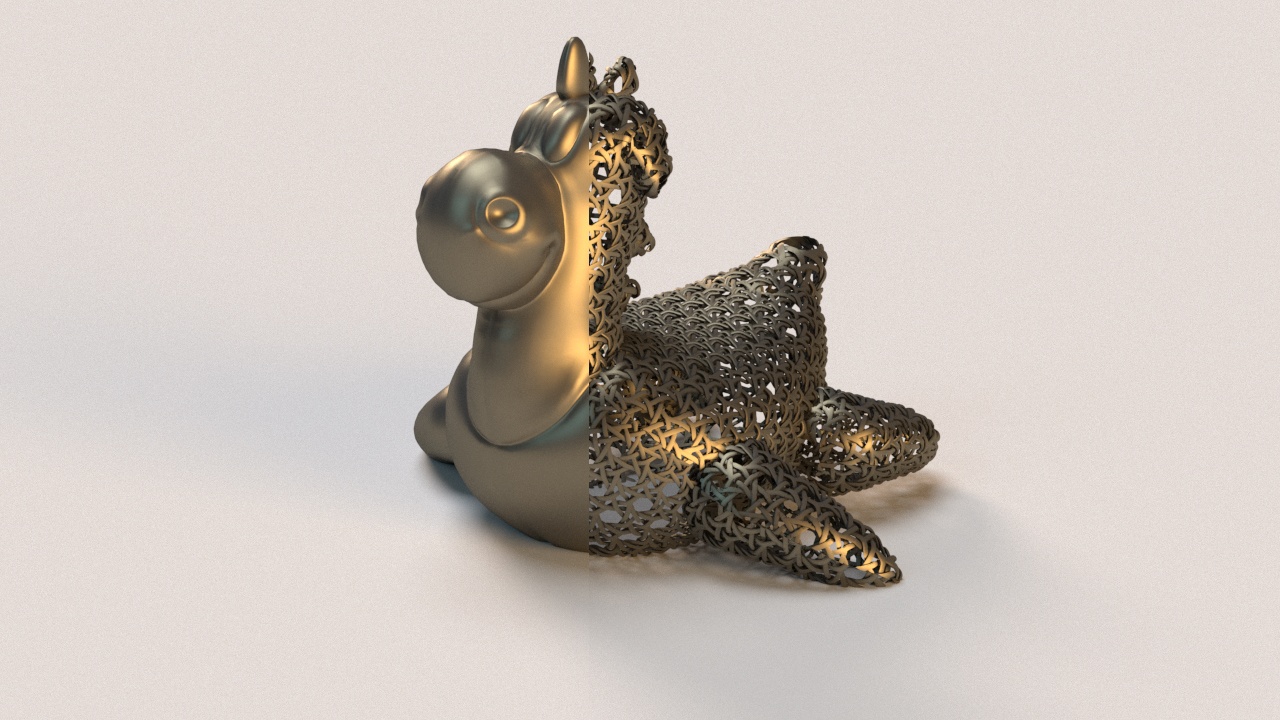
In this tutorial, you’ll learn how to add a render time patterned geometry over another geometry's surface to simulate metal net, or anything that requires inflex geometry tiling. You’ll see how a custom pattern is created as well as how a pre-made pattern is imported from Chaos Cosmos library.
Note that the geometry receiving the pattern must have UVs. Otherwise, the pattern will not work.
Part I: Cosmos Import on Viewport Selection
This workflow shows you how to import an Enmesh pattern from Chaos Cosmos and apply it on a preliminary selected geometry in the viewport.
- Select a geometry in the viewport.
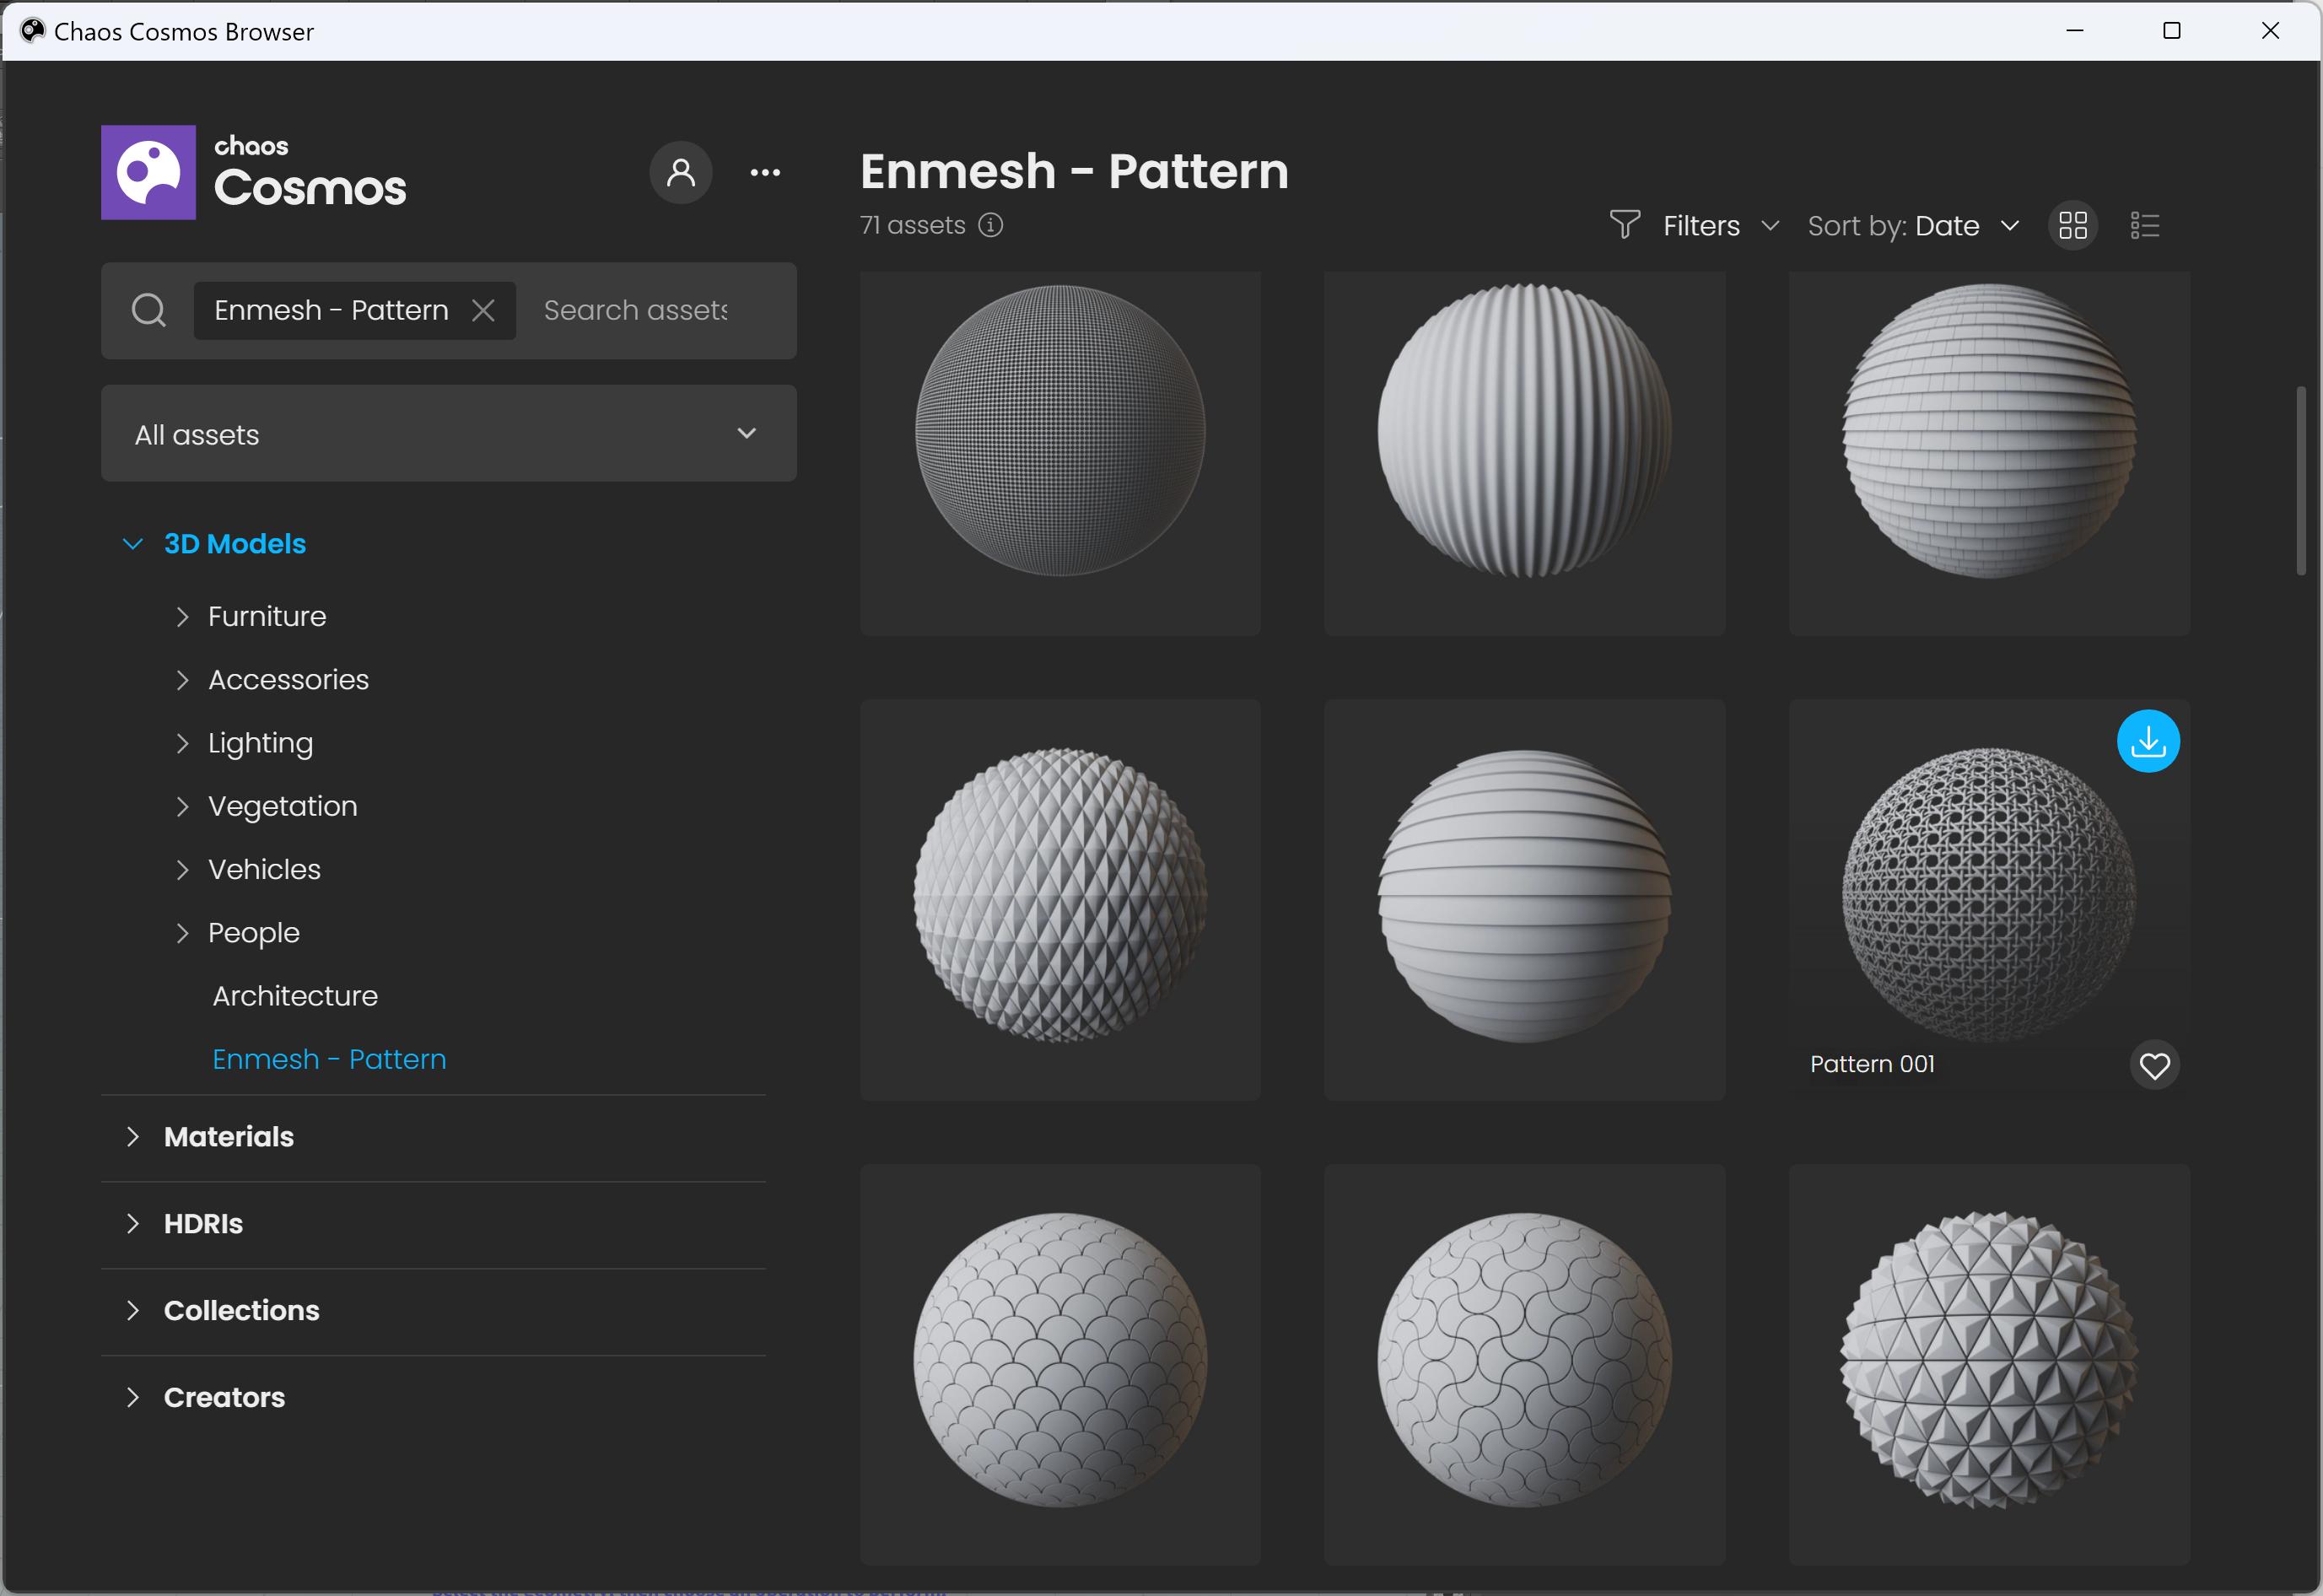
- Go to Chaos Cosmos library (V-Ray Toolbar > Cosmos), and locate the Enmesh-Pattern category.
Select a pattern and download it through the Download
 button. Note that you can click on the desired pattern (or any other pattern) to enlarge it and see more details about it.
- Click the Import
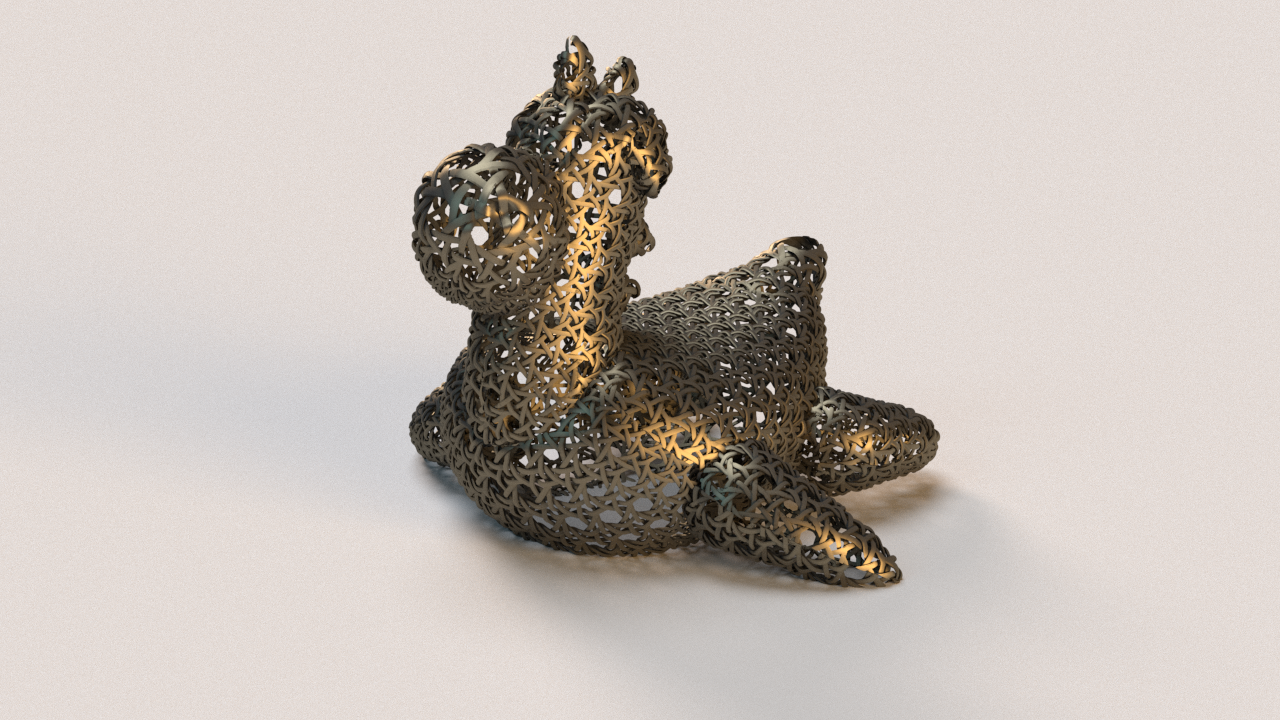
 button to apply the pattern onto the selected geometry. The pattern is imported as a V-Ray Enmesh node with its source and reference geometries in the obj network. The pre-selected geometry is automatically plugged to the V-Ray Enmesh node as its Source.
 - Modify the tiling, height, and rotation of the pattern if needed. To do so, open the V-Ray Enmesh parameters by clicking on the node.
Optionally, add shading with the help of a Material node. Plug the node to the Null node and specify the material in the Material node parameters.
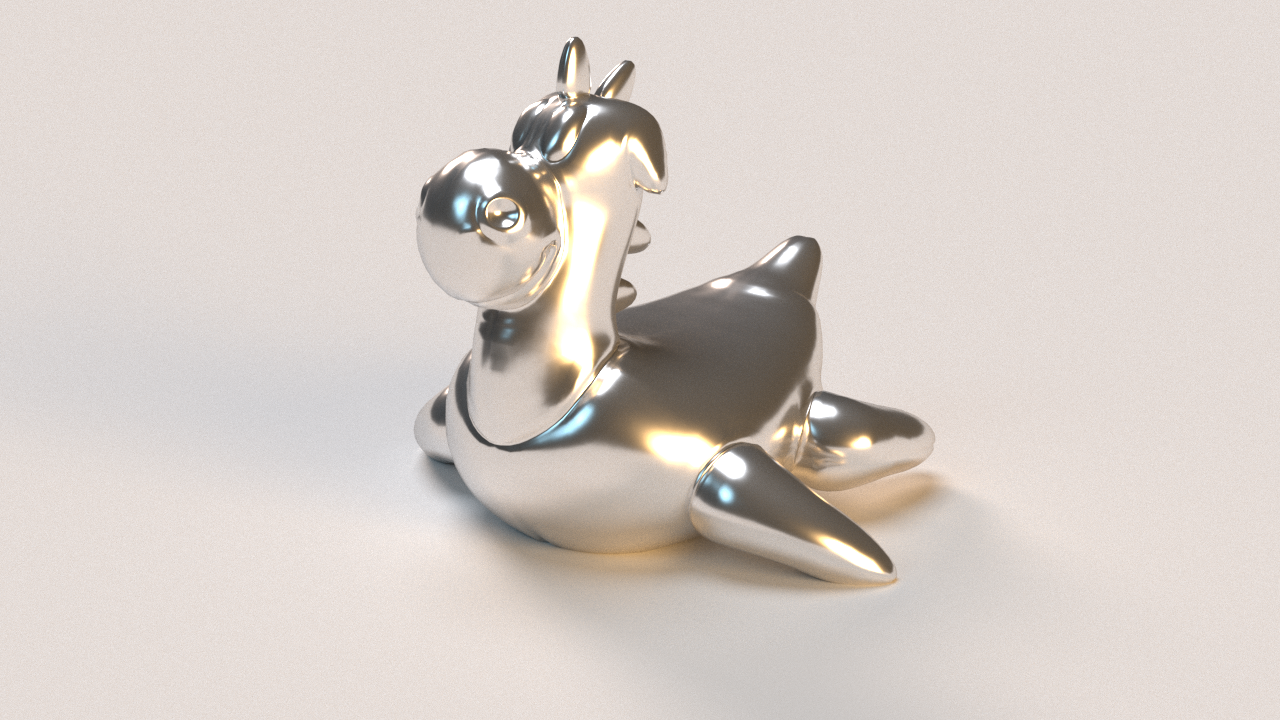
- Render in the VFB.


Part II: Cosmos Import without Viewport Selection
This workflow shows you how to import an Enmesh pattern from Chaos Cosmos and then select a geometry and apply the pattern to it.
- Go to Chaos Cosmos library (V-Ray Toolbar > Cosmos), and then locate the Enmesh-Pattern category.
- Select a pattern and download it through the Download button. Note that you can click on the desired pattern or any other pattern from the list to enlarge it and see more details about it.
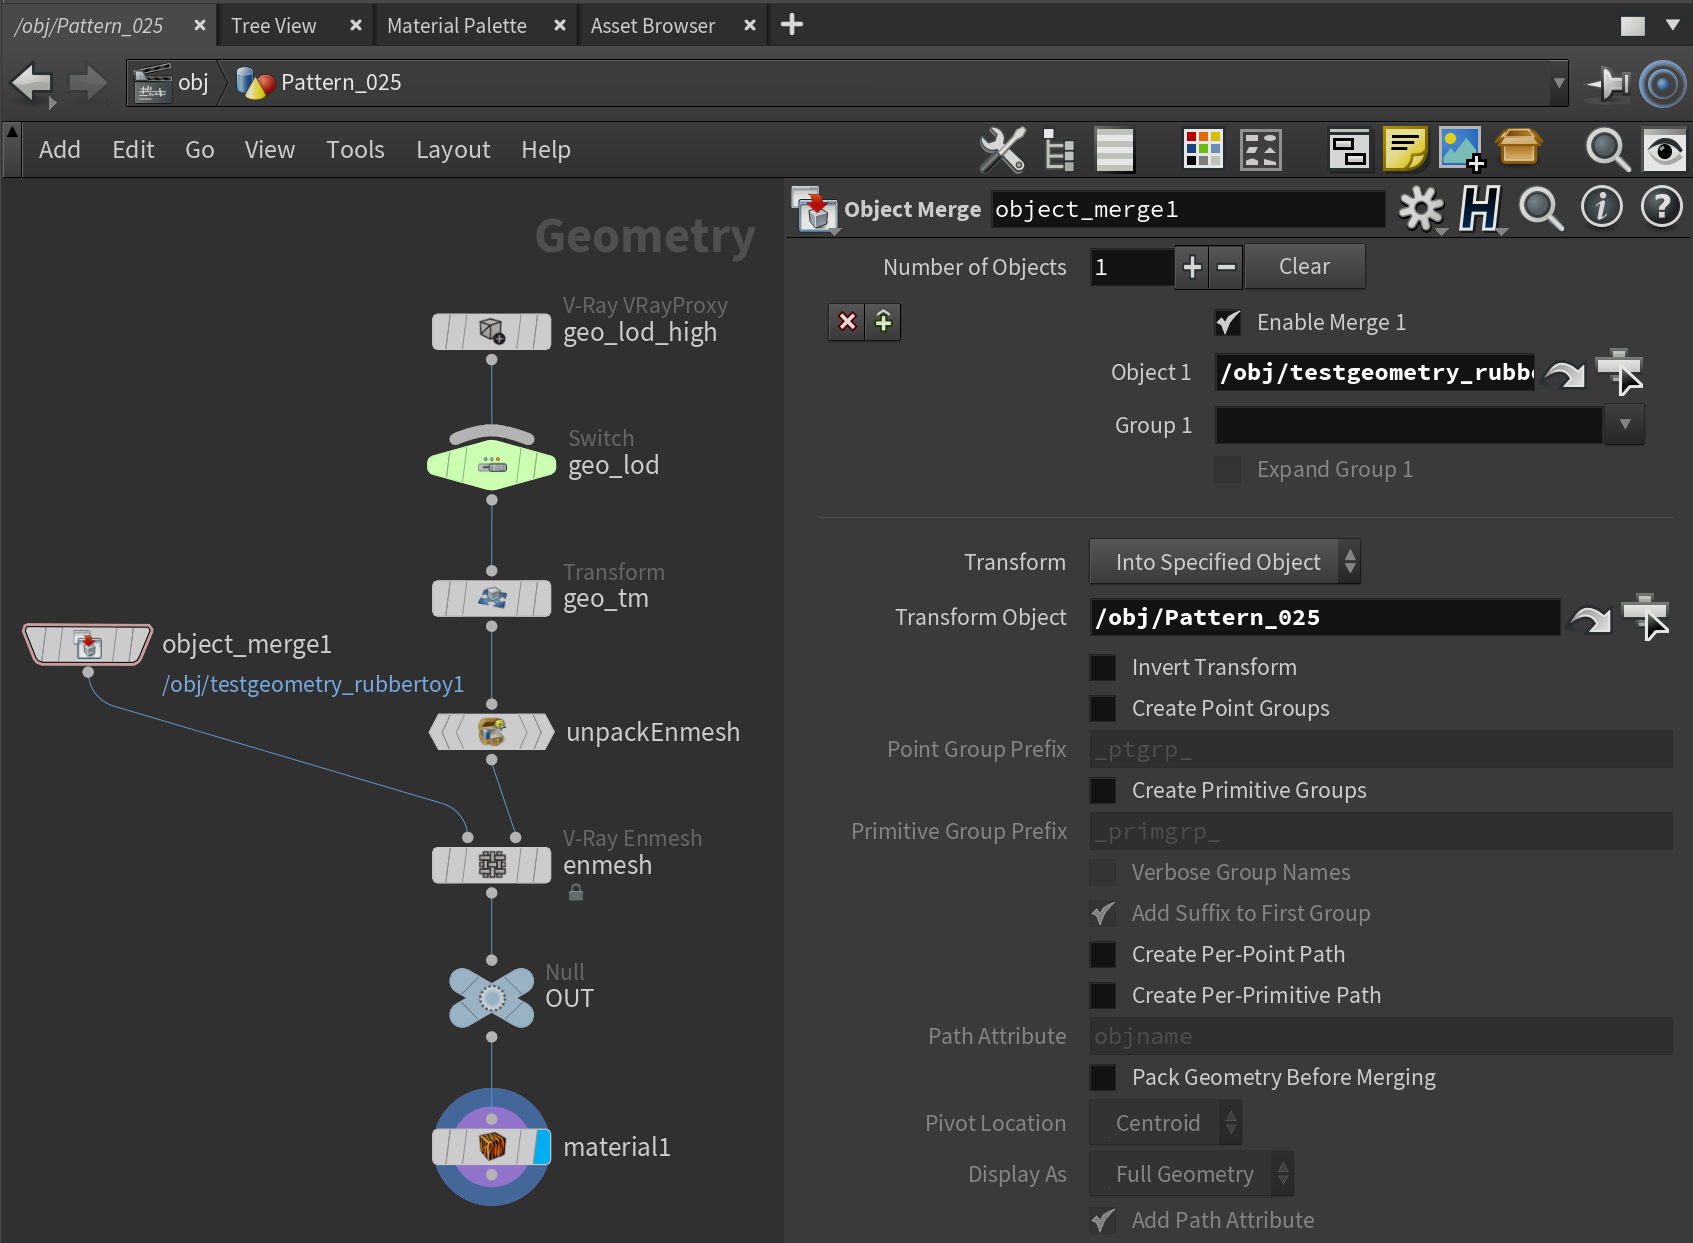
- Click the Import button to add the pattern to Houdini. Locate the node in the obj network.
- Inside the Pattern node, create an Object Merge node. Plug the Object Merge to the Source input of the V-Ray Enmesh.
- Specify the geometry that must get the repeatable pattern as Object 1.
- Specify the pattern in the Transform Object slot of the Object Merge node.
Modify the tiling, height, and rotation of the pattern if needed. To do so, open the V-Ray Enmesh parameters by clicking on the node.
Add shading with the help of a Material node. Plug the node to the Null node and specify the material in the Material node parameters.
- Render in the VFB.

Part III: Custom Enmesh Pattern
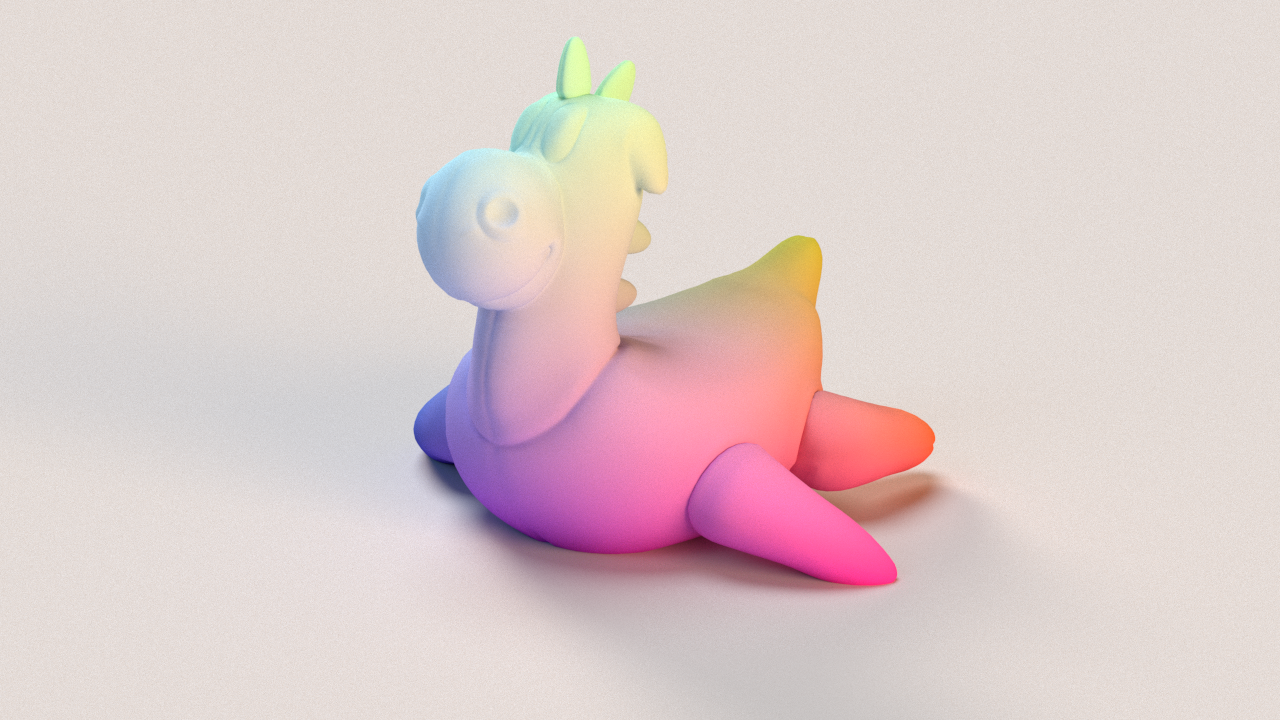
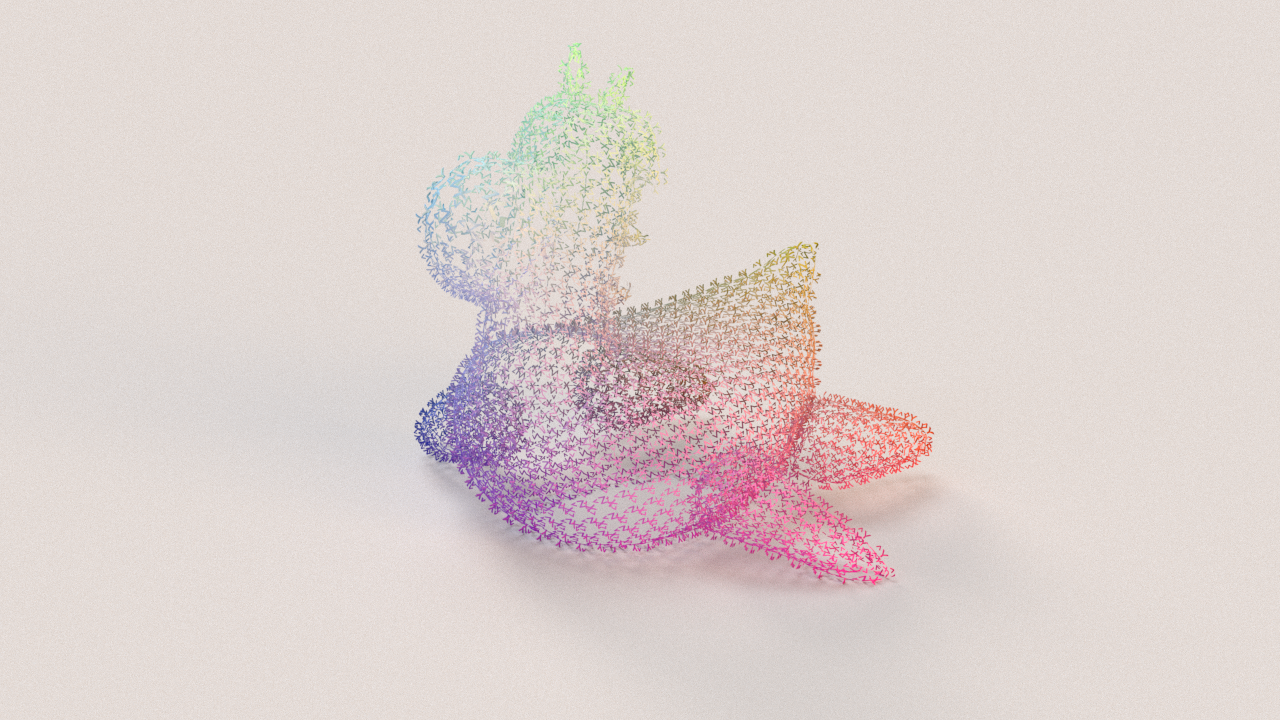
This workflow shows you how to create a custom repeatable pattern with the help of V-Ray Enmesh and then apply it to a geometry.
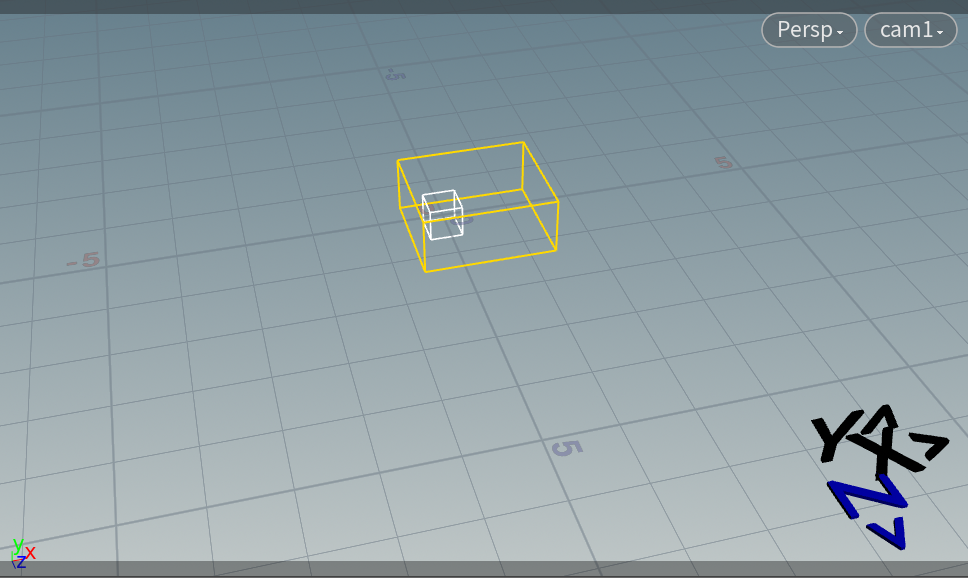
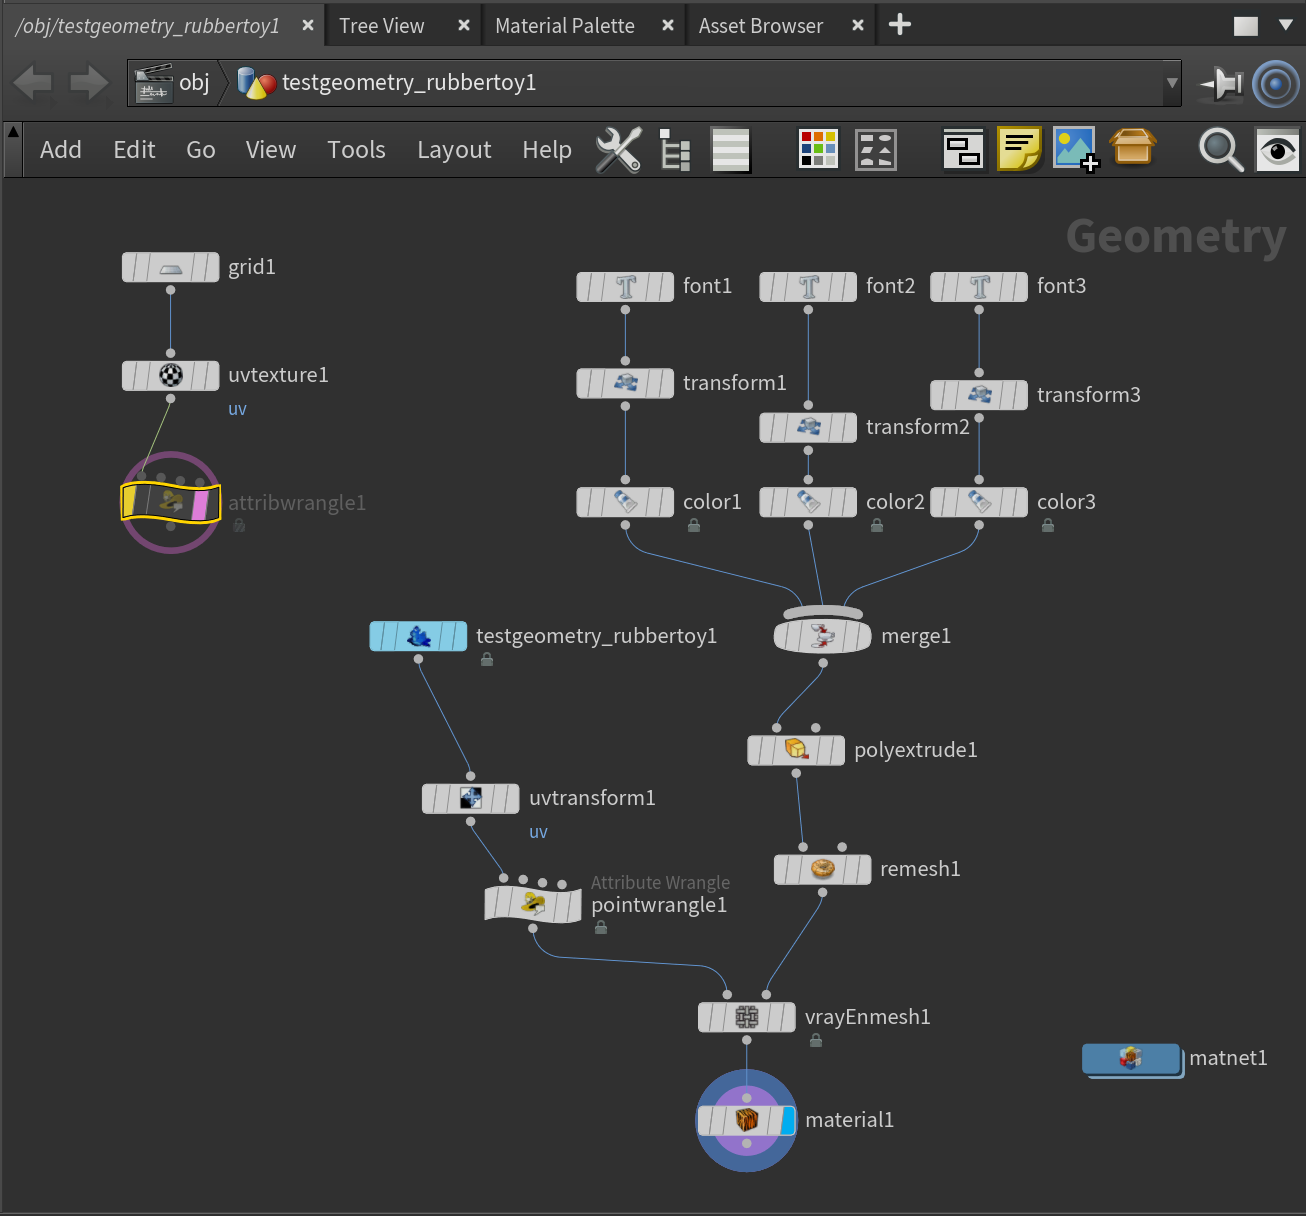
- Go to the obj network and create a Geometry node.
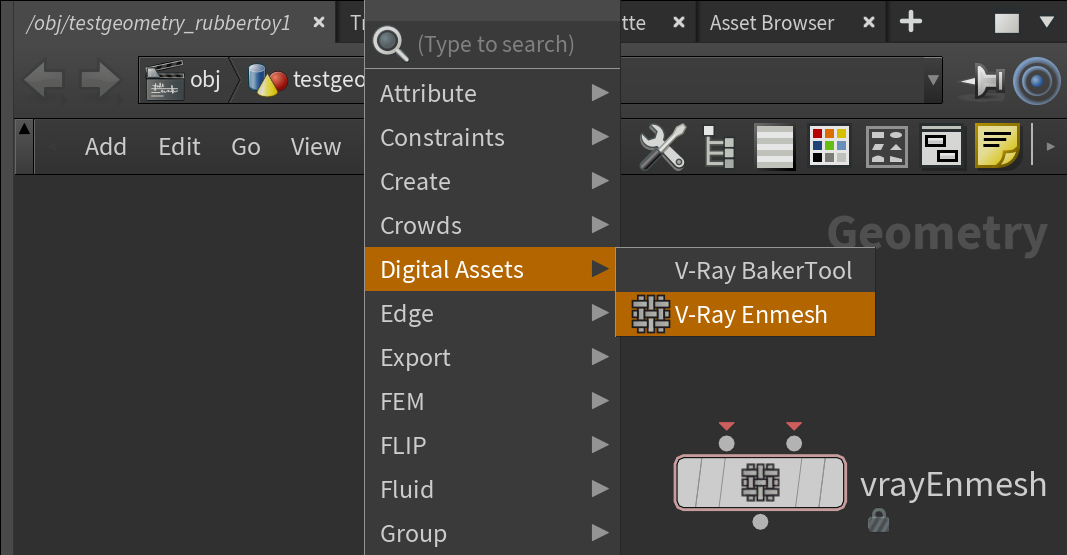
- Inside the node, create a V-Ray Enmesh HDA node from Digital Assets > V-Ray Enmesh. Note that there is another V-Ray Enmesh node available through the V-Ray menu, but it has limited parameters.
- Then create two more geometries - one for the pattern, and another for the source. If you already have prepared the geometries, bring them with an Object Merge node.
- Plug the two geometries to their respective inputs of the V-Ray Enmesh. Note that you can add multiple source geometries in the Object 1 slot. You can also add multiple reference geometries, as in the current case, and merge them into one complex pattern.
Add shading with the help of a Material node. Plug the node to the Null node and specify the material in the Material node parameters.
- The Enmesh node's gizmo encloses the sample to be tiled. Adjust it to fit all the listed geometry or crop it conveniently by modifying the size and position of the gizmo. This could happen through the enmesh's parameters. In this current case, just click the Fit Cropbox button and the gizmo will fit the entire geometry.
- Disable From Reference Object/s and Reference IDs if you want to use the reference meshes attributes instead of the attributes of the source mesh.