This page provides information about the Bitmap node in V-Ray for Cinema 4D.
Overview
Parameters
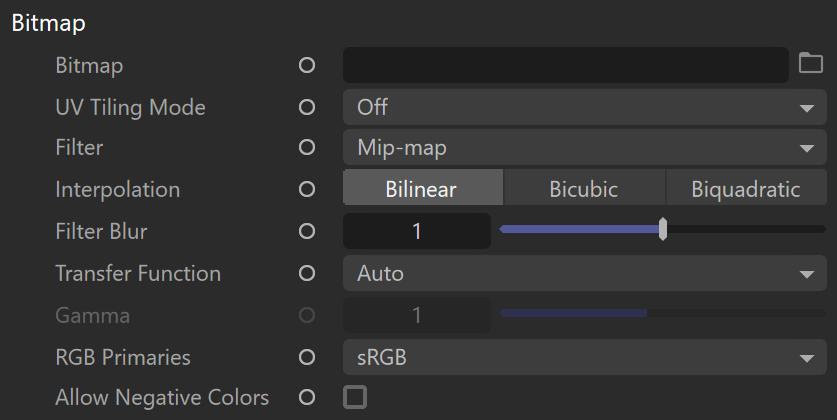
Bitmap – Specifies the file name, from which the bitmap is loaded. Currently supported formats are HDR, EXR, PNG, BMP, TGA, SGI, JPG, PIC, TIF, PSD, VRIMG. Image file lists in the form of IFL files are also supported.
UV Tiling Mode – Specifies the type of UV tiling used by the texture. In brackets are examples of texturing tools that support the mode.
Off – Disables UV tiling.
0-based (ZBrush) – The UV coordinates start at 0.
1-based (Mudbox) – The UV coordinates start at 1.
UDIM (Mari) – Uses UDIM tiling for the texture.
Filter – Specifies the V-Ray internal texture filtering method. Possible values are:
Nearest – The nearest texel from the map is taken without any interpolation.
No Filter – No filter is applied.
Mip-map – Applies a Mip-map filter.
Area – Applies an anti-aliasing area filter.
Elliptical – High-quality anisotropic MIP-map texture filtering that reduces blurring and aliasing artifacts.
Sharp mip-map – Sharper, but slower method in comparison to the Mip-map.
Interpolation – Determines how the image is interpolated from the pixel values. Possible values are:
Bilinear – Image values are interpolated from four pixels in the bitmap. This is the fastest interpolation method, but the result is not continuous (non-smooth) and may produce artifacts when the map is used for displacement or bump mapping.
Bicubic – Image values are interpolated from sixteen pixels in the bitmap. This is the slowest method, but the results are smooth without too much blur.
Biquadratic – Image values are interpolated from nine pixels in the bitmap. This method is faster than the Bicubic interpolation, but may smooth the image too much.
Filter Blur – Additional multiplier which controls filter blurring, especially useful with the mapping source feature. The higher the value, the more blurred the texture renders and the less render time it takes, and vice versa. A value of 0.01 means no filtering, but leads to increased render times.
Transfer Function – Specifies the color space for the loaded image file.
Linear – The bitmap data is already in physical linear space, so no correction is required and none is performed.
Gamma Corrected – The bitmap data is gamma corrected with the specified gamma value, so V-Ray needs to remove this gamma correction for rendering.
sRGB – The bitmap data is in the sRGB color space, so V-Ray needs to convert it to linear physical space for rendering.
Auto – Automatically determines the color transfer function. If a Bitmap file name contains the string "_srgb", the transfer function is sRGB. If a Bitmap file name contains the strings "_lin_srgb" or "raw", no correction is applied. For Bitmap files with 8-bits-per-color component and 3 or 4 color components (like png, jpg and other), the transfer function is sRGB. In all other cases, no correction is applied.
Gamma – A gamma–correction value for the image. For example, if the bitmap was saved to disk with a 2.2 gamma correction, you need to enter 0.4545 to remove that correction for the rendering.
RGB Primaries – Allows you to manually override the RGB primaries of the VRayBitmap. The RGB Primaries are, by default, inherited from the current global active color space in V-Ray. To change the global RGB Primaries, go to the Color Management sub-tab in the V-Ray Render Settings. The automatic RGB Primaries inheritance can also be disabled from the Preferences V-Ray Menu.
Raw – No transformation is applied to R|G|B colors. This option is suitable for normal maps, linear textures, and floating value parameters.
sRGB – The loaded image is considered in sRGB color space.
ACEScg – The loaded image is considered in ACEScg color space.
Allow Negative Colors – If disabled, negative colors are clamped. Enable to allow negative colors.
Commands
Reload Image – Reloads the attached image file.
Locate Image – Opens the location of the attached image file.
Edit Image – Opens the attached image file in the system's default image editor.

Output
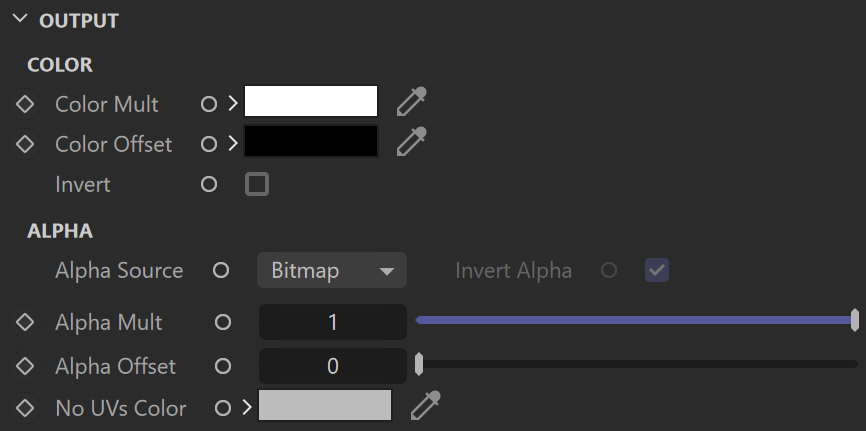
These controls allow the user to specify how the color and alpha of the resulting texture are derived.
Color
Color Mult – Specifies a multiplier for the texture map color.
Color Offset – Color corrects the texture by adding the RGB color values specified here to the RGB color values in the texture.
Invert – When enabled, inverts the resulting texture color.
Alpha
Alpha Source – Specifies where the alpha channel is drawn from.
Alpha – Alpha channel is drawn from the texture.
Color – Alpha is generated from pixel intensity.
Opaque – Alpha channel is fully opaque.
Alpha Mult – Specifies a multiplier for the texture map alpha.
Invert Alpha – When enabled, the resulting texture alpha is inverted as well.
Alpha Offset – Specifies an additional offset for the texture map alpha.
No UVs Color – Specifies a color for areas (objects) with no UVs.
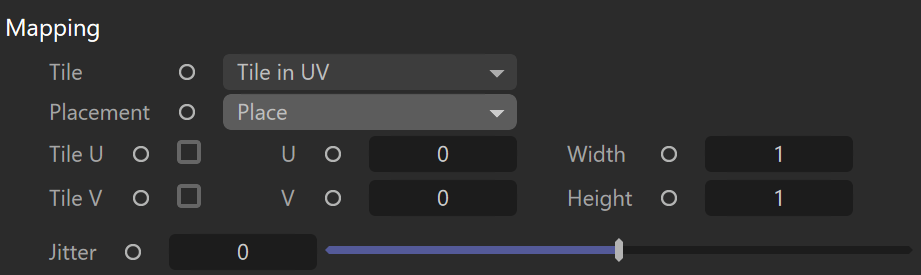
Mapping
Tile – Specifies whether the bitmap is tiled and the tiling method.
No tiling
Tile in UV
Tile in U
Tile in V
Tile in UV - No filter
Placement Type – Specifies the way the valid portion of the texture is applied.
Full – Uses the full valid portion of the texture.
Crop – Allows the user to specify a section of the texture using the parameters below.
Place – Allows the user to specify a section of the texture and how to place it using the parameters below.
According to the Tiling and Placement specified, the following parameters control the tiling of the U and V, the U and V and the width and height of the map.
Jitter – Controls the amount of random placement variation.
UV Noise
Animate UV Noise – Enables the noise to be animated.
UV Noise Amount – Specifies the amount of noise to add to the texture.
UV Noise Levels – Specifies the amount of noise iterations.
UV Noise Size – Controls the scale of the noise.
UV Noise Phase – Controls the noise phase.
Context
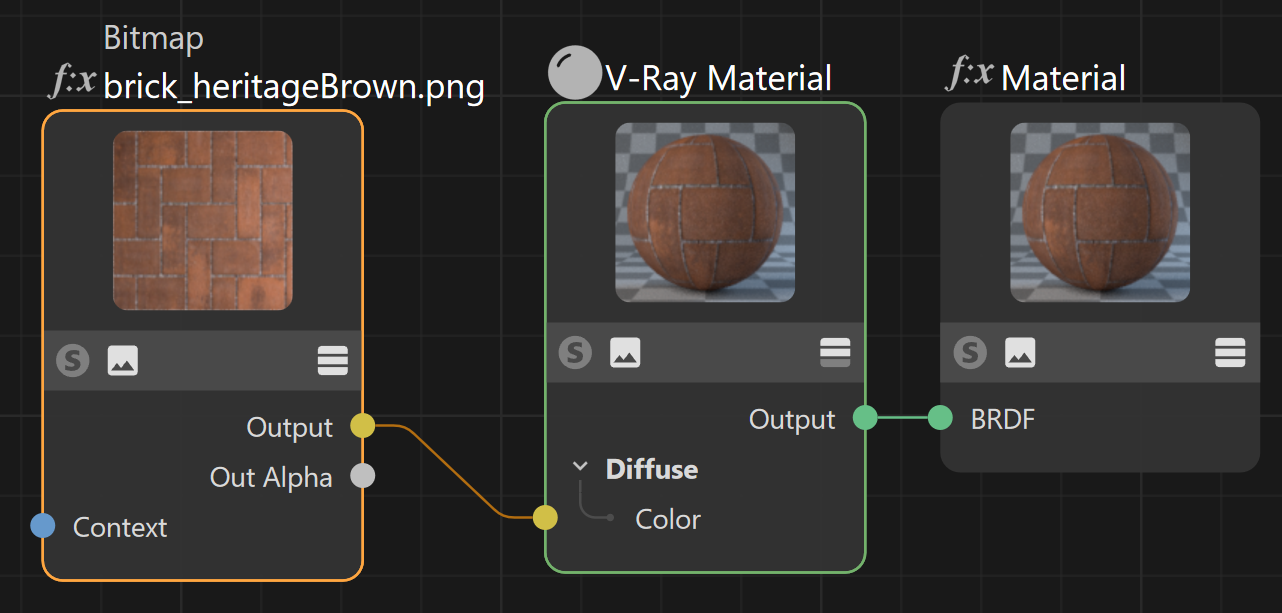
Context – Allows the attachment of a Context node (UVW generator) to adjust the UVWs of the texture. For more information, visit the Context Nodes page.

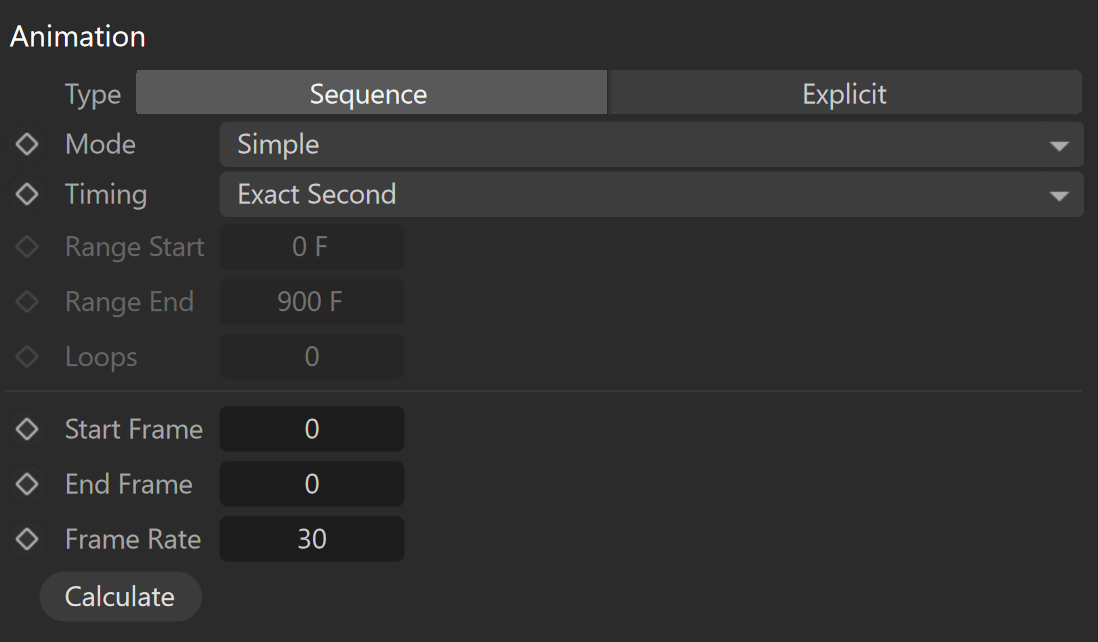
Animation
Type – Determines whether the files are treated as an image Sequence or an Explicit animation. The Sequence Type reads the files as a whole animation, while the Explicit type allows you to select a single frame from the texture animation and use it as a static shader. Parameters are different for each type.
Sequence
Mode – Determines how the animation is played.
Simple – Plays the animation once from start to finish.
Loop – Plays the animation from start to finish infinitely.
Ping-Pong – Plays the animation from start to finish, then from finish to start, and continues like this infinitely.
Timing – Determines the playback speed of the animation.
Exact Frame – Plays one frame of the animation per frame of the render. With this mode, no frames are dropped. If the project and the texture animation have a different Frames Per Second (FPS) setup, the project speed overrides the animation speed.
Exact Second – Matches each second of the animation to each second of the project. This mode ensures that the animation's original speed is kept.
Range – Determines a custom frame range for the animation to play. Use this mode when you don't want the texture animation to play from the first frame.
Range Start and Range End determine the first and last frame of the animation when the Timing is set to Range.
Loops – Determines the number of times the texture animation repeats from the start.
Start Frame – Allows you to manually determine the first frame of the texture animation.
End Frame – Allows you to manually determine the last frame of the texture animation.
Frame Rate – Allows you to manually determine the rate of frames per second of the texture animation.
Calculate – Automatically determines the texture animation's Start Frame, End Frame, and Frame Rate. When rendering sequential images, this information is determined from the images with the lowest and highest number. A frame rate of 25fps is assumed. Other rates have to be entered manually.
Explicit
Frame Sequence – Enables reading the image sequence.
Use Current Animation Frame – Syncs the timeline frames to the image sequence numbers. This is similar to how the Sequence Type behaves.
Frame Number – Selects a single frame from the image sequence to be displayed as a static shader. The frame number is equivalent to the number in the file name.
Frame Offset – Adds this value to the Frame Number, offsetting the static image to a new frame from the image sequence. Negative numbers can be used here.
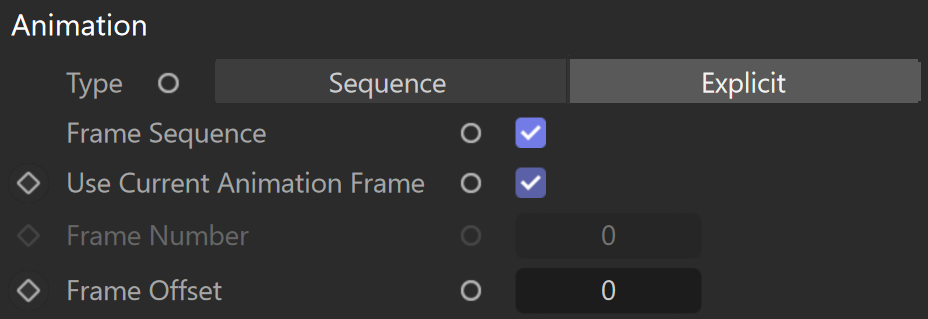
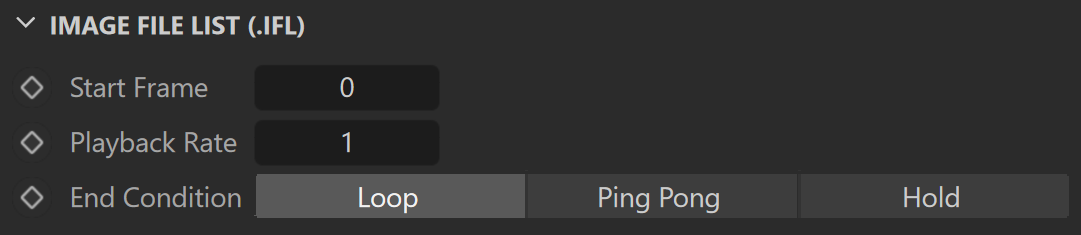
Image File (.IFL)
This rollout allows you to manually set the properties of your animated texture when using .ifl files.
Start Frame – Determines the first frame of the animation.
Playback Rate – Determines how many frames per second and played back.
End Condition – Determines the playback mode of the texture animation.
Loop – Plays the animation from start to finish infinitely.
Ping Pong – Plays the animation from start to finish and then from finish to start. Loops like this infinitely.
Hold – Plays the animation once from start to finish.