This page provides details on how to install the standalone version of V-Ray.
Overview
This guide is to serve as a reference for installing V-Ray Standalone. Please refer to the Glossary section for specific terms used in this document.
You can download the latest official version of V-Ray Standalone from http://www.chaos.com with the account supplied to you by Chaos or your reseller.
If you experience any problems, please check the Troubleshooting section.
A complete installation of V-Ray Standalone consists of:
- V-Ray Standalone
- V-Ray tools
- V-Ray Standalone SDK
- Documentation
In order to complete a full installation of V-Ray Standalone you need to:
- Install the V-Ray Online License Server. We highly suggest using the latest version available at our website.
- Install V-Ray Standalone.
Installing V-Ray Standalone
This section walks you through the steps of installing of V-Ray Standalone for different operating systems using the provided installer.
To install V-Ray Standalone, make sure your Windows account has administrative privileges and double-click the installer to run it:
To complete the installation follow these steps:
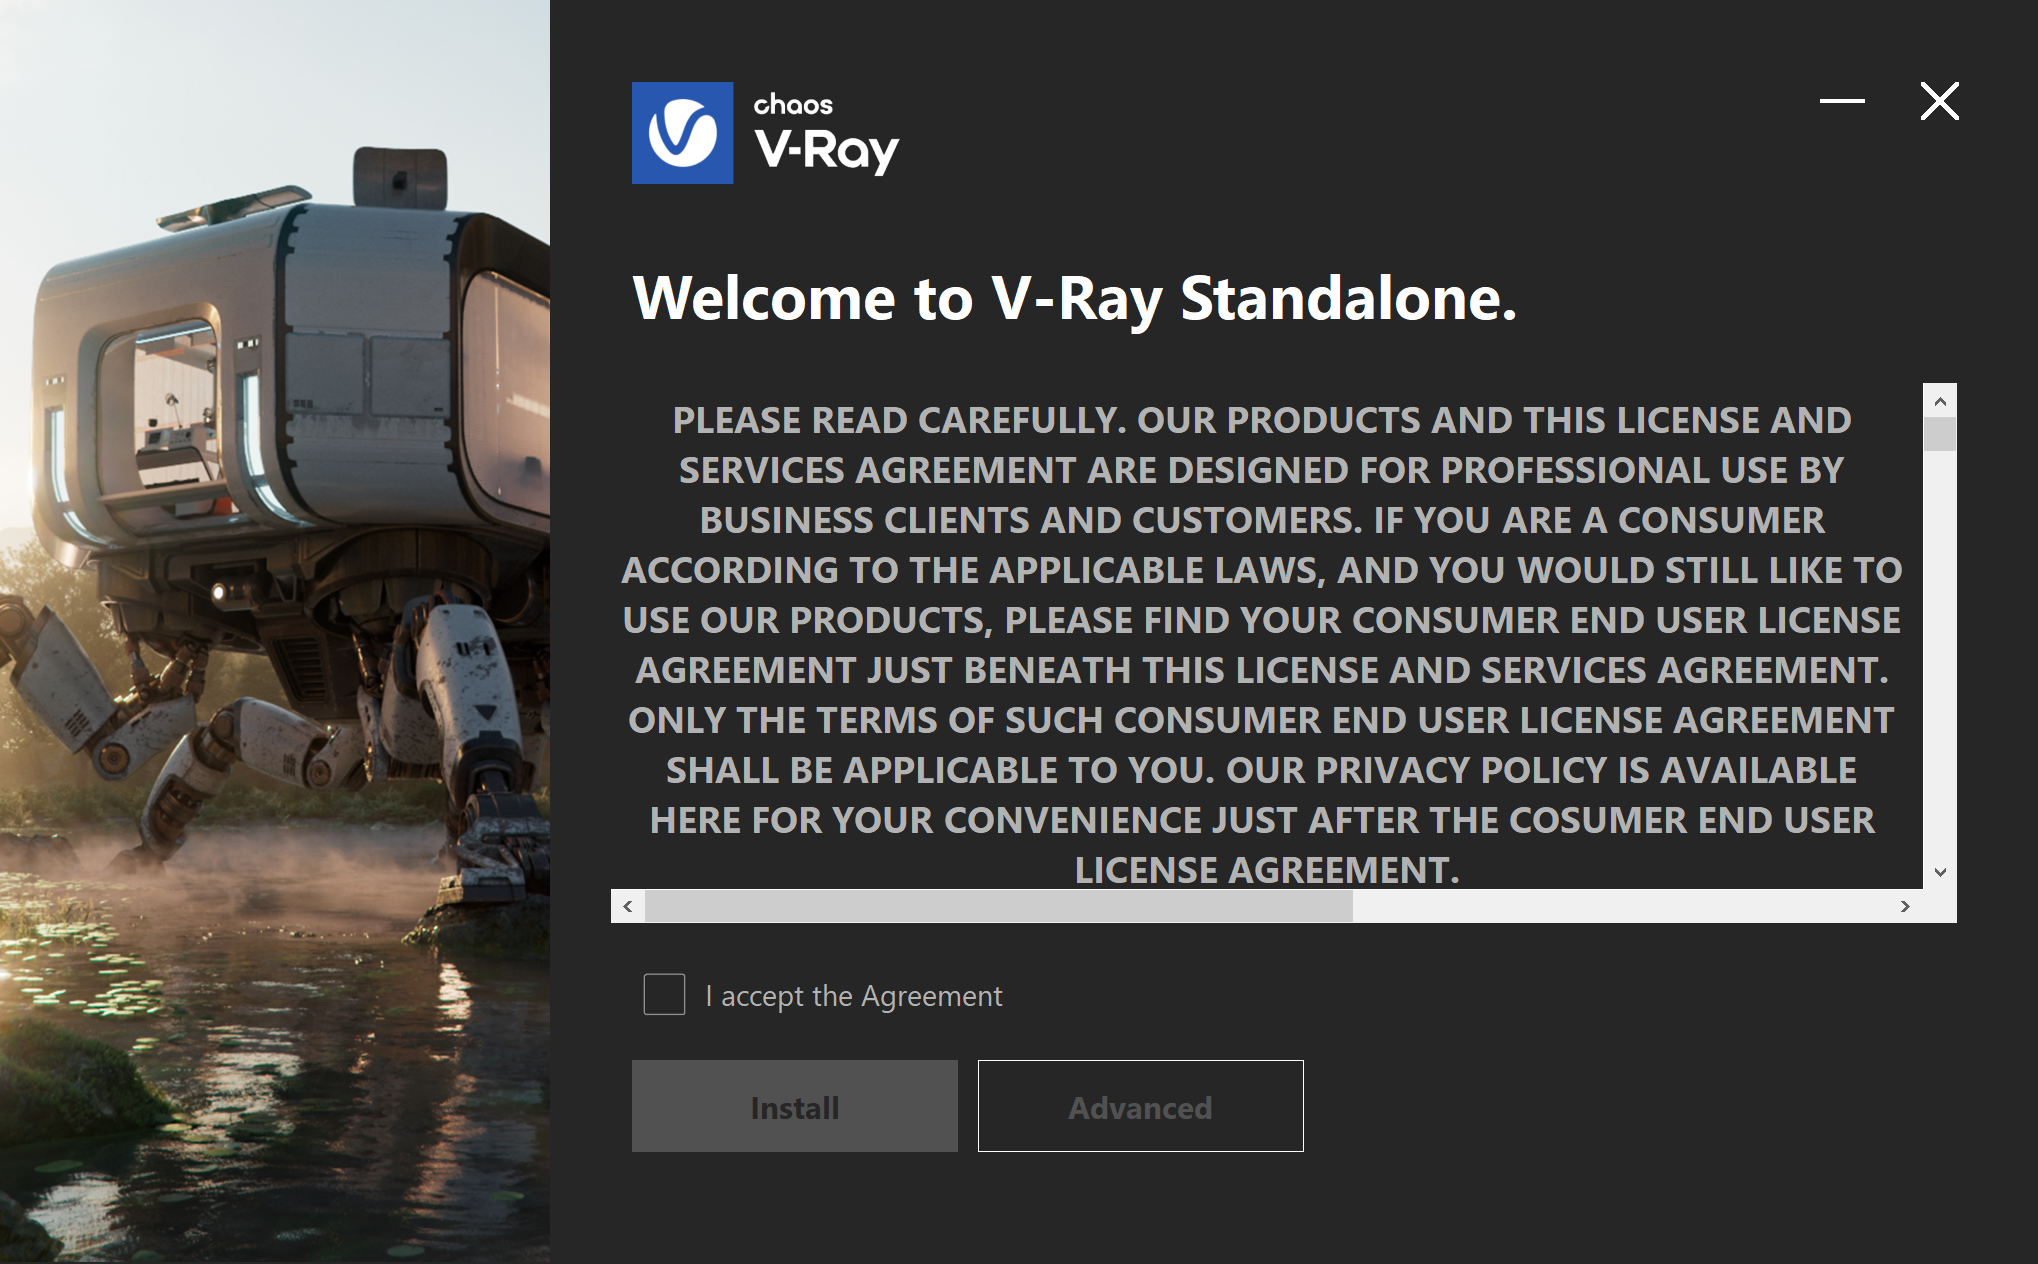
1. You are presented with the V-Ray licensing agreement. Please take a moment to review the agreement. Tick the I accept the Agreement checkbox. Click on Install to proceed with a standard V-Ray installation. If you need to customize the installation, click on Advanced.
Directories
At this step you can adjust the installation directory. Please check if the default directory is correct.
Help make V-Ray even better – Participate in the improvement decisions for future version of V-Ray. No intelligence property is violated when agreeing to participate in the feedback program. Chaos does not gather scenes, assets, materials, etc. What Chaos receives is user preferences on just a few key render settings and the resulting render times. The point of this feature is to improve V-Ray's performance and the user experience. For more information, see the Chaos Telemetry page.

Licensing
Here you specify whether the V-Ray license server runs locally or on a separate machine.
- If you select the Remote option you have to fill in the IP address of your V-Ray license server in the field Primary License Server. Please leave the port 30304 unchanged. An Alternate License Server is used when the primary one does not respond.
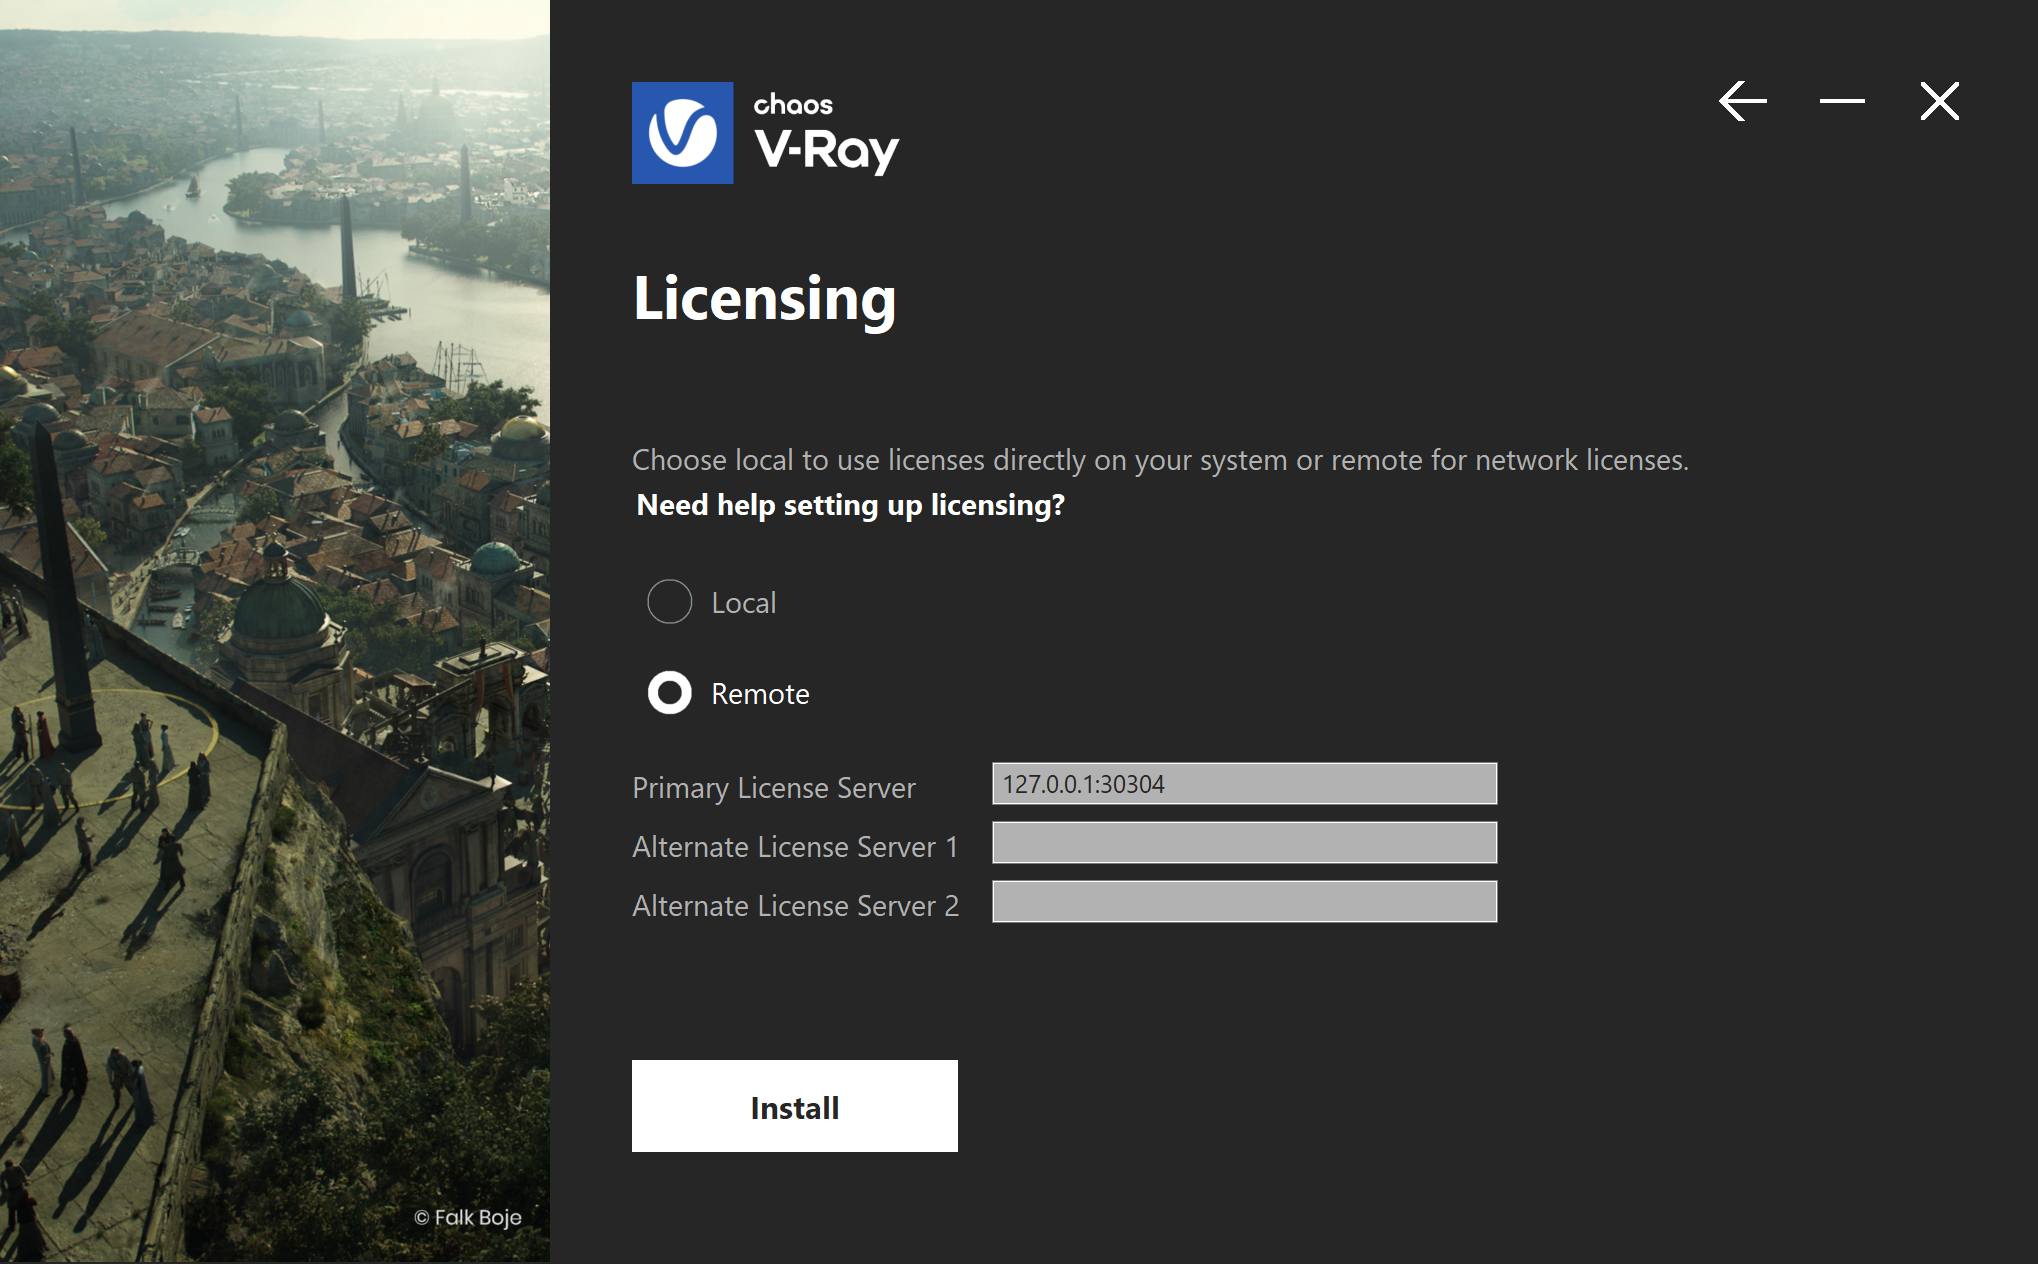
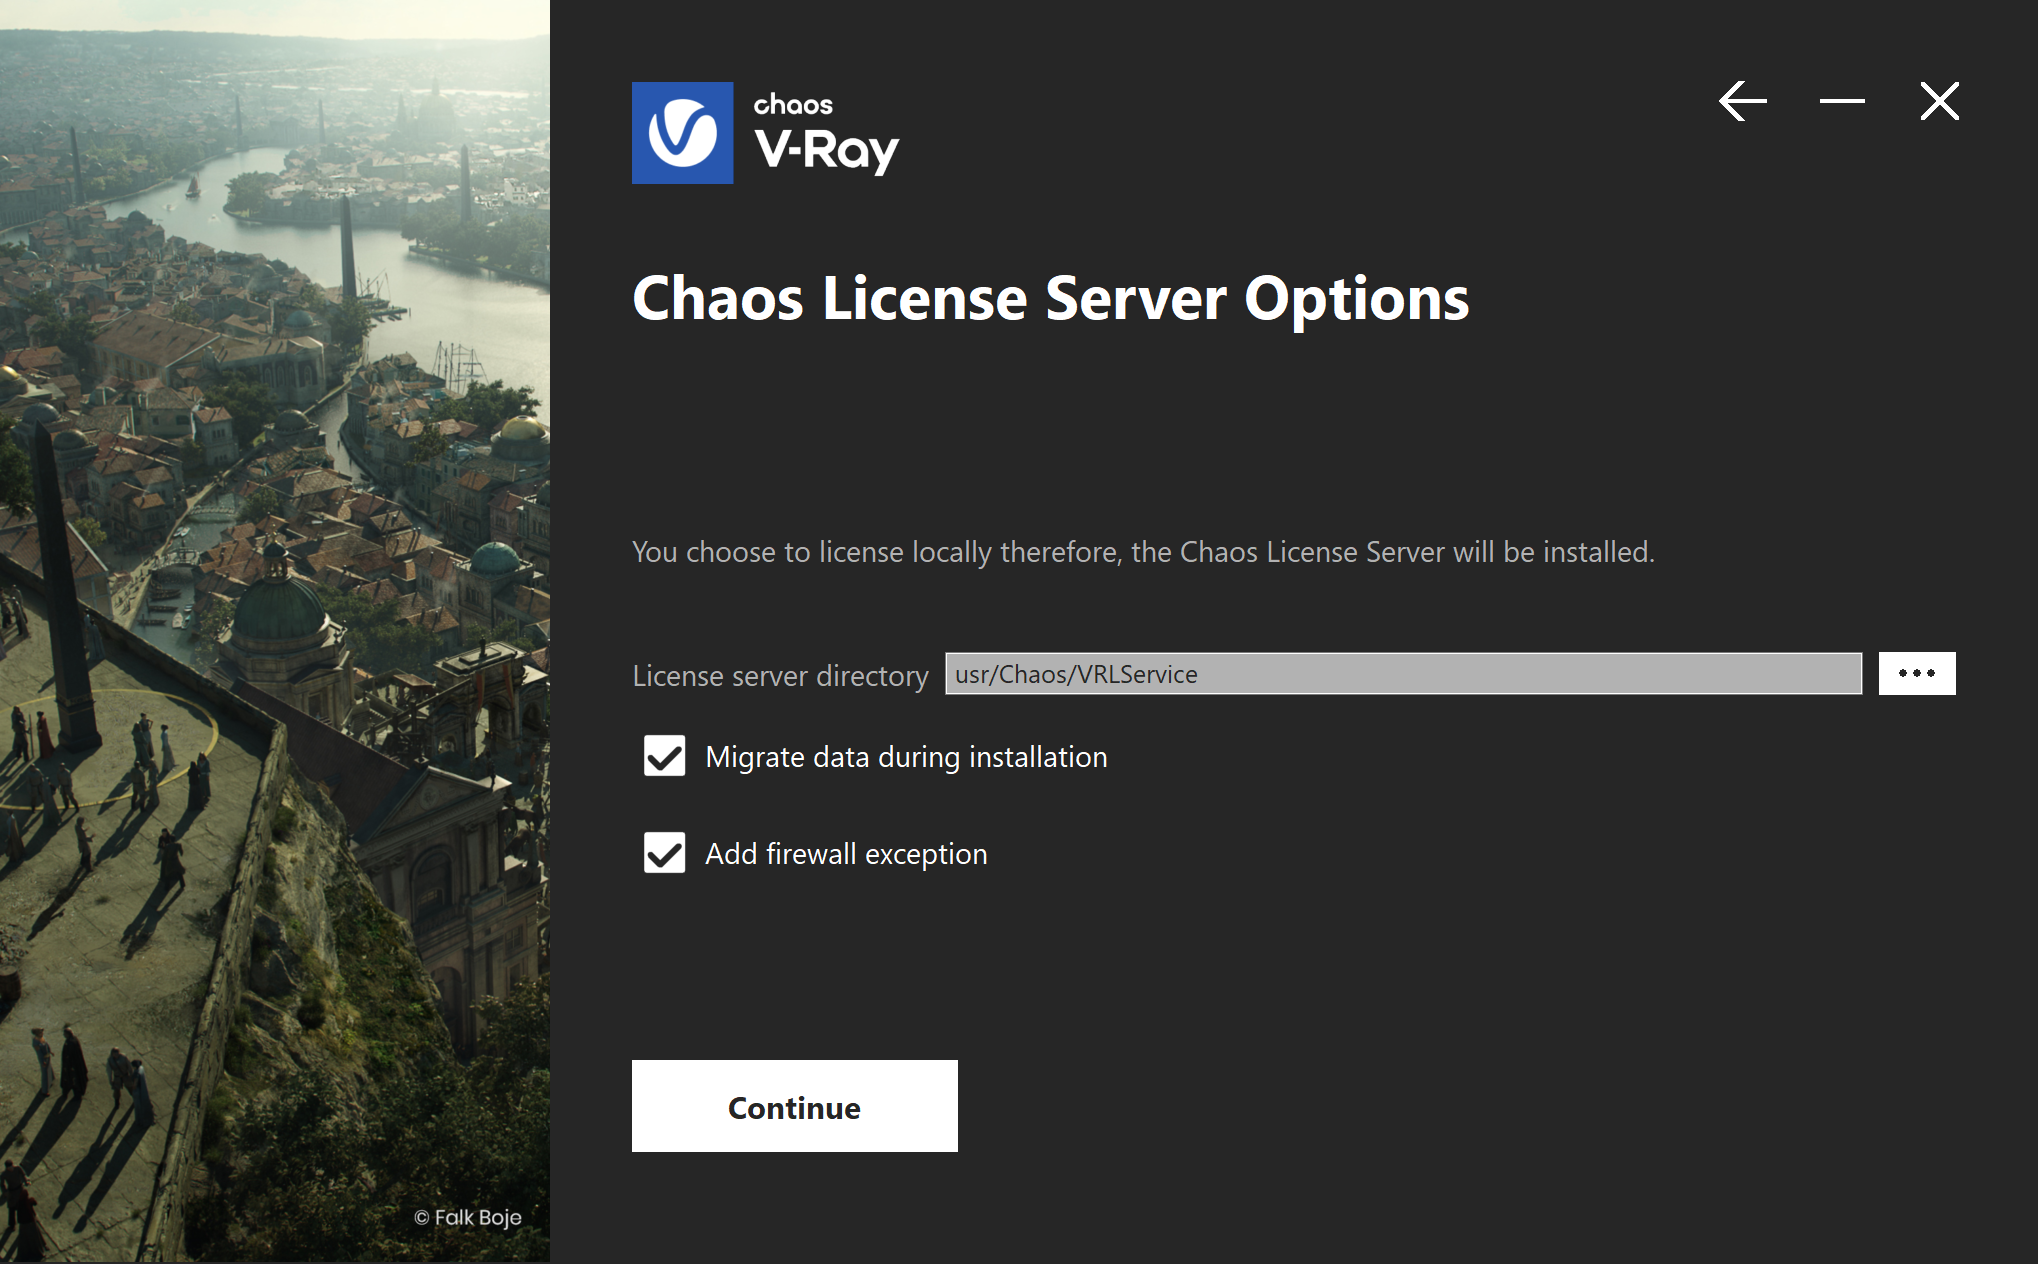
- If you select the Local Licensing Option, you are presented with the Chaos License Server installation. At this step you can choose the license server directory.
Migrate data during installation – When enabled, the installer transfers all of your settings made with older versions of the License Server, such as enabled dongle subsystem, proxy settings, etc. Disabling this option installs the License Server with all settings at their defaults and any custom settings from the previous installation are be lost.
Add firewall exception – Enabling this option allows the default licensing port (TCP 30304) in the firewall. If you disable it at this step, you need to manually add firewall exceptions later.

Once you are ready, click Install or Continue.
2. The installer proceeds to uninstall any previous versions and install V-Ray Standalone. If the installation is successful, the following window opens.
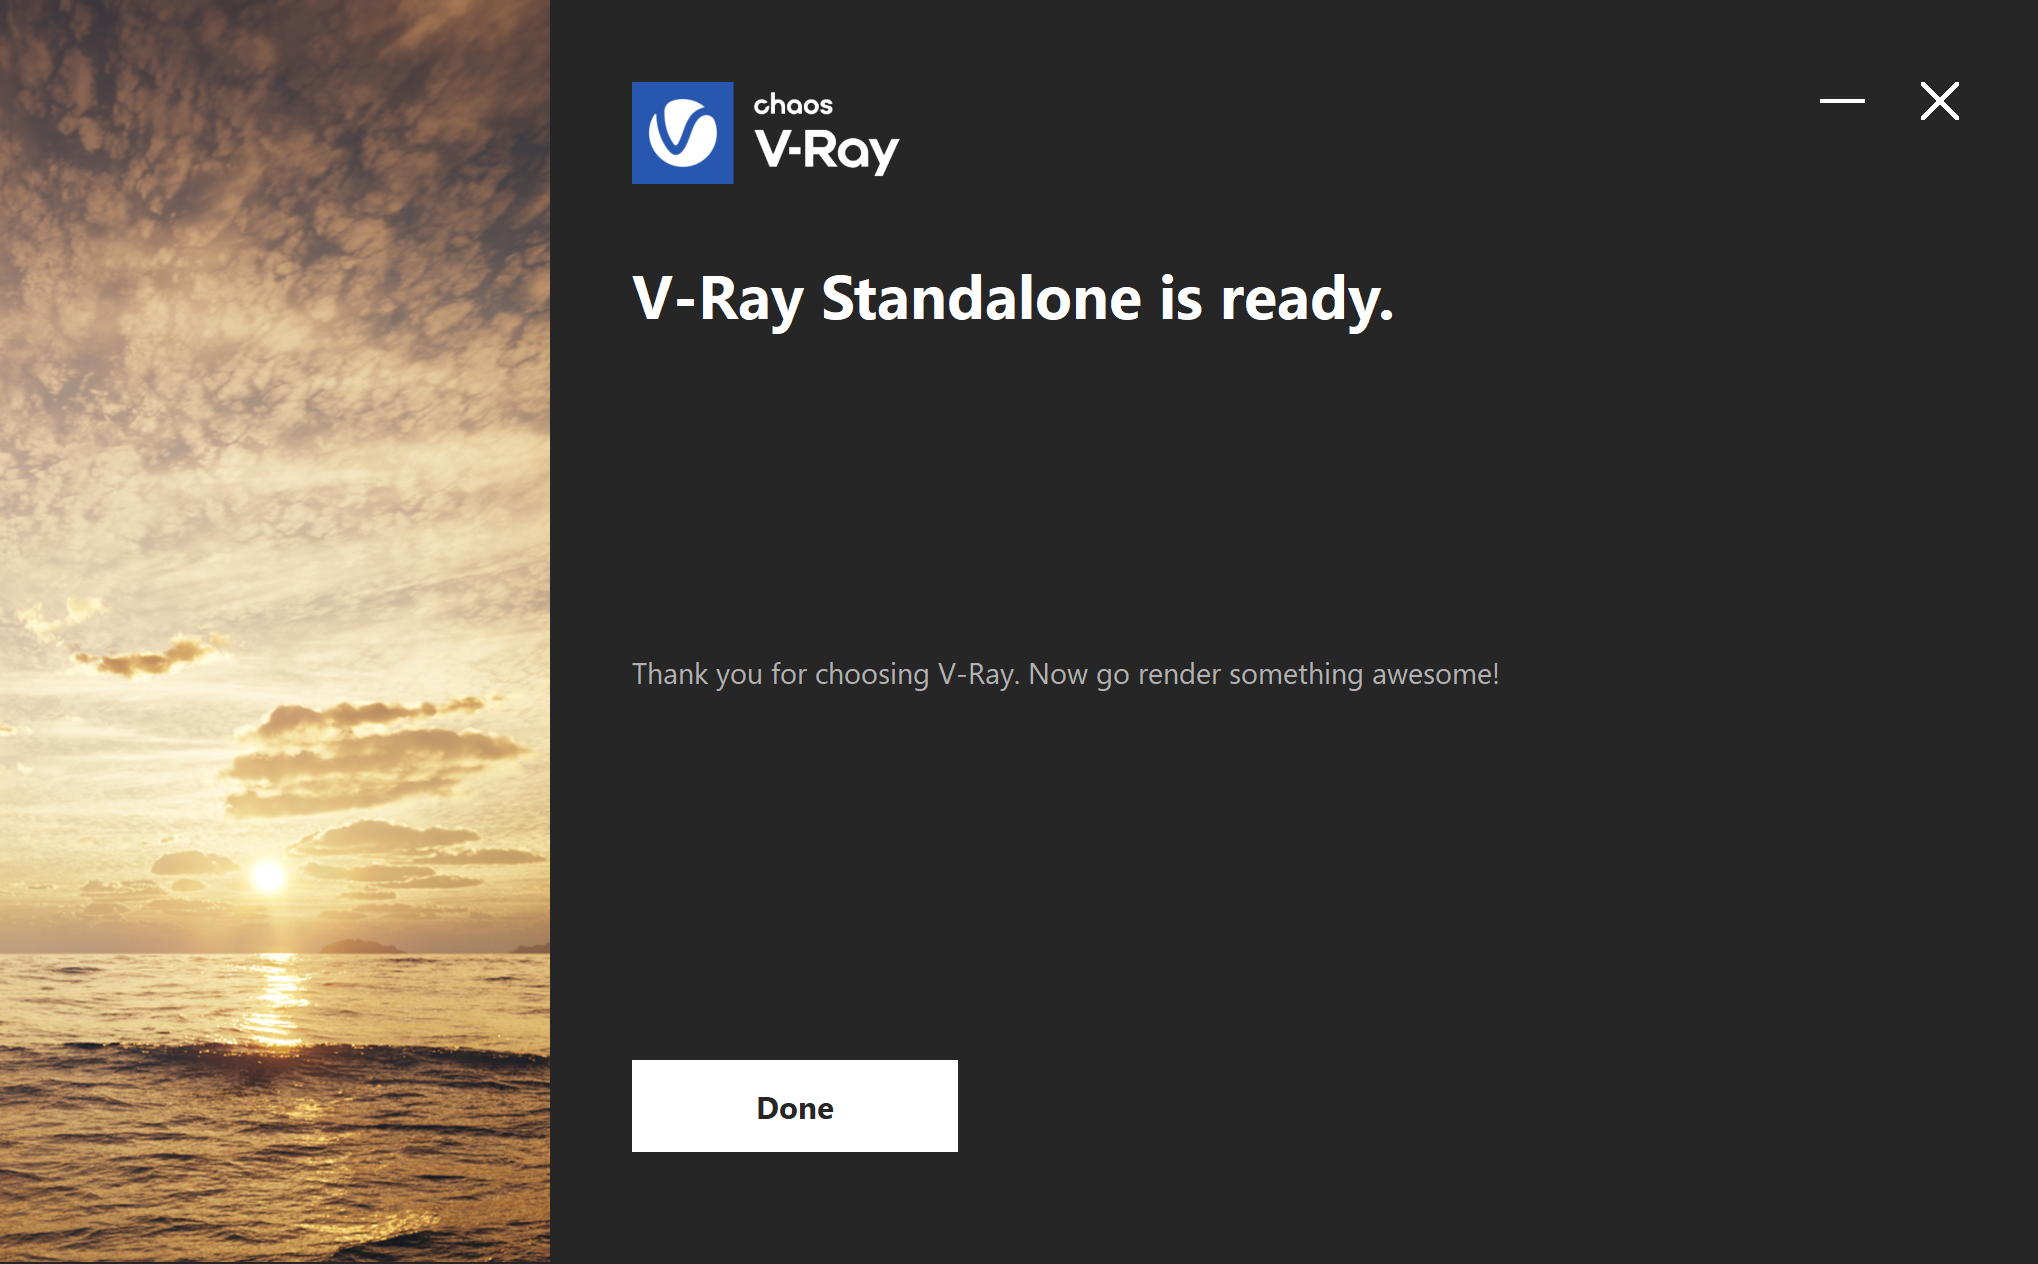
Click on Done.
To install V-Ray Standalone in Linux, follow these steps:
1. Unpack the contents of the installation archive to a temporary folder (for example vray_install_dir).
2. Open a console and navigate to the folder.
$ cd vray_install_dir
3. Follow the instructions of the installer:
3.1 You are presented with the V-Ray licensing agreement. Please read carefully the agreement! Tick the I accept the Agreement checkbox. Click on Install to proceed with a standard V-Ray installation. If you need to customize the installation, click on Advanced.
Directories
At this step you can adjust the installation directory. Please check if the default directory is correct.
Help make V-Ray even better – Participate in the improvement decisions for future version of V-Ray. No intelligence property is violated when agreeing to participate in the feedback program. Chaos does not gather scenes, assets, materials, etc. What Chaos receives is user preferences on just a few key render settings and the resulting render times. The point of this feature is to improve V-Ray's performance and the user experience. For more information, see the Chaos Telemetry page.

Licensing
Here you specify whether the V-Ray license server runs locally or on a separate machine.
If you select the Remote option you have to fill in the IP address of your V-Ray license server in the field Primary License Server. Please leave the port 30304 unchanged. An Alternate License Server is used when the primary one does not respond.
If you select the Local licensing option, you are presented with the Chaos License Server installation. At this step you can choose the license server directory.
Migrate data during installation – When enabled, the installer transfers all of your settings made with older versions of the License Server, such as enabled dongle subsystem, proxy settings, etc. Disabling this option installs License Server with all settings at their defaults and any custom settings from the previous installation is lost.
Add firewall exception – Enabling this option allows the default licensing port (TCP 30304) in the firewall. If you disable it at this step, you need to manually add firewall exceptions later.
Click Install or Continue to proceed.
3.2 The installer proceeds to uninstall any previous versions and install V-Ray Standalone. If the installation is successful, the following window opens.
4.Click on Done.
It may be necessary to log out and log in again so that some of the changes to the environment variables made by the installer can take effect.
To install V-Ray Standalone on Mac OS X, extract the V-Ray installation file in an appropriate folder and double click to run it.
1. You are presented with the V-Ray licensing agreement. Please read carefully the agreement! Tick the I accept the Agreement checkbox. Click on Install to proceed with a standard V-Ray installation. If you need to customize the installation, click on Advanced.
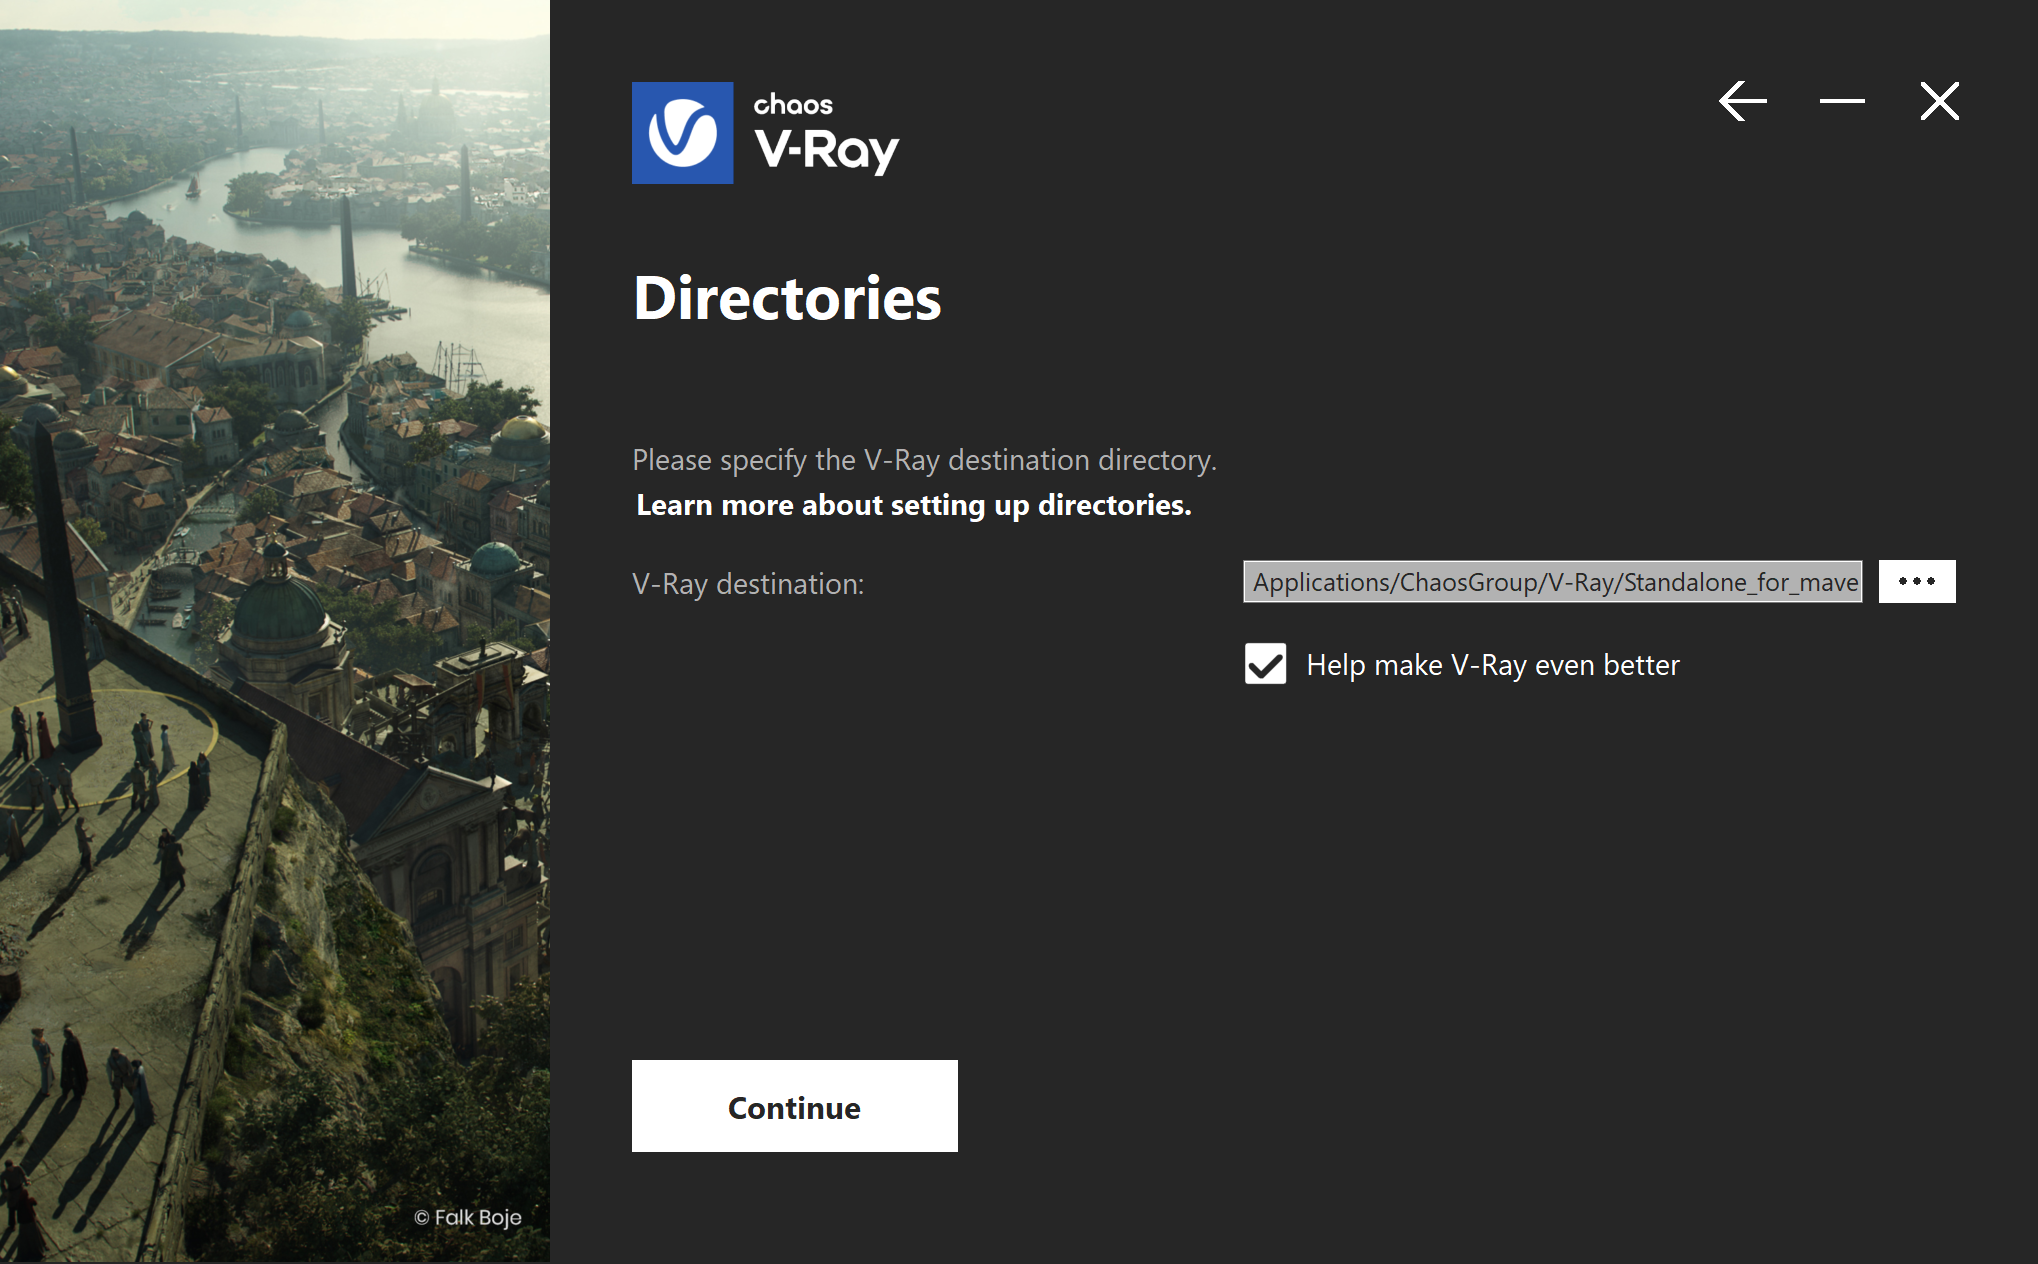
Directories
At this step you can adjust the installation directory. Please check if the default directory is correct.
Help make V-Ray even better – Participate in the improvement decisions for future version of V-Ray. No intelligence property is violated when agreeing to participate in the feedback program. Chaos does not gather scenes, assets, materials, etc. What Chaos receives is user preferences on just a few key render settings and the resulting render times. The point of this feature is to improve V-Ray's performance and the user experience. For more information, see the Chaos Telemetry page.
Licensing
Here you specify whether the V-Ray License Server runs locally or on a separate machine.
If you select the Remote option you have to fill in the IP address of your V-Ray license server in the field Primary License Server. Please leave the port 30304 unchanged. An Alternate License Server is used when the primary one does not respond.
If you select the Local licensing option, you are presented with the Chaos License Server installation. At this step you can choose the license server directory.
Migrate data during installation – When enabled, the installer transfers all of your settings made with older versions of the License Server, such as enabled dongle subsystem, proxy settings, etc. Disabling this option installs License Server with all settings at their defaults and any custom settings from the previous installation is lost.
Add firewall exception – Enabling this option allows the default licensing port (TCP 30304) in the firewall. If you disable it at this step, you need to manually add firewall exceptions later.

Click Install or Continue to commence the installation.
2. The installer proceeds to uninstall any previous versions and install V-Ray Standalone. If the installation is successful, the following window opens.
Click on Done.
It may be necessary to log out and log in again so that some of the changes to the environment variables made by the installer can take effect.