This page describes the use of V-Ray photometric lights.
Overview
Photometric lights utilize an .ies file which contains the distribution profile for the light. An .ies file contains complete specifications of a real world light bulb or tube including the shape of the light's cone and the steepness of the light's falloff. Such files are usually provided by the manufacturer of the real-world bulb, and the information in those files, gathered through lab experiments, is extremely accurate in its representation of the light source. By loading an .ies file, the light's properties are recreated within 3ds Max and used by V-Ray during rendering.
IES lights are particularly useful for architectural interior renderings, where it can be important to show the actual result of using specific man-made light sources in the scene.
While 3ds Max has standard photometric lights, V-Ray photometric lights are optimized to render faster in V-Ray.
Create menu > Lights > V-Ray > V-Ray IES Light > click and drag in a viewport
||V-Ray Toolbar|| > V-Ray IES Light button > Click and drag in a viewport
||Create panel|| > Lights > Choose V-Ray from dropdown > VRayIES > click and drag in a viewport
You can also create a VRayIES object with a light profile loaded in it by dragging and dropping an .ies file directly in your active viewport.
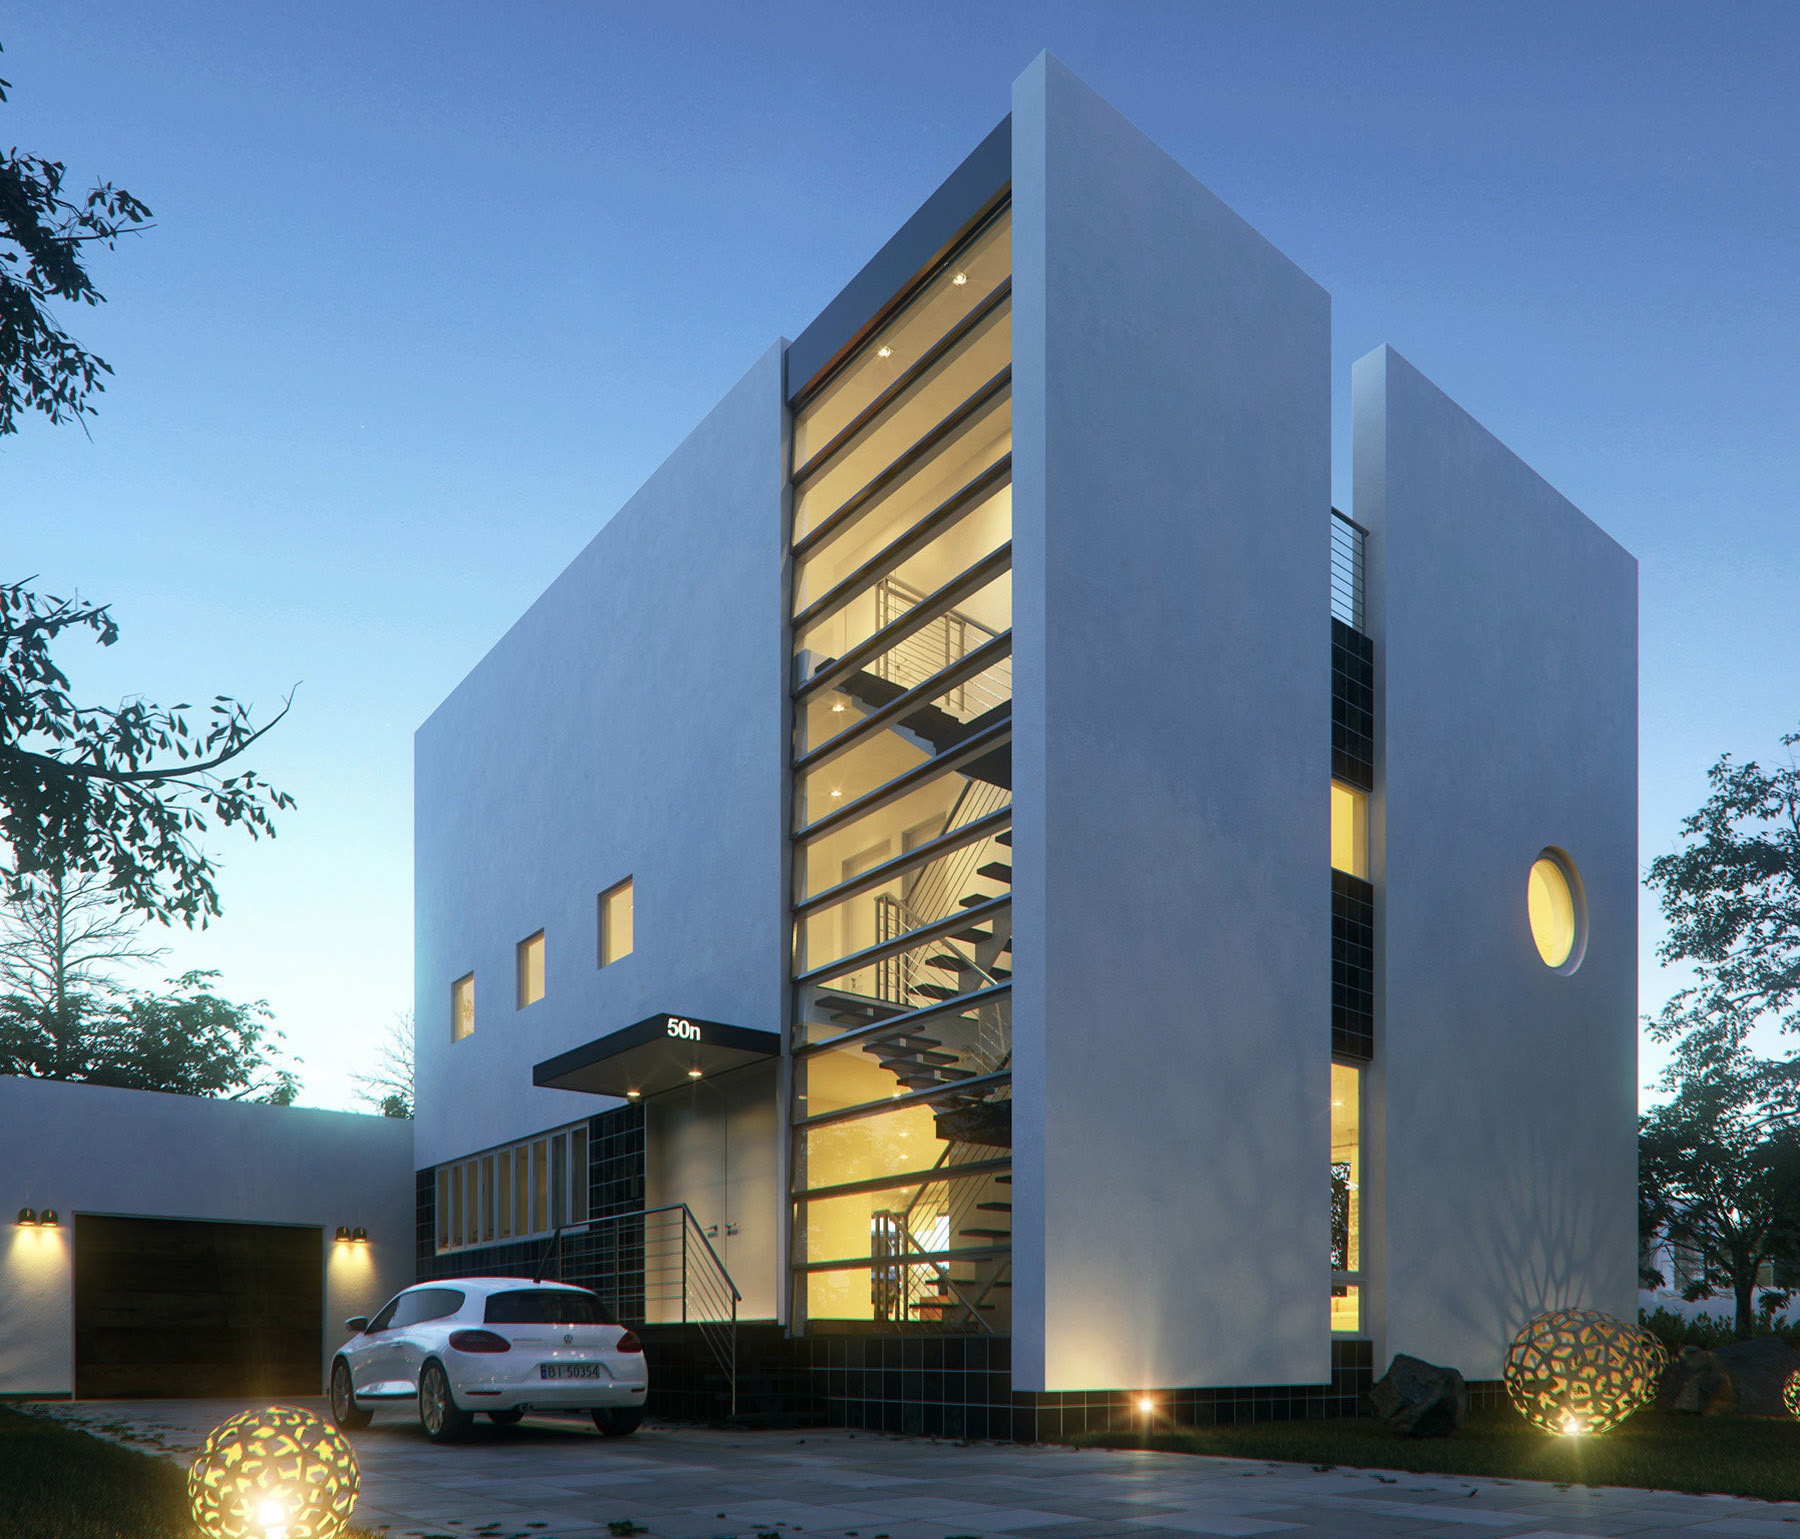
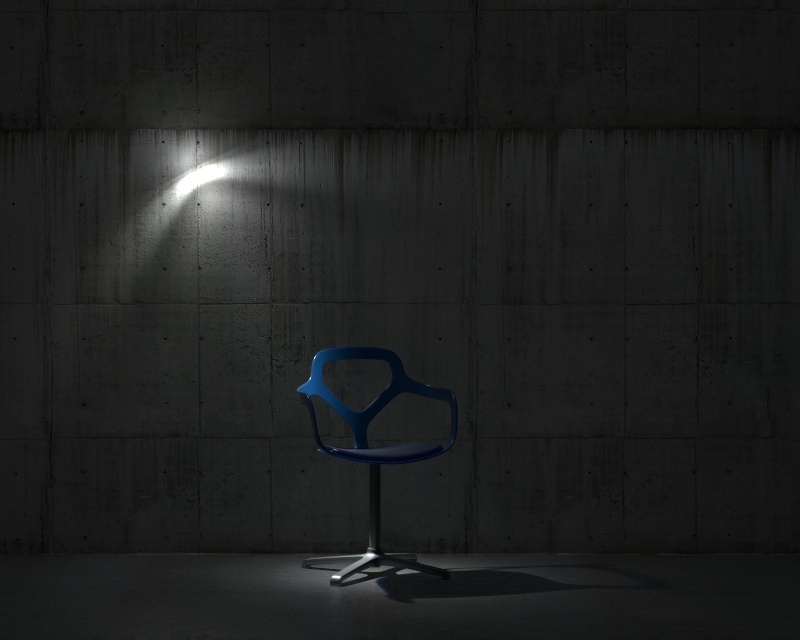
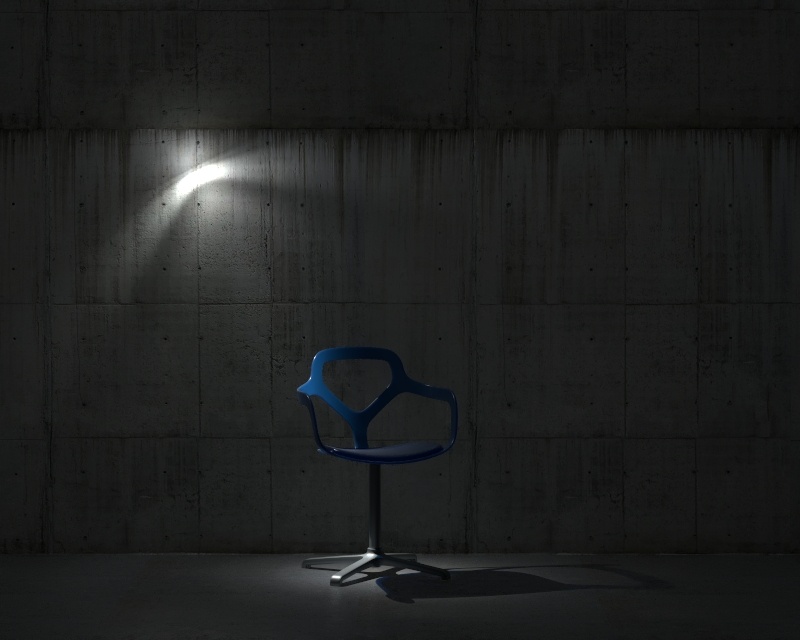
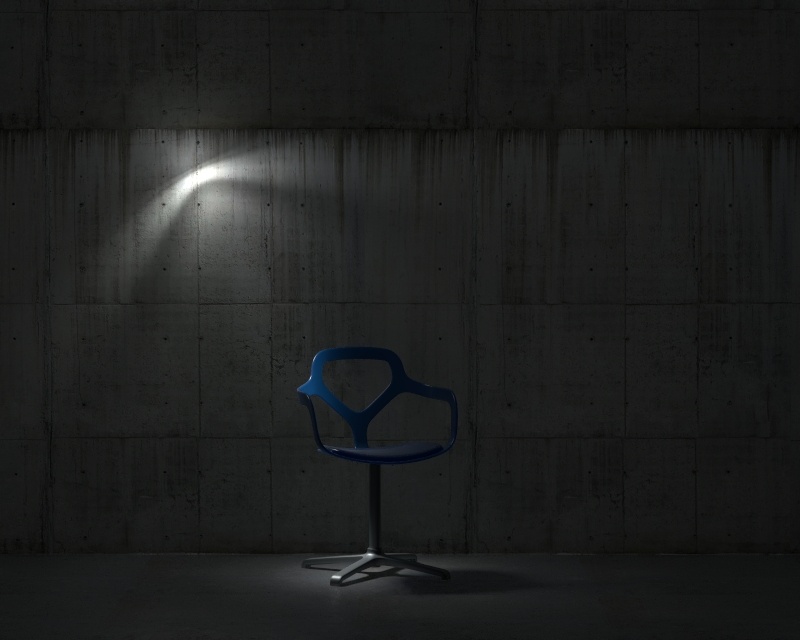
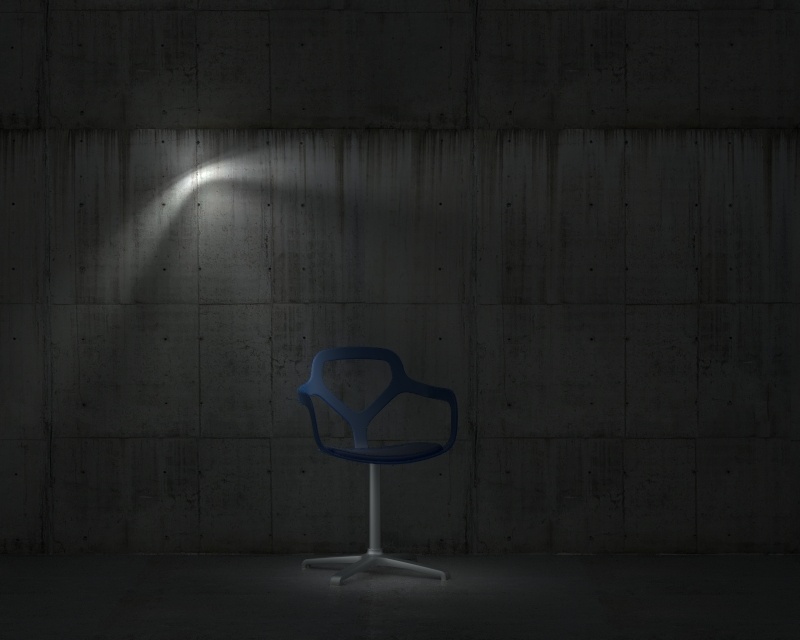
Image courtesy of Sonny Ferian
Visualizing IES Profiles
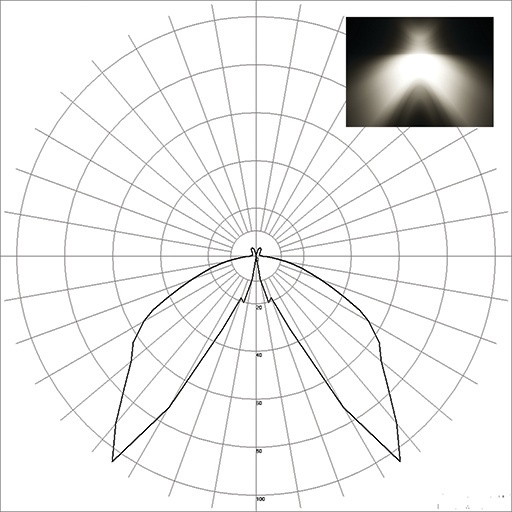
The properties of an IES file can be visualized with Photometric Viewer software, which you can easily find online. Visually, the IES profile uses a graphed curve to show the shape and intensity of the light's emission. Depending on the software used, you might also be able to render a grayscale representation of how the light will look in a scene. Using a Photometric Viewer will help you better understand how the IES files you are using will affect your scene's lighting.
The graph below shows the IES profile of a typical bollard or post light, a type of light commonly used in architectural outdoor scenes. The rendered thumbnail is shown as an inset.
Parameters
Enabled – Turns the VRayIES light on and off.
Enable viewport shading – When enabled, the effect of the VRayIES light will be visible in the viewport.
Show distribution – Shows the IES profile distribution as a mesh around the light source in the viewports.
Targeted – Makes the VRayIES targeted.
Ies file (button) – Specifies the .ies file that defines the light distribution.
Rotation X/Y/Z – Rotates the light shape in relation to the target.
Cutoff – Specifies a threshold for the light intensity, below which the light will not be computed. This can be useful in scenes with many lights, where you want to limit the effect of the lights to some distance around them. Larger values cut away more from the light; lower values make the light range larger. If you specify 0.0, the light will be calculated for all surfaces. This parameter is not available when the renderer is set to GPU.
Shadow bias –Moves the shadow toward or away from the shadow-casting object (or objects). If the Bias value is too low, shadows can "leak" through places they shouldn't, produce moire patterns, or make out-of-place dark areas on meshes. If Bias is too high, shadows can "detach" from an object. If the Bias value is too extreme in either direction, shadows might not be rendered at all.
Cast shadows – When enabled (the default), the light casts shadows. Turn this option off to disable shadow casting for the light.
Affect diffuse – Determines whether the light is affecting the diffuse properties of the materials.
Diffuse contribution – A multiplier for controlling the light's contribution to the diffuse illumination.
Affect specular – Determines whether the light is affecting the specular part of the materials.
Specular contribution – A multiplier for controlling the light's contribution to the specular reflection.
Use light shape – Determines whether and how the shape of the light specified in the .ies light will be taken into consideration during the calculation of shadows and illumination.
No – The light shape will not be considered for illumination and the light is going to generate sharp shadows.
For shadows – The light shape will be considered only for the generation of soft shadows. The illumination will not be affected by the light shape (i.e. it will behave as a point light).
For illumination and shadows – The light shape will be considered for the calculation of the illumination and shadows.
Override shape – When enabled, the light profile within the .ies file is ignored. The Shape parameter defines the light shape for calculating shadow softness, otherwise IES lights will generate shadows as a point light, casting sharp shadows.
Shape – Specifies a shape (and its orientation) for the IES light when Override shape is enabled. Some shapes (shown below) enable additional options for size. See the Shape example below.
- point
- rectangle
- circle
- sphere
- vertical cylinder
- horizontal cylinder (length)
- horizontal cylinder (width)
- ellipse (length)
- ellipse (width)
- ellipsoid (length)
- ellipsoid (width)
Height – Specifies the height for applicable light shape types.
Width – Specifies the width for applicable light shape types.
Length – Specifies the length for applicable light shape types.
Diameter – Specifies the diameter for applicable light shape types.
Shape subdivs – Most users will not need local control of subdivs, however this parameter controls the number of samples V-Ray takes to compute lighting locally for this light. Lower values create more noise, but render faster. Higher values produce smoother results but take more time to render.
To activate this parameter and specify a value, use the Use local subdivs parameter under the V-Ray tab > Global DMC rollout in the Render Setup window. Note that the actual number of samples also depends on the Global DMC Settings. By default, this parameter is controlled by the Min shading rate parameter in the Advanced/Expert user modes of the Image sampler (Antialiasing) rollout. This parameter is not available when the renderer is set to GPU.
Color mode – Specifies the mode in which the color of the light will be determined:
Color – The light color is directly specified by the Color parameter.
Temperature – The light color temperature (in Kelvin) is specified by the Temperature parameter.
Color – Specifies the color of the light.
Color temperature – Specifies the light color temperature in Kelvin.
Override intensity – Allows you to choose how the IES light source intensity is overriden by the Intensity value parameter.
Rescale – The IES file's default global light intensity is multiplied, so it matches the user's defined light intensity.
Replace – The IES file's default global light intensity is recalclulated from the light source distribution and then multiplied to match the user's defined light intensity.
You may get wrong results using the Rescale option compared to the Replace one, if the IES file's default global intensity is incorrect for the given light source distribution.
Intensity type – Specifies the units for light strength:
Power (lm) – Sets the units of power in lumens.
Intensity (cd) – Sets the units of intensity in candela
Intensity value – Specifies the strength of the light.
Area speculars – When disabled, the particular light will be rendered as a point light in the specular reflections
Viewport wire color – Changes the wireframe color of the light in the viewport. This is useful to visually recognize groups of lights from one another.
Icon text – Turns the viewport icon text on or off.
Exclude – Brings up the 3ds Max include/exclude button which allows the user to exclude objects from illumination and shadow casting.
Example: Shape
This example shows how light is affected by the different shapes of the IES Light. Circle and Sphere shapes examples are also compared with different diameters - 1.0 and 10.0.
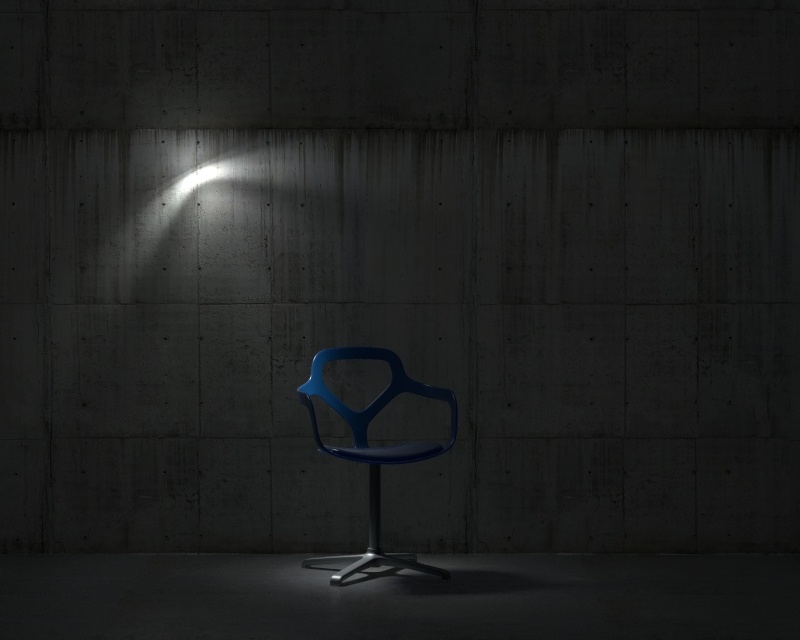
Circle, Diameter = 1.0
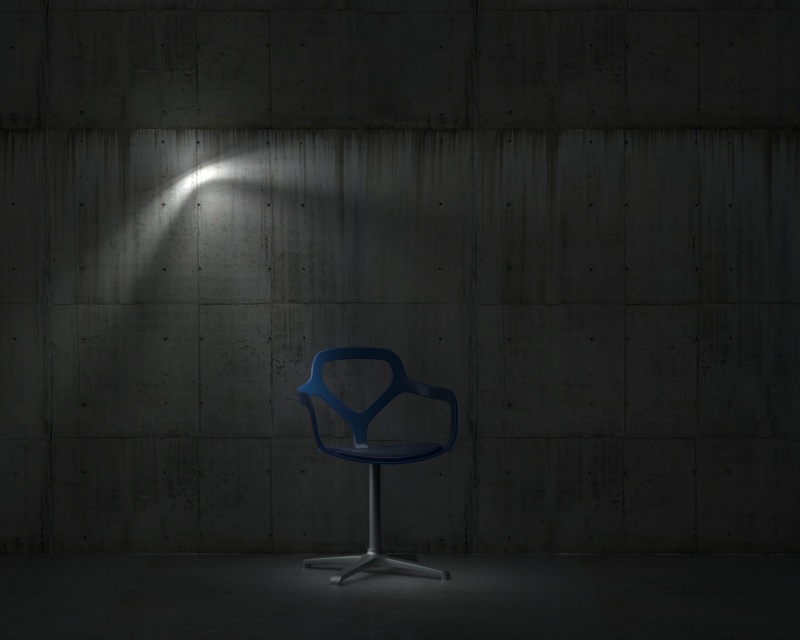
Circle, Diameter = 10.0
Default shape From the IES light
Point
Sphere, Diameter = 1.0
Sphere, Diameter = 10.0