This page provides a tutorial for adding foam and splashes to a liquid simulation.
Overview
The instructions on this page will guide you in modifying a liquid simulation to add foam and splashes.
Steps
When possible, build emitters to real-world scale. Phoenix FD uses real-world calculations to create its effects, so working with real-world units will make your task much easier.
To follow along this tutorial, you can either download the provided project files, go through the Creating a Simple Liquid Simulation tutorial or modify your own custom liquid simulation setup.
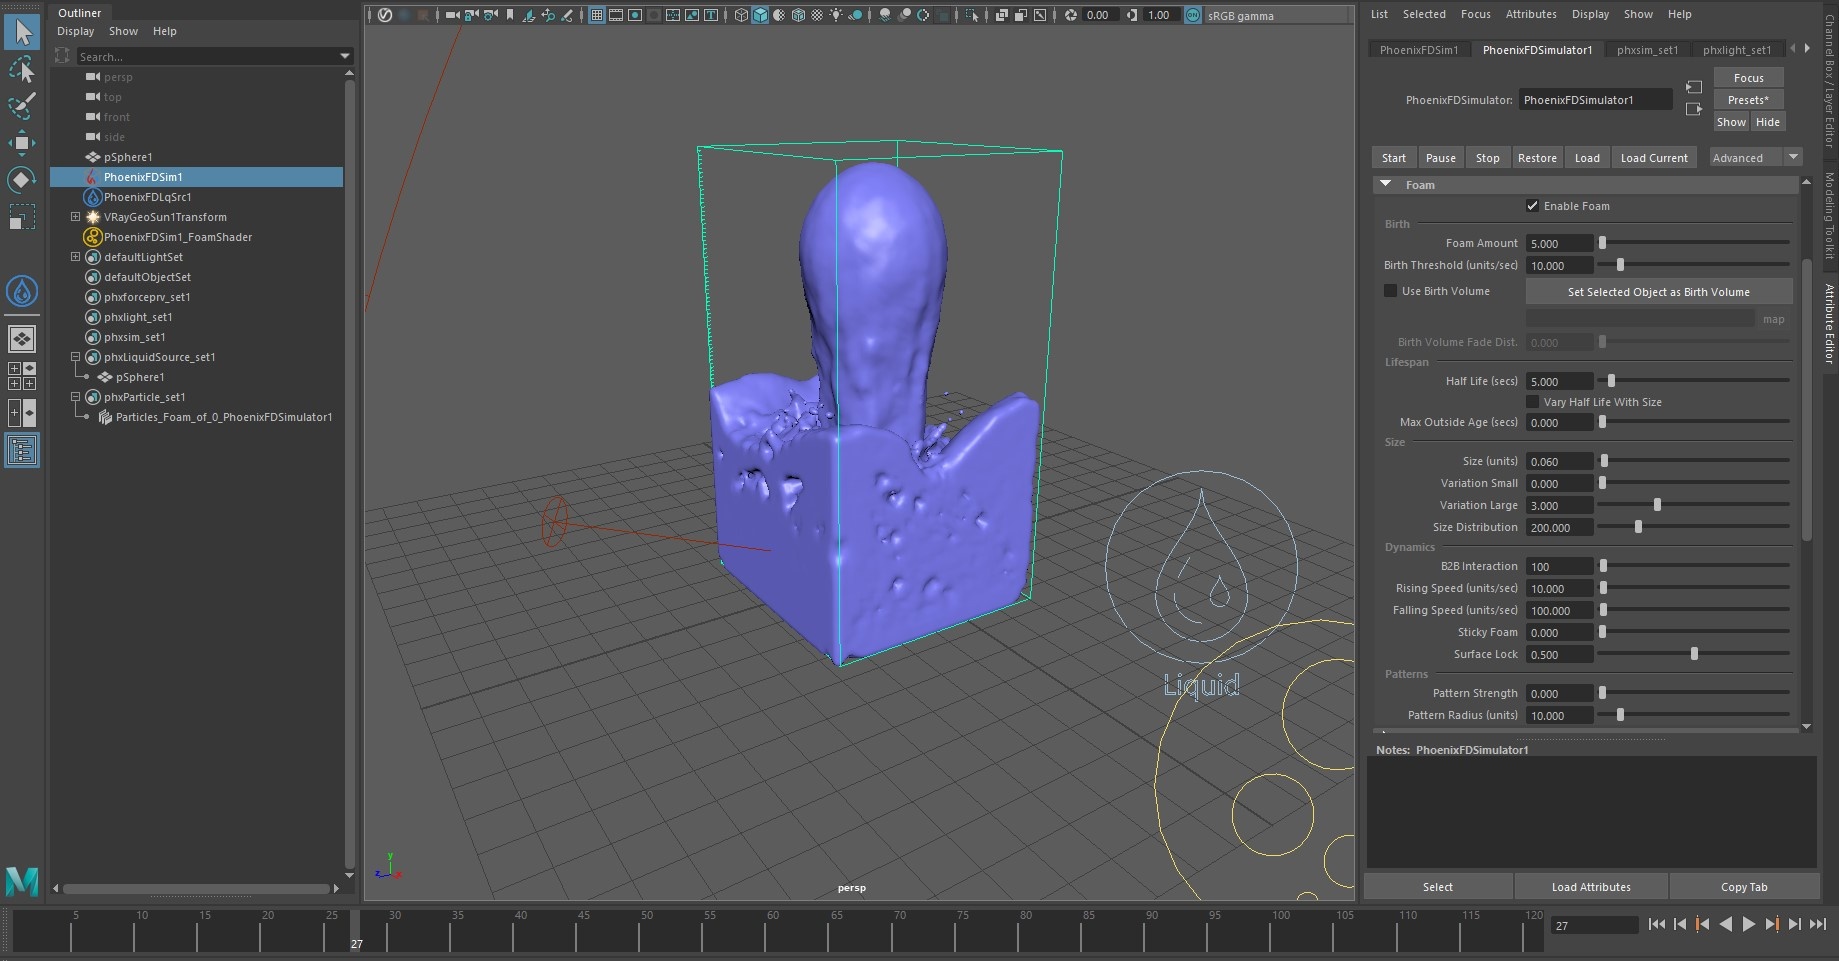
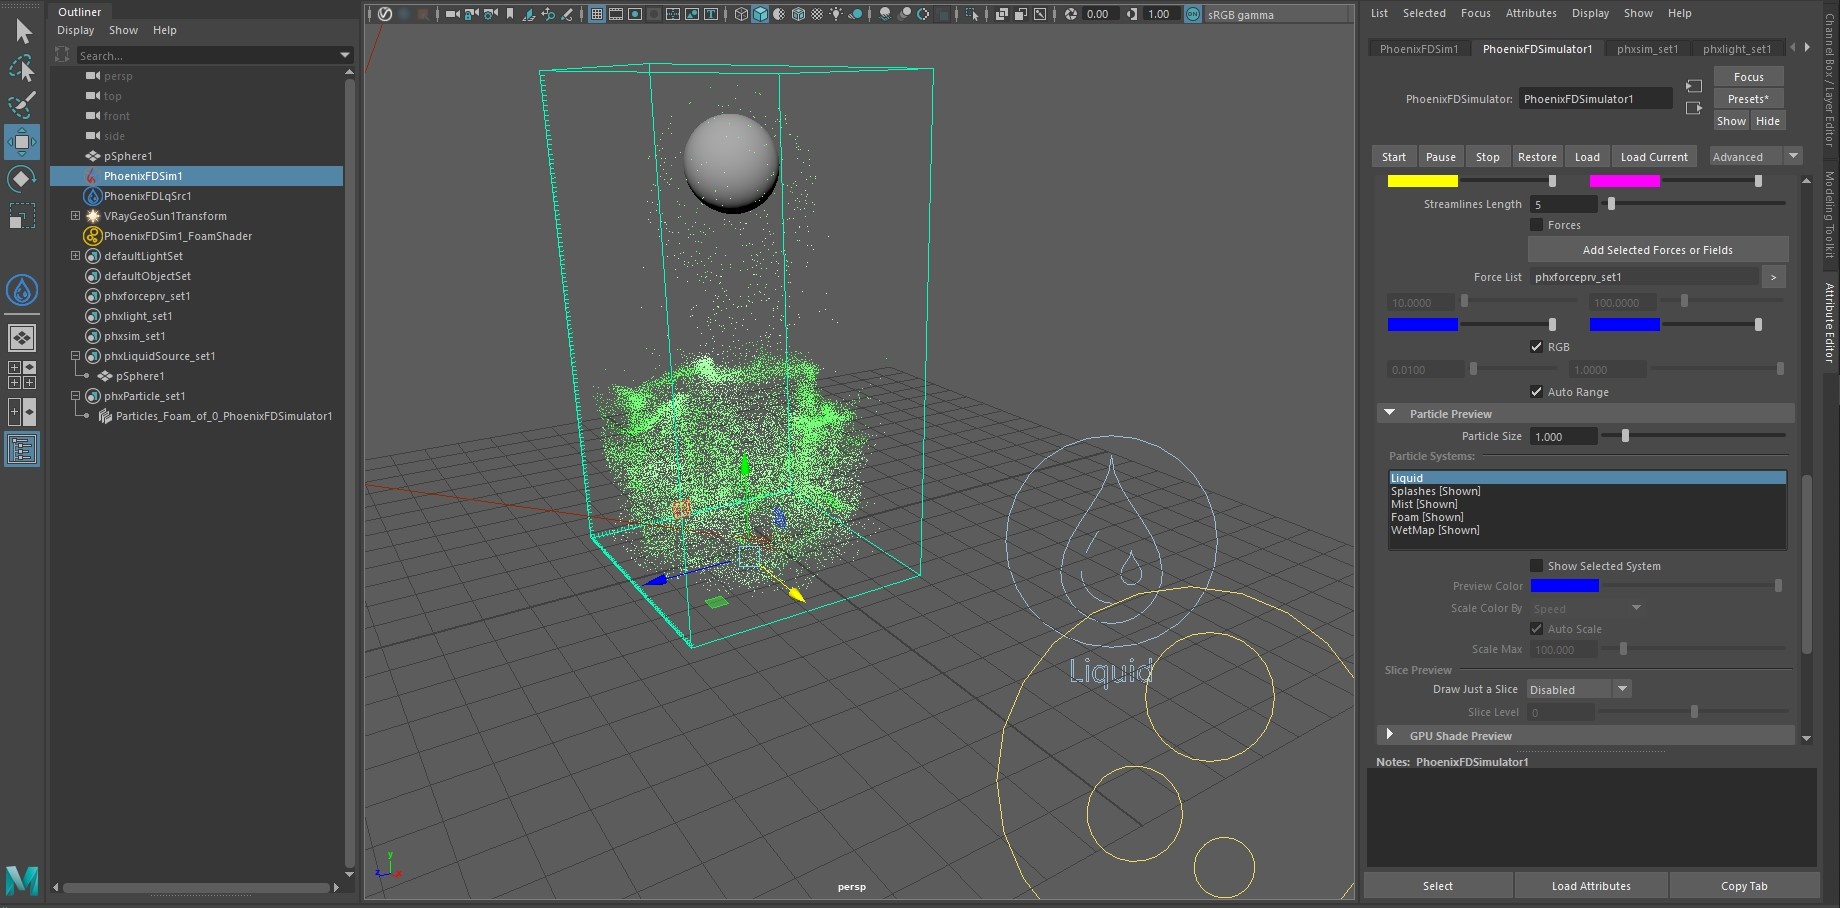
With the Simulator node selected, go to the Foam tab and select Enable Foam. A message box asking if you want a particle shader generated will appear. Choose Yes.
Note that in the Outliner, 3 new items have appeared - a shader, a new set and a particle group inside the set.
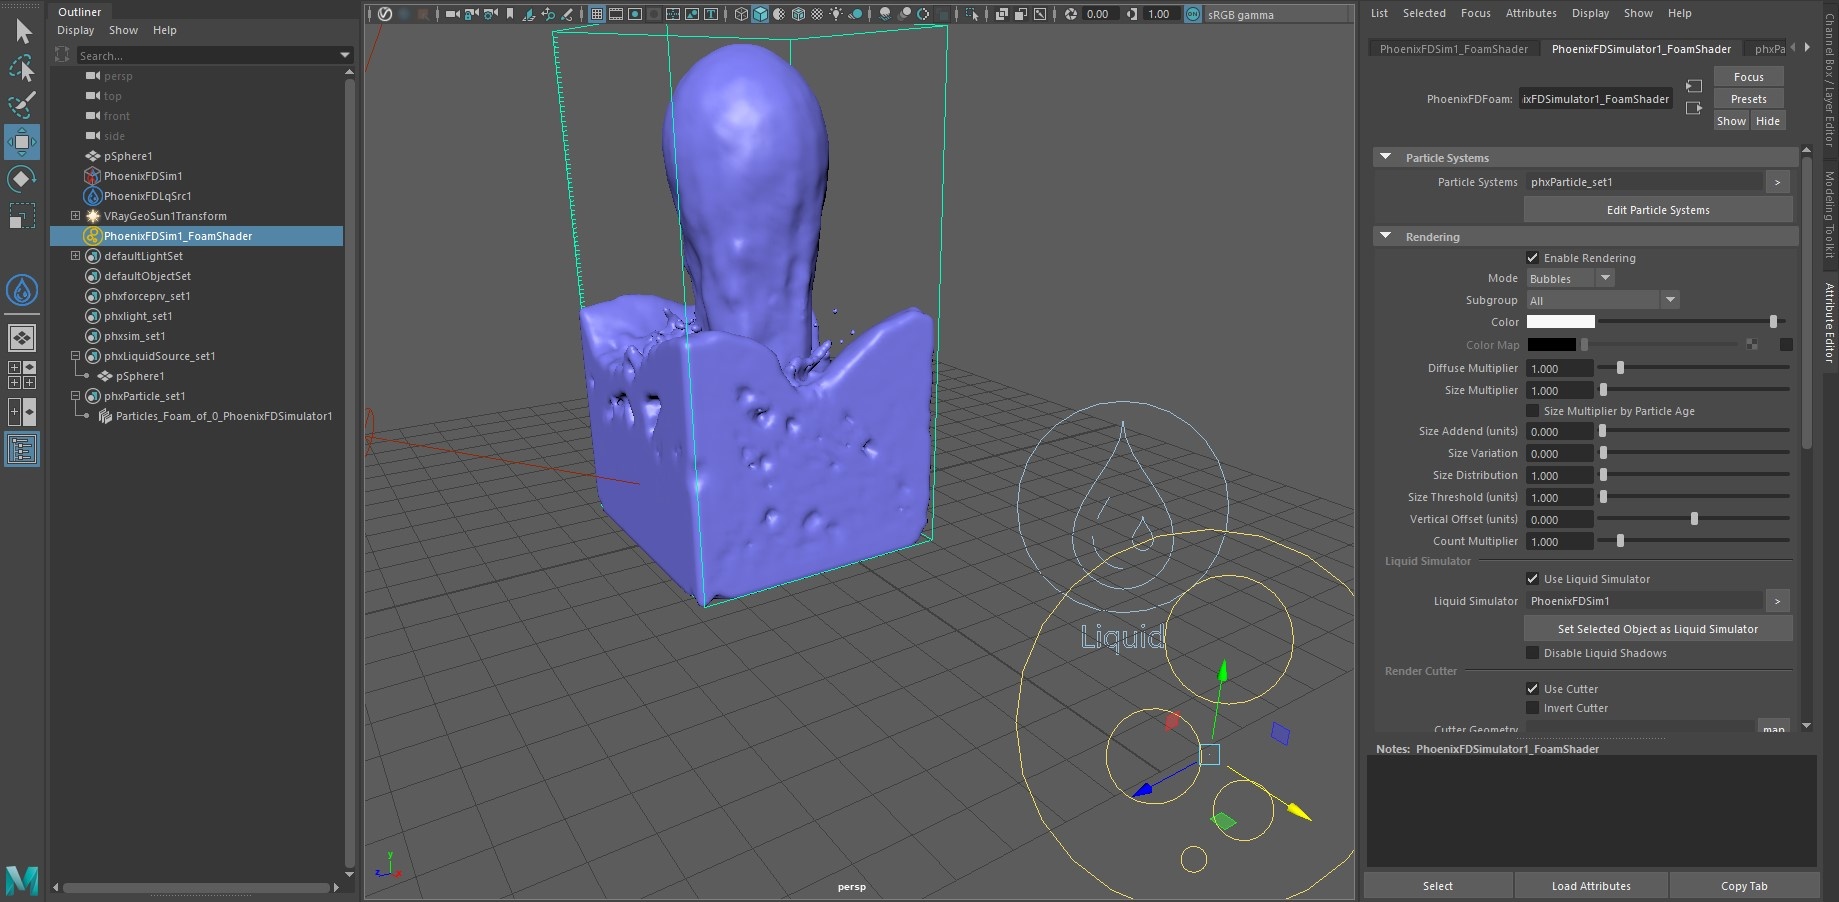
Rename the shader node to phx_foam_shader_01. The shader, unsurprisingly, contains the shading parameters for the foam particles. You can choose the render mode for the particles, adjust their size and count, or enable/disable Motion Blur.
Rename the set to phx_foam_set. This set is used to specify what particle groups the shader is responsible for shading at rendertime. In some cases you may want to have multiple particle groups affected by the same shader, or multiple shaders affecting the same particle group.
Expand the phx_foam_set and rename the node inside to pg_foam. You can think of the particle groups as a reference to the particles in the simulation.
There are five groups of particles that the Phoenix FD Simulator can output - Liquid, Foam, Splash, Mist and Drag.
Foam, Splash and Mist particles are rendered using a custom Phoenix FD Particle Shader that references the particlees in the Particle Systems set.
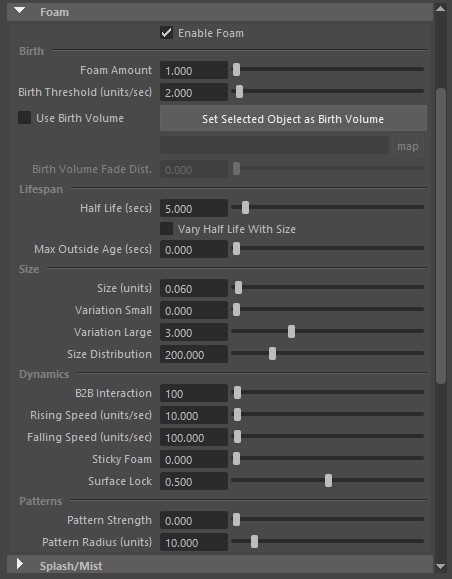
In the Foam tab of the Simulator node, reduce the Foam Amount to 1. This parameter specifies the number of foam particles to be born when a given cell/voxel satisfies the birth condition, in thousands per second.
Reduce the Birth Threshold to 2.
The Birth Threshold specifies the velocity threshold above which the liquid is considered turbulent enough for foam birth. Foam birth only occurs under these three circumstances:
1. When a liquid experiences turbulent movement.
2. When a splash particle collides with the liquid.
3. When an emitter is adding foam particles to the simulation
The Outside Life parameter specifies the number of seconds a particle may live outside of the simulation grid.
The Size parameters control the size of the Foam particles. Even though it's possible to override those values at rendertime using the particle shader, it's a good idea to set them to some reasonable values because the B2B (bubble to bubble) Interaction relies on them.
The B2B Interaction controls the internal interaction between bubbles. This option is used when the foam should have a volume. It forces a proper distance between the bubbles and keeps them stuck together. It's very useful when doing fuzzy drinks/beer simulations, and you'll notice that the Beer preset has some very specific B2B Interaction settings.
The Variation Small/Large parameters specifiy how much smaller/larger the bubbles are relative to the Size parameter.
0 means that all bubbles are always at least as small/big as specified by the Size parameter.
1 means that the smallest/largest bubbles are two times smaller/larger than the Size value.
Distribution specifies how many times the amount of average bubbles exceeds the amount of the largest bubbles.
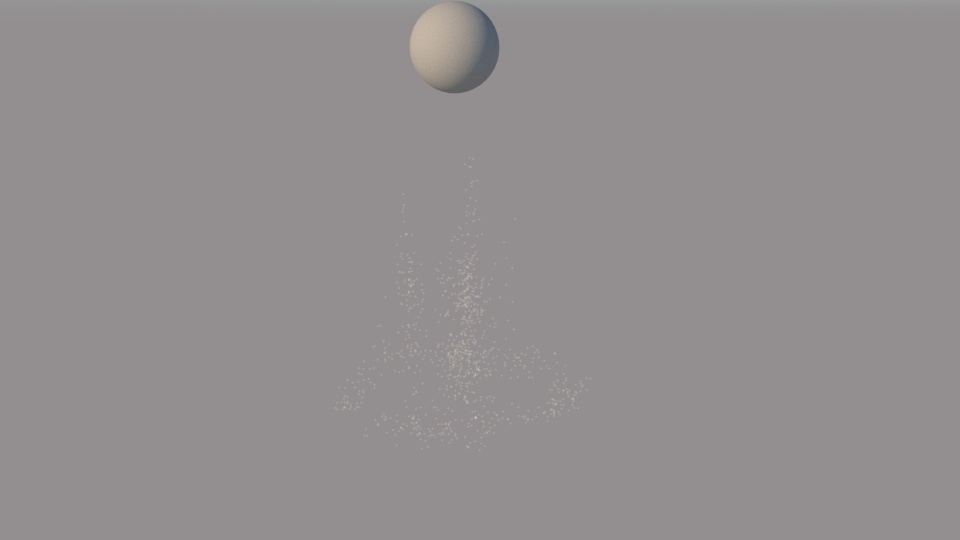
Start the simulation to see the result.
You can go to the Preview -> Particle Preview tab of the simulator and disable the preview of Liquid particles by deselecting Show Selected System. This allows you to isolate specific particle types and troubleshoot their behavior.
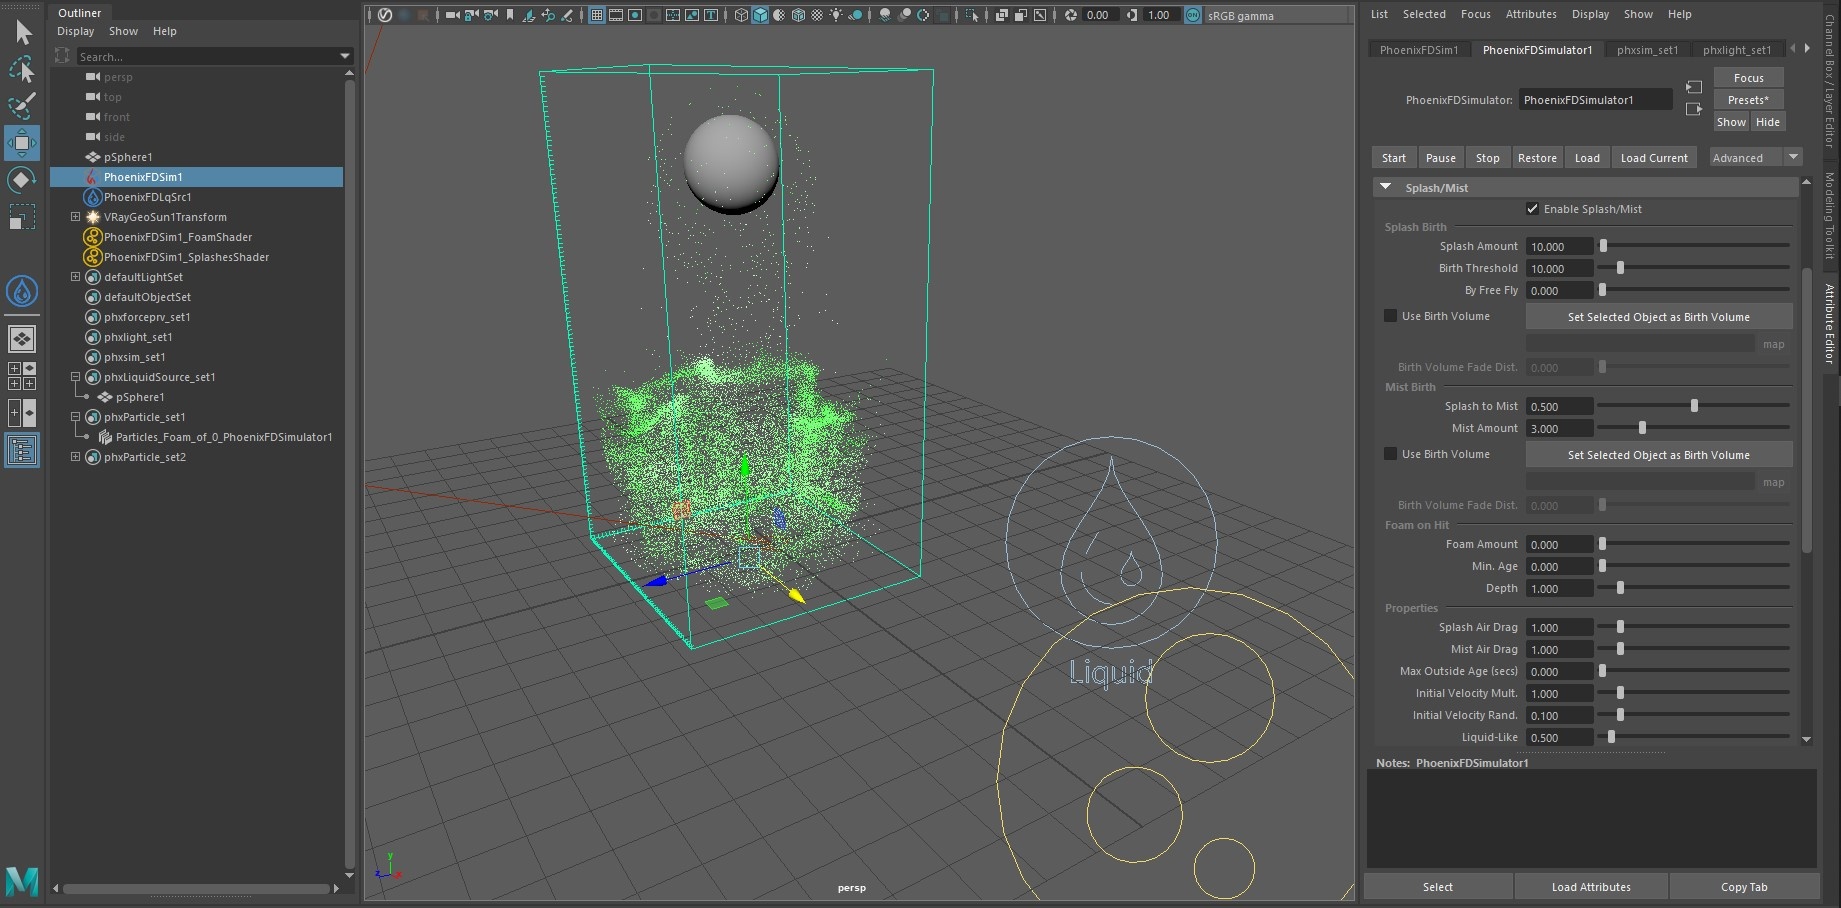
Go to the Splash/Mist tab and select Enable Splash/Mist. When prompted with a message asking if you'd like a new particle shader generated, choose Yes.
Rename the generated nodes to phx_splash_shader_01, phx_splash_set and pg_splash.
Keep the settings at their default values.
The concept of splashes in Phoenix FD is a bit more complicated than it is with foam. Simply put, splashes are generated when the surface of the liquid deforms.
The lower the Birth Threshold parameter is, the more places on the liquid surface will produce splashes.
Splash particles are generated FROM the liquid - meaning, the liquid disappears and splash particles are created in its place. Then, when the splash particle returns back to the main body of water, it's converted back into liquid (controlled by the Affect Liquid parameter).
The Splash Amount determines how many splash particles are equal to a single liquid particle in volume. This value also affects the particle size - larger values decrease the size of splash particles.
Splash particles can also generate Foam when they hit the liquid surface. The Foam on Hit parameter control this behavior.
Lastly, Splash particles can split into Mist particles while in mid air. During its motion, a splash particle constantly produces mist particles, decreasing the volume of the splash. The Split to Mist parameter controls how fast the splash particles are converted into mist.
Mist Shader Setup
Even though the tickbox reads Enable Splash/Mist, only a Splash particle shader is automatically generated. If you'd like to also render the mist, follow the steps below:
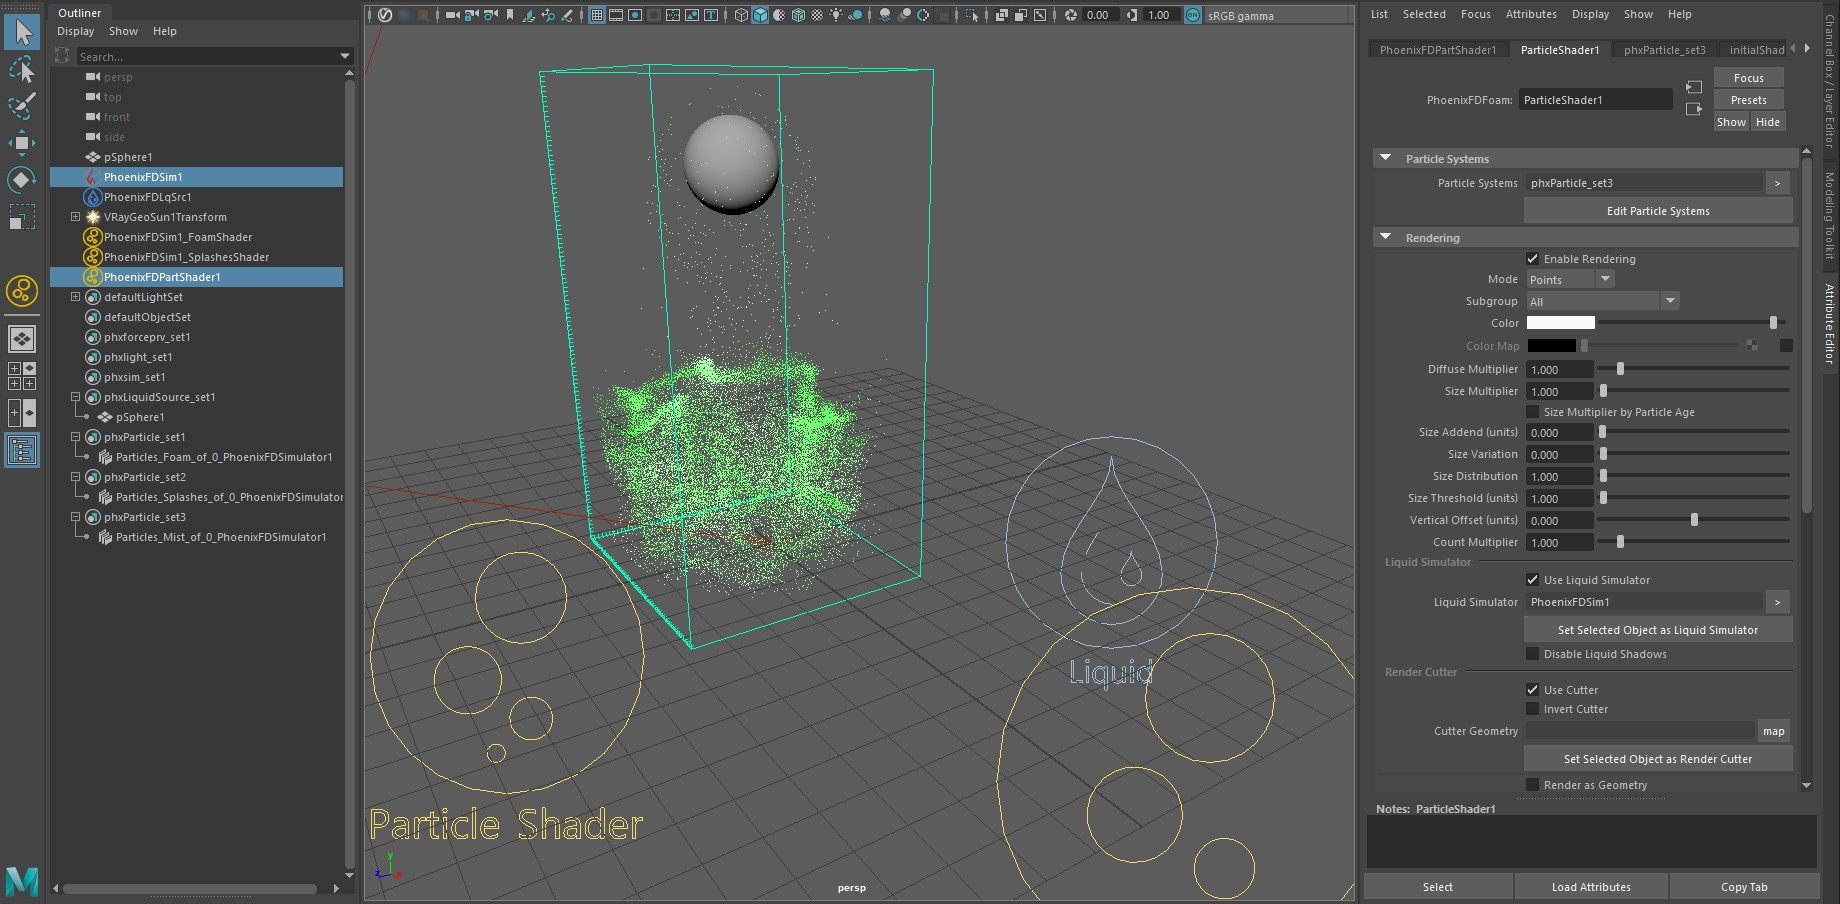
First, create a new Particle Shader from the Phoenix FD Menu.
Set the Mode ot Points.
Rename the shader node to phx_mist_shader_01 and the generated set to phx_mist_set.
Note that this time around the set is empty. You need to manually add the particle group to the set and connect the simulator node to the shader.
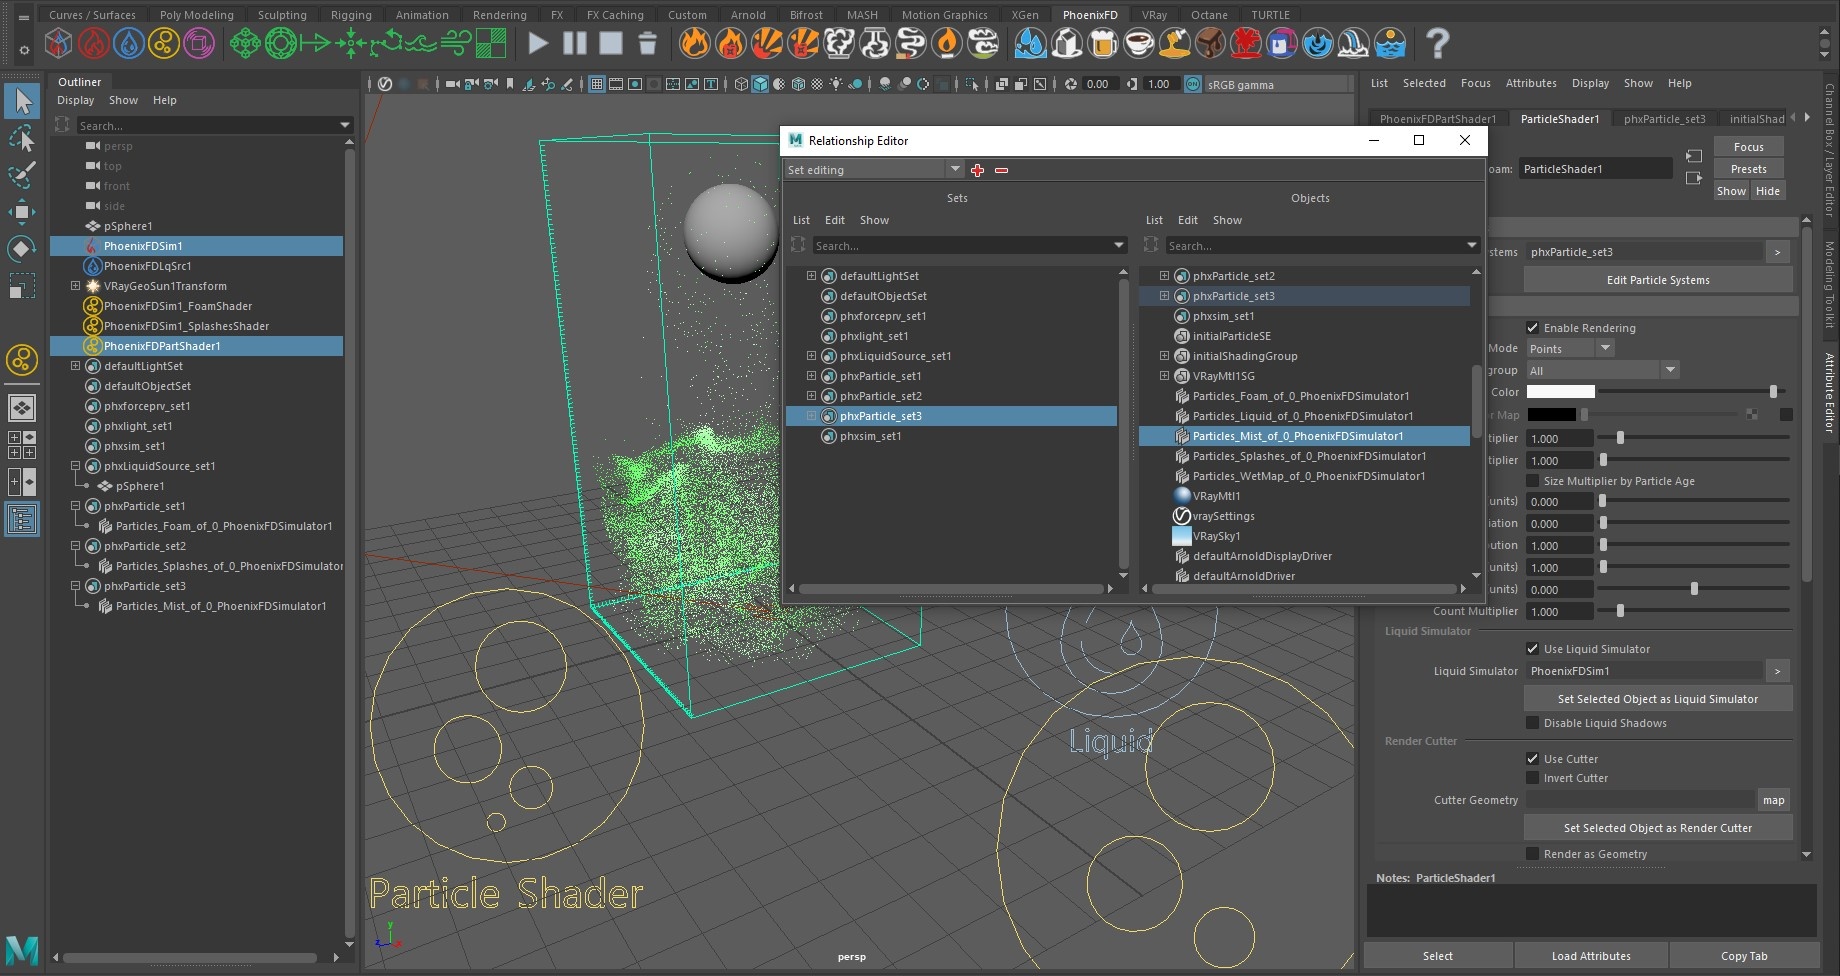
Select the Simulator then shift select the mist particle shader and click the Set Selected Object button in the mist shader's Attribute Editor window.
With the Simulator selected, go to Windows -> Node Editor. Graph the Input/Output connections for the simulator and find the PG_ ... _Mist node. Middle mouse button drag it into the phx_mist_set so the mist shader is aware of it.
Then, rename it to pg_mist to keep things consistent.
Hide all Phoenix FD nodes but the phx_mist_shader.
Hit render - you should now be able to see the mist particles rendered as points
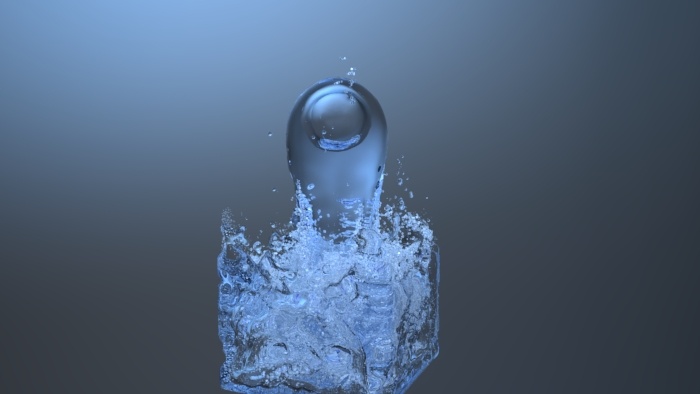
That is all. You should now have a working particle setup with Foam, Splashes and Mist. Play with the Simulator properties and the Particle Shader attributes to get a good understanding of how everything ties together. You may also like to go through the Particle Shader tutorial or head over to the documentation page.