This page provides a tutorial for using particles as a source in a simulation.
Overview
This is an Intermediate Level tutorial. Even though no previous knowledge of Phoenix is required to follow along, re-purposing the setup shown here to another shot may require a deeper understanding of the host platform's tools, and some modifications of the simulation settings.
The instructions on this page will guide you in setting up a simulation that uses Maya nParticles as its Source object.
Steps
Create a Phoenix Simulator and a Phoenix Source.
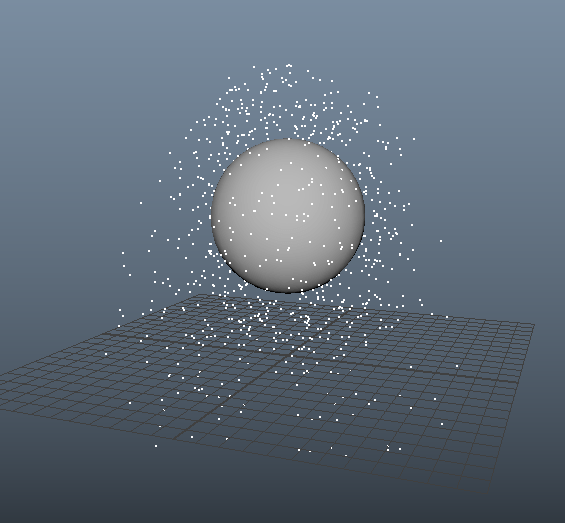
Create an object to act as an emitter inside the Simulator.
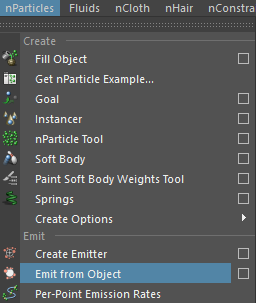
Select the emitter object and go to nParticles → Emit from Object.
Use the options in the nCache menu or FX Caching Shelf to create an nParticles cache.
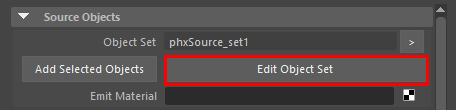
Select the Phoenix Source node. Inside the Source Object rollout, click the Edit Object Set button.
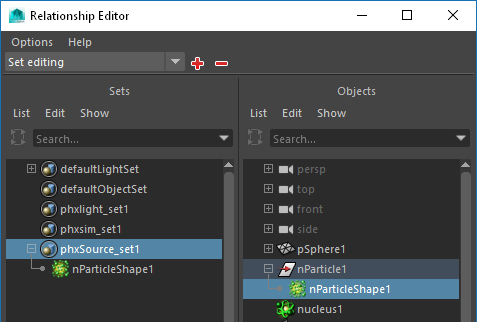
Inside the Relationship Editor, select the Object Set of the source on the left, and the nParticle system on the right.
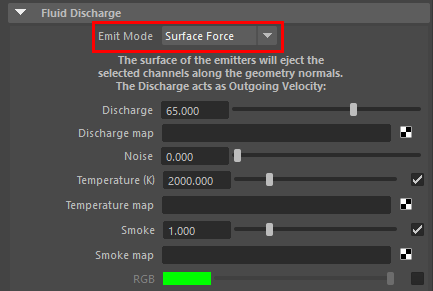
Note that particles are considered non-solid objects. (This is controlled via the If Not Solid option in the Extra Phoenix Node Properties.) This means that they can be used in one of two Emit Modes - as a Volume Brush, or Volume Inject fluid in the Phoenix Source node.
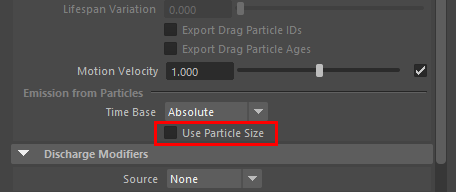
If the per-particle radius must be taken into an account, turn on the Use Particle Size option in the Phoenix Source node.
To add a per-particle variation in the Fluid Discharge parameters, attach particleSamplerInfo textures in the corresponding slots.
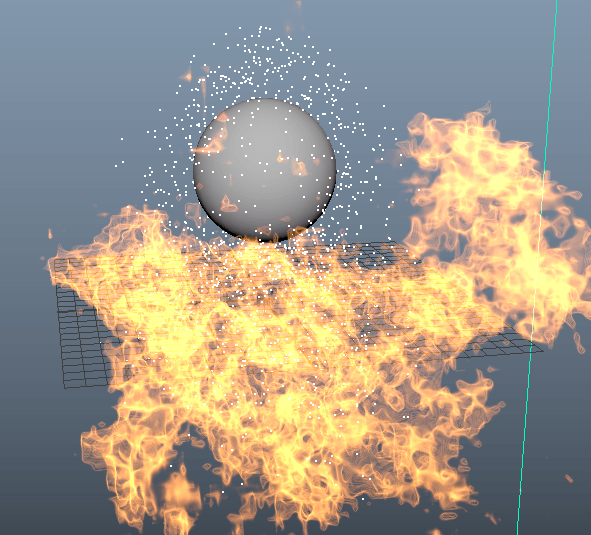
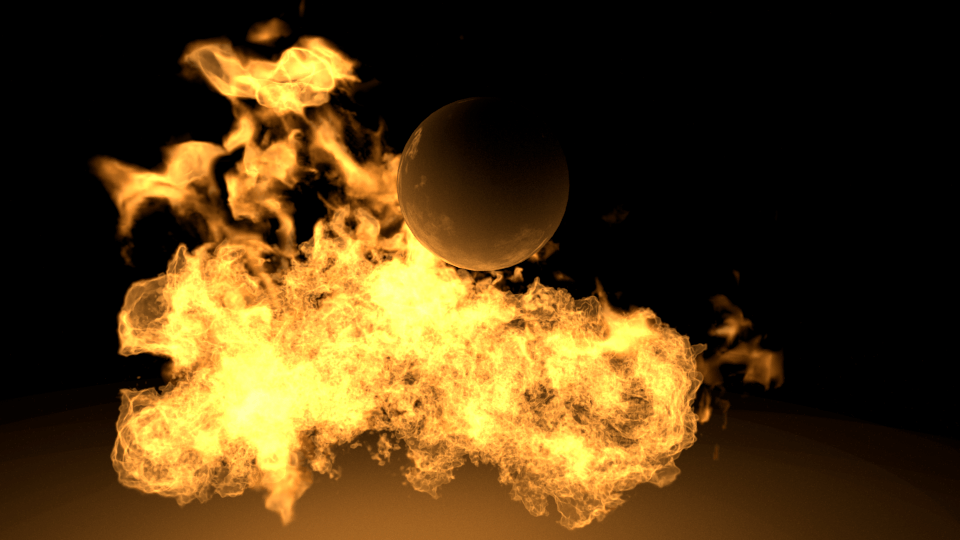
Start the simulation.