This page provides a step-by-step introduction to V-Ray for Unreal.
Page Contents
Introduction
This tutorial covers the basic workflow of importing a vrscene file and rendering from Unreal Engine with V-Ray for Unreal. By the end of it, you will have a better understand of V-Ray for Unreal and how you can begin using it to render out your own scenes.
To follow this tutorial, you will need to have the V-Ray for Unreal plugin installed. This tutorial is a companion to go along with the QuickStart video posted on our YouTube channel and available here:

Tutorial Assets
To download the files used in this tutorial, please click on the button below.
You can right-click the download button and choose "Save Link As..." or "Save target as.." depending on your browser.. This will bring up a dialog to save the zip file without having to wait for the Preview mode to load.
Part I - Exporting the vrscene
Step 1. Exporting vrscene from 3ds max
From 3ds max make sure you are looking through the camera you wish to render later in Unreal (1.1). Then you right click and select from the quad menu .vrscene exporter. A new window appears and where you select the export path and other various options. When finished click export (1.2). With this our vrscene is generated and we are ready to import it into Unreal engine.
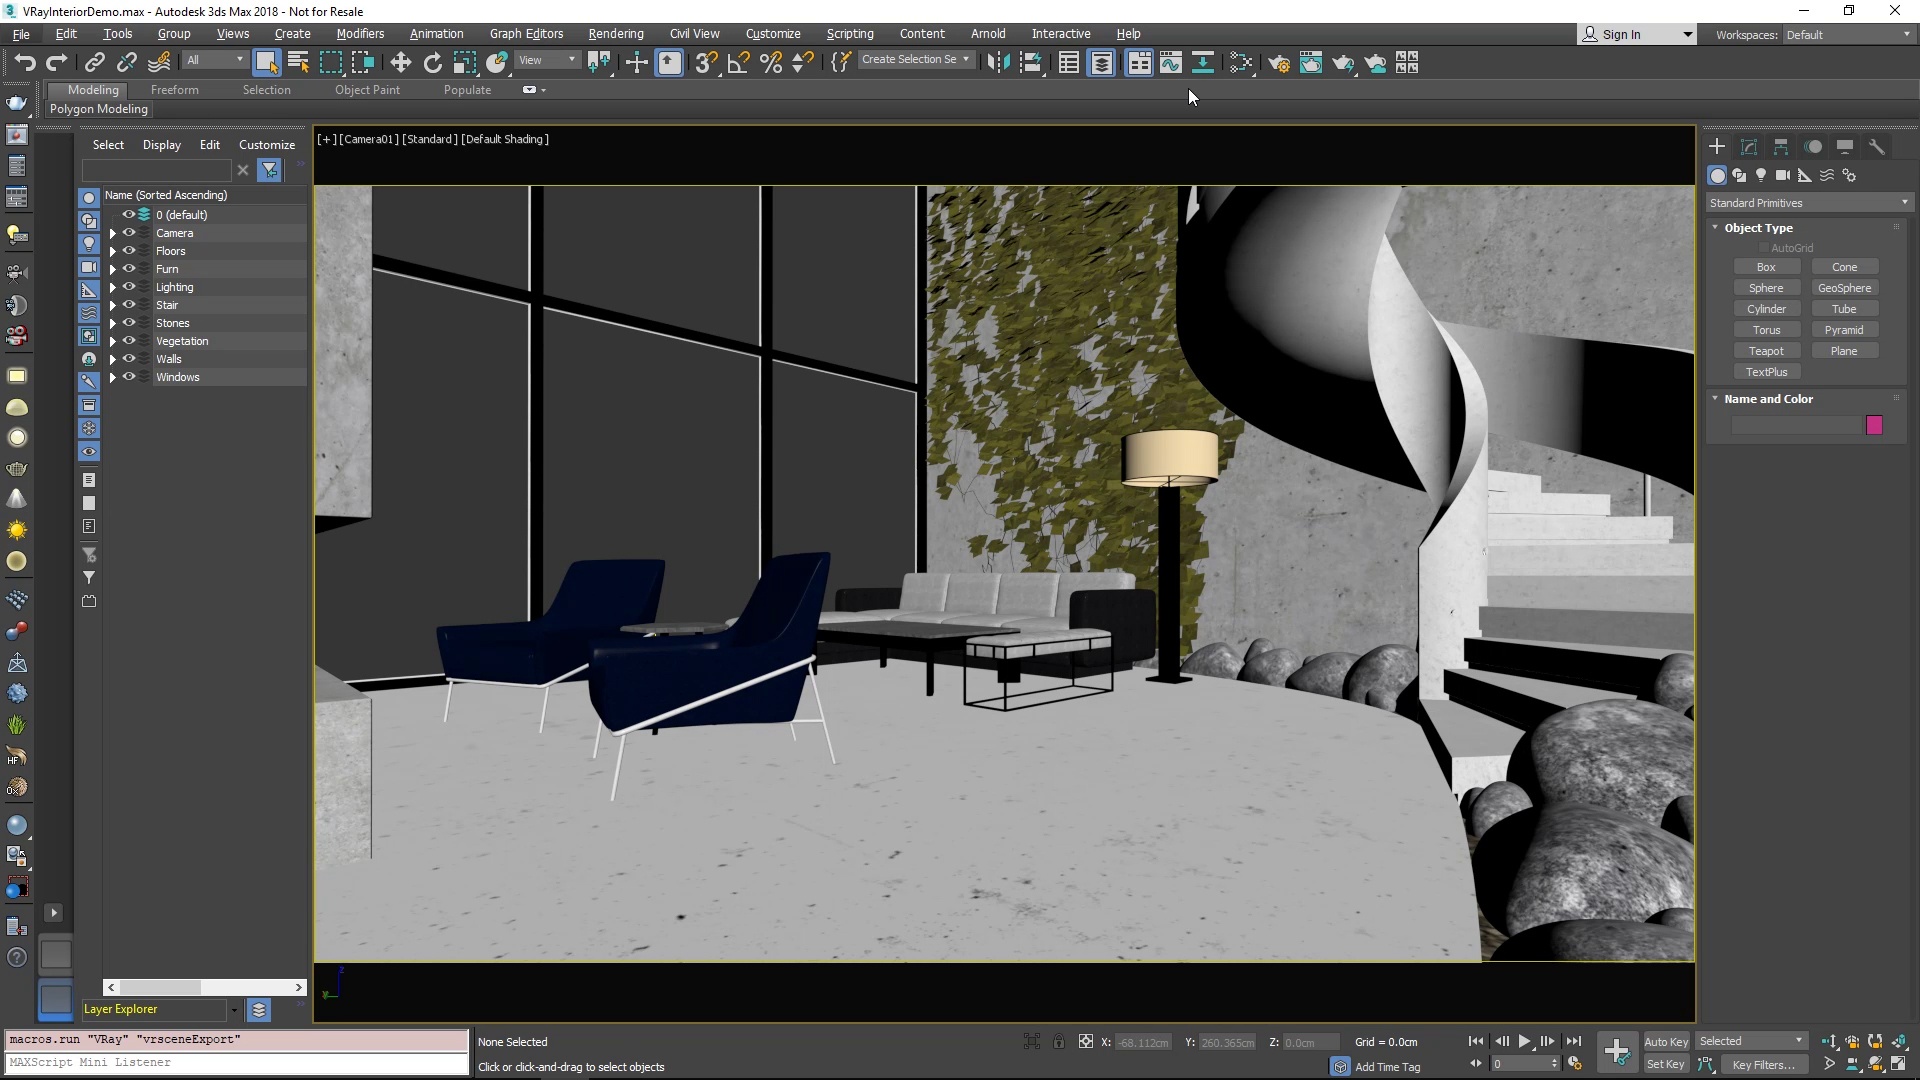
1.1
1.2
Part II - Creating Unreal project and initial setup
Step 1. Launch Unreal Engine 4
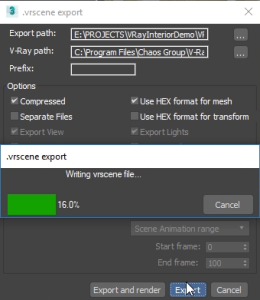
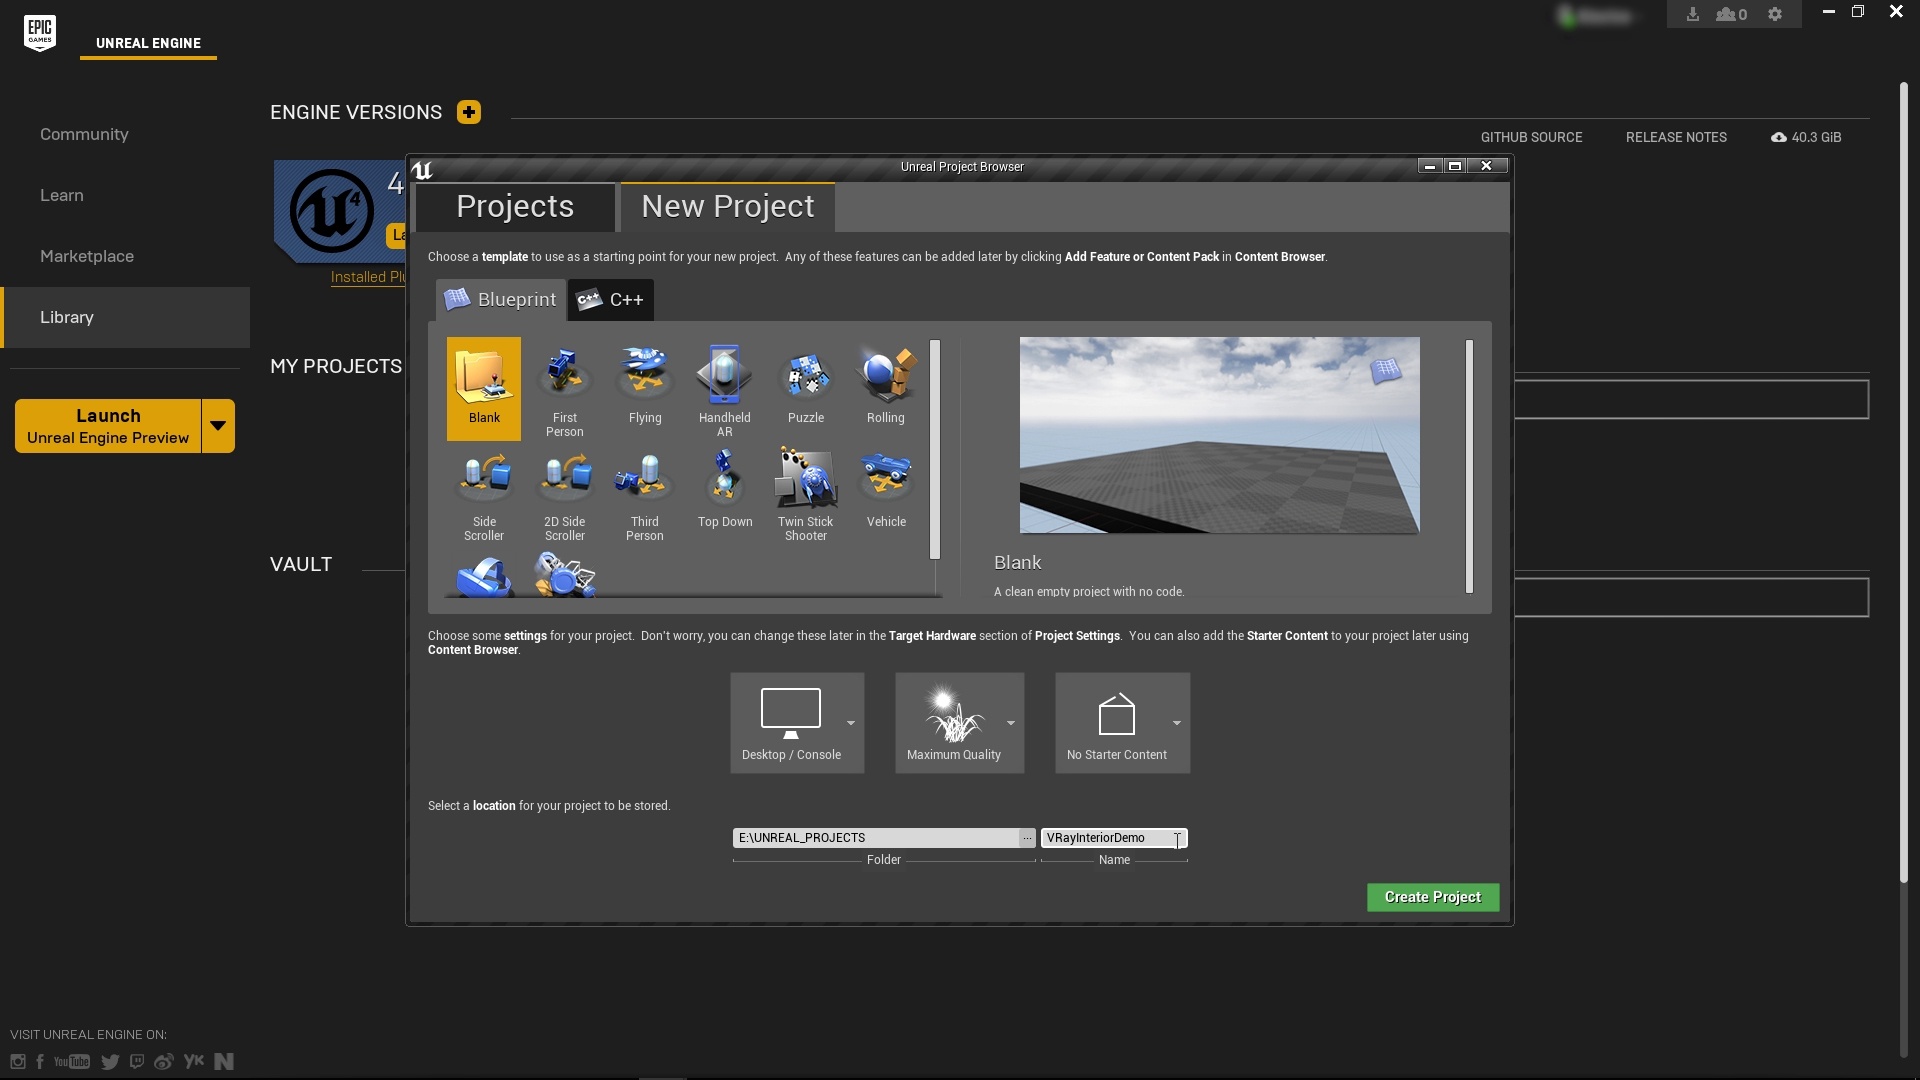
Launch you version of Unreal from the Epic Games Launcher. (currently supported versions are 4.18.3 and 4.19)(1.1). A window appears. In the New Project Tab select the Blank template, Desktop/Console hardware, Maximum quality for the Editor and No Starter Content as initial setup. Choose the directory where you wish to create the project, name it and click the Create Project button (1.2).
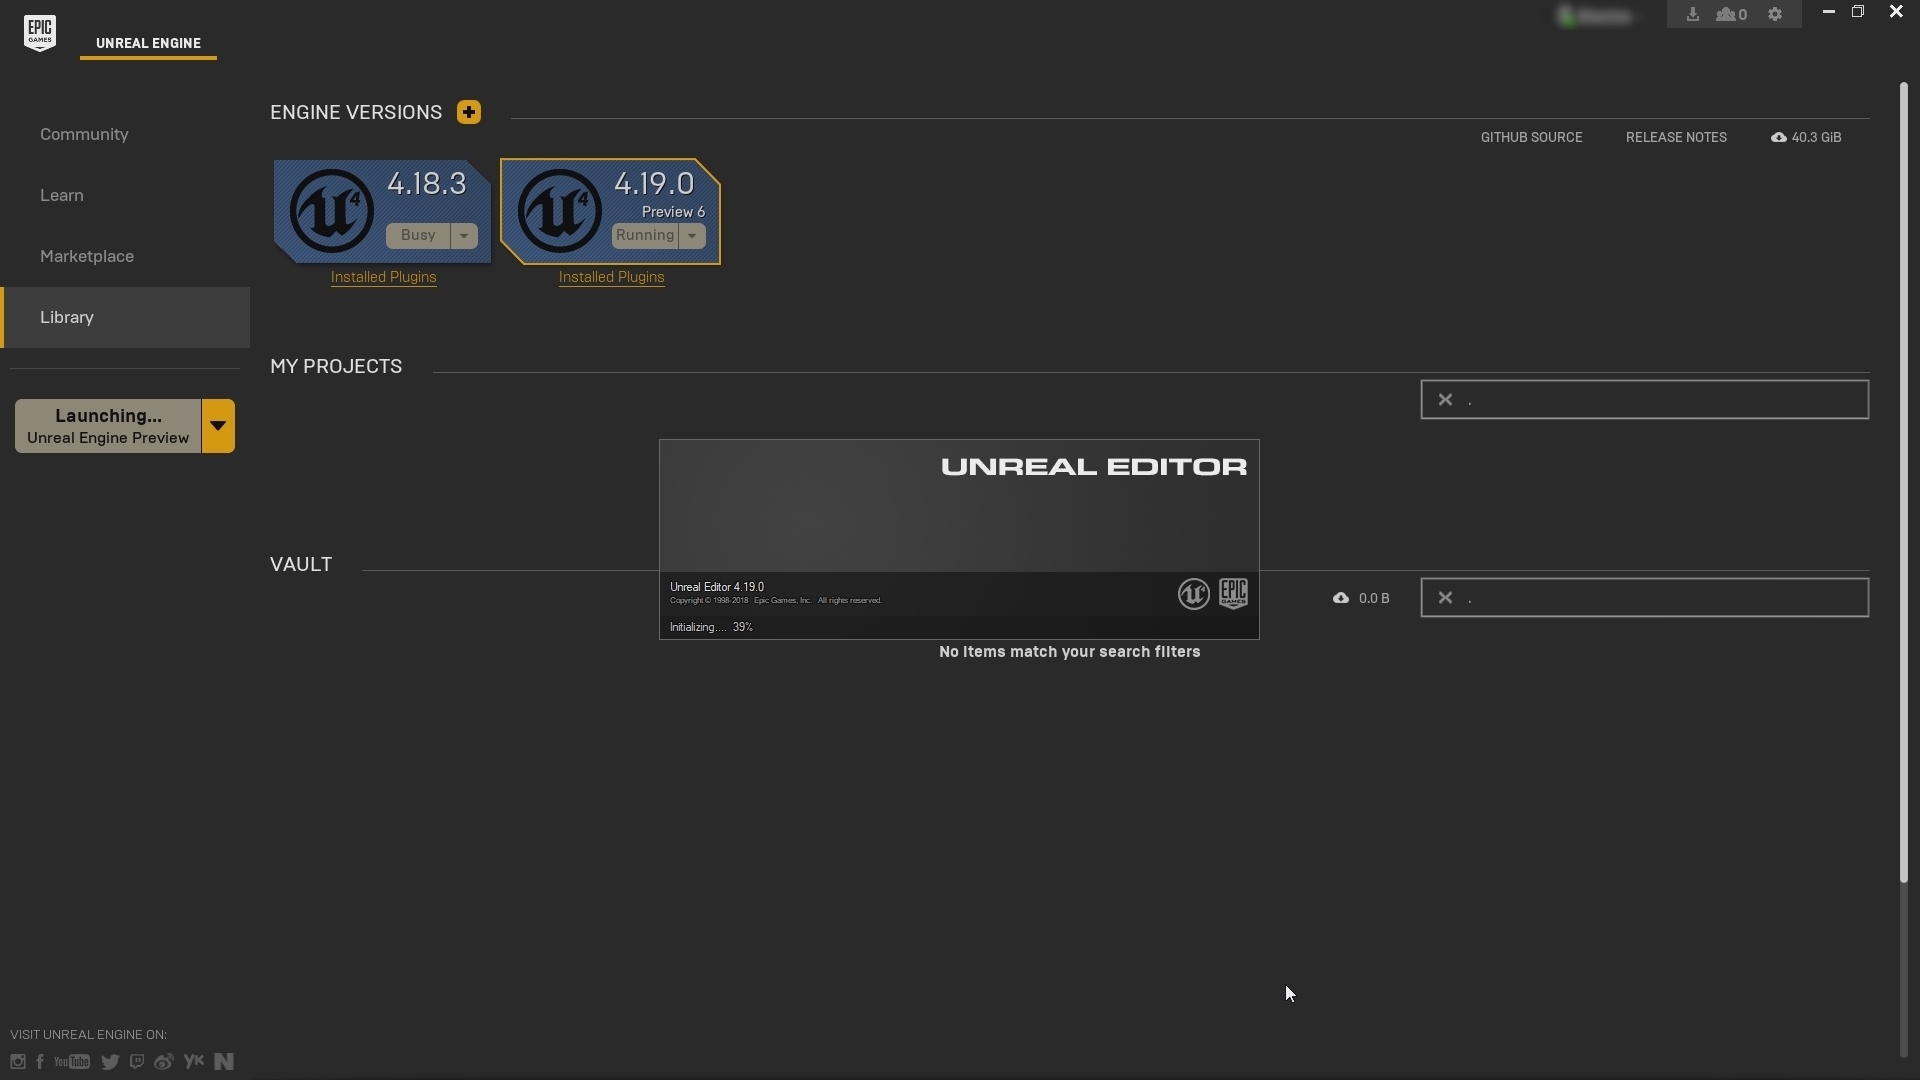
1.1
1.2
Step 2. Enable The V-Ray Plugin
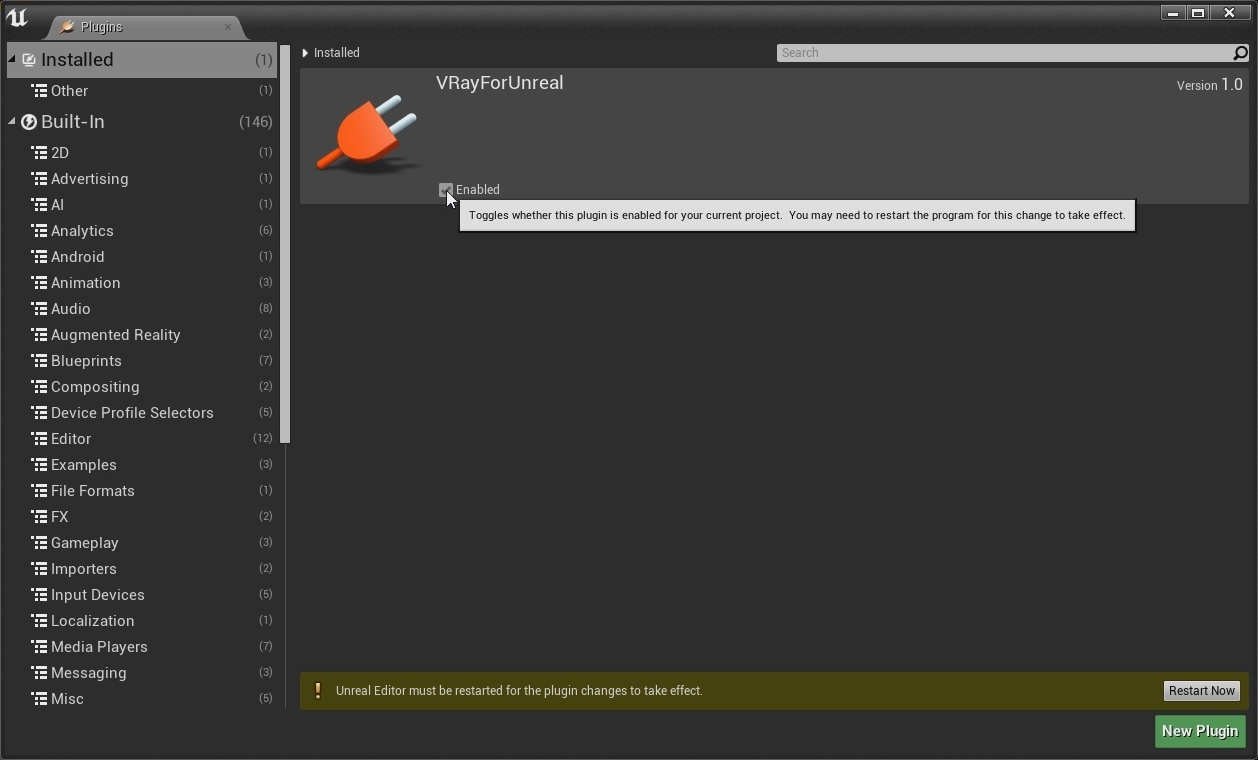
When you create a project you must first enable the V-Ray plugin. From "Edit/Plugins" enable the VRayForUnreal plugin. You will need to restart Unreal for this to take effect.(2.2)
2.2
Step 3. New level Creation
Step 4. Test Lightbake
Part III - Rendering the final image
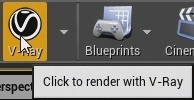
Step 1. Render Image
1.1
1.2
1.3
Step 2. Refine the Render inside the VFB
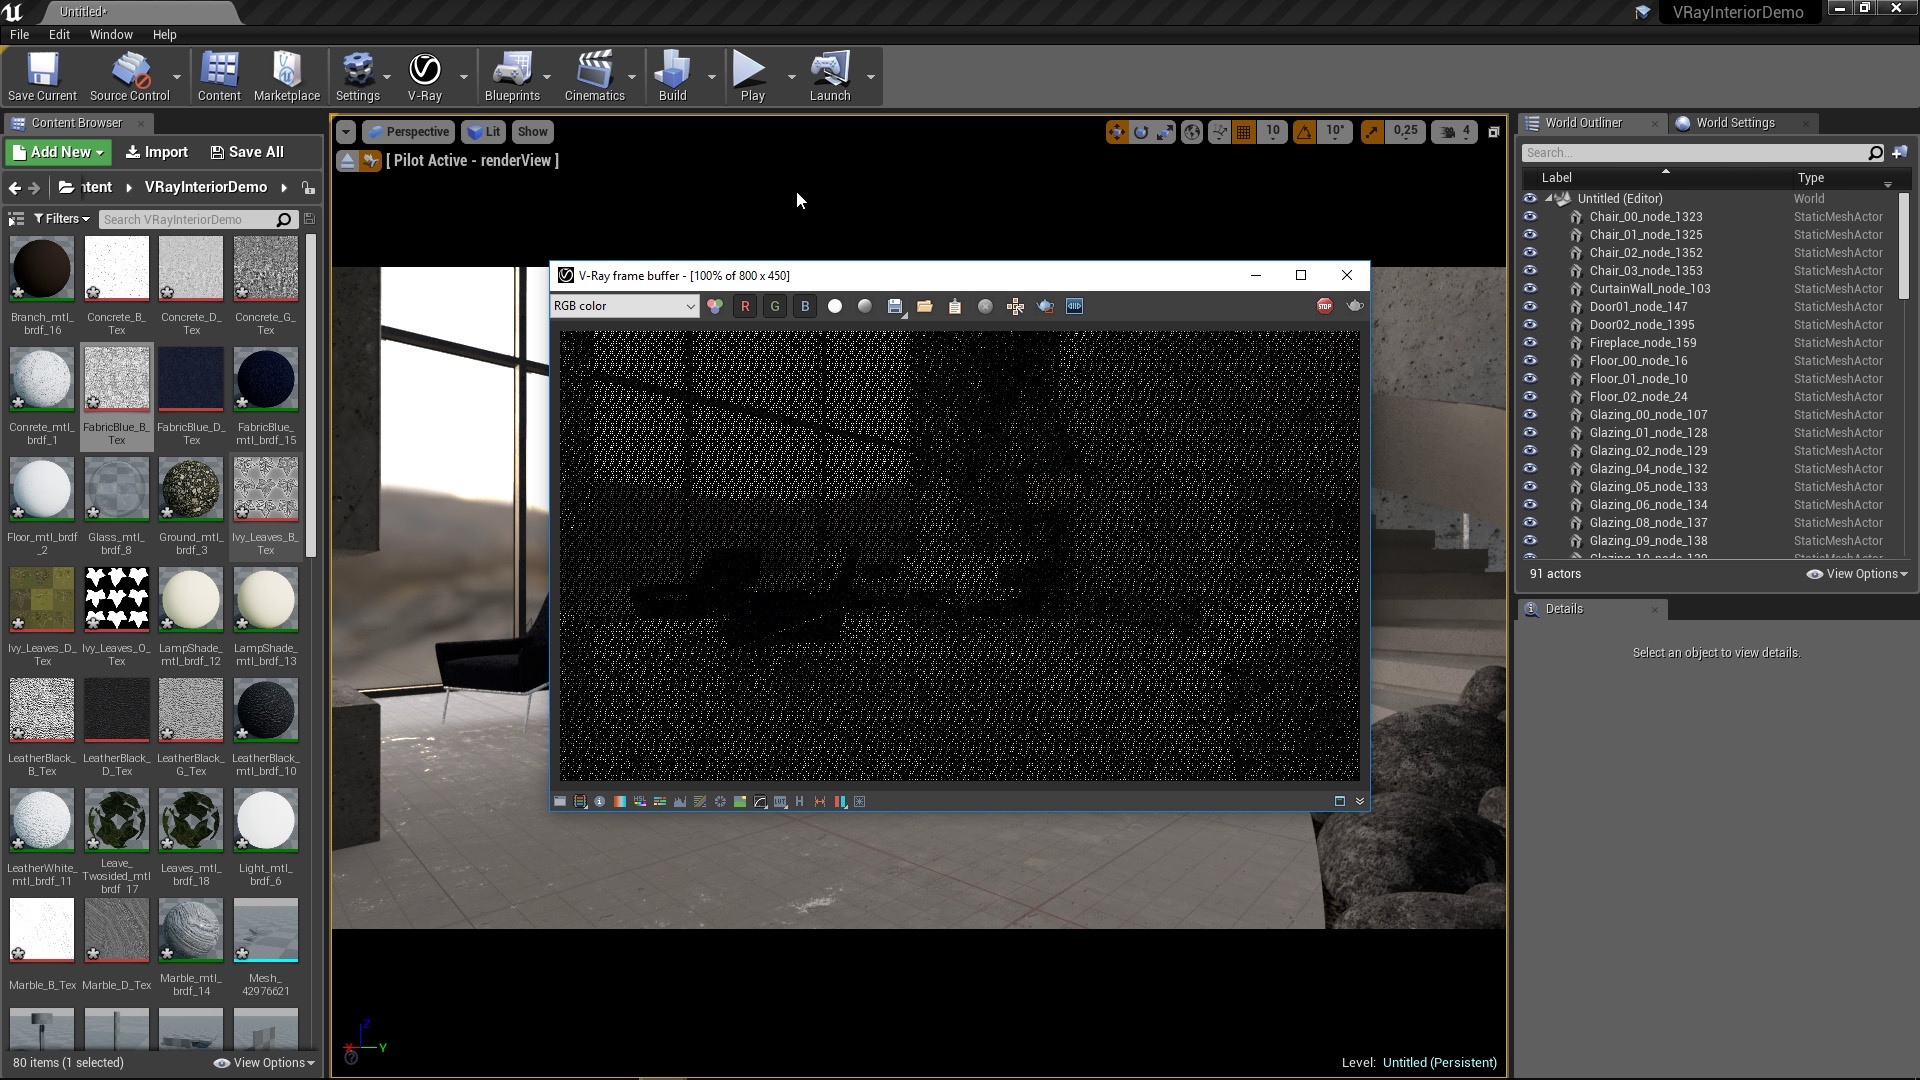
As you can see the render begins filling in over time. Once we get past the earlier passes, we can fine tune the render without the need for external photo editing applications while the render continues to a cleaner and cleaner result.
In the VFB, open up the Show Corrections Control panel by clicking on the icon at the bottom right of the window (2.1). Here you'll be able to fine-tune the render by turning on and manipulating the parameters. Tune down the Highlight Burn in the Exposure tab. Adjust the White Balance to turn down the warmth in the image (2.2).
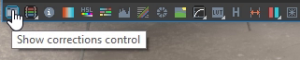
2.1
2.2
2.3
Step 3. Save the Render
Now that the render’s done, from the VFB by click the Save button and select any of these image formats. We’ll select JPG here.
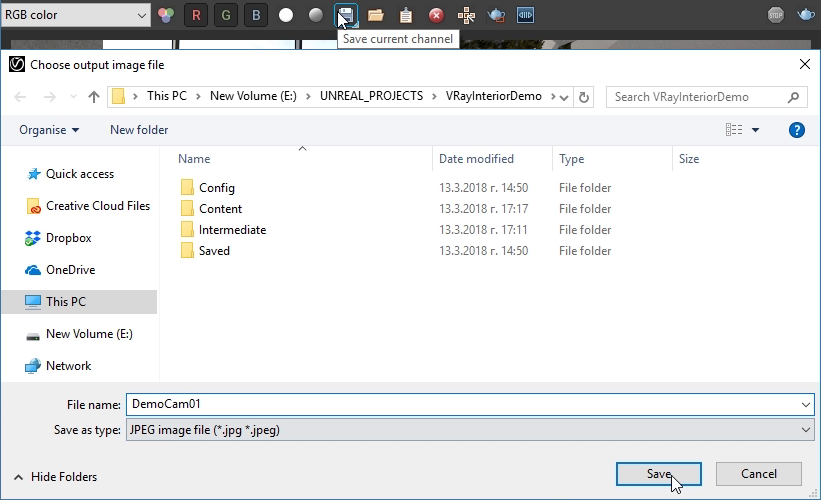
3.1