
Here are some of the Key Features you will find in the VRscans workflow.
Adjust UV tiling – adjust the scale of the texture tiling by interactively clicking on the object's mesh
Control the color – tint the color of the original scanned surface to suit your scene's needs by adjusting the Filter color on the scanned material node
Easily read information on the scanned object – the scanned material hosts information fields that display information from the original scanned object such as the size of the physical sample used to scan the material.
Set the Subdivision level – control quality and speed of reflections by adjusting subdivisions of reflection rays as well as the Trace Depth to set the number of reflection bounces needed
Index of Refraction – scanned materials with a clear coat layer, like car paint, also have an accurate IOR value that is obtained from the scanning process for the surface
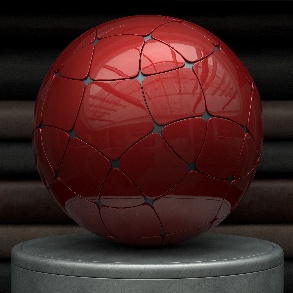
Adjustable surface bump – the VRscan process stores a built-in bump map for the clear coat layer of the scanned material that can be controlled for the needs of the scene