
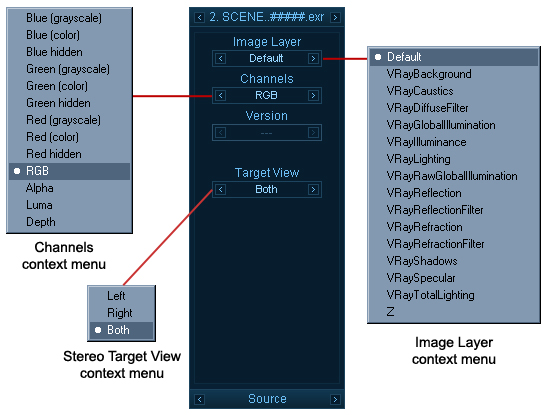
Figure 36. Source Panel
The Source panel (Figure 36) is the last tab of the Property panel. The first field allows you to view custom layers (other than RGB, Alpha, Luma and Z-Depth) inside .vrimg and .exr files. You can either flip through the layers by clicking on the Previous and Next buttons or you can right click and select a layer from the drop down menu. Switching between the different layers causes the image to be reloaded which may cause a small delay.
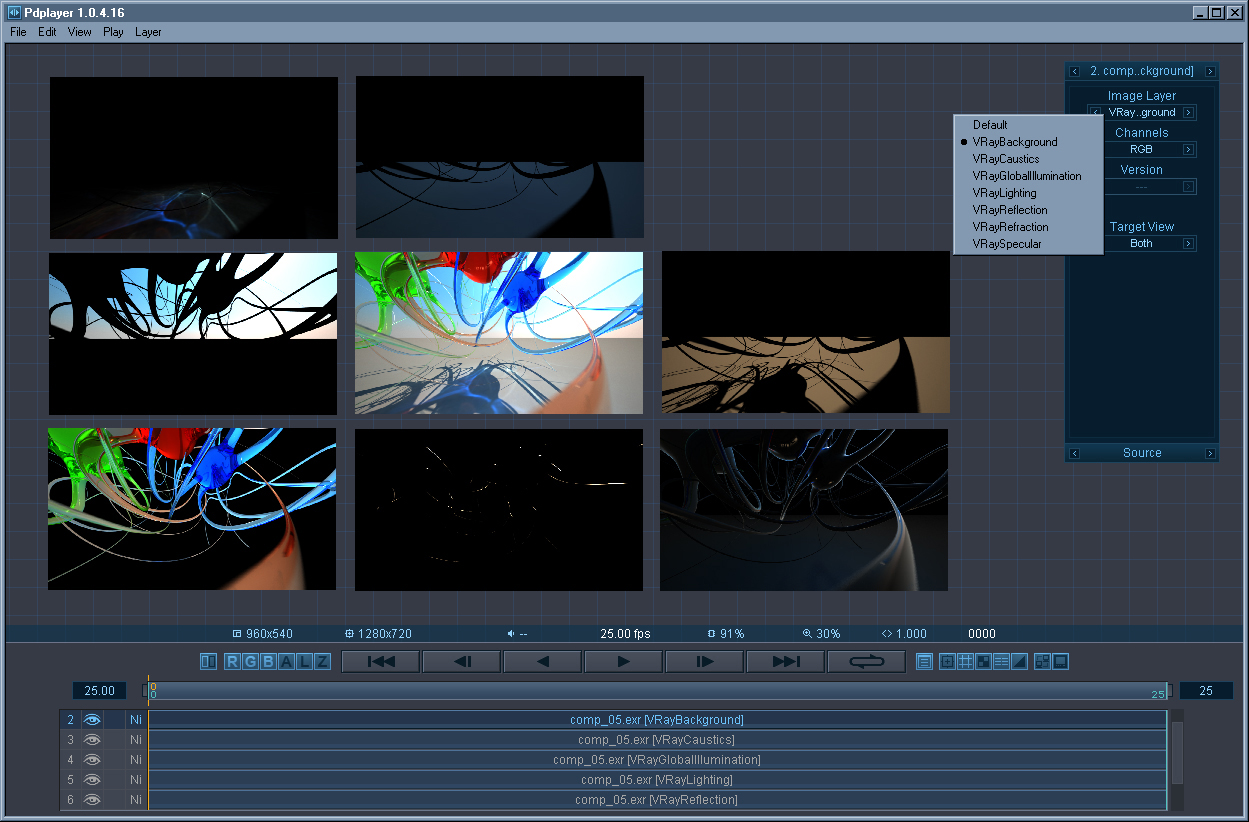
Figure 37. Different layers of an EXR file
Figure 37.shows a composition in which a single EXR file with render elements has been split into layers. On the left we can see the RGB part of the image. The left image is created by composing the render elements together using the Add operator. It is clearly visible that the two images look the same. However using render elements allows for much more control when applying color corrections for example.
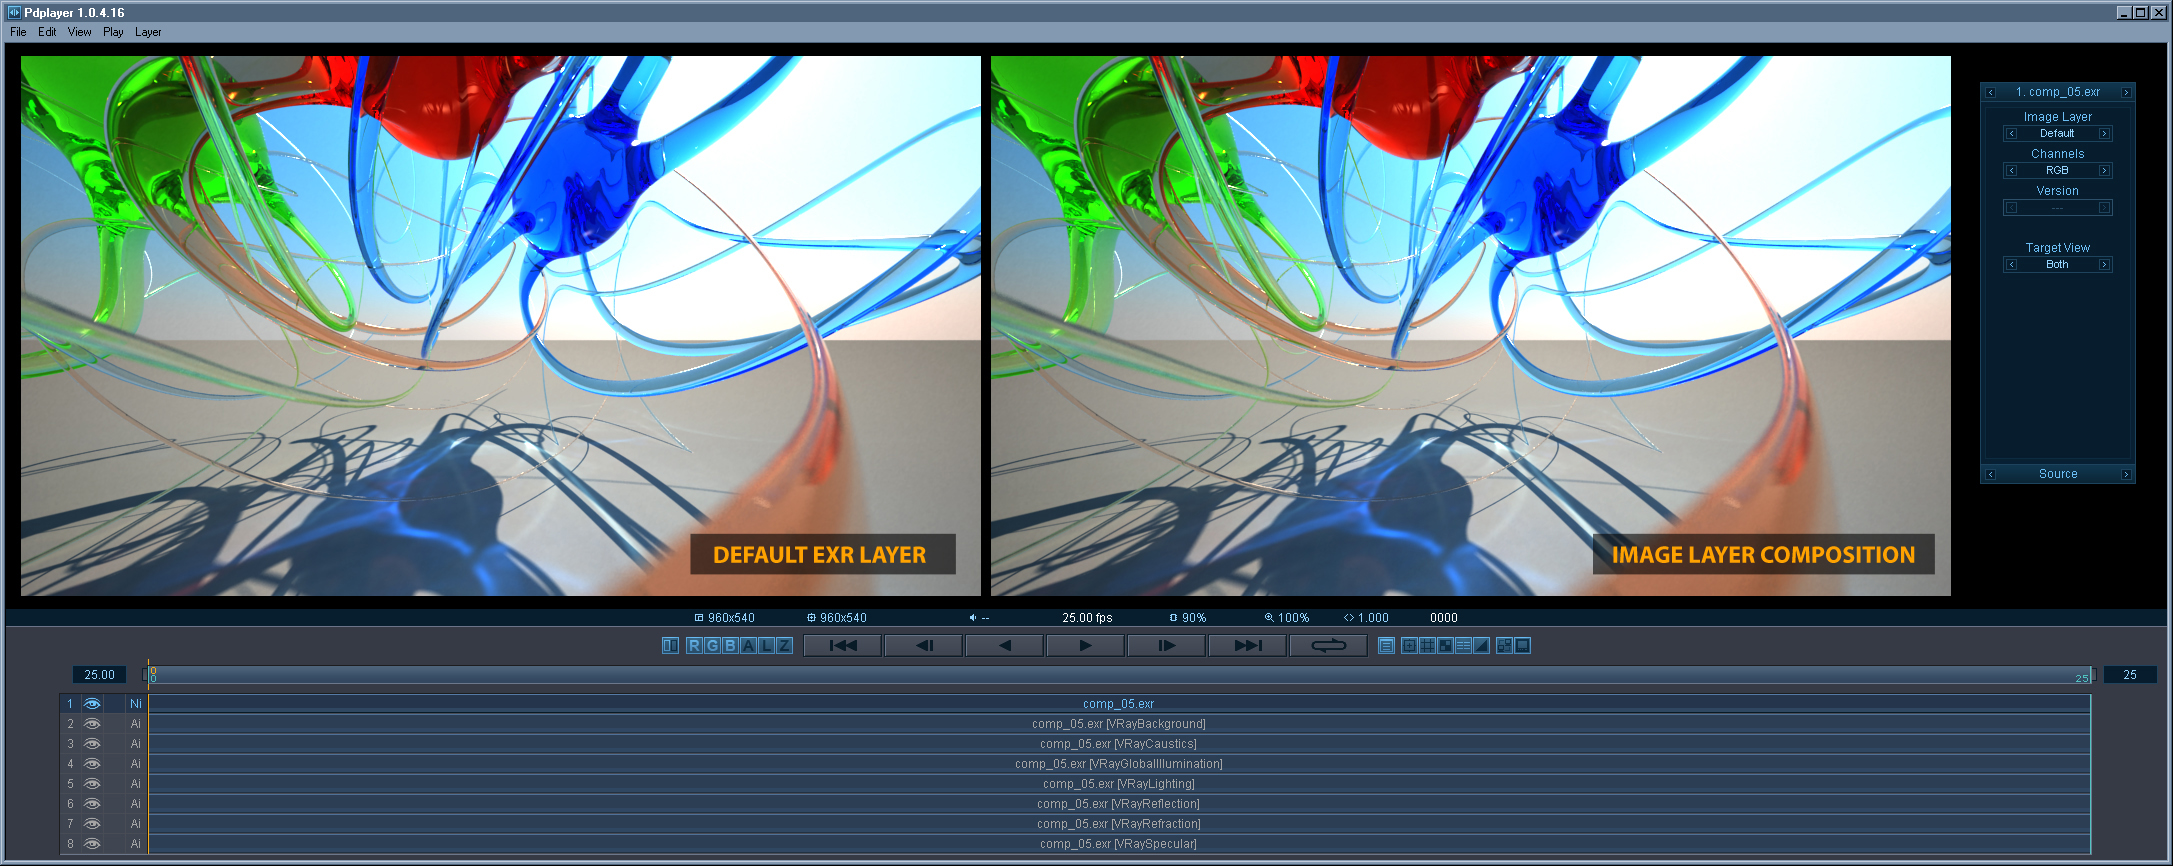
Figure 38. Open EXR with Render Elements
The Channels field allows you to display different channels of the current layer. You can either flip through the different channels or right click and select a channel from the drop down menu.
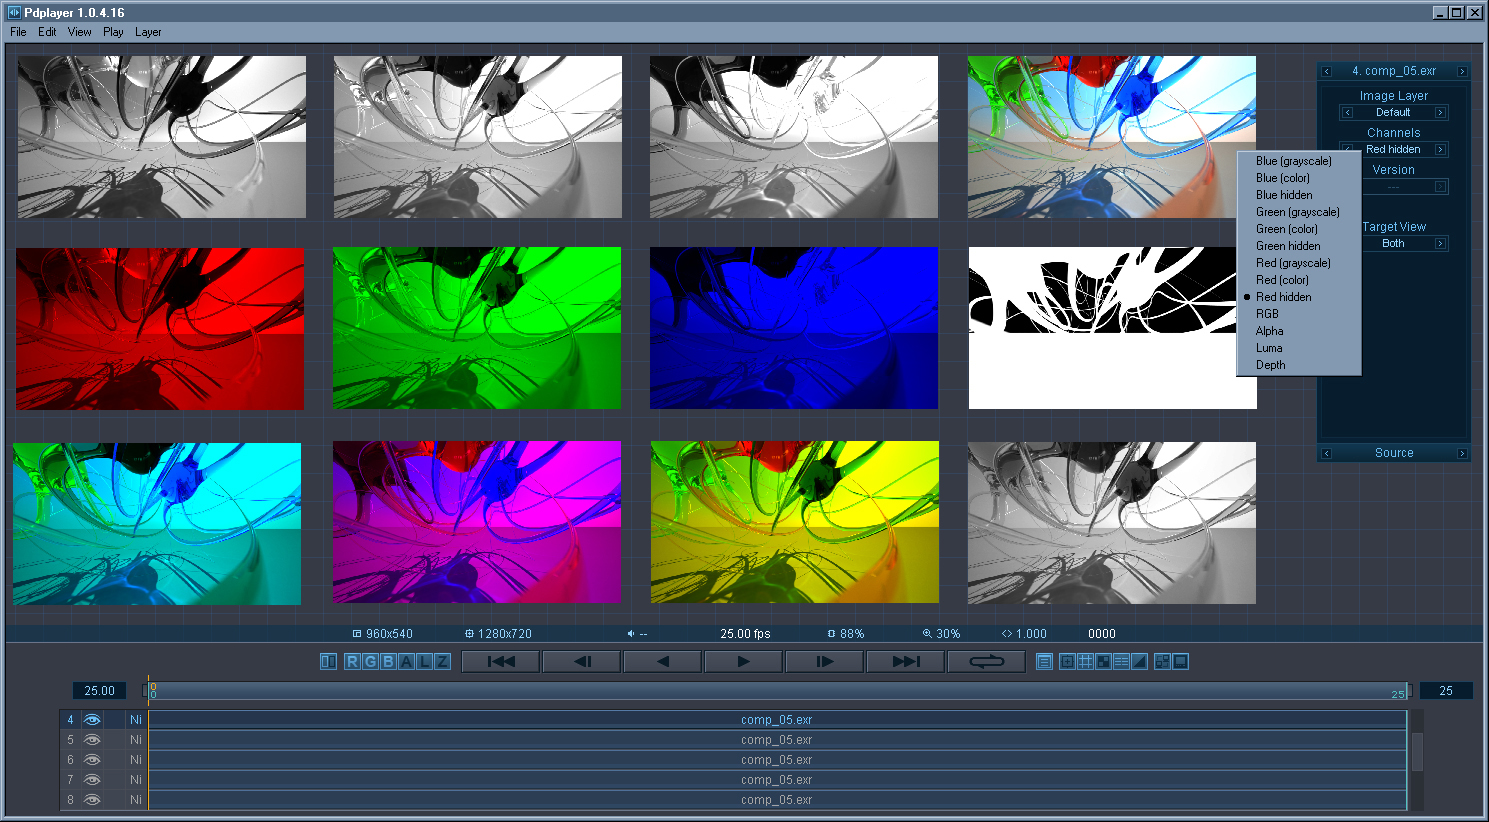
Figure 39. Different channels of an image
The Version field is enabled when Pdplayer detects that you have loaded a sequence which has several versions. It will detect certain key words in the file path and find the other versions automatically. You can then cycle through the versions with the Previous and Next buttons or right click and choose from the drop down menu.
Pdplayer will recognize versioned footage when the file path contains a directory with a name of the form prefix_v#_suffix, where prefix and suffix are arbitrary strings, and # is a sequence of digits. The prefix_ and _suffix parts are optional. Examples of versioned directory names: v2, V004, v04_before_cc, animation_v05, scene_v2_2009_05_31.The version string is automatically replaced in the file name, if present.
Examples of versioned footage:
Example 1
D:\shot08\scene_15\v02\bg\bg_v02_0001.tga
D:\shot08\scene_15\v03\bg\bg_v03_0001.tga
Example 2
C:\projects\promo\v2_before_cc\0001.tga
C:\projects\promo\v3_after_cc\0001.tga
Example 3
X:\Footage\conv\V002_2009_05_27\conv_proxy_h264.mov
X:\Footage\conv\V003_2009_05_31\conv_proxy_h264.mov
Example 4
D:\shot08\scene15_v2\bg\shot08_scene15_v2_bg_0001.tga
D:\shot08\scene15_v3\bg\shot08_scene15_v3_bg_0001.tga
Example 5
C:\projects\promo_v2_before_cc\v2_0001.tga
C:\projects\promo_v3_after_cc\v3_0001.tga
Example 6
X:\Footage\conv\V002_2009_05_27\conv_V002_proxy_h264.mov
X:\Footage\conv\V003_2009_05_31\conv_V003_proxy_h264.mov
Pdplayer will automatically recognize when you have added versioned footage and it will enable the Version field.
The next option allows you to select a target for the current layer when using the Stereoscopy feature of Pdplayer. You can either scroll through the options or right click and choose from the drop down menu.