Versions Compared

Key

  • This line was added.
  • This line was removed.
  • Formatting was changed.

This page introduces the Simulator object and its rollouts.

Overview

...


Section
Column
width55%

A simulator is a Phoenix object that controls the simulation, and enables you to create fluids like liquids and gasses that interact with the surrounding environment.

You can think of a Phoenix Simulator as a 3D box, inside which simulations of fluids and Rigid Body Dynamics are performed. The box is divided into small cells, called voxels, which is why the box is referred to as a Simulation Grid. The voxels inside the grid can be filled with just about any type of gas or liquid, and contain the fluid's properties at a position and given time.

For each frame in your simulation, Phoenix looks at each voxel and calculates whether there is any fluid there, based on the settings you give the Phoenix sim. The simulator will also account for obstacles, such as geometry, as well as participating forces in the scene, and so forth.

Although Chaos Phoenix for Maya uses a single Simulator node for both, Phoenix simulations can generally be divided into two types:

Fancy Bullets
typecircle
  • Fire/Smoke simulations, which include gaseous effects like fire, smoke and explosions, as well as sparks or embers and so forth.
  • Liquid simulations, which can create pouring or flowing liquids, or any simulation that needs foam or mist, such as coffee or waterfalls.

Since Liquid simulations have peculiar properties that differ from those of Fire and Smoke simulations, the simulator contains a separate Liquid rollout. There are also separate rollouts for controlling when Foam, Splash and Mist Particles should be born, and how they should behave.

Column
width45%

 Image Added

UI Text Box
typetip

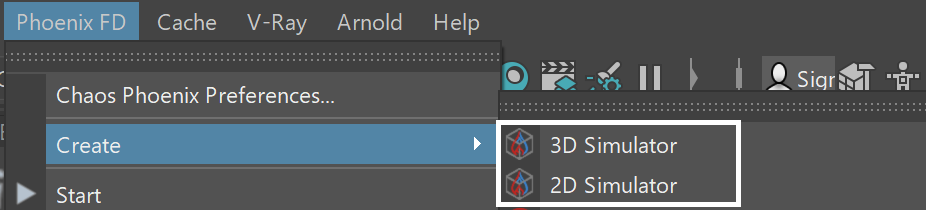
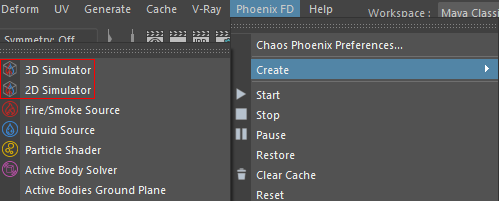
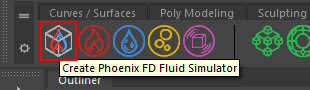
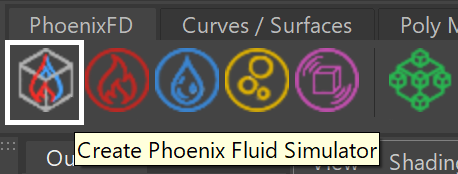
To actually create a simulation, three different components must be combined:

  1. A Simulator node

  2. A Source node

  3. An Emitter

This is the minimum requirement for just about any simulation setup.

...

Section
UI Expand
titleUI Paths
Section
Column
width50%

UI Paths: ||Phoenix FD menu|| > Create > 3D or 2D Simulator

Image AddedImage Removed

Column
width50%

||Phoenix FD Shelf|| > Create Phoenix FD Fluid Simulator button

Image RemovedImage Added


The workflow for Phoenix fluids and Active Bodies is split into two main parts – simulating and rendering.

...

Due to many improvements to the Phoenix solver, recreating simulations the same way you did in older versions of Phoenix may not be possible because of changes to the solvers and the UI. Here are some things to be aware of when upgrading from older versions of Phoenix.


Fancy Bullets
typecircle
  • If you have a scene created with Phoenix version 3 and you open it with version 4, it will keep all the old settings for you, including some which are not visible to newer versions, in order for the results to be roughly the same.

  • If you try to manually replicate an older simulation setup with a new Phoenix simulator using Phoenix version 4, and set all the parameters with the same values as the older version, you may not obtain the same result as in Phoenix version 3 or older.

  • Since the release of Phoenix version 3, Phoenix started using a new solver for liquids and fire/smoke simulations, so simulation results will be different between Phoenix version 3 and version 2.