Versions Compared

Key

  • This line was added.
  • This line was removed.
  • Formatting was changed.

...

Overview

...

Section
Column
width45%50%

The New V-Ray Frame Buffer (VFB 2) is a second-generation V-Ray virtual frame buffer.

The New VFB is much more than a render image holder window, with Light Mix capabilities for modifying the scene lighting after rendering and Layer Compositing for a higher level of post-processing adjustments.

  • Image preview:
    Loads render elements channels via a dropdown list;
    Works with display corrections;
    Loads various 8bit and 32bit file formats, including V-Ray resumable files;
    Image comparison between 2 or 4 renders;
  • Image management:
    Keeps the rendered image in full 32-bit floating-point format;
    Can store history of rendered images with their post rendering corrections;
    Can save corrected output to various image formats;
  • Image editing and post-processing:
    Add Color Corrections to rendered image and its elements;
    Layer Compositing for anything from a simple Back to Beauty workflow or advanced compositing;
    LightMix adjustment of the scene lighting after rendering the image;
  • Scene editing:
    Can modify actual lights values by transferring updated intensity and color from LightMix mode;
  • Render management:
    Denoiser control;
    Region rendering control and test resolution;
    Allows you to choose the order in which the buckets are rendered.


See the V-Ray Frame Buffer Overview page or the Courseware page for more information.

Column
width5%
Column
width50%

Image Removed

.

Column
width5%

Column
width45%
HTML
<iframe width="560" height="315" src="https://www.youtube.com/embed/cs56dhmzHow" title="Elevate your editing experience with the latest VFB functionalities in V-Ray 6 for Rhino" frameborder="0" allow="accelerometer; autoplay; clipboard-write; encrypted-media; gyroscope; picture-in-picture" allowfullscreen></iframe>


UI Paths

...

Section
Column
width15%

Column
width35%

||V-Ray Toolbar|| > Frame Buffer (left-click) > Shows the V-Ray Frame Buffer (VFB)


Rhino Menus Ribbon

||V-Ray|| > Frame Buffer...

Column
width35%

||V-Ray Asset Editor|| > Open V-Ray Frame Buffer

Column
width15%


...

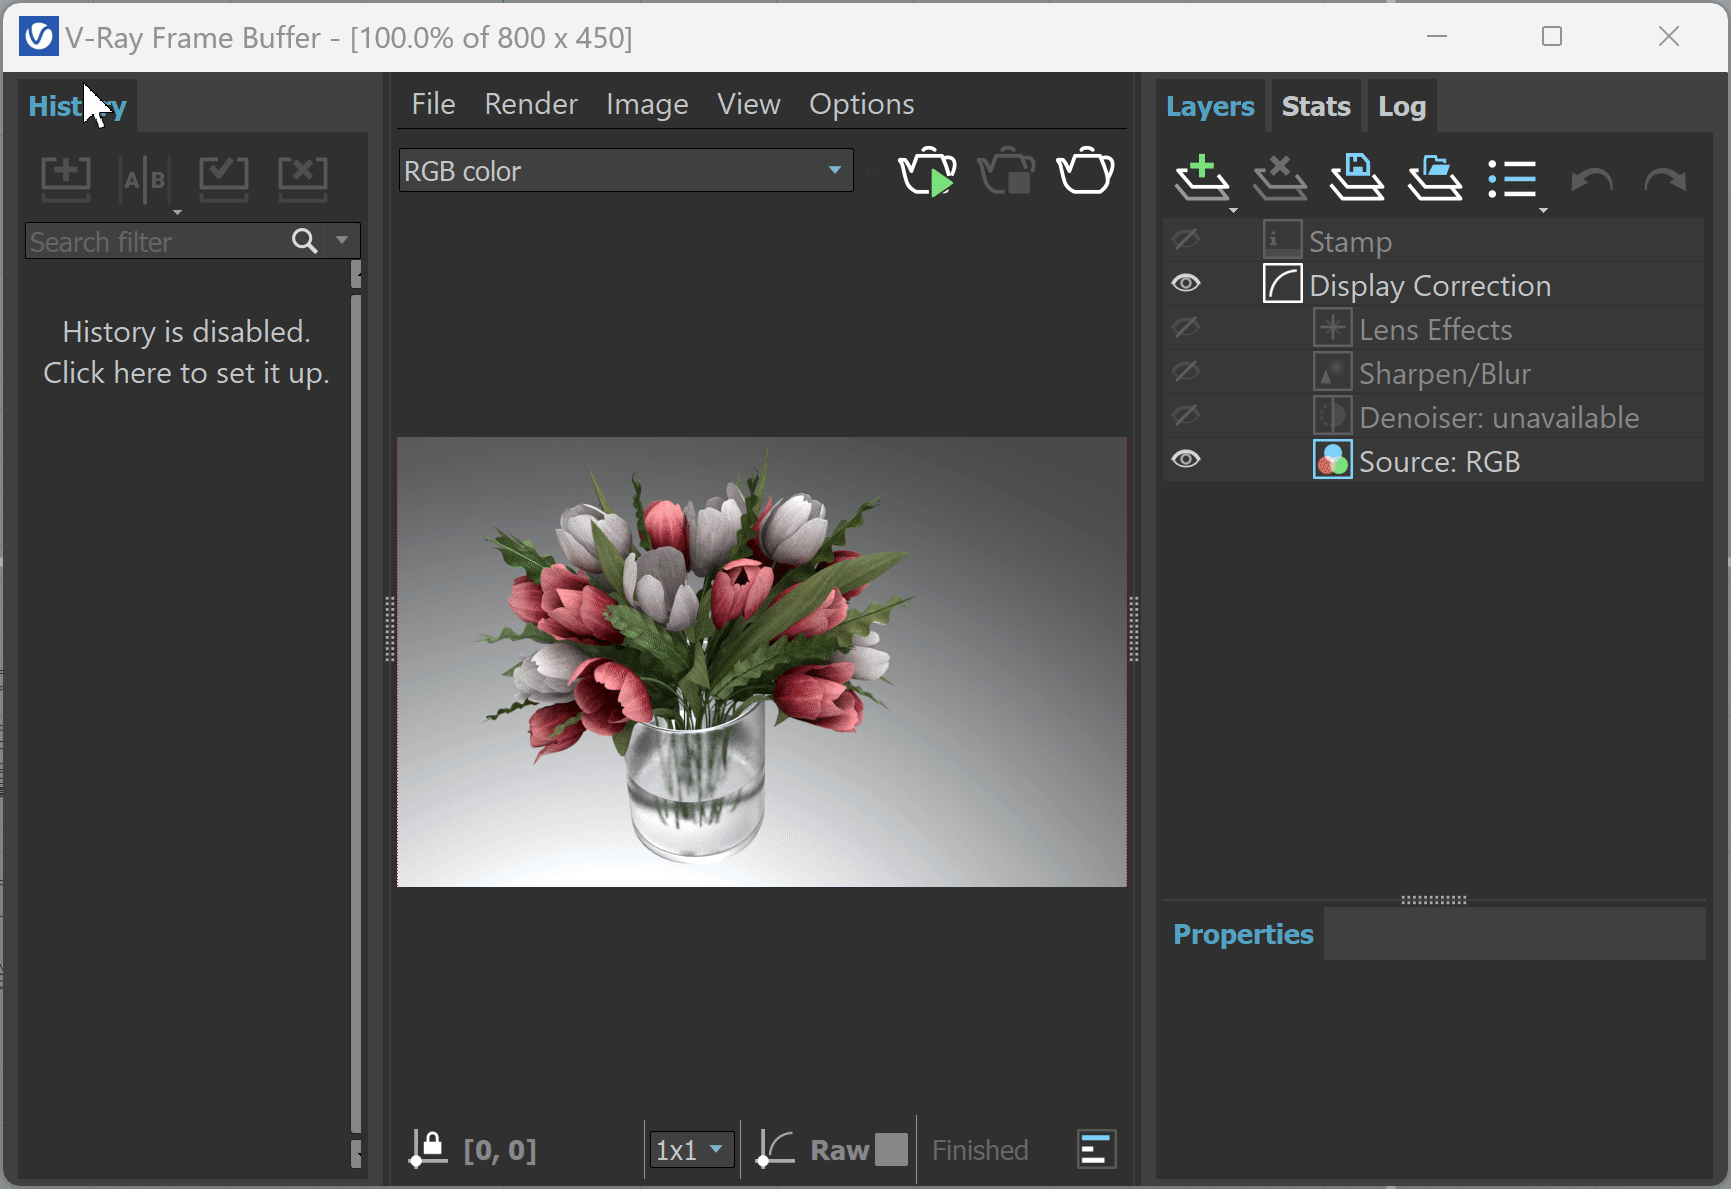
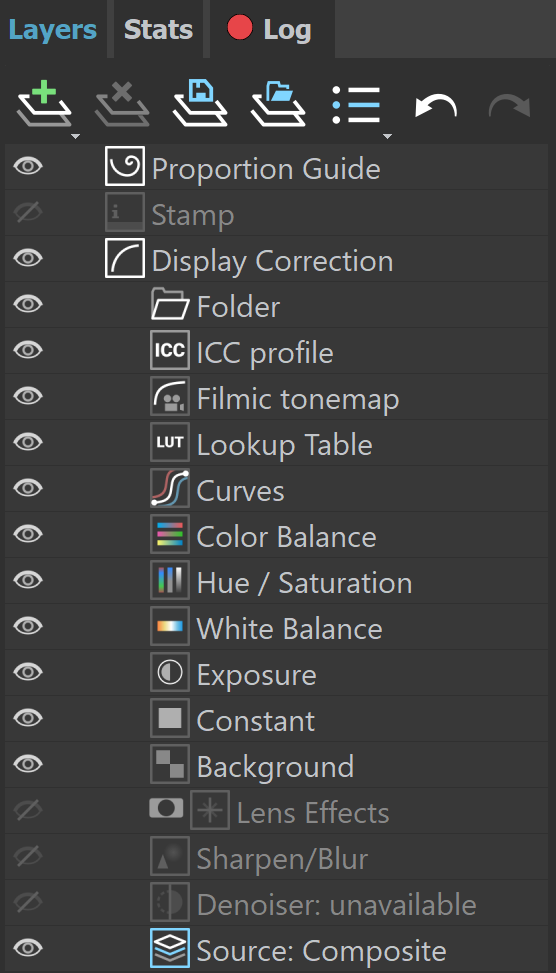
Locks the mouse pointer coordinates and displays information for the selected pixel.

Shows corrected colors.

Shows the V-Ray log.

Displays the Red channel.

Displays the Green channel.

Displays the Blue channel.

Displays the Alpha channel.

Saves the image to disk. Press and hold the icon to bring up the submenu:

Save current channel – Saves the current channel to an image file format;

Save all image channels to separate files – Saves all the render elements into separate files; Use  to save the VFB color corrections to render elements.

 Save all image channels to single file – Saves the image into a single multi-channel EXR or .vrimg file.

Upload image to Chaos Collaboration – Opens Chaos Cloud Collaboration.

Clears the contents of the frame buffer. This is useful when starting a new render to prevent confusion with the previous image.

Renders the closest bucket found to the mouse pointer, when using the bucket image sampler. If the progressive sampler is used, V-Ray samples the closest pixels to the mouse pointer. With this option enabled, you can right-click on the image and select Lock bucket starting point to lock the bucket (or sampling) starting point.

Allows you to render regions in the VFB. See the Render Region section for more information.

Starts Interactive Rendering.

Stops the current rendering.

Starts Production Rendering.


Render History

...

Section
Column
width45%

The V-Ray VFB keeps a history of previously rendered images, and lists each with a number, thumbnail, and textual details in the Render history panel. Up to four images can be called from the history to be compared in the VFB (as shown below). History files are stored as .vrimg files in a user-specified folder. Render history settings can be configured in the VFB Settings window.

...

section

Column
width20%5%


Column
width40%50%


...


Section
Column
width20%45%

Use the button

...

on the left side of the VFB to set up the History

...

.

...

section

Image Removed
Column
width20%
Column
width40%
5%


Column
width50%20%

Image Added


...


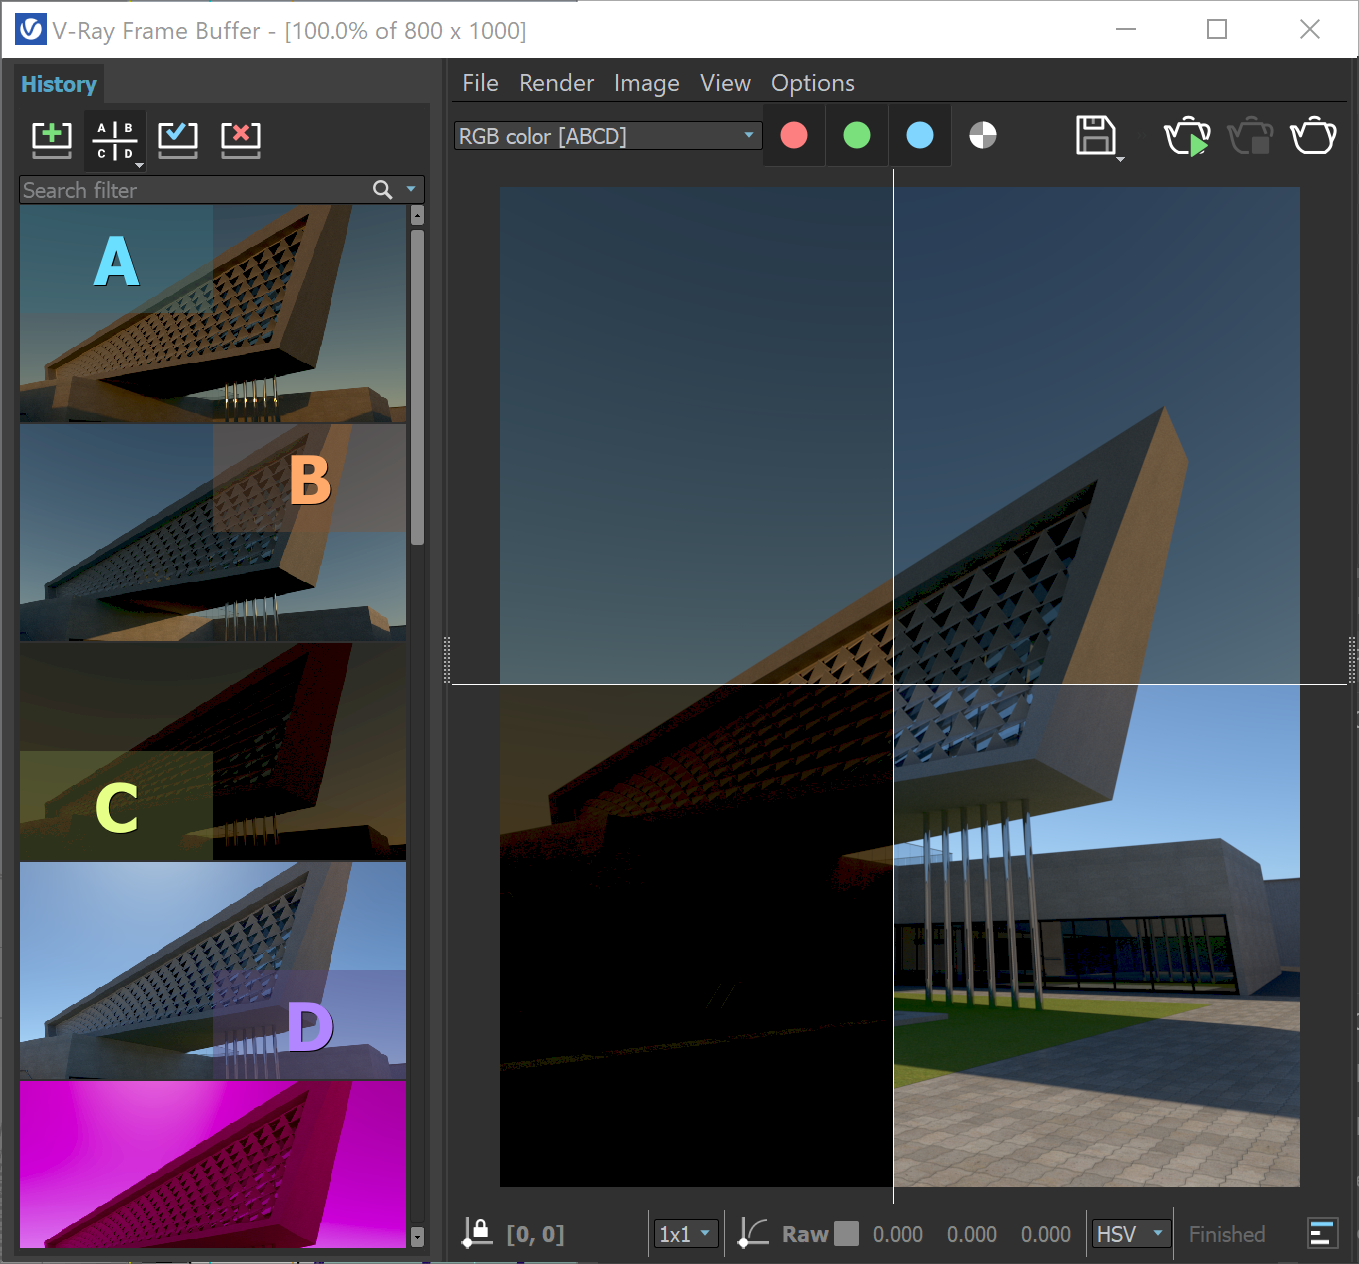
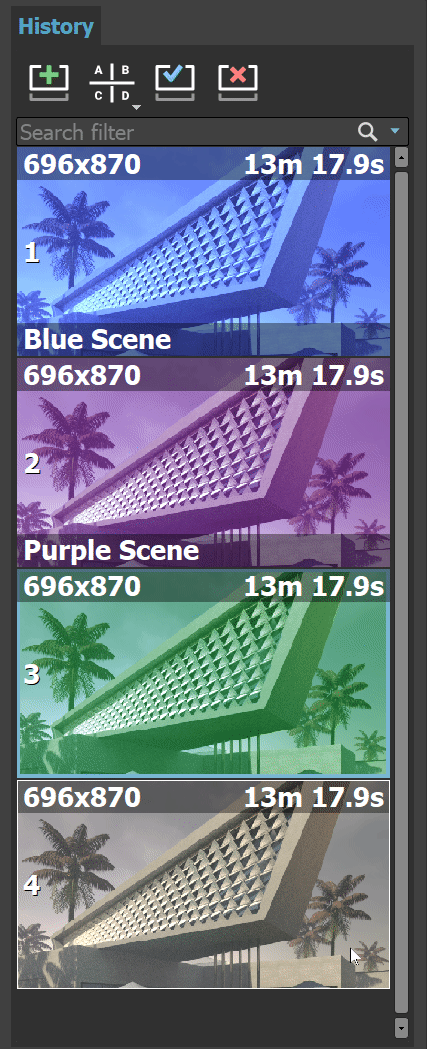
Saves the current image from the VFB to the render history. The image is placed at the top of the render history list.

Enables or disables image A/B vertical comparison. Select images A and B from the render history.

Enables or disables image A/B horizontal comparison. Select images A and B from the render history.

Enables or disables image A/B/C/D comparison. Select images A, B, C, and D from the render history.


Loads the selected image from the render history to the VFB.

Removes the selected image from the render history.

...

Section
Column
width80%
UI Text Box
typetip

The keyboard keys from 1 to 9 can be used to quickly load the first 9 images from the history to the VFB.

Edit note – Allows – Allows you to add a text comment to the image; the comment appears below the image.

Set A – Sets the render as A image for A/B comparison.

Set B –  Sets the render as B image for A/B comparison.

Load to VFB – Loads the selected image in the VFB (same as double-clicking on the image).

Delete – Deletes the selected image from history. The image is moved to the system's Recycle Bin and can be restored from there if needed.

Load layers – Loads the layer tree preset of the selected image.

Load V-Ray settings – Loads the V-Ray settings used for the saved render.

Compare V-Ray settings – Opens the Compare V-Ray settings dialogue, where you can compare the render setups of saved renders.

Open scene – Opens the rendered scene in the viewport. This option works as long as the initial file path of the scene has not changed after the render.

Copy scene path – Copies the full path to the scene.

Reload history – Re-reads the history image list. This may be needed if the history folder is updated outside of Rhino (f.e. from another Rhino session).

UI Text Box
typeinfo

Manually saved .vrimg files can also be added to the History folder, but they need to be saved with all image channels in one .vrimg file to keep the complete image info.

Column
width5%


Column
width15%

...

Section
Column
width70%

Creates a layer or folder. Multiple layers of the same type can be added.

Folder – Allows grouping multiple layers in folders and folders in sub-folders.
ICC Profile – Uses an ICC profile file for color corrections;.
Filmic tonemap – Contains different types of mapping curves and gamma corrections. Also allows selection of a color space;.
Lookup Table – Allows loading a LUT file for color transformations;.
Curves – Adds a Curves color correction layer;.
Color Balance – Adds a Color Balance color correction layer;.
Hue/Saturation – Adds a Hue/Saturation color correction layer;.
White Balance – Adds a White Balance color correction layer;.
Exposure – Adds an Exposure color correction layer;.
Constant – Adds a solid color that can be used to achieve an effect on another layer (for example to multiply by the constant);.
Render Element – Selects a render element (with ability to apply mask on it) from your image that you can use in compositing. This is only available when the Source layer is set to Composite;.
Background – Adds a background color correction layer;.
MultiMatte mask element – Mask is based on the MultiMatte Render Element;.
Cryptomatte mask element – Mask is based on the Cryptomatte Render Element;.
Integer mask element – Mask is used with integer render elements like Render ID, Object ID, and Material ID Material ID Render Elements;.
Proportion Guide – Allows for a number of composition guides to be overlaid on the image. The available guides are Rule of ThirdsDiagonalsGolden RatioCenter Cross, and Custom Grid.

Deletes the selected layer(s).

Saves a layer tree preset.

Loads a layer tree preset.

Quick access to custom layer presets. You must set the path to it in the VFB Settings.

Undo create layer.

Redo create layer.
Column
width5%


Column
width25%

...