Versions Compared

Key

  • This line was added.
  • This line was removed.
  • Formatting was changed.

...

UI Text Box
typeinfo

This is an Entry Level tutorial which requires no previous knowledge of Phoenix. A basic understanding of 3ds Max would be helpful but is not a prerequisite for being able to follow along.

Section
Column
width40%

This tutorial is created using Phoenix 4.30 Official Release and V-Ray 5, Hotfix 2 Official Release for 3ds Max 2018. You can download official Phoenix and V-Ray from https://download.chaos.com. If you notice a major difference between the results shown here and the behavior of your setup, please reach us using the Support Form.

The instructions on this page covers the basic workflows for using Solid and Non-Solid bodies in Phoenix for 3ds Max. By the end of this tutorial, you will be able to use Solid and Non-Solid bodies to control interactions and customize simulations.

To follow the described steps, you will need the Chaos Phoenix for 3ds Max plugin installed. If you notice a major difference between the results shown here and the behavior of your setup, please send an email to support@chaosgroup.com.

This tutorial is a companion to go along with the QuickStart video posted on our YouTube channel.


The Download button below provides you with an archive containing the start and end scenes.


UI Button
sizelarge
icondownload
titleDownload Project Files
urlhttps://drive.google.com/uc?export=download&id=1irSchn96jSqIfHxYSOdzaaReOhqUvOoT
 

Column
width60%
HTML
<iframe width="720" height="480" src="https://www.youtube.com/embed/B25eoDqUkn8" frameborder="0" allow="autoplay; encrypted-media" allowfullscreen></iframe>

...

Section
Column
width40%

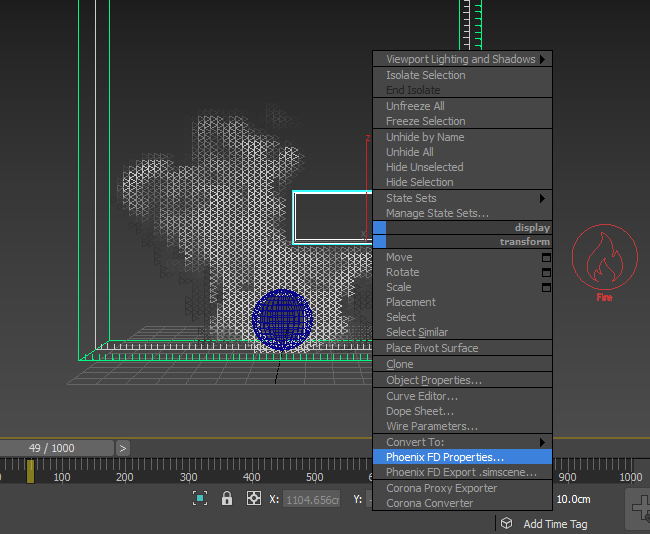
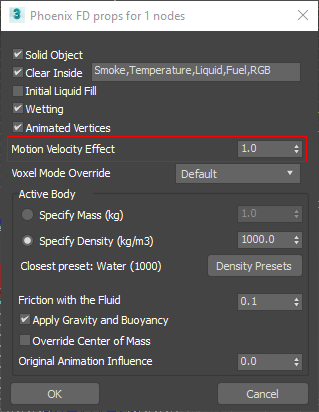
Now, select the object and right-click on it, and select the Chaos Phoenix FD Properties.

Column
width60%

...

Section
Column
width40%
UI Text Box
typenote

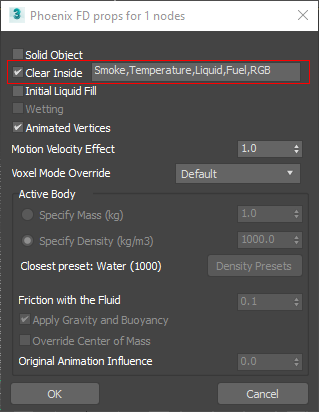
There is a difference between having a Non-Solid Object, like we have right now, and excluding an object from the interaction.

A Non-Solid Object, such as the one in the scene, can still be used with Forces (e.g. as an attractor for the Body Force) and also as an Emitter by Source objects. It can also be used as a Render Cutter, or a Birth (or ignition) Volume, and so on.

On the other hand, objects excluded through the Scene Interaction rollout will not interact at all with the simulation.

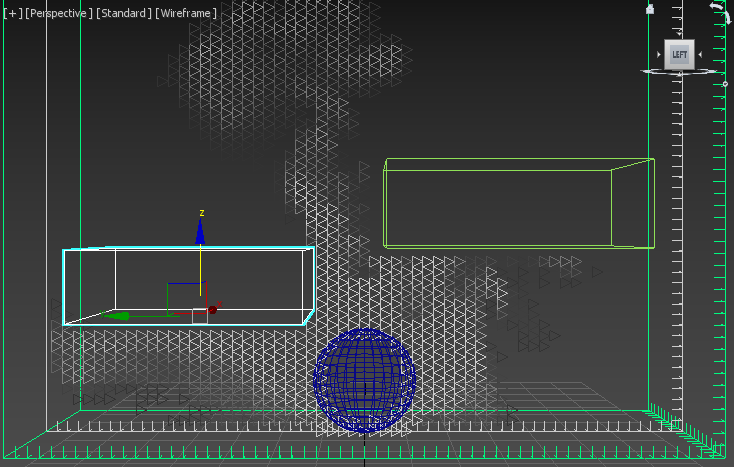
Now we’ll make the Smoke inside the Non-Solid box disappear.

Right-Click the box and open the Phoenix FD Properties. Enable the Clear Inside option, which lists the different channels of the simulation that are affected. You can edit this list to control what kind of particle channels are cleared inside the Non-Solid.

Column
width60%

...


Section
Column
width40%

The difference between the Solid Object that we had before, and this Non-Solid with Clear Inside, is that the fluid moves around Solids but passes right through the Non-Solids. This way you can use Non-Solids with Clear Inside to erase Smoke, Temperature, Liquid, or different particles from certain areas of the Simulator without effecting the fluid's behavior.

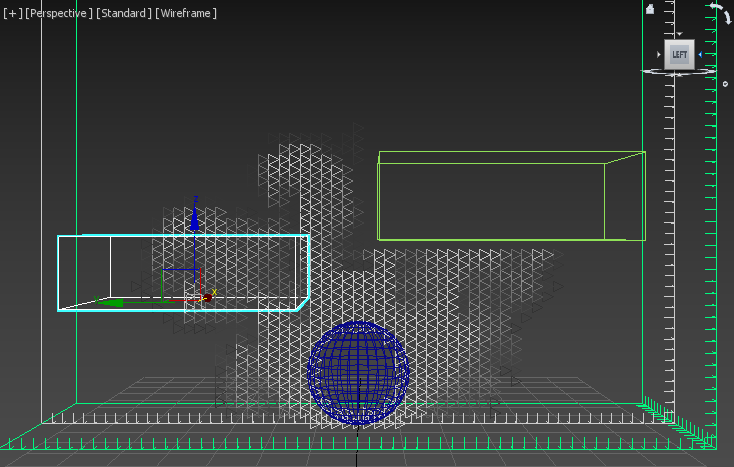
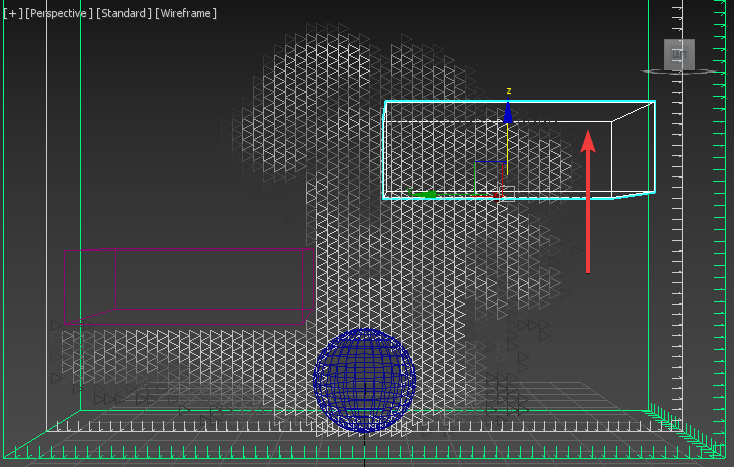
While the simulation continues, create another Box in the scene that is a similar size to the first one. Move it up, inside the container in the path of the Smoke, and it traps some of the Smoke inside it, as in the image.

When creating or moving a Solid Object inside a Fire/Smoke simulation container, it can trap fluid channels inside itself. Note that this behavior does not apply to a Liquid Simulator.

Move this box around some more and you can see that some of the Smoke trapped inside the volume earlier is still stuck inside, and it may capture more.

Again, that’s because by default, all objects are treated as Solid Objects, so the Smoke can’t escape once inside.

Column
width60%


Section
Column
width40%

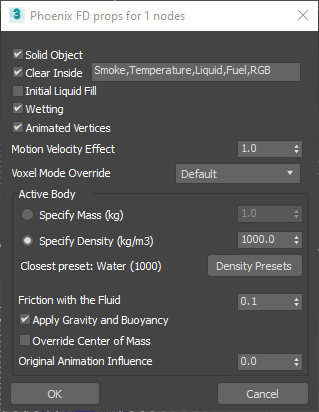
Right-click on that second box, choose Phoenix FD Properties. Turn on Clear Inside and press OK.

Column
width60%


Section
Column
width40%

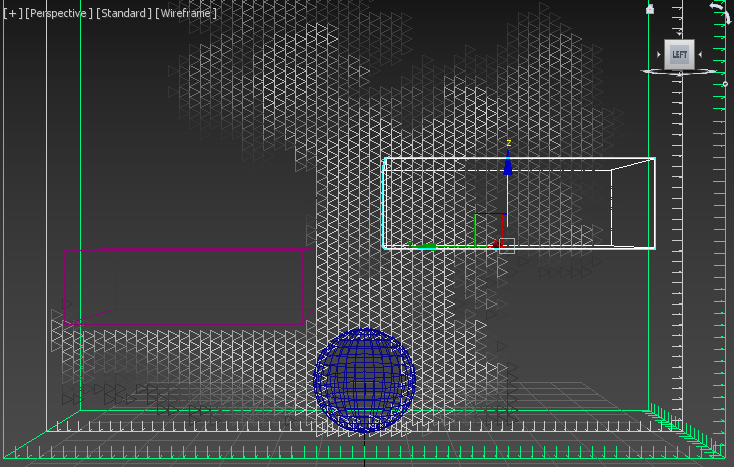
The Smoke is gone from inside that box.

Column
width60%


Section
Column
width40%

Finally, select the first box and disable the Clear Inside, so the Smoke goes right through it.

Column
width60%


Section
Column
width40%

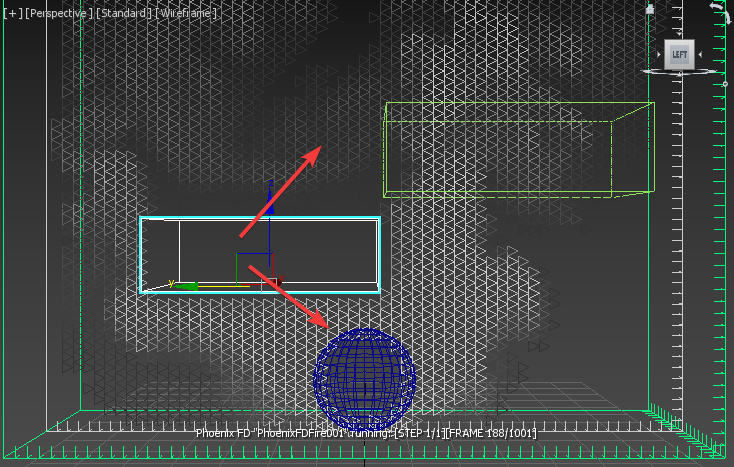
The box on the left is a Solid Object and the box on the right is a Non-Solid Object. Moving the Non-Solid box inside the Simulator changes nothing - it does not change the behavior of the simulation.

Column
width60%


Section
Column
width40%

But if you move the Solid Object box, it effects the Smoke simulation. If you move it around, the Smoke gets pushed to the side.

Column
width60%


Section
Column
width40%

You can control how strongly a moving Solid effects the simulation from its Phoenix FD Properties using the Motion Velocity Effect parameter.

We will take a look at this in our next example.

Column
width60%


...

Section
Column
width40%

In this case, it's not desirable to change the existing animation of the spaceship, so the only way to get a bigger splash is to adjust the simulation to react as if it produces a massive splash.

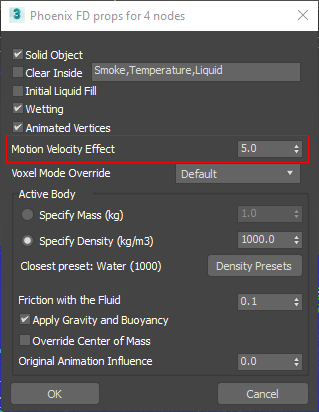
Select the ship and right-click for the Quad Menu and select Phoenix FD Properties.

The Motion Velocity Effect parameter will make the simulation act as if the speed of the ship is multiplied. Enter a value of 5. This means that the ship will affect the splash as if it were moving five times faster than its animation. Then click OK.

Column
width60%

...

Section
Column
width40%

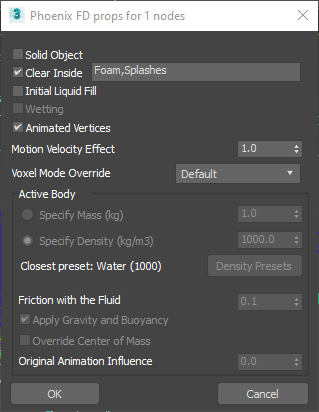
The plan is to delete only the Foam and Splashes particles while leaving the Liquid particles unaffected.

Right-click on the Box, and choose Phoenix FD Properties. Uncheck Solid Object, so the box won’t affect the simulation.

Turn on Clear Inside and then type in Foam, Splashes to clear only those types of particles from the simulation. Then press OK.

Start the simulation again and notice that the particles that were going out are killed when they come into contact with the box.

Column
width60%

...

Section
Column
width40%

If you want you could increase the Motion Velocity value even more to achieve more dramatic splash.

In the following example the Motion Velocity Effect is set to 25.0.

Column
width60%
Align
aligncenter
HTML
<iframe width="650" height="360" src="https://www.youtube.com/embed/Uc458eGmhLo?version=3&loop=1&playlist=Uc458eGmhLo" frameborder="0" allowfullscreen></iframe>