![]()
Page History
...
| Anchor | ||||
|---|---|---|---|---|
|
...
Example: Scene Scale
...
| UI Text Box | ||
|---|---|---|
| ||
The following video provides examples to show the differences of Scene Scale with values of 0.1, 5.0 and 15.0. |
| Align | ||
|---|---|---|
| ||
|
...
| Anchor | ||||
|---|---|---|---|---|
|
...
Example: Grid Resolution
...
| UI Text Box | ||
|---|---|---|
| ||
The following video provides examples to show the differences when the Total cells from the Grid's Resolution is at 570,000, 4,000,000and 16,000,000. |
| Align | ||
|---|---|---|
| ||
|
...
| Anchor | ||||
|---|---|---|---|---|
|
...
Example: Setting up a 2D Simulation
...
| UI Text Box | ||
|---|---|---|
| ||
A 2D Simulation can be performed by adjusting the Grid dimensions such that either X Size, Y Size, or Z Size is set to 1. The main application of this feature is to create very wide fires that would otherwise be time-consuming with a 3D simulation, like the image below. To keep features like the embedded gravity and pressure decay, it is recommended to leave the Y direction active and set the X or Z size to 1. |

...
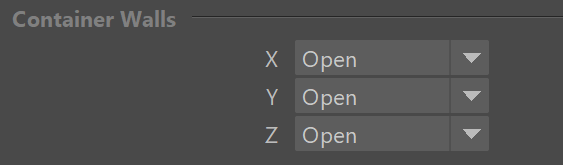
Container Walls
...
| Section | ||||||||||
|---|---|---|---|---|---|---|---|---|---|---|
|
...
Geometry Connections
...
| Anchor | ||||
|---|---|---|---|---|
|
| Section | ||||||||||||||||||||
|---|---|---|---|---|---|---|---|---|---|---|---|---|---|---|---|---|---|---|---|---|
|

...
| Anchor | ||||
|---|---|---|---|---|
|
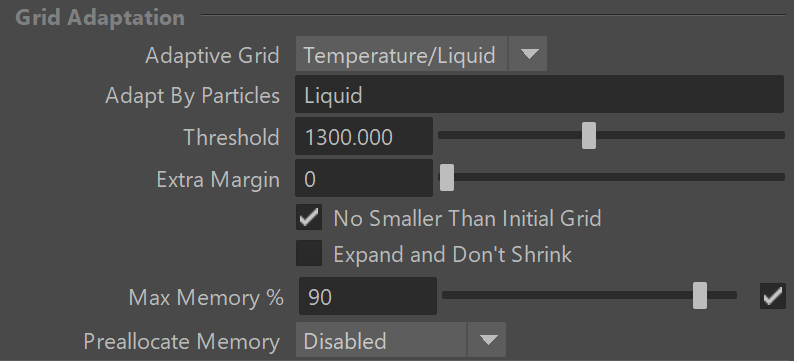
Grid Adaptation
...
| Section | ||||||||||||||||||||
|---|---|---|---|---|---|---|---|---|---|---|---|---|---|---|---|---|---|---|---|---|
|
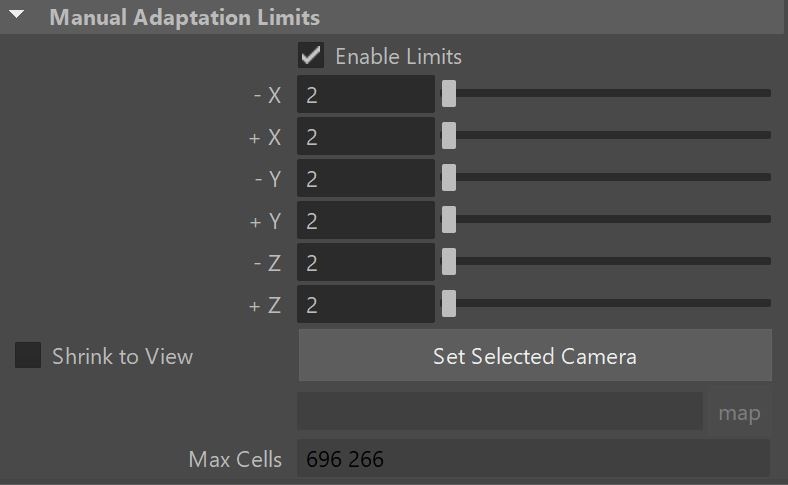
Manual Adaptation Limits
...
| Section | |||||||||||||||||||||
|---|---|---|---|---|---|---|---|---|---|---|---|---|---|---|---|---|---|---|---|---|---|
|
...
| Viewtracker | ||||
|---|---|---|---|---|
|