![]()
Page History
This page contains information on getting started with Chaos Phoenix
...
for 3ds Max.
Overview
...
| UI Text Box | ||
|---|---|---|
| ||
This is an Entry Level tutorial which requires no previous knowledge of Phoenix. A basic understanding of 3ds Max would be helpful but is not a prerequisite for being able to follow along. |
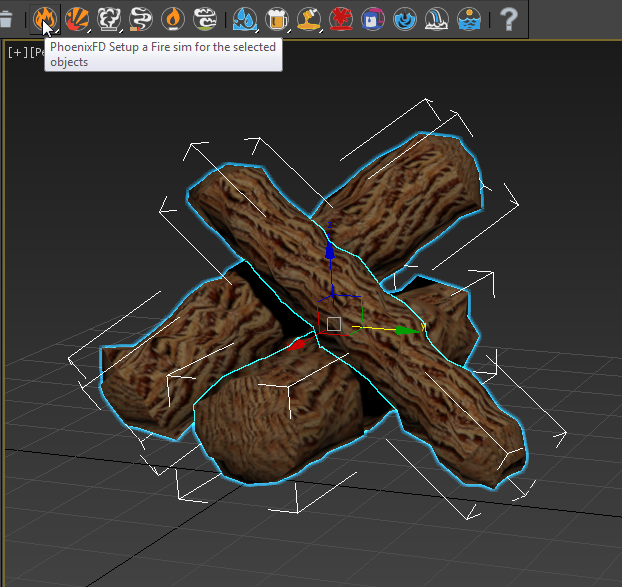
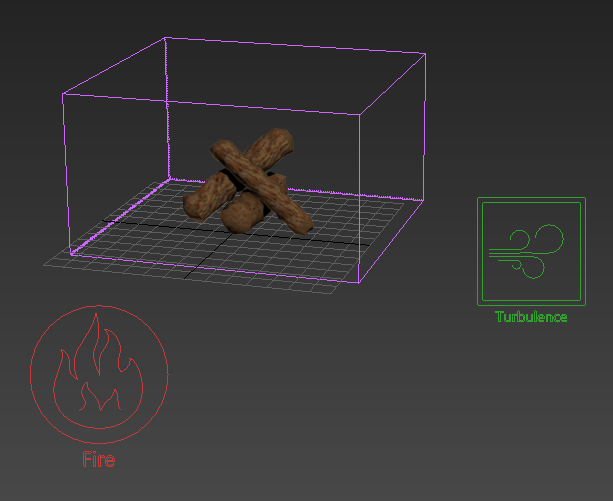
To create fire and liquid effects, Phoenix FD creates objects and helpers in the scene. Phoenix FD provides several Quick Simulation buttons presets that create these scene elements for you, with settings for common scenarios. You can also create these objects and helpers manually.
If you are just getting started with Phoenix FD, it is recommended that you use the Quick Simulation buttons presets and become familiar with the scene elements they create. As your experience with Phoenix FD increases, you will be in a better position to create these scene elements manually and set parameters appropriately.
Preparing a Simulation
...
| Section | |||||
|---|---|---|---|---|---|
|
...
|
...
|
...
| Section | |||||
|---|---|---|---|---|---|
|
...
|
...
| Section | |
|---|---|
|
|

|
| UI Text Box | ||
|---|---|---|
| ||
When possible, build emitters and vessels to real-world scale. Since Phoenix |
...
uses real-world calculations to create its effects, working with real-world units will make your work much easier. |
...
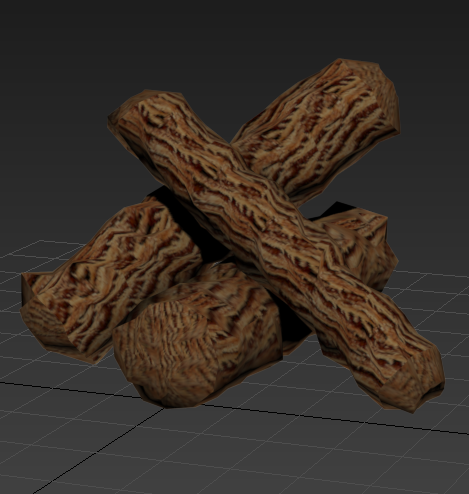
Fire Simulation
...
| Section | ||||
|---|---|---|---|---|
|
By default, Phoenix FD assumes the World Z axis to be the "up" direction for the simulation. As in real life, fire will rise "up" due to its heat while liquid will flow "down" due to gravity unless otherwise specified. Building your emitters and vessels with regard to the default "up" direction will make it much easier to create simulations with Phoenix FD.
...
|
...
|
...
...
|
...
| Section | |||||
|---|---|---|---|---|---|
|
...
|
...
...
|
...
...
|
Liquid Simulation
...
| Section | |||||
|---|---|---|---|---|---|
|
...
|
...
|
...
| Section | |||||
|---|---|---|---|---|---|
|
...
|
...
| Section | |||||
|---|---|---|---|---|---|
|
...
|
...
|
...
|
...
|
...
|
...
|
...
|
...
|
...
|
...
|
...
|
...
|
Anchor runningSimulation runningSimulation
Running the Simulation
| runningSimulation | |
| runningSimulation |
...
| Section | |||||
|---|---|---|---|---|---|
|
...
|
...
|
...
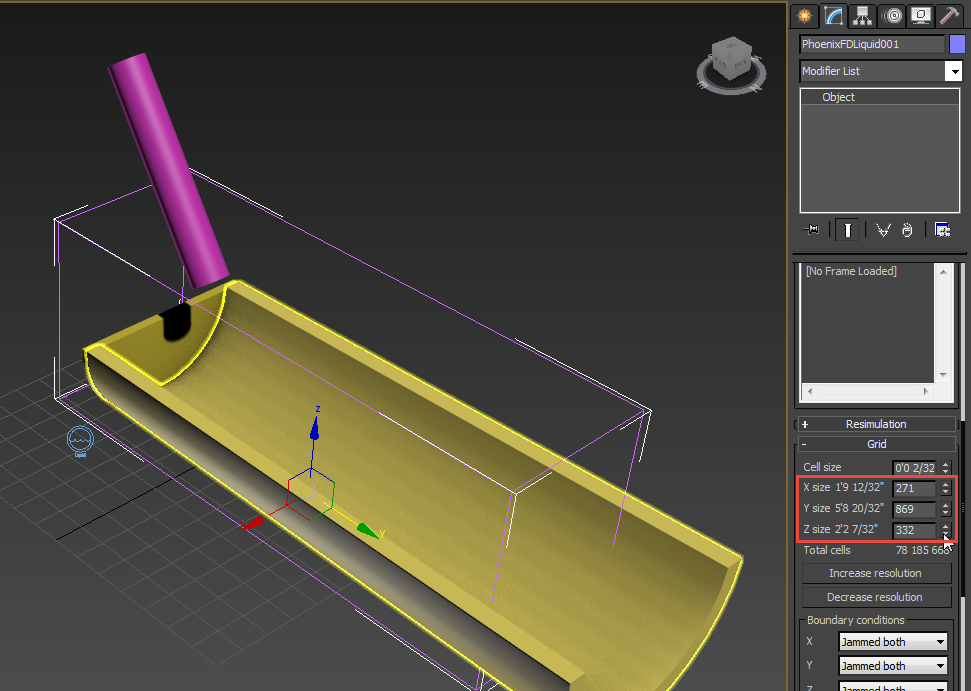
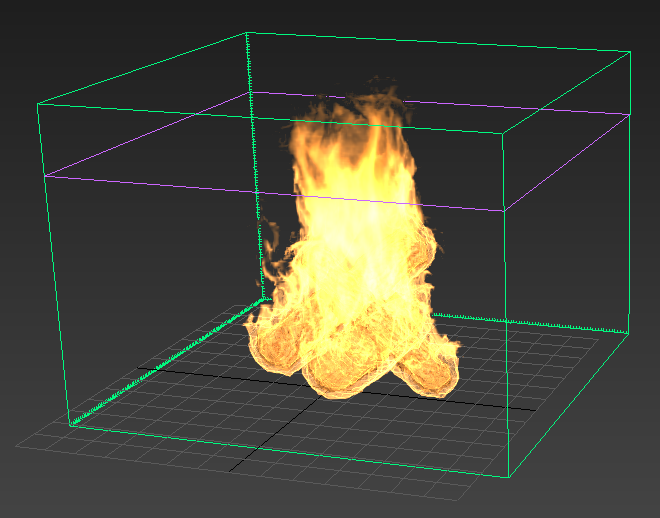
While running the simulation, you will see the fire or liquid flowing in the active viewport.
In addition, the
...
Grid might expand beyond its original size to allow the effect to flow into a larger area.
You can also select other objects and continue working on the scene while the simulation runs.
| Section | |||
|---|---|---|---|
|
...
| Column | ||
|---|---|---|
| ||
|
|
...
|
...
|
...
...
...
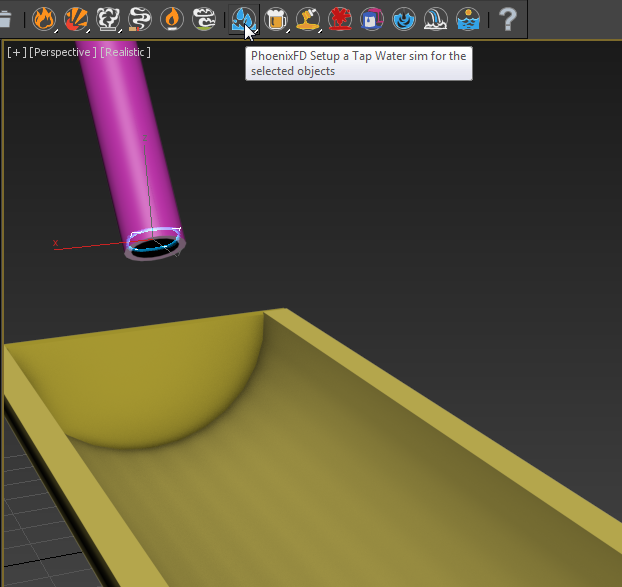
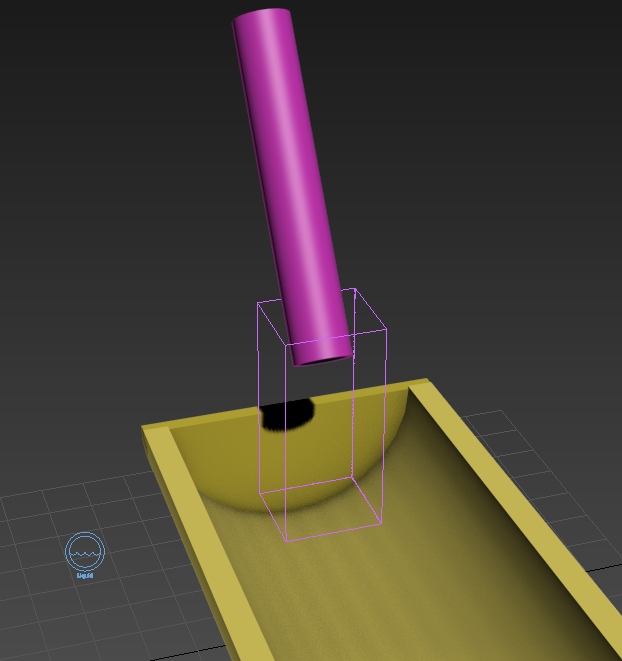
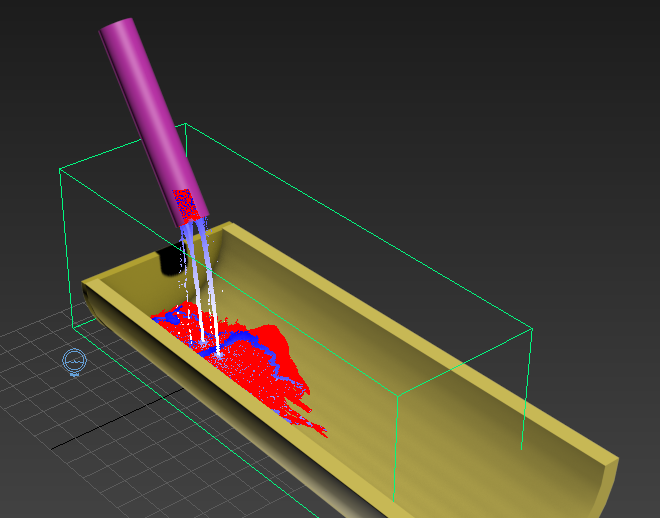
In a liquid simulation, you will see the liquid particles react to gravity and also get deflected or contained by any scene geometry they encounter, such as the trough. This collision detection occurs by default, even though you have not specifically designated the trough geometry as a deflector or collision object.
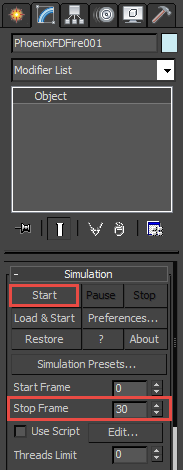
If you wish to
...
Stop the simulation before it reaches
...
the Stop Frame, select the grid and click the
...
Stop button in the Simulation rollout.
...
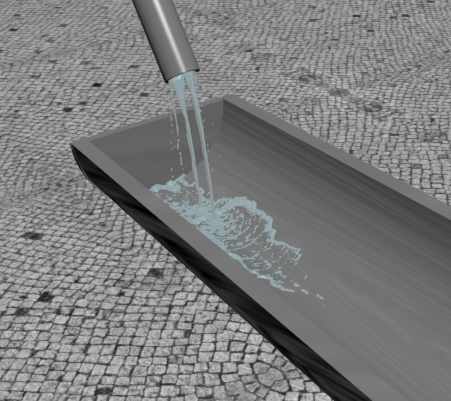
When the simulation is complete, render the scene as usual. The simulated effects will appear in the rendering.
| Section | |||||||||||||||||||||||
|---|---|---|---|---|---|---|---|---|---|---|---|---|---|---|---|---|---|---|---|---|---|---|---|
|

...