Page History
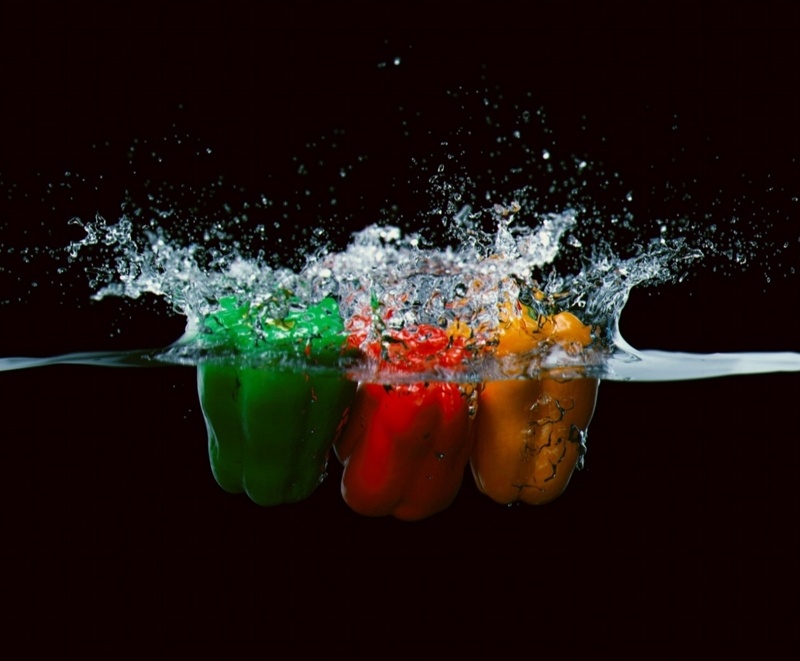
This page provides a tutorial on creating a simulation of Fruit falling in water.
Overview
...
| UI Text Box | ||||
|---|---|---|---|---|
| ||||
This is an Intermediate Level tutorial. Even though no previous knowledge of Phoenix FD is required to follow along, re-purposing the setup shown here to another shot may require a deeper understanding of the host platform's tools, and some modifications of the simulation settings. |
| Section |
|---|
The instructions on this page guide you through the process of setting up a simulation of fruit falling in a water tank. We use a 3ds Max MassFX particle system for the Rigid Body simulation of the fruit, and then we use that RBD simulation as a collider for the Phoenix FD Liquid. The goal of this tutorial is to explain how to simulate and render a high-speed photography type of shot.
|
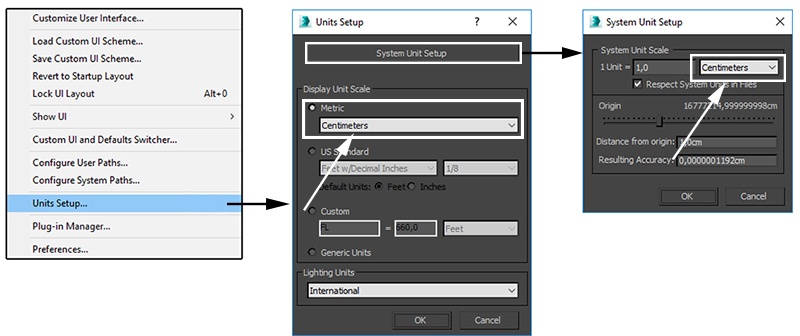
Units Setup
...
| Section | ||||||||||
|---|---|---|---|---|---|---|---|---|---|---|
|
...


