This page provides a step-by-step introduction to V-Ray Swarm for Rhino.
Introduction
This tutorial covers how to use V-Ray Swarm, a distributed rendering system that allows you to render on multiple machines at once using a simple web interface. Swarm provides dynamic control of multiple machines on your network to render scenes at a significantly faster rate than what can be done locally on a single computer. This tutorial includes how to install Swarm onto machines without even needing Rhino installed, how to access and control the Swarm options, and how to run a distributed render managed by Swarm.
To follow this tutorial, you will need to have the V-Ray for Rhino plugin installed on a host machine, and at least one other computer to use as a render node. Please note that Swarm can be installed on Windows, Macintosh and Linux computers. In addition, neither Rhino, nor V-Ray for Rhino need to be installed on the secondary machine. This tutorial is a companion to go along with the QuickStart video posted on our YouTube channel and available here:
Tutorial Assets
To download the files used in this tutorial, please click on the button below.

Tutorial Steps
Swarm Installation Options
Swarm can be installed alongside V-Ray for Rhino, but may also be installed on its own by launching the V-Ray installer, and selecting to install only V-Ray Swarm. You do not need to install Rhino or V-Ray for Rhino on a machine that you only want to use as a render node; you can just install Swarm. A standalone V-Ray Swarm installer is available at https://download.chaosgroup.com/?product=58 .
Likewise, you don’t need to install Swarm if you do not want the machine to be a render node. You can just install Rhino and V-Ray for Rhino without Swarm and still be able to render on render nodes with Swarm.
If you already have V-Ray for Rhino installed and licensed on a machine on which you wish to install Swarm, you will not need to install the license server. However, if you are installing Swarm on a machine that does not have V-Ray for Rhino already installed and licensed, you will need to click the "Customize" button and in the follow-up menu fill in the IP of the machine where your Online License Server is running. For general instructions on V-Ray and Swarm setup and installation, please click here.
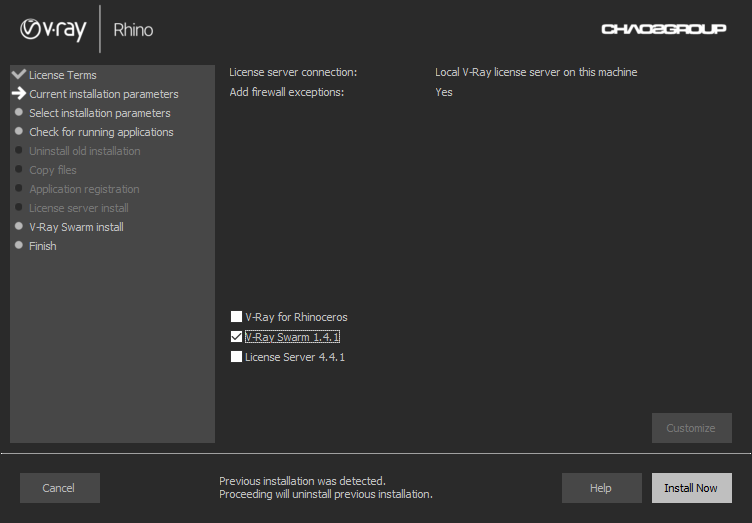
For this tutorial, we install just Swarm on a render node machine that already has the license server installed. Run the Installer and only check V-Ray Swarm 1.4.1 to install that component.
NOTE:
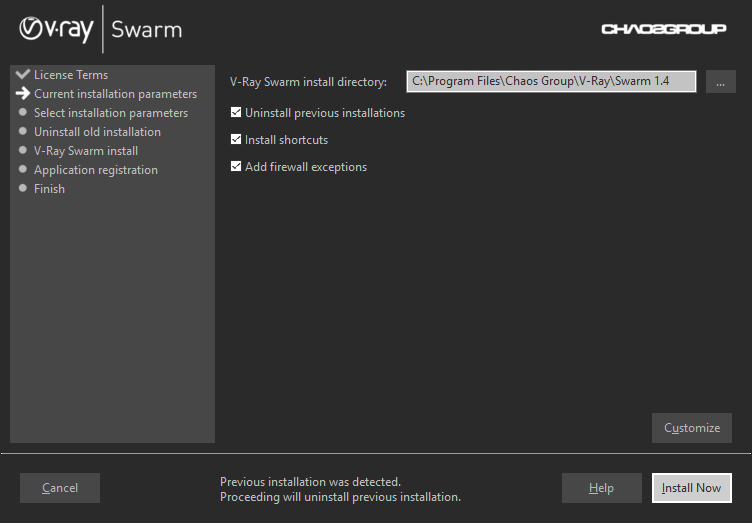
You likely don’t need to change any of the settings. Just make sure to uninstall any previous installations (if you have any), and make sure Add firewall exceptions is checked on. Click Install Now.
That’s it. You’ll need to install Swarm on all the machines to which you wish to distribute renders.
The local machine always uses 1 render node license during rendering. A render node license is required for each additional render node machine participating in the job.
V-Ray 3 for Rhino trials come with 1 render node license. To evaluate V-Ray Swarm, you can request additional render nodes by using the following form.
Swarm Configuration
Now that Swarm is installed, let's get into the configuration interface for the node.
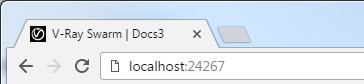
Open up a web browser. To access the interface, you’ll need to type in the browser URL field “localhost:24267” as shown below. 24267 is the default port used for Swarm. If you changed the port during installation, enter that port number instead.
As a side note, you can remotely access Swarm installed on a different machine by typing in that machine’s IP address and the port number instead of using “local host”.
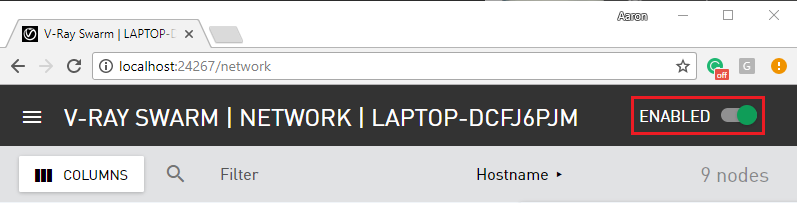
The Swarm interface greets you with the Network page, and we can see the name of the current machine up at the top, as well as the other machine names in the Swarm in the list. In the upper-right corner you can enable or disable the node for Swarm rendering.
Swarm Menu
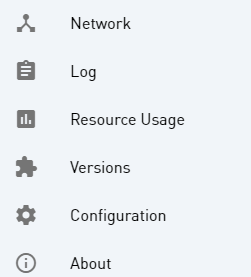
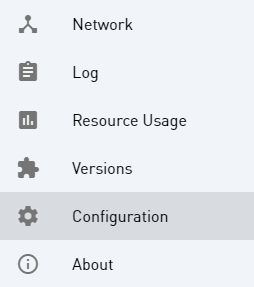
Click the (![]() ) icon in the upper-left corner to access the different pages for the interface, listed below.
) icon in the upper-left corner to access the different pages for the interface, listed below.
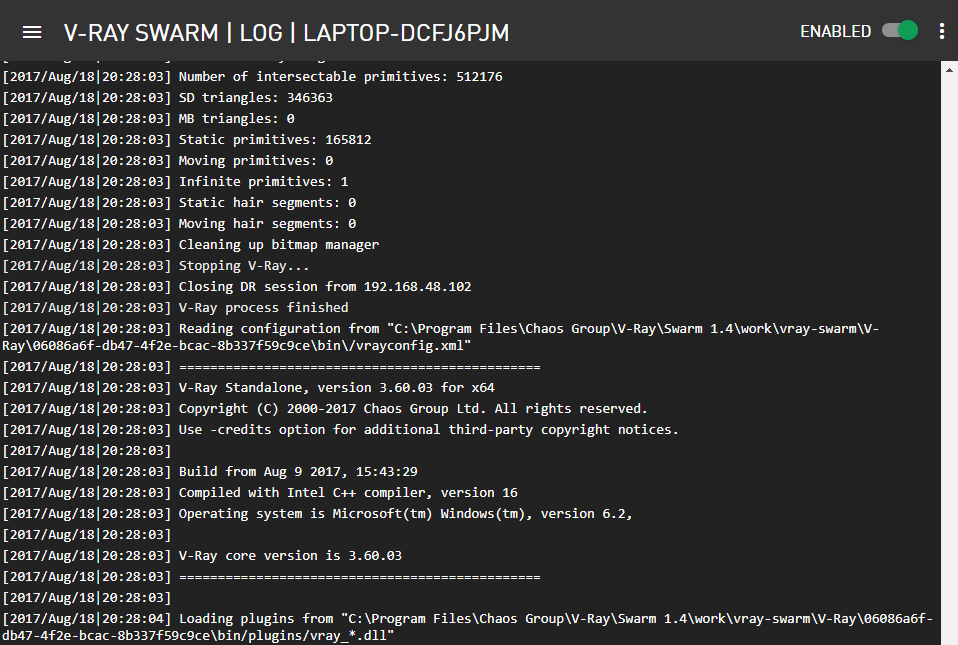
Log Page
Switch to the Log page to see a log of messages from this machine's render job progress, which is good for troubleshooting, if it's needed.
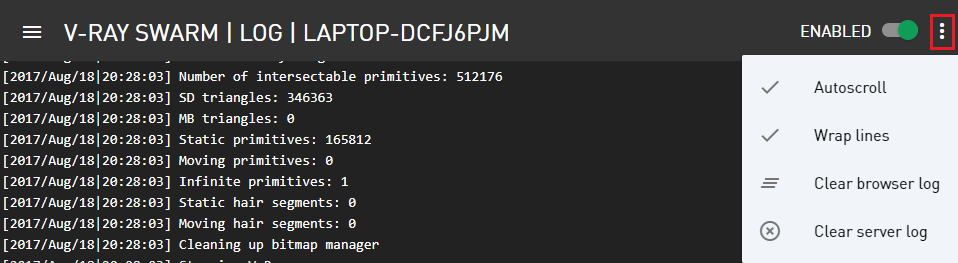
The (![]() ) icon accesses display options for the log, as shown below.
) icon accesses display options for the log, as shown below.
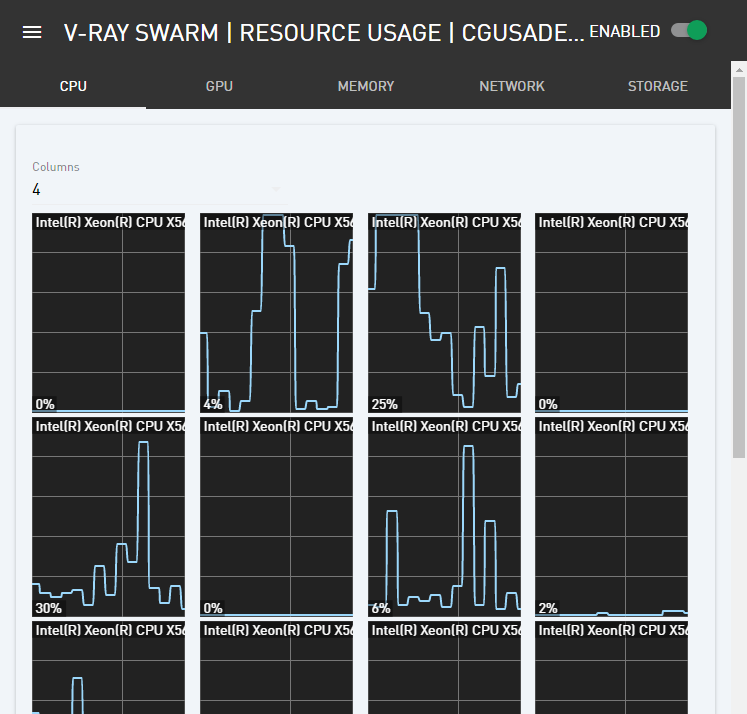
Resource Usage Page
In the Swarm menu, switch to the Resource Usage page. This shows the current usage of different aspects of the node, including CPU, GPU, memory, network traffic, and storage space available.
Configuration Page
Now switch to the Configuration page from the Swarm menu.
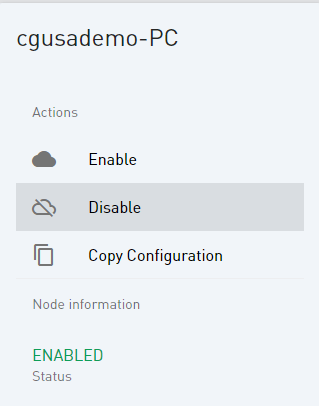
Making any changes to Configuration requires that the node first be disabled for rendering.
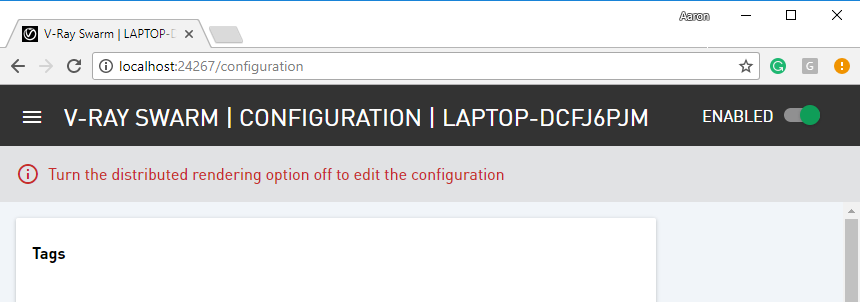
Disable the node through the icon at the top right, and the options will be available to modify.
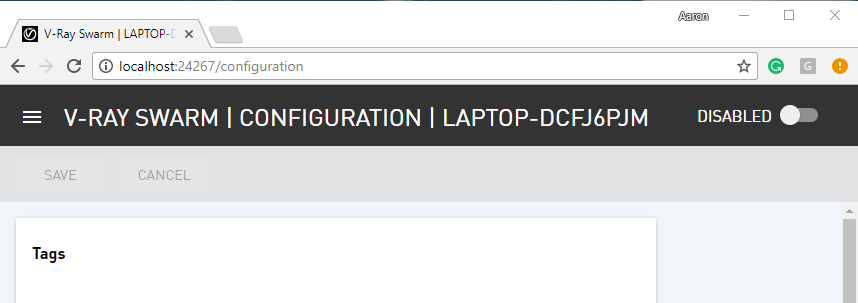
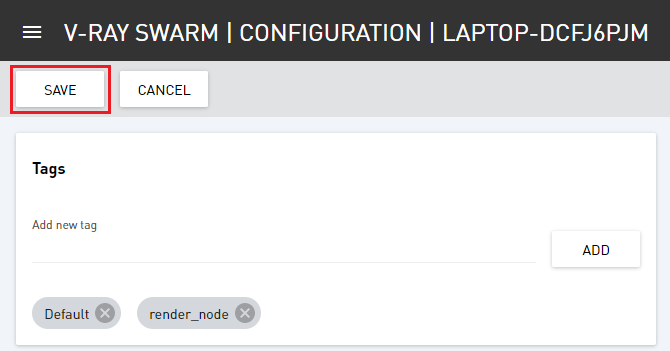
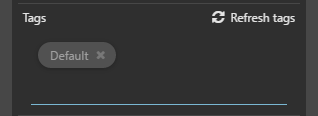
Tags allow you to define this node with a descriptor that defines something about the machine, which we can later use to easily select which machines we want to render from inside of Rhino.
For example, if this machine is one of a few that have a powerful GPU, or if a machine is not a workstation and just a node on a render farm.
All nodes have the default tag by default.
Let’s tag this machine as render_node and click Add.
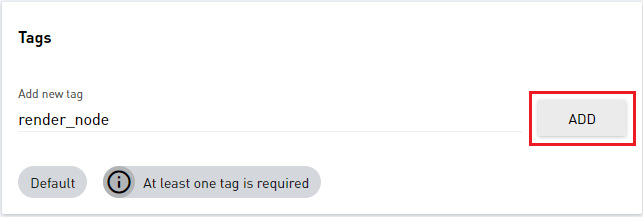
Then click Save to save all changes to the node.
Now, you can re-enable the node.
Network Configuration
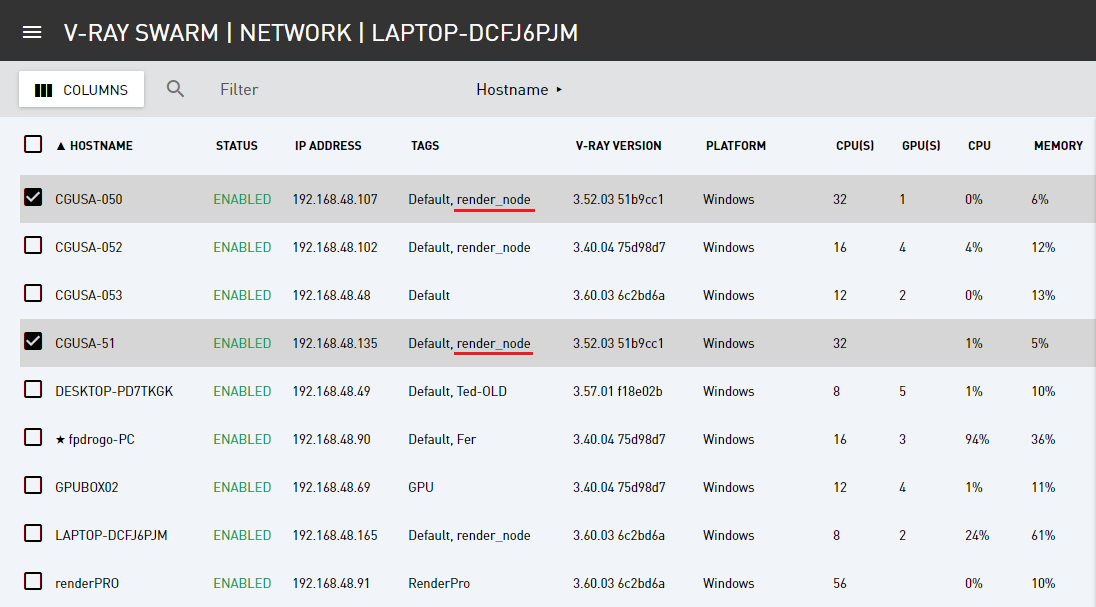
Now let’s take a look at the Network page.
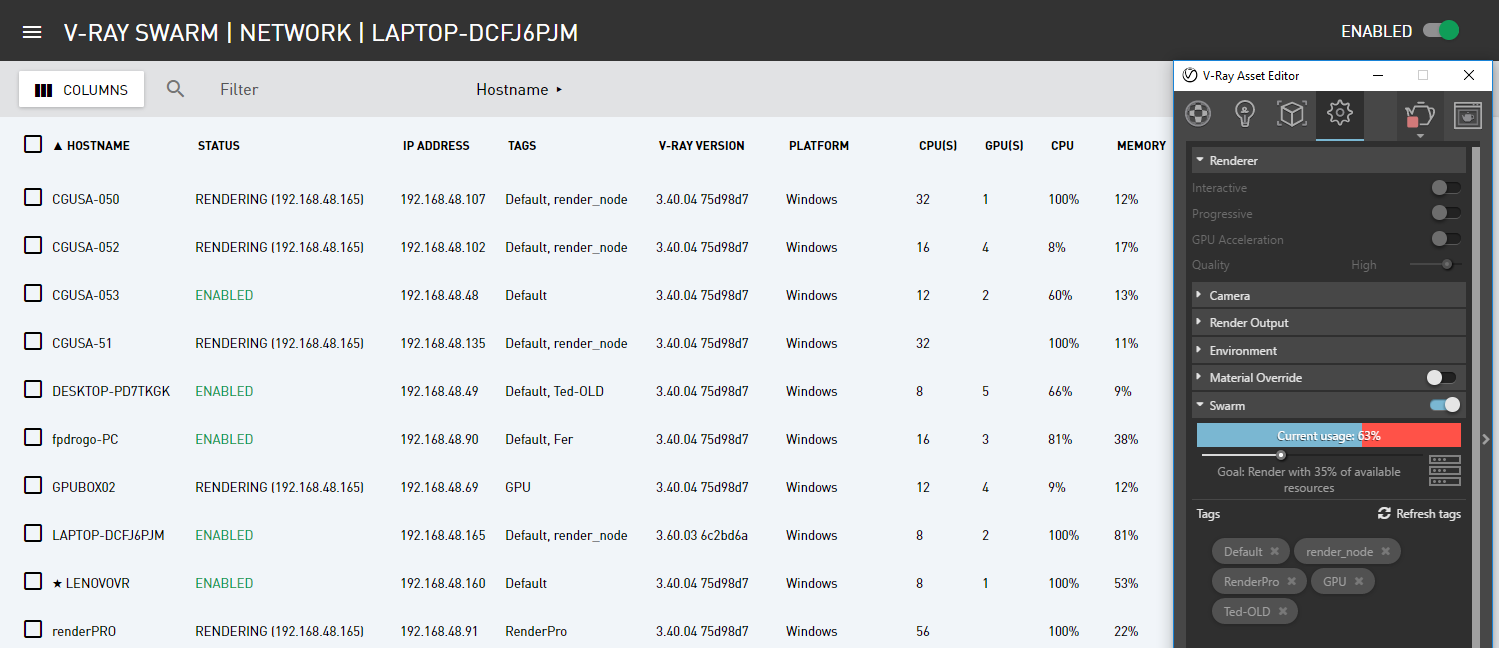
This page shows all the available Swarm machines on the network, displaying their machine names, status, IP address and their tags right here, along with some important information like the V-Ray version. Here we confirm the addition of the render_node tag that we added to this machine, LAPTOP-DCFJ6PJM.
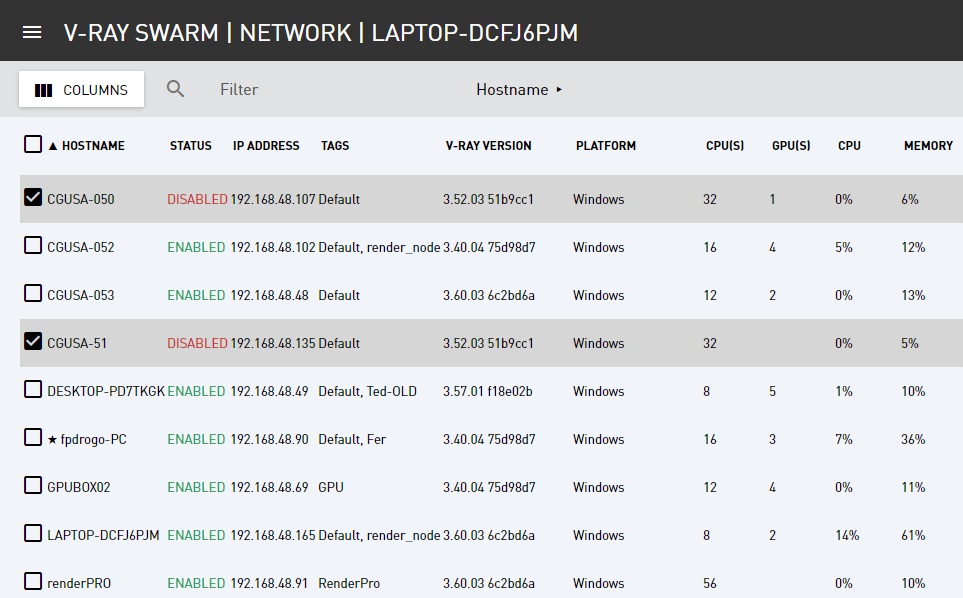
Through this page, you can select a machine and remotely enable or disable it through the information panel. We can select multiple machines using the Shift and/or Control keys when selecting additional nodes.
Copy Configuration
Copy Configuration will duplicate the settings from your current machine to the one selected in the list. You can also copy settings to multiple nodes at once by selecting them with the Shift key or the Ctrl key. So I’ll go ahead and copy my configuration to CGUSA-50 and CGUSA-51 by first selecting those machines in the list.
First disable them, then click Copy Configuration.
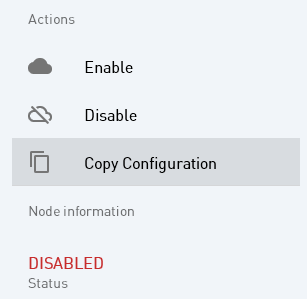
This copies the configuration from the current machine (the one you have currently accessed through your web browser; in this case, LAPTOP-DCFJ6PJM) to the two machines that are selected.
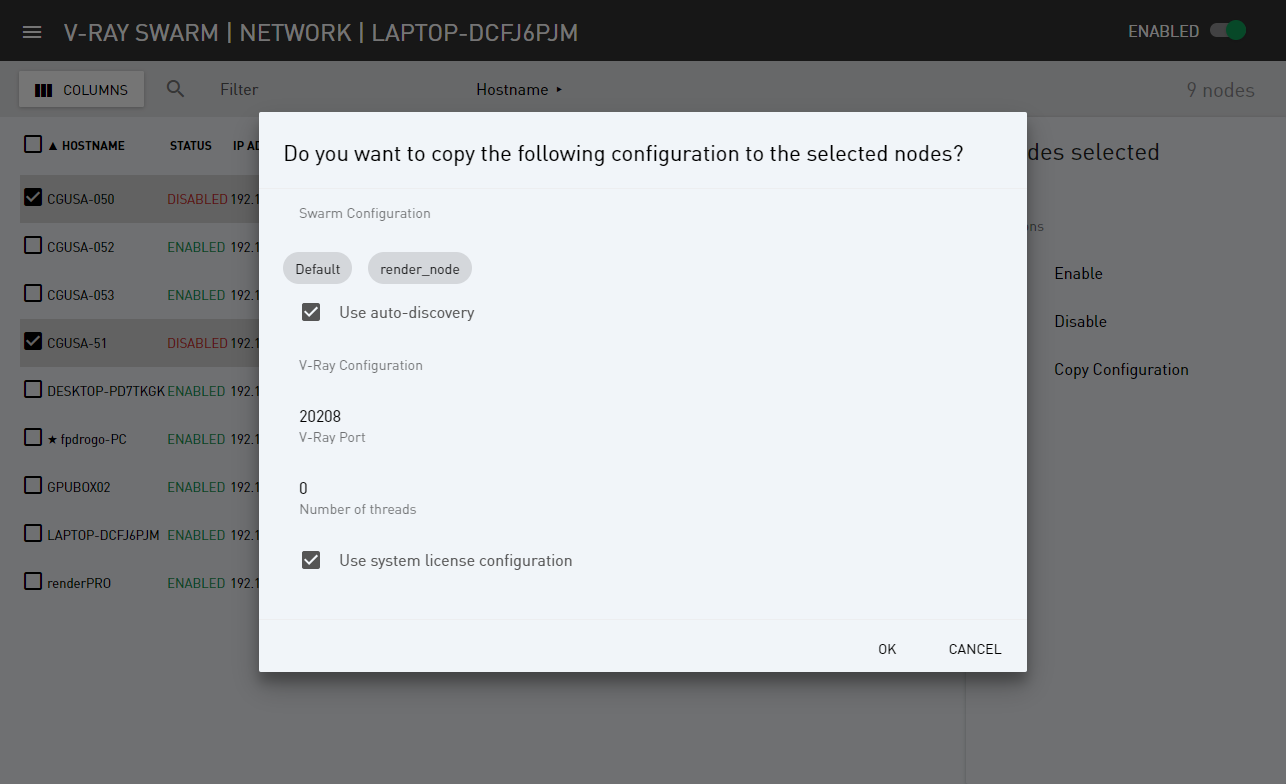
You can verify that the settings have copied over by taking note that the tags have carried over to the two machines. Let’s re-enable them to bring them back online.
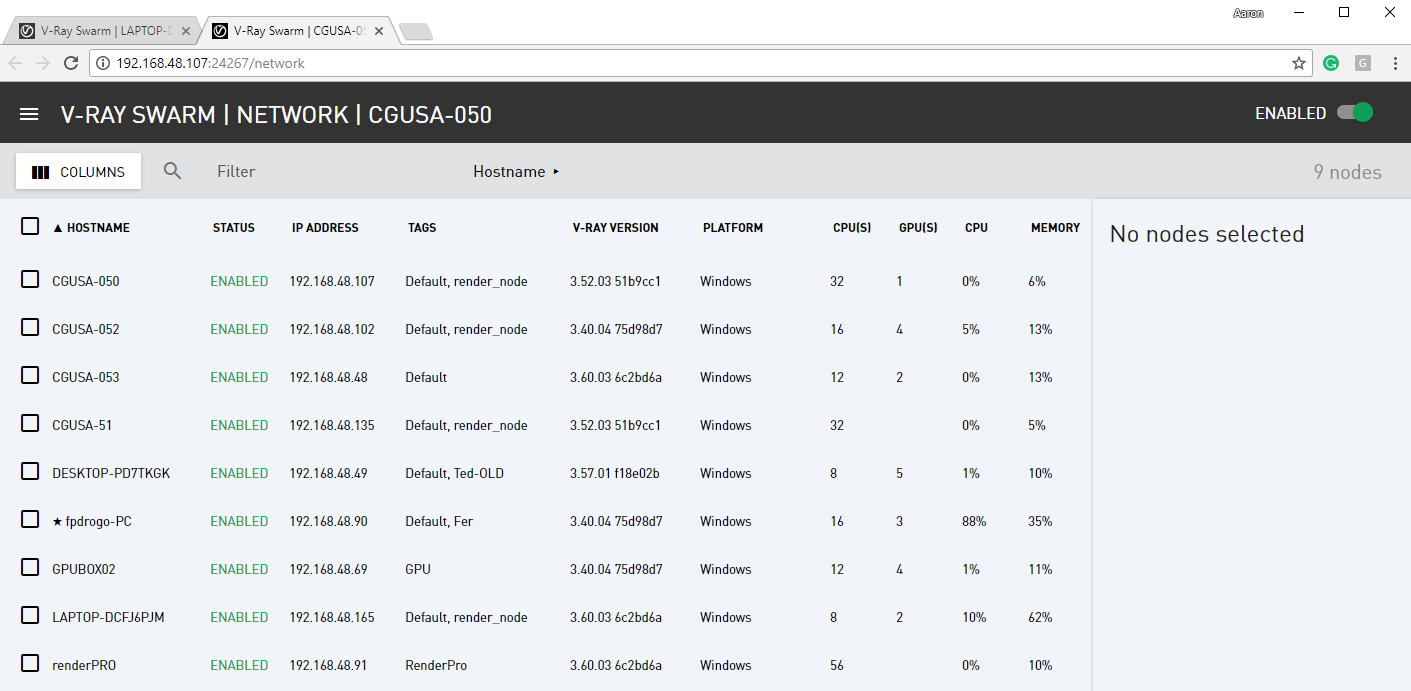
You can also log into other machines on the network from the Network page. If you select a node, you can access that machine's Swarm interface by clicking where it gives the URL here in the interface, shown below.
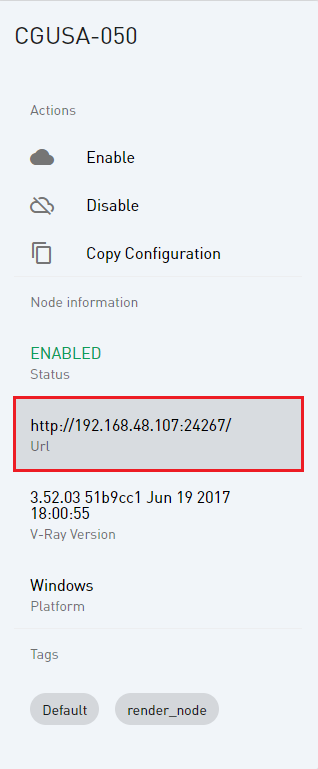
This opens a new tab, showing the user interface for that machine, so managing several nodes can be much easier than going to each physical machine.
Setting up V-ray for Rhino to use the Swarm
Now let’s see Swarm in action on a Rhino project.
Open up any project. Here we’re using Swarm_Start.3dm which you can download from the link at the top of this page, or use a sample project or a personal project of your own.
Let’s go over the settings for Swarm. Once you have the project loaded, open the Asset Editor from the V-Ray toolbar. Click the Settings tab.
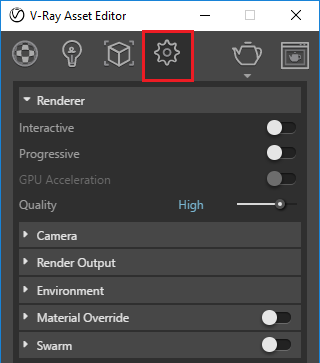
Expand the Swarm roll out and enable Swarm (![]() ) and you’ll see the full set of Swarm settings.
) and you’ll see the full set of Swarm settings.
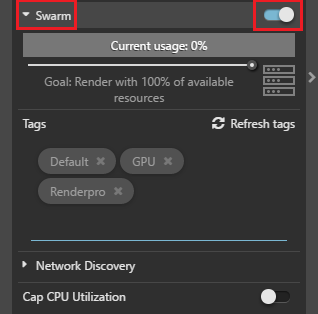
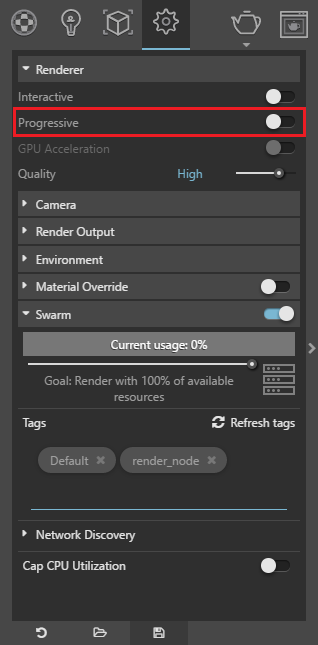
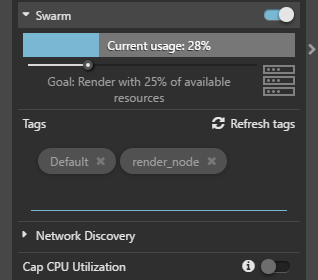
The first setting is Current usage, which shows the percentage of utilization of available resources.
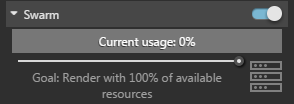
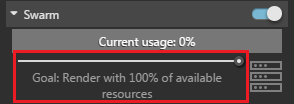
The Goal slider below determines how much of the available Swarm resources to throw at the rendering, and is defined by a percentage of the available machines. If you slide the Goal slider to the right, you can dynamically add more machines to this render. Computers added or removed to V-Ray Swarm will be factored into the percentage automatically.
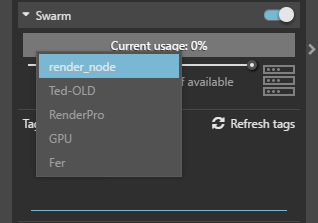
Tags is where the render_node tag we created comes in handy. V-Ray for Rhino will only render to machines that have any one of the tags listed here. You can click on the X next to the tags to remove them from the list. When no Tags are chosen, all available render node machines visible in the Swarm manager will be used.
Click on the text field immediately below the Default tag icon (shown above) to add tags as needed by typing them in, or selecting from the drop-down menu. Add the render_node tag.
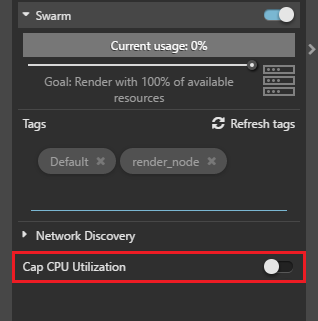
By enabling the Cap CPU Utilization button, you'll cap the CPU usage of the local machine to a single core. Let's leave it off for this tutorial and the local machine will render at full capacity.
All the render settings are taken care of in this scene to output the final image. As you can see, Progressive is disabled, meaning V-Ray for Rhino will use Buckets for the rendering. This is typically better when you want to use Swarm, as distributing the render is more optimized when using Buckets over Progressive.
And since Swarm is already enabled, go ahead and start a render. After a moment the render begins and you'll notice the usage stops at 33%. Once it got past 25% it stopped adding render nodes to the Swarm.
But as it’s rendering, you can increase the Goal slider to dynamically add more resources to the render.
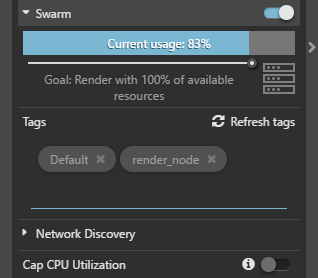
And of course, you can decrease the goal as well, and the nodes will drop off the Swarm.
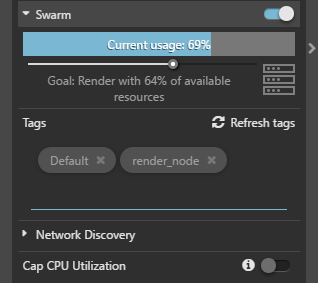
Now I’ll add a couple more tags to the Swarm pool, and more nodes will populate the render.
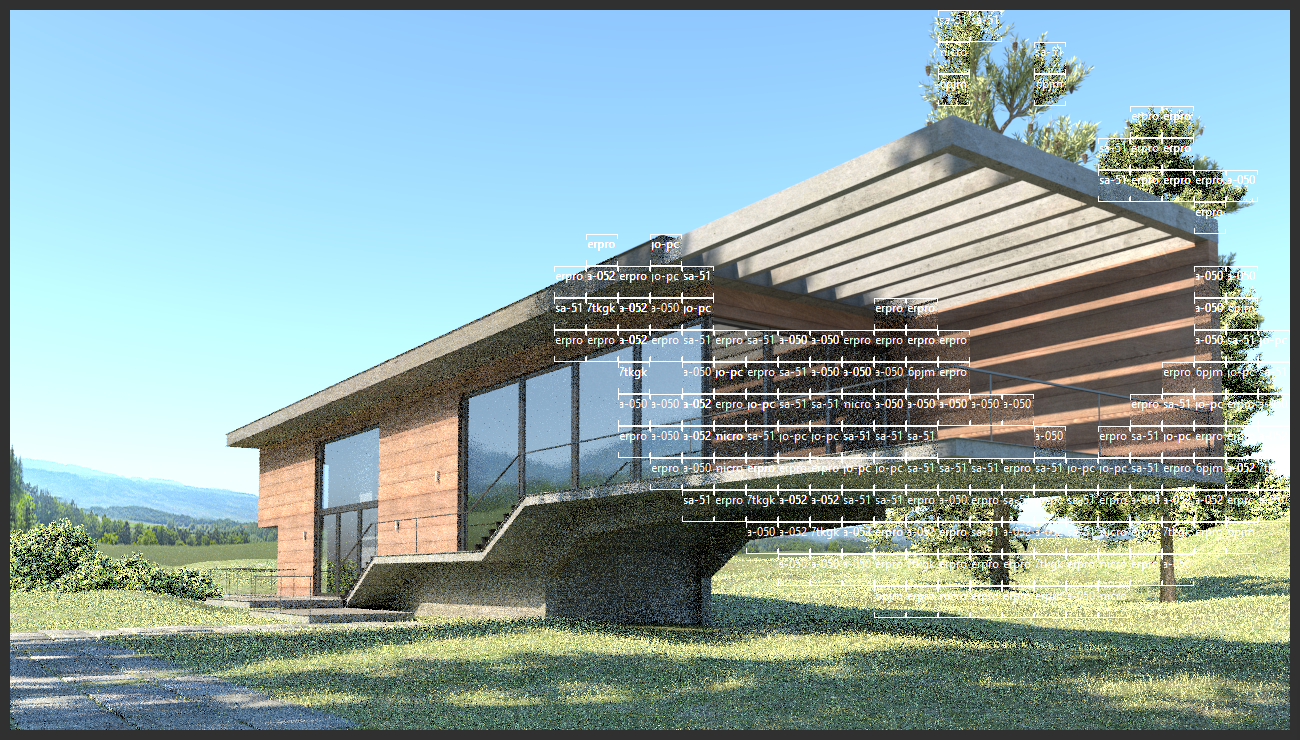
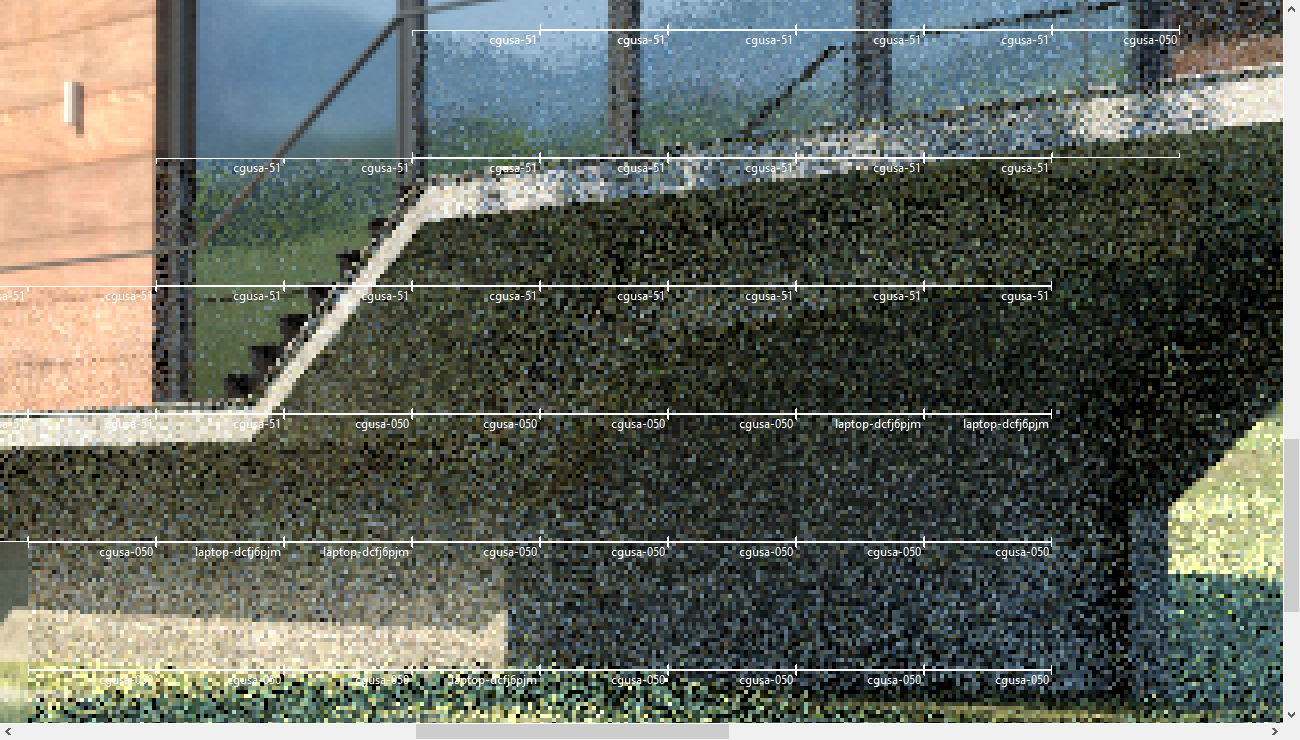
Zoom into the render and you can see each node name in the individual buckets of the render to see which node is rendering which bucket.
Managing the swarm while rendering
Click (![]() ) icon, and the Swarm interface of the currently elected Coordinator opens in a web browser, and you can see a more detailed view of what the Swarm is doing on this render.
) icon, and the Swarm interface of the currently elected Coordinator opens in a web browser, and you can see a more detailed view of what the Swarm is doing on this render.
Remove resources from the render, and you can see the interface update as those machines drop off. Their status will change from RENDERING to ENABLED.
Render Time Comparison
Here is the completed render with a time comparison of using just the local machine against using V-Ray Swarm, saving a lot of time over rendering on just the local machine.
Swarm rendering is most time-efficient when used for jobs with long base render time.

Host machine render time (8 cores) : 4 m 47.8 s
Swarm render time (48 Cores) : 1 m 56.4 s