This page provides a guide to setting up render elements in V-Ray for Nuke to create a traditional beauty pass and then how to properly composite render elements back together.
Overview
In this tutorial, we will set up a Nuke script to set up out the required passes in V-Ray to create a typical beauty render and then show how to composite individual render elements back together. This allows changes to be made on each Render Element in Post without the need for re-rendering.
Part I: Setting up the Render Elements
In this first section, we set up the Render Elements to composite into a beauty pass in the last section. Although the scene setup we are dealing with is actually rather complex, many sections have been grouped together into a single node for the sake of visual clarity. If required, these can be un-grouped into their original form by going to the Edit menu's Node section, then to the Group section and clicking on Expand Group (or by simply using the Ctrl+Alt+G hotkey).
At the end of this section, we will also render the actual Beauty render element to serve as a comparison for the final Beauty composite.
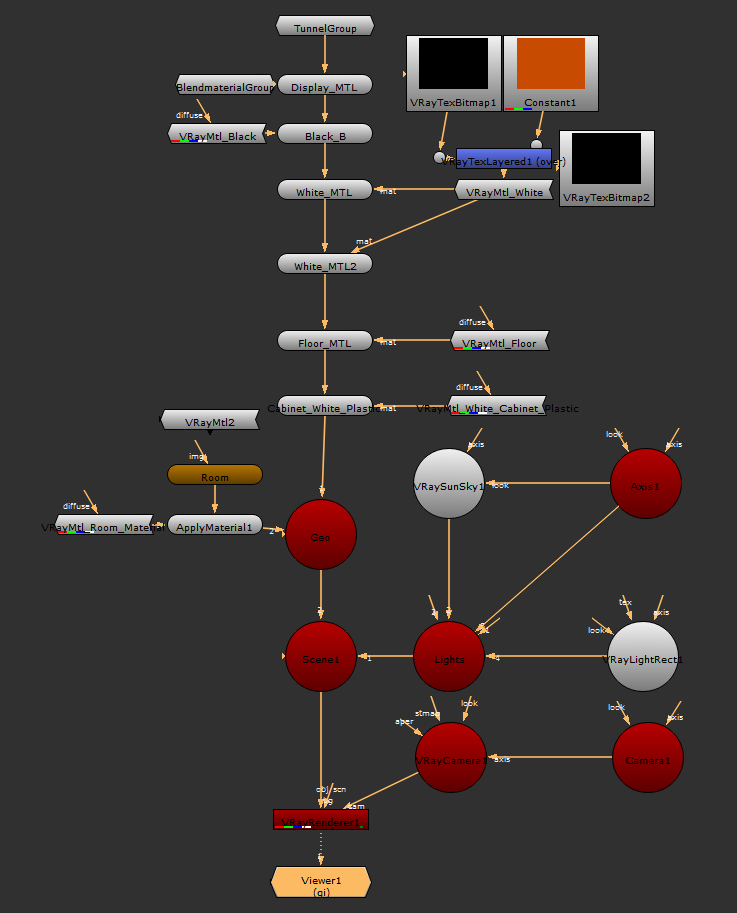
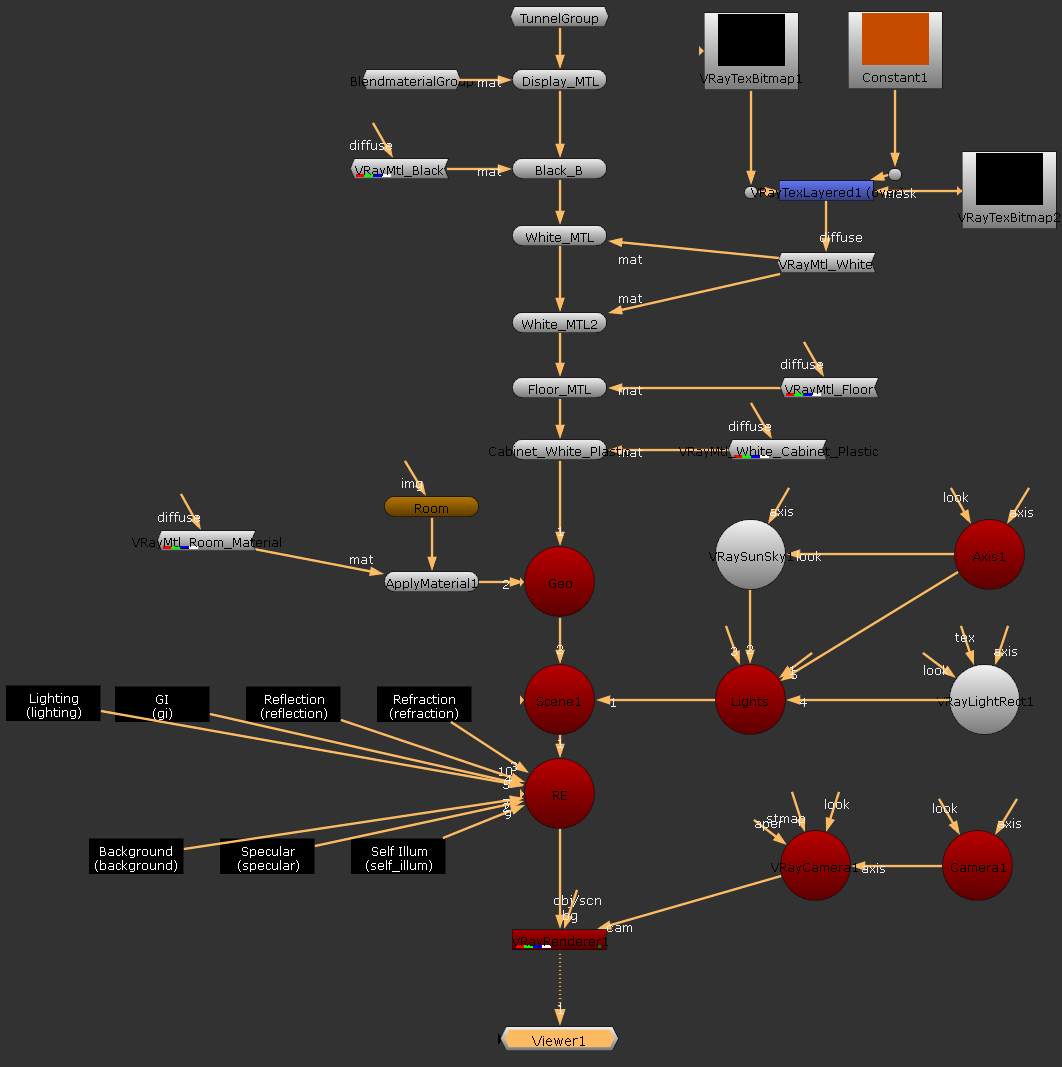
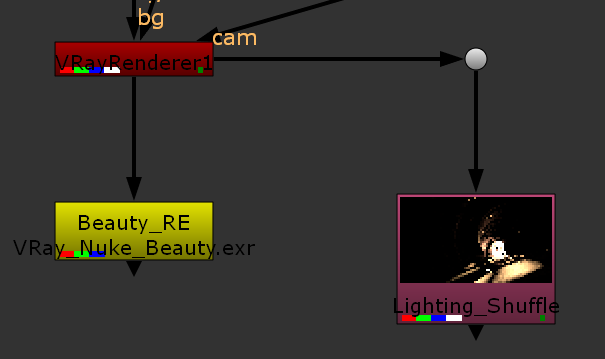
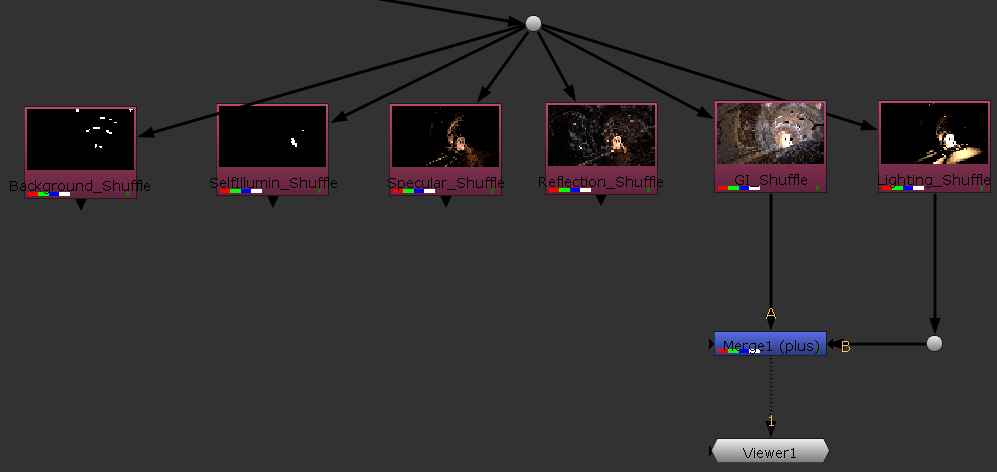
The Node graph at the start of this tutorial
Set up the Scene
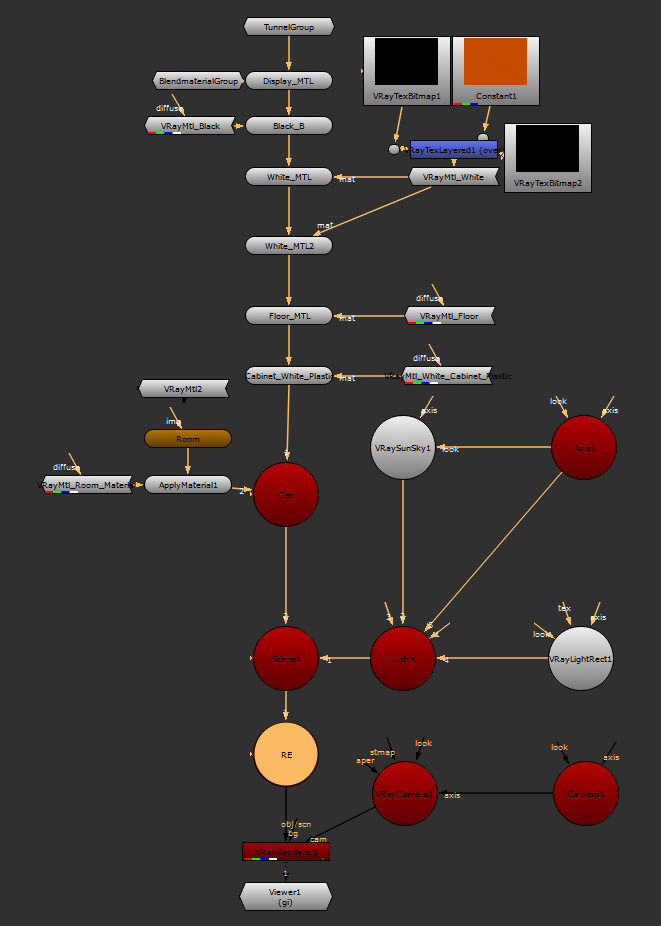
1. Create a Scene node after all the geometry, materials, and lights in the Nuke script, and name this node RE. We will be connecting all our render elements to this to keep things ordered.
3. Ensure that the RE Scene node is connected to the VRayRenderer node.
Set up the Lighting Render Element
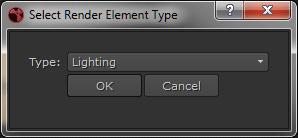
1. Create a VRayRenderElement Node.
2. When the Select Render Element Type box appears, select Lighting from the Type drop-down.
3. Connect this node to the RE Scene node.
4. Repeat these steps for each of the other required Render Elements (GI, Reflection, Refraction, Specular, Self Illumination, Atmospheric Effects, SSS & Background Render Elements).
Additional Render Elements will be needed (such as Self Illumination, Atmospheric Effects or SSS) if the scene characteristics require them. However, if they are not present then they are not needed to re-create the final Beauty composite. In the example shown here, as there are no objects within the scene with refractive or subsurface properties, those corresponding Render Elements are not needed. Since there are no volumetrics in the scene, we also don't need the Atmospheric Effects Render Element.

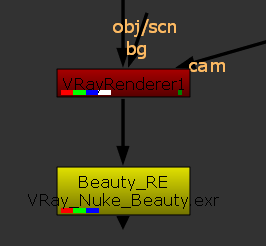
Rendering the Beauty Render Element
1. Create a Write node and connect it to the very end of your graph (after the VRayRenderer node).
2. Make sure that in the Write node the Channels are set to RGBA so that only the beauty channel is rendered out.
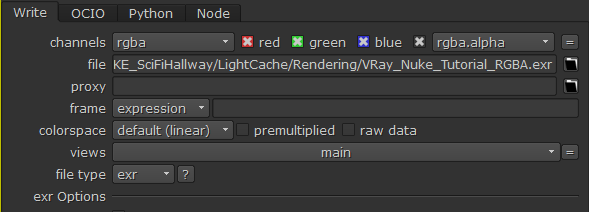
4. Under file in the Write node, set the name and location of your choice.
5. Set file type to exr.
6. With the Write node active, click the Render button.
7. When the Select Render window appears, in the Frame range set the required frames you wish to render. For a still image, the range will be 1-1. For a sequence, the range will be something like 1-100.
8. Select OK to render the Beauty Render Element.
Part II: Shuffling out the Render Elements
In this section, we will shuffle out the render elements we need to composite back together our beauty image.
Set up the Shuffle Nodes
1. Create a Shuffle node and connect its input to the VRayRenderer node.
2. We will start by shuffling the Lighting render element. With the node selected, set the in 1 to the lighting channel.
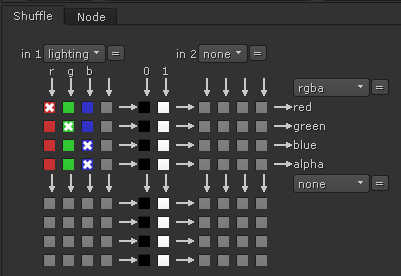
3. Enabling the postage stamp option in the Node tab will display a preview of the render element.
4. Create an additional Shuffle node for each render element similarly, making sure each has its in 1 set to the appropriate channel and is named accordingly.
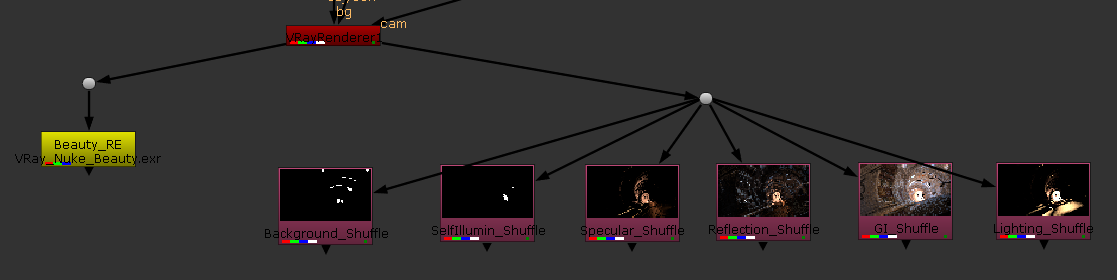
This setup using Shuffle nodes allows us to view and manipulate the render elements without having to render each one individually. Below is how each element should appear.
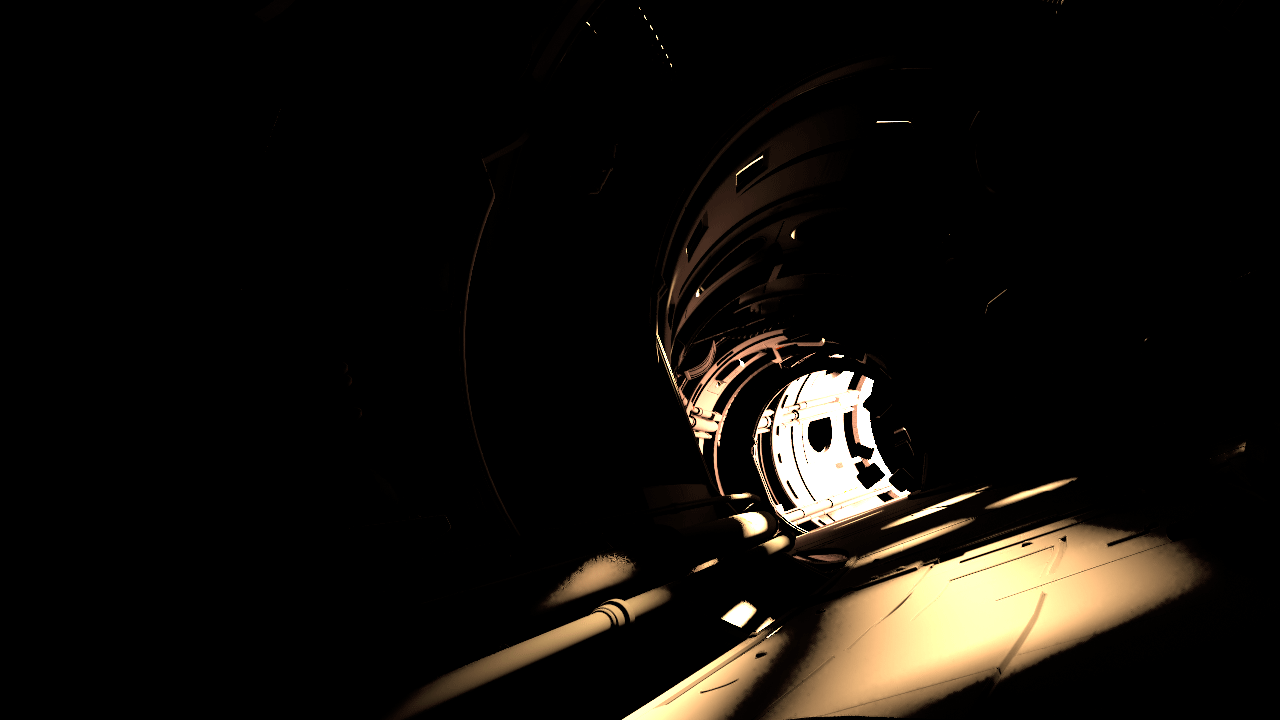
Lighting Render Element
GI Render Element
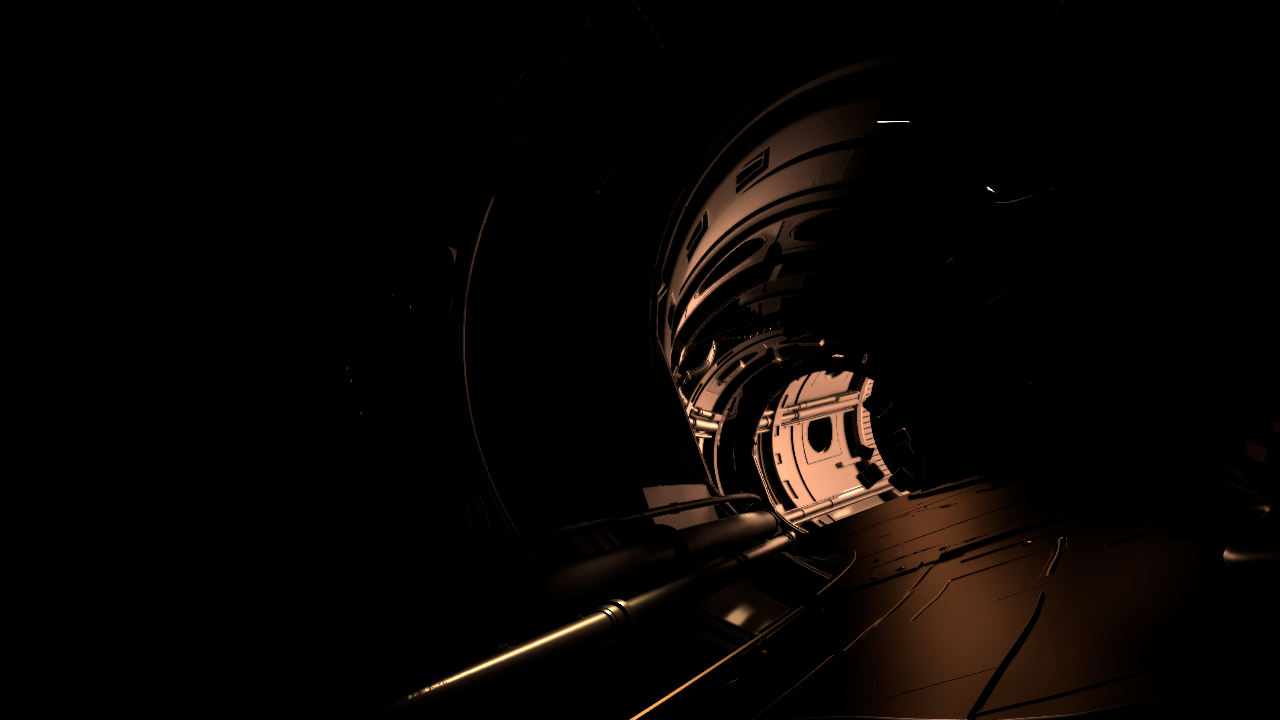
Reflection Render Element
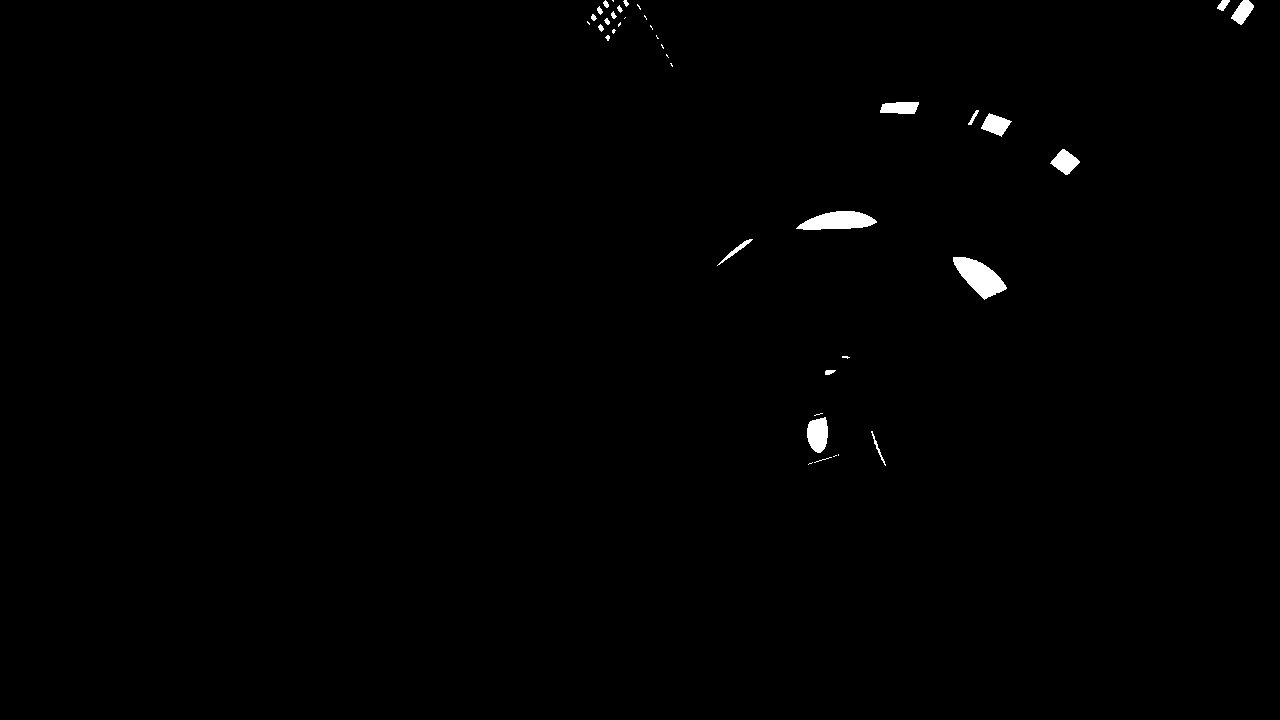
Specular Render Element

Self Illumination Render Element
Background Render Element
Part III: Compositing the Render Elements into a Beauty Pass
With the render elements shuffled out, we will composite them together to recreate the beauty pass. This gives greater scope for tweaking the individual render elements to change the look of the beauty pass without the need for rendering.
Adding Merge Nodes to each Render Element
1. Create a Merge node and set its operation to plus.
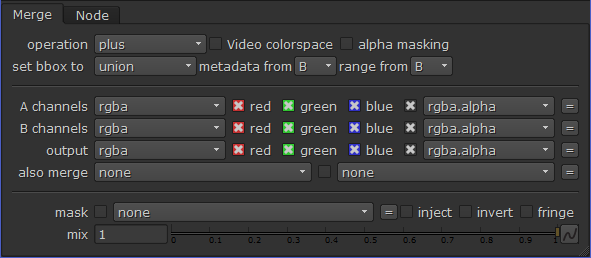
2. Connect the A channel of the Merge node to the GI Shuffle node and the B channel to the Lighting Shuffle node.
3. Create copies of the Merge node for the other render elements and connect the A channel of each one to its matching render element's Shuffle node.
5. Connect all other B channels to the previous Merge node as shown below.
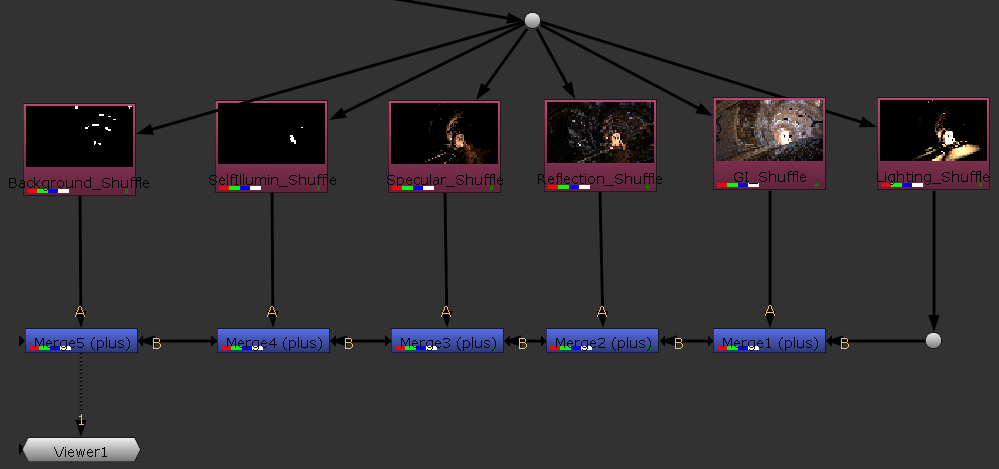
The final setup to recreate the beauty pass from its component render elements
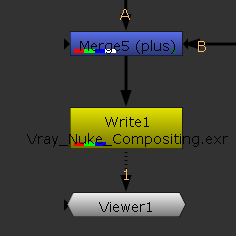
6. To render the final composite, simply connect a Write node to the last Merge node and adjust the output options accordingly.
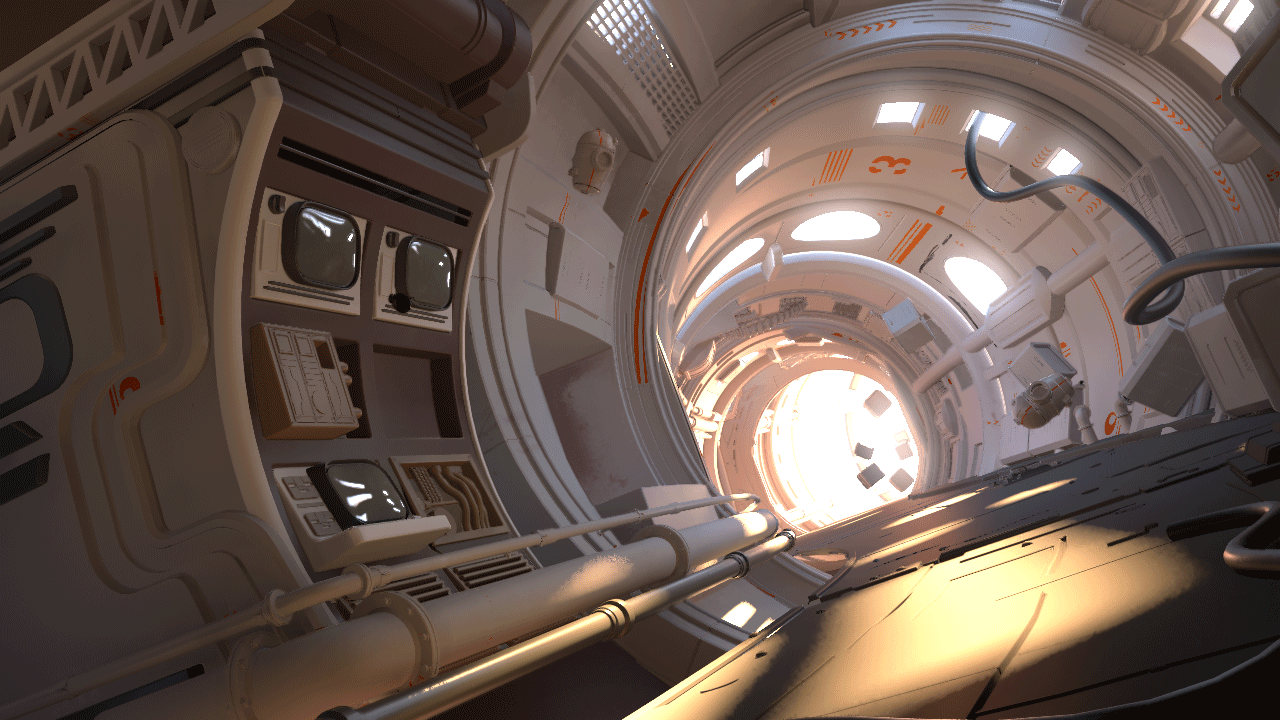
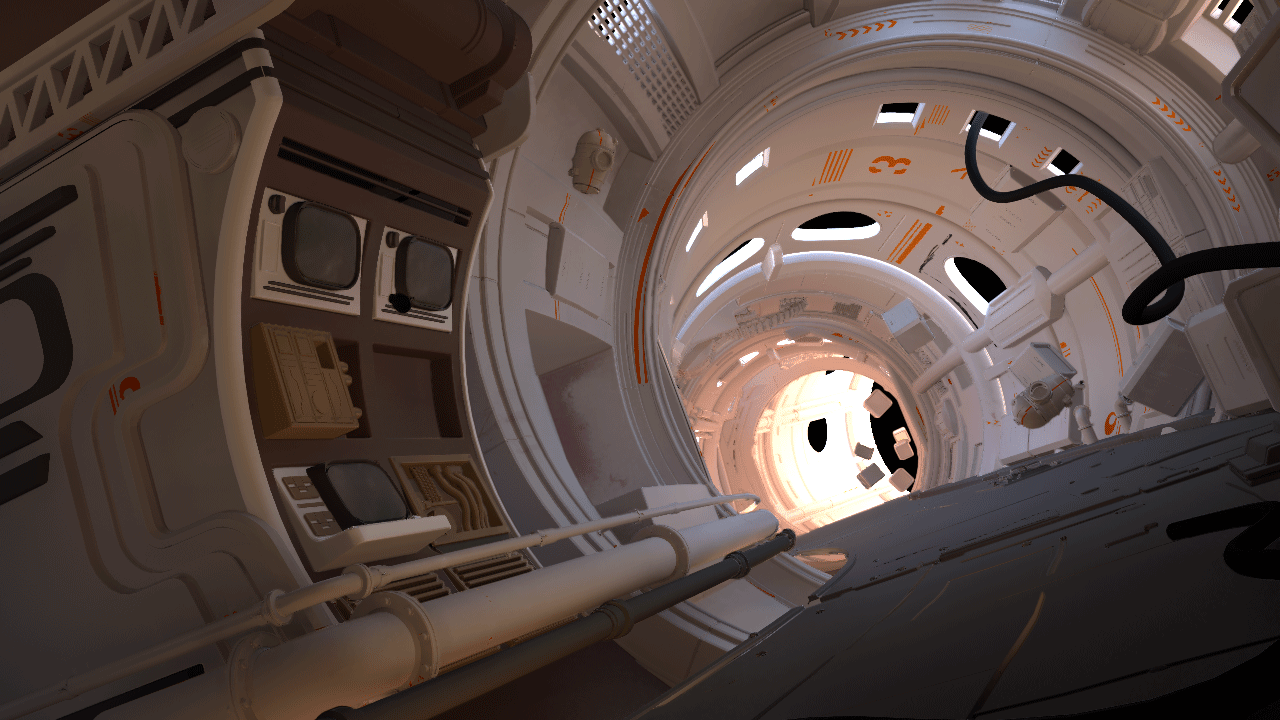
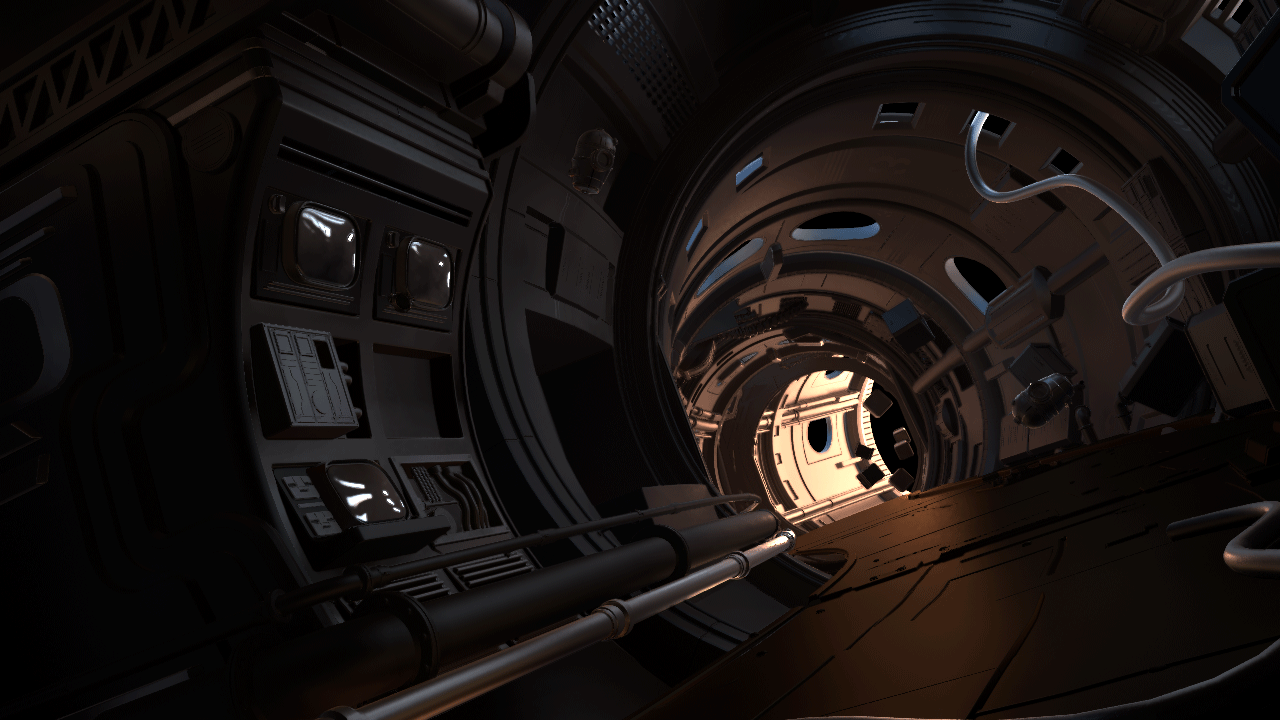
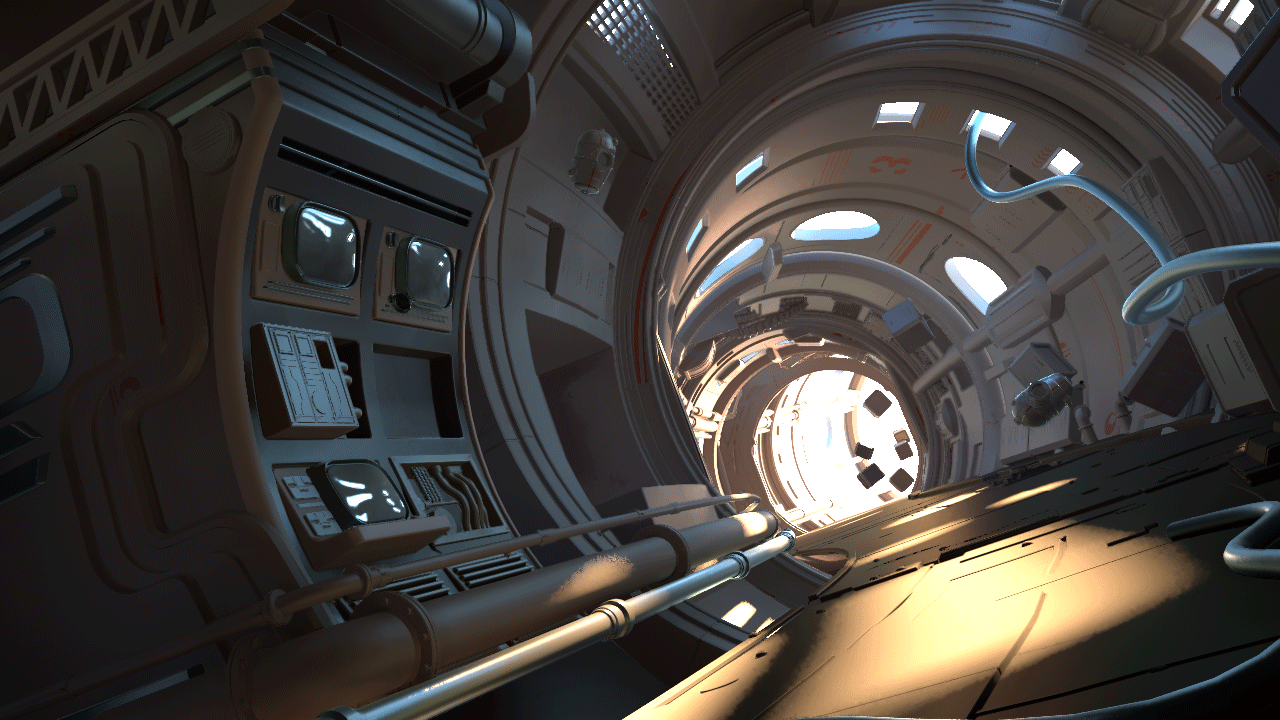
Finally, here is a comparison between the original Beauty Render Element and the newly composited Beauty image.
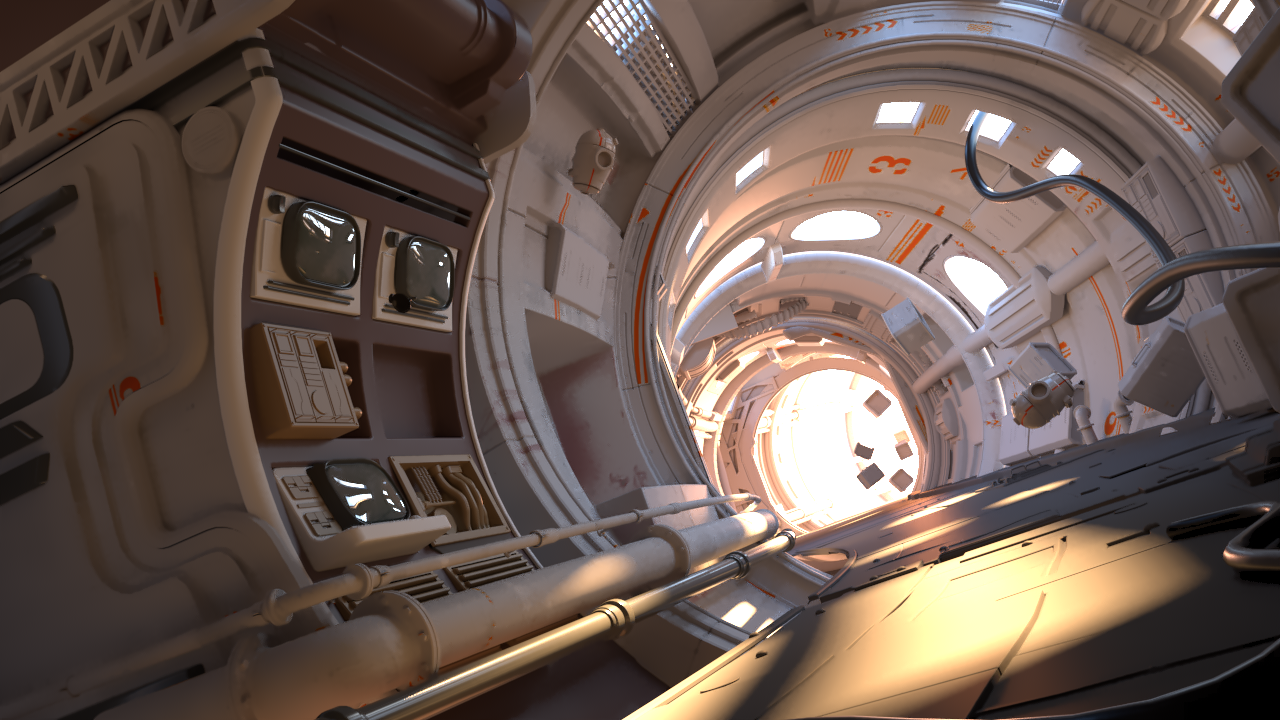
Original Beauty Render Element

Adjusting Individual Render Elements
1. From here, each render element can be adjusted independently to alter the final beauty render. The examples below illustrate different results that can be achieved.
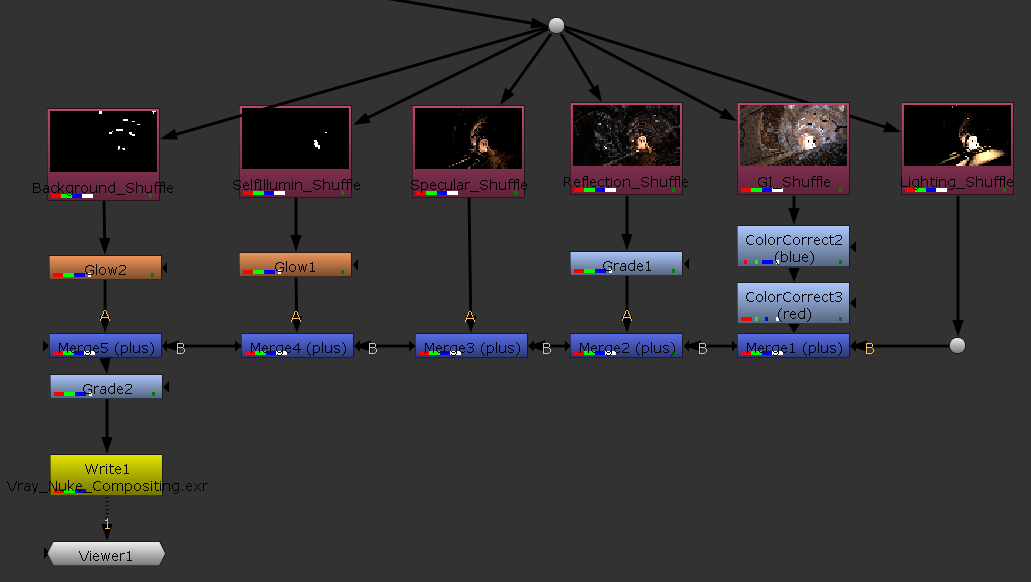
The beauty composite with a glow added to the Self Illumination and Background Render Elements
Notes
- The Self Illumination and SSS Render Elements are only required in the rendering/compositing process if they are used within the material properties of objects in the scene.
- The Atmospheric Effects Render Element is not required unless the scene is set up with volumetric properties.
- Render elements can also be outputted as separate images or image sequences as well as a multi-channel EXR. In some pipelines, it can be advantageous to render out as separate files for each render element, although in most cases a multi-channel EXR sequence is easier to handle.