This page provides a guide on rendering an Ambient Occlusion pass in V-Ray for Nuke and using it with the V-Ray Blend Material.
Overview
In this tutorial, we set up a Nuke script to use a VRayDirt texture in V-Ray and use it along with a VRayMtlBlend so that two materials are combined together when the Ambient Occlusion pass is used as a mask.
Part I: Setting up the AO Pass
In this first section, we set up a VRayDirt node and connect it to the diffuse channel of a VRayMtl, which will be used temporarily to tune-in the AO settings before later use as a mask.
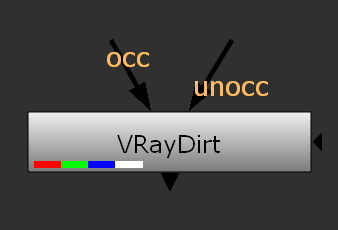
1. Create a VRayDirt texture.
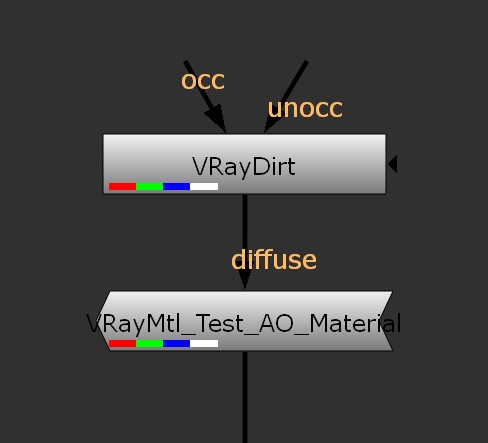
2. Create a VRayMtl, name it VRayMtl_TestAO_Material and then connect the VRayDirt texture as its diffuse input.
3. Connect the VRayMtl_Test_AO_Material to the img input of the geometry within the scene.
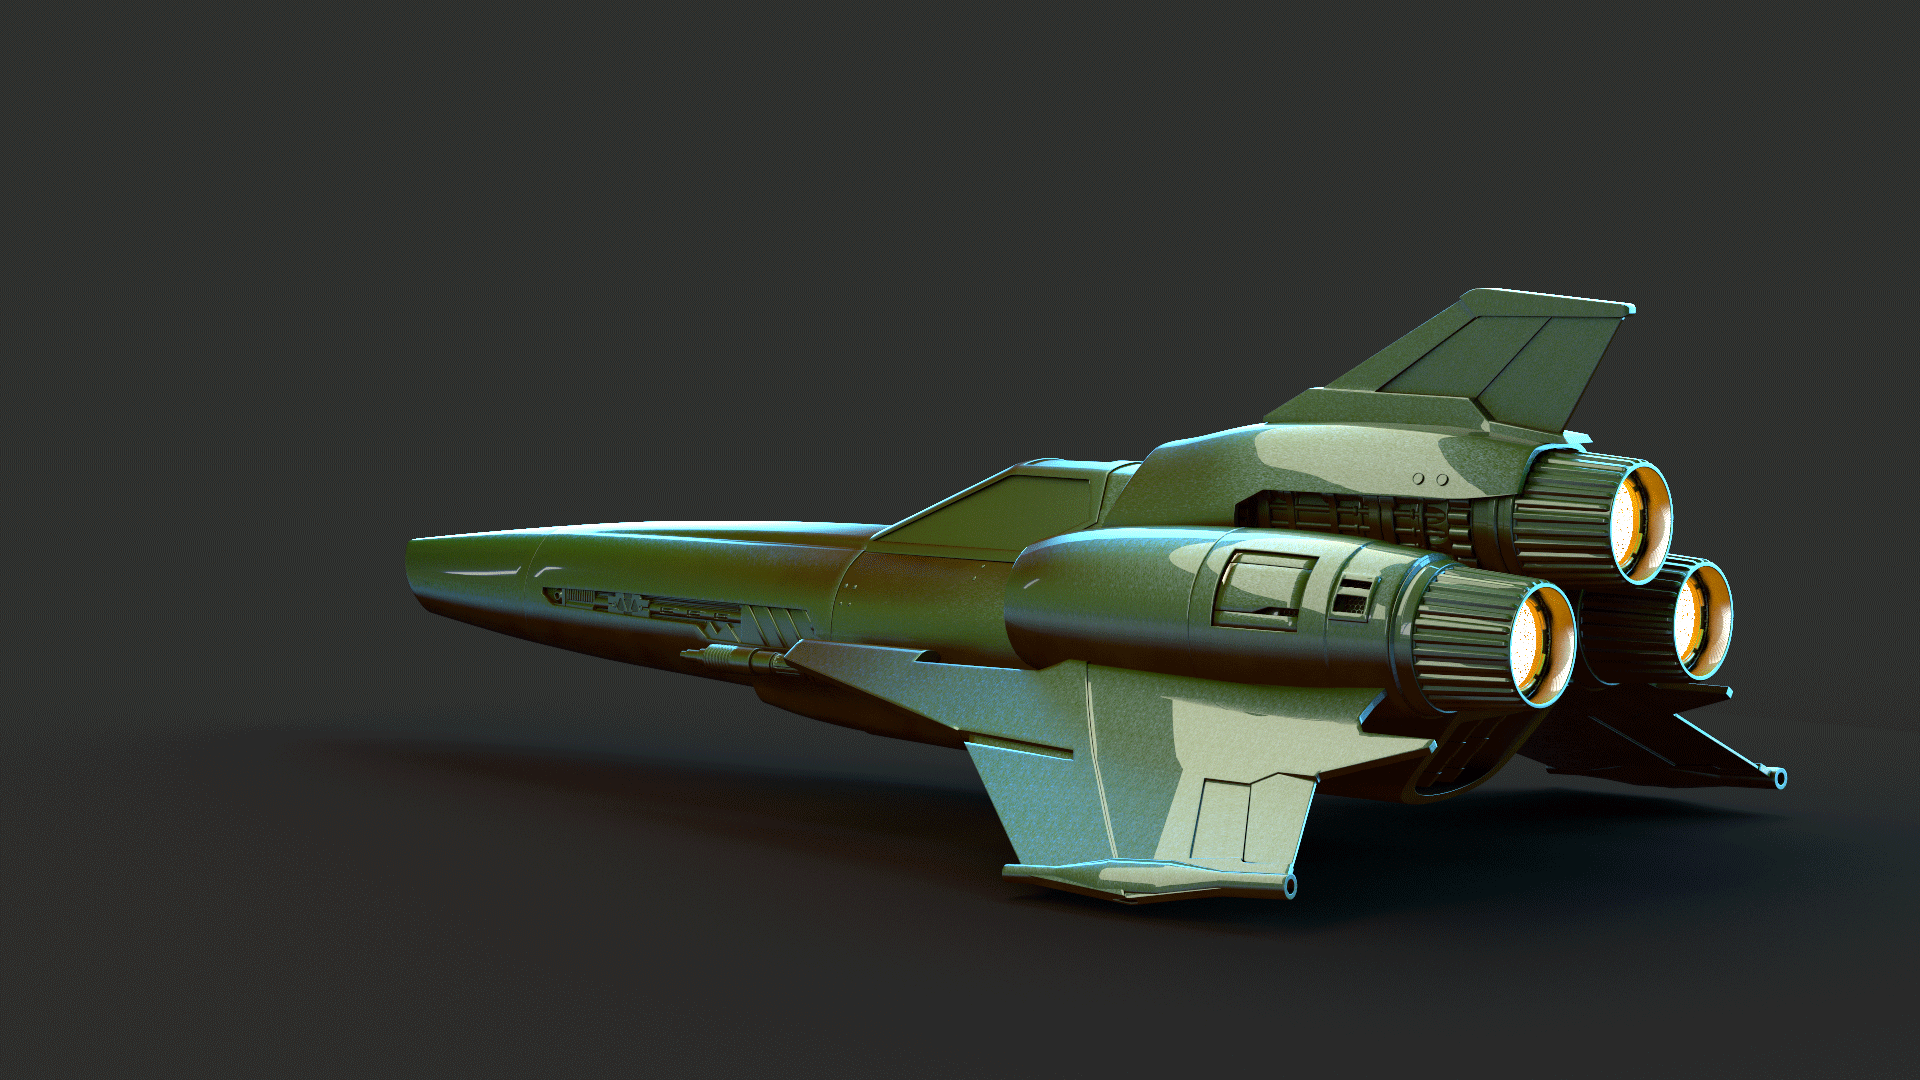
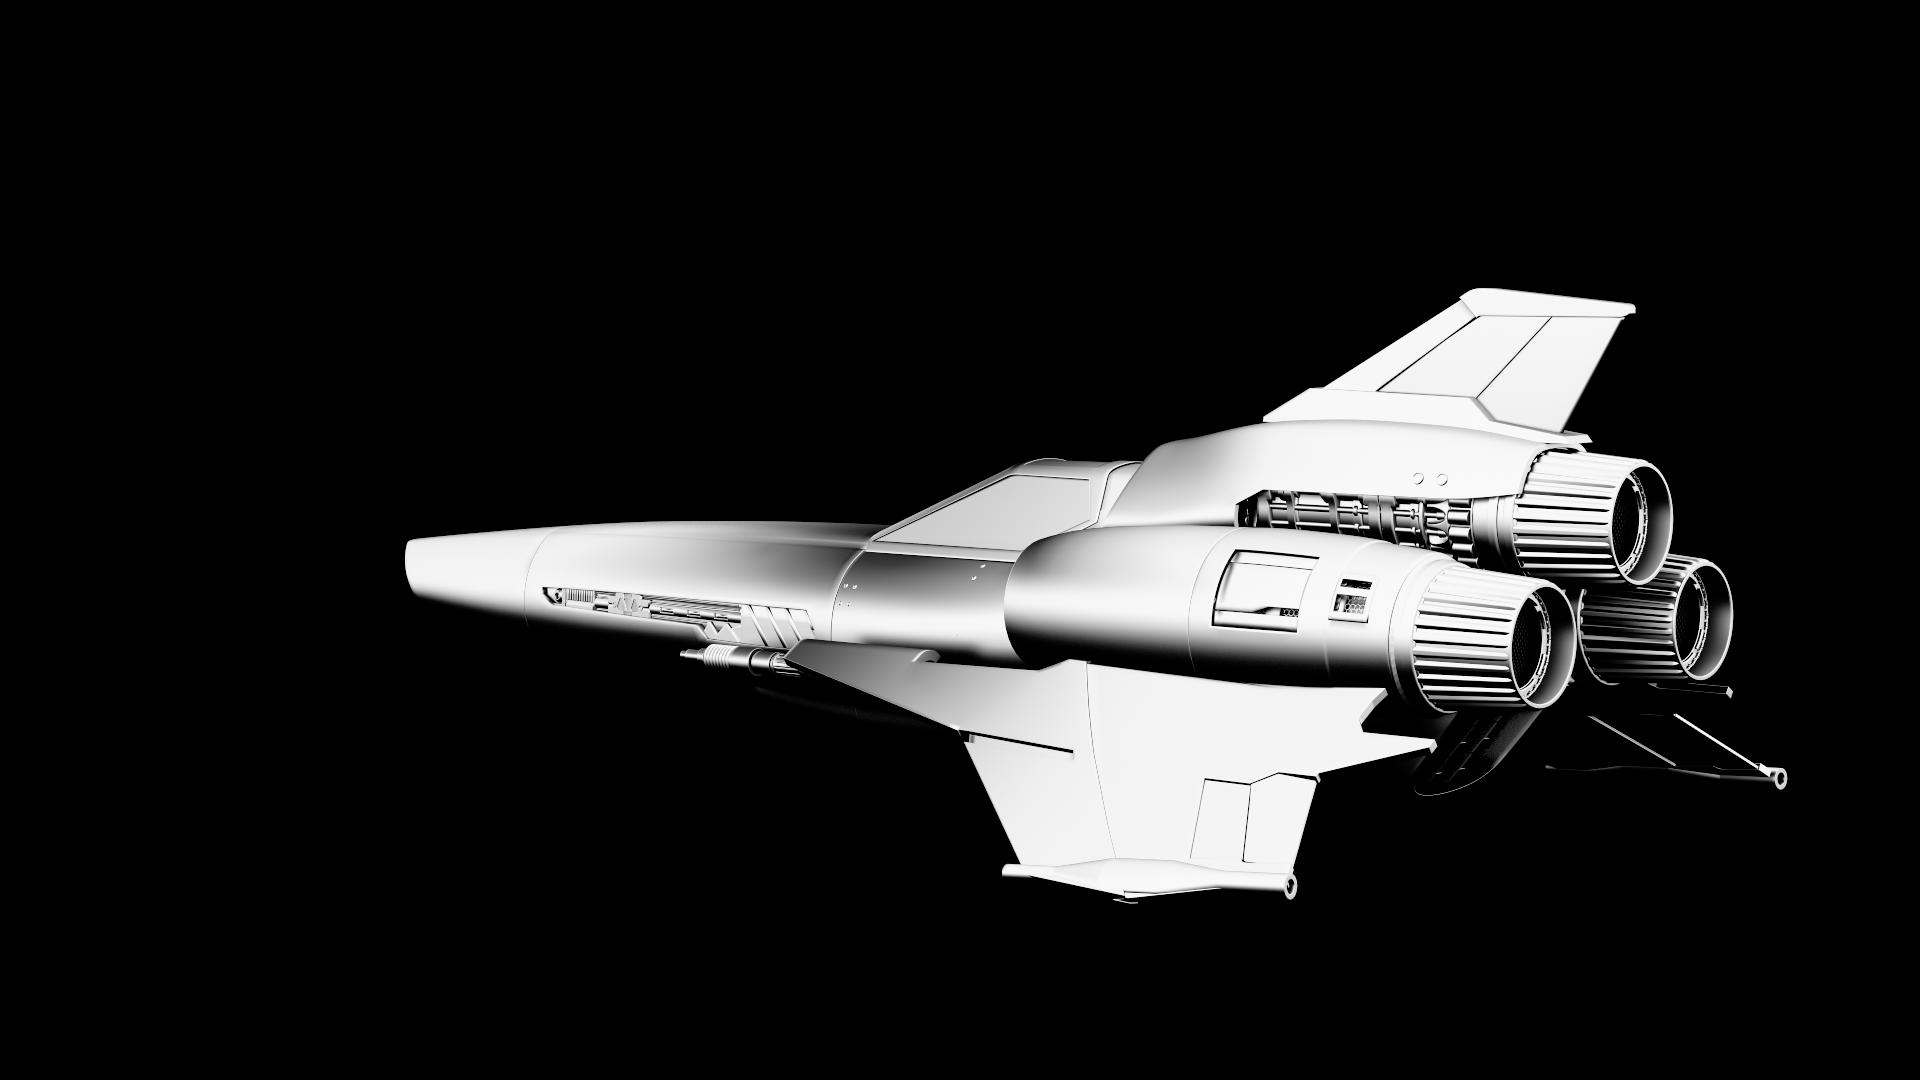
Beauty Render with VRayDirt used as the Diffuse channel for V-Ray Material, which currently only using the default values for VRayDirt.
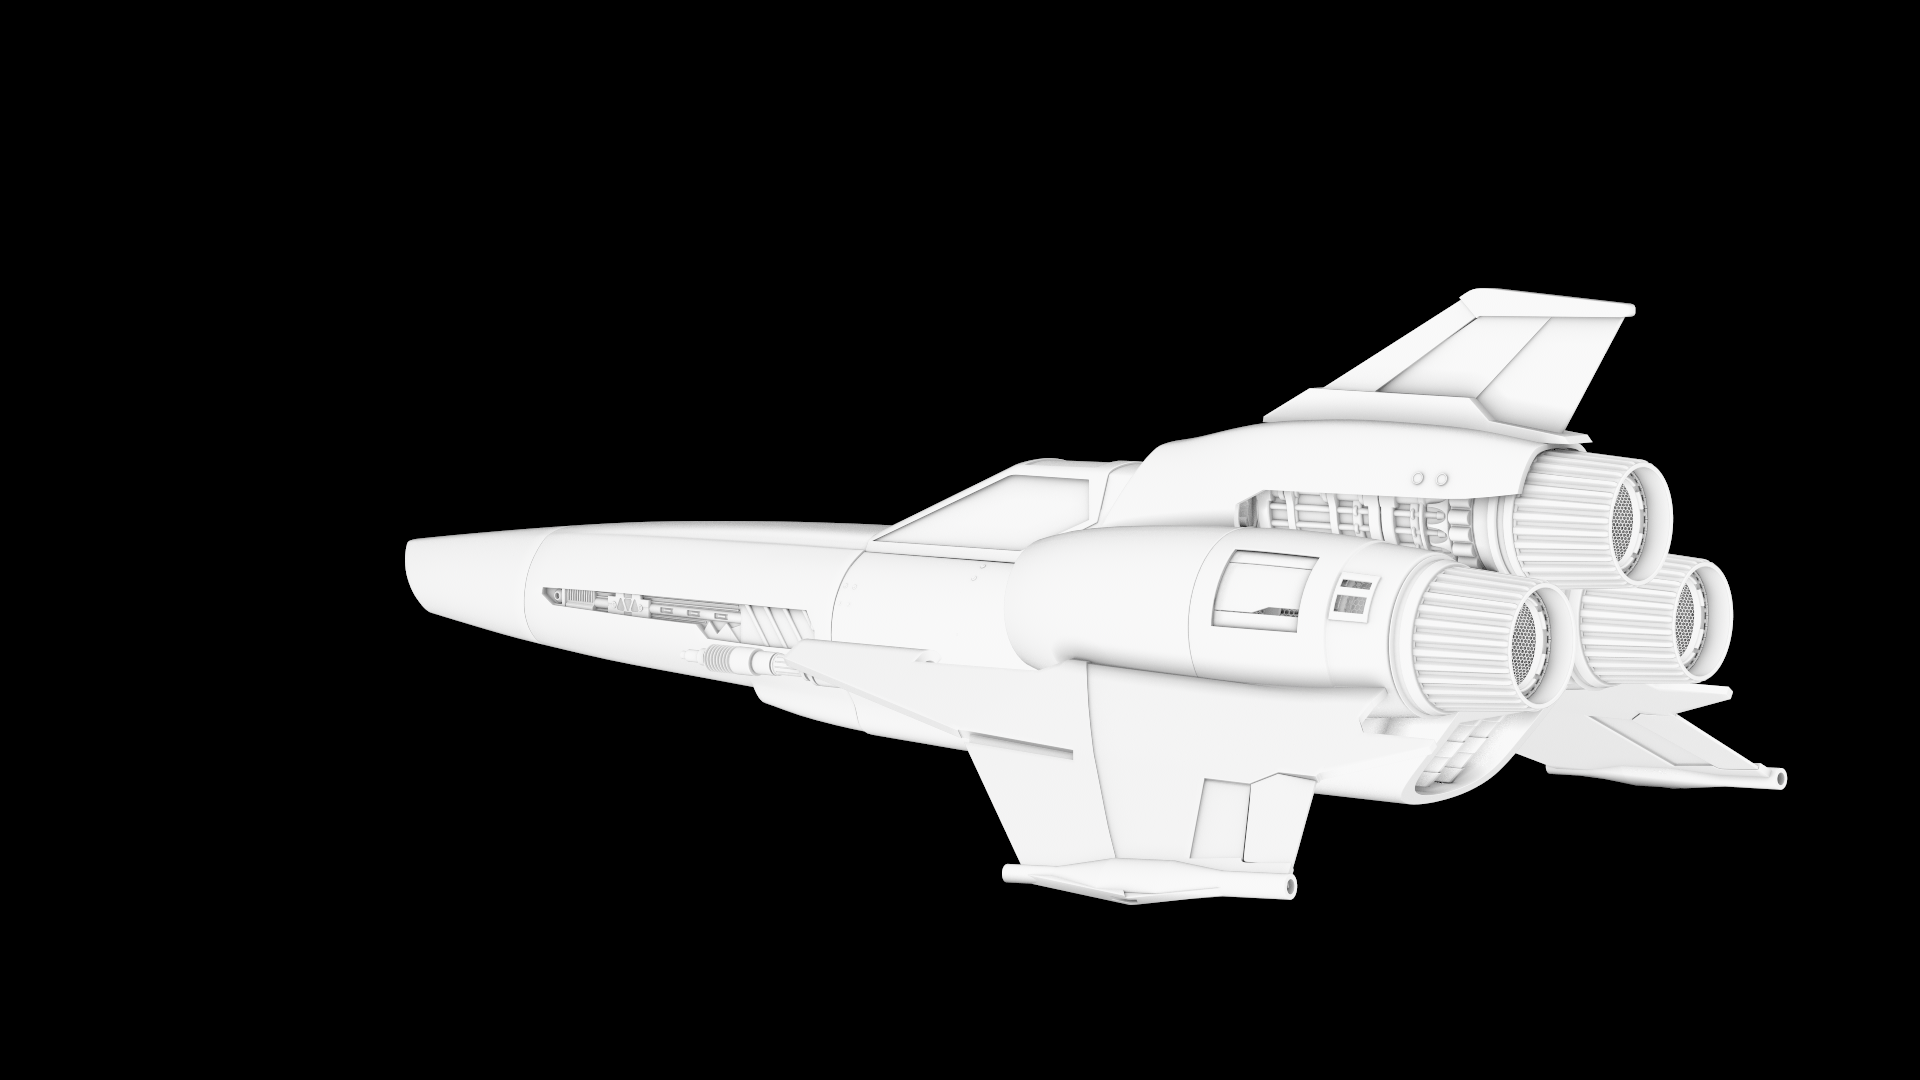
The Diffuse Render Element with VRayDirt used as the Diffuse channel for V-Ray Material, which currently only uses the default values for VRayDirt.
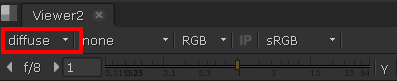
4. Currently at the default VRayDirt settings, there are not a lot of dark areas to later use to blend the two materials. So using the test VRayMtl we have set up so far, the VRayDirt texture can be tuned to reach the look desired to act as that blending mask when we eventually use the VRayMtlBlend. For tuning, it is easier if the viewer in Nuke is set to the diffuse channel.
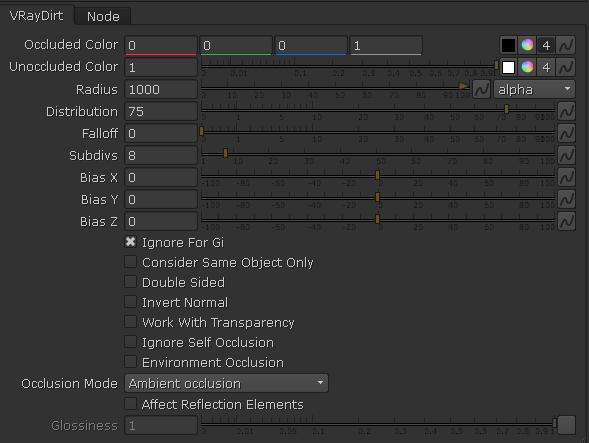
In the examples below, the VRayDirt texture has been tuned to give it a darker and broader output, by using a large Radius of 1000 and a high Distribution value of 75 (which tightens the dark areas). Also, the Subdivs have been raised to 8 so that the resulting texture is not overly noisy.
For a full explanation of all the parameters of the VRayDirt texture, please see the Occlusion or Dirt Map page.
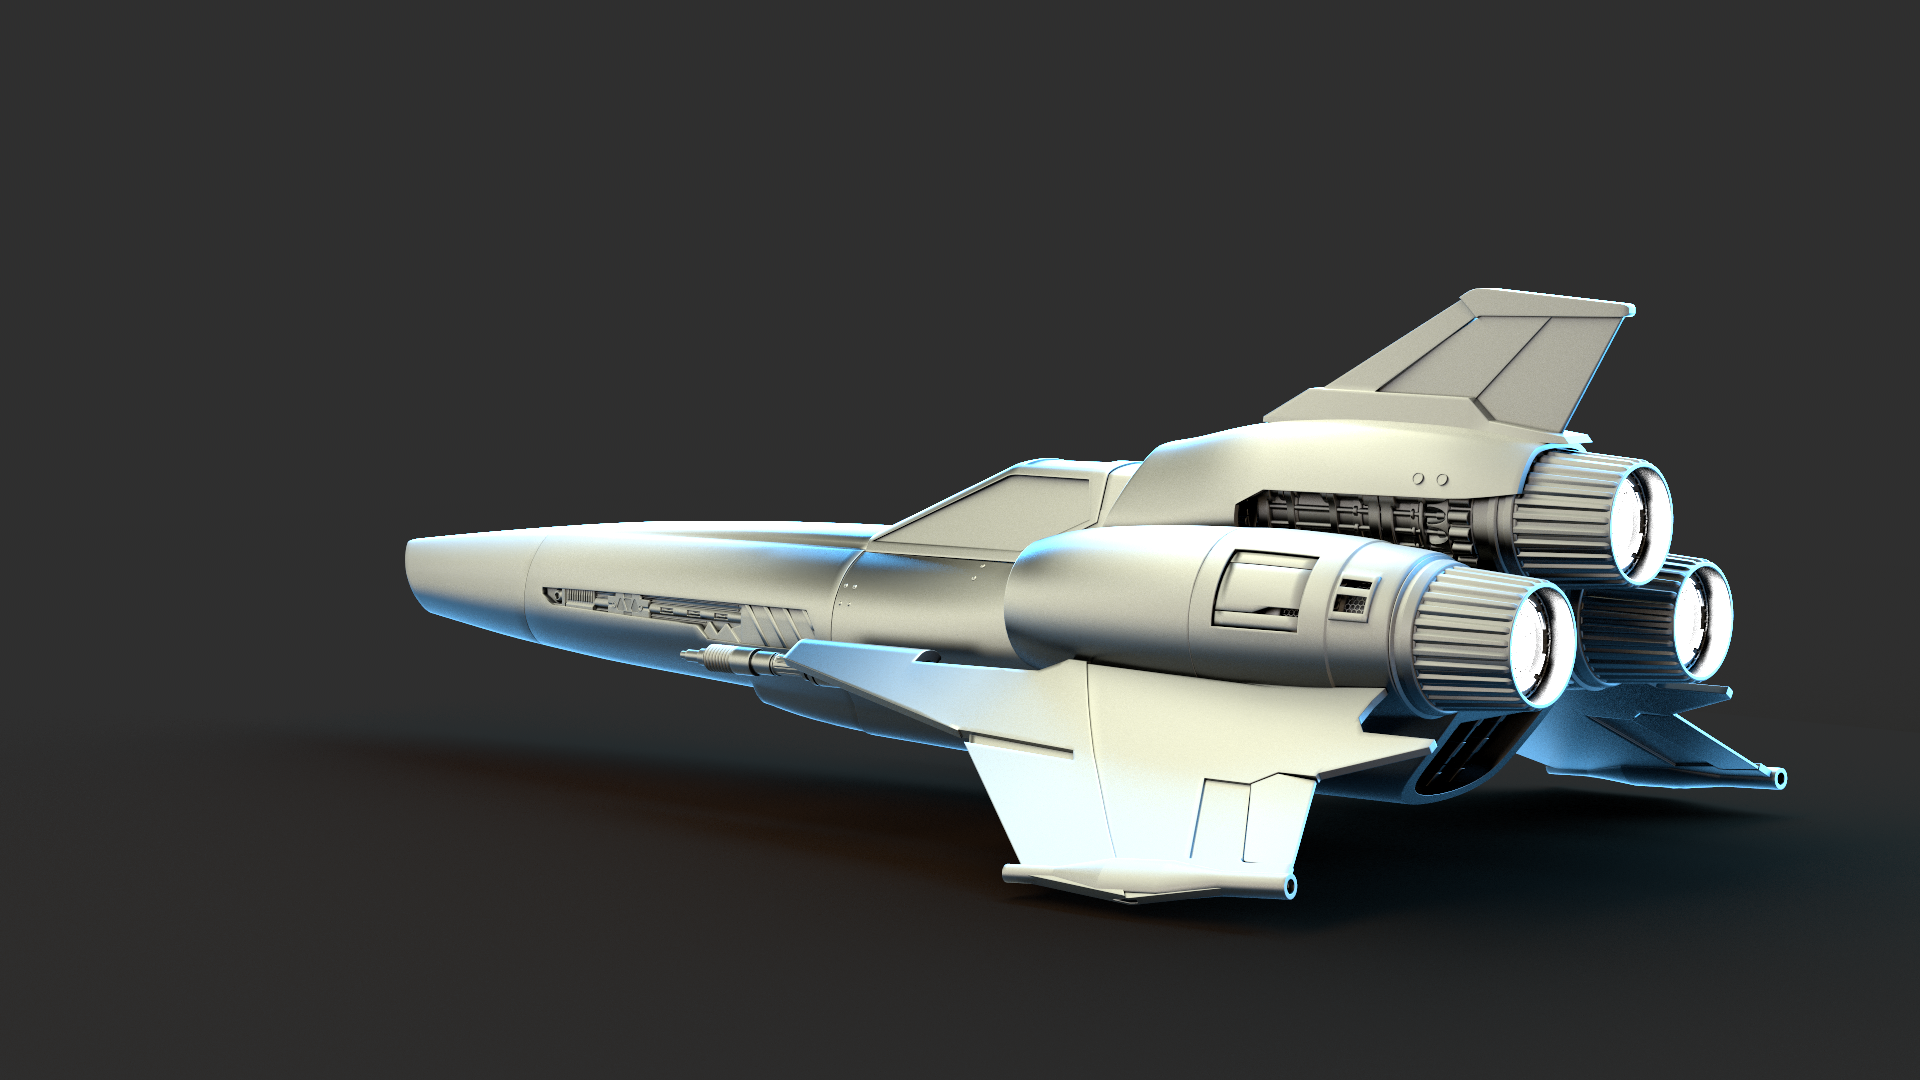
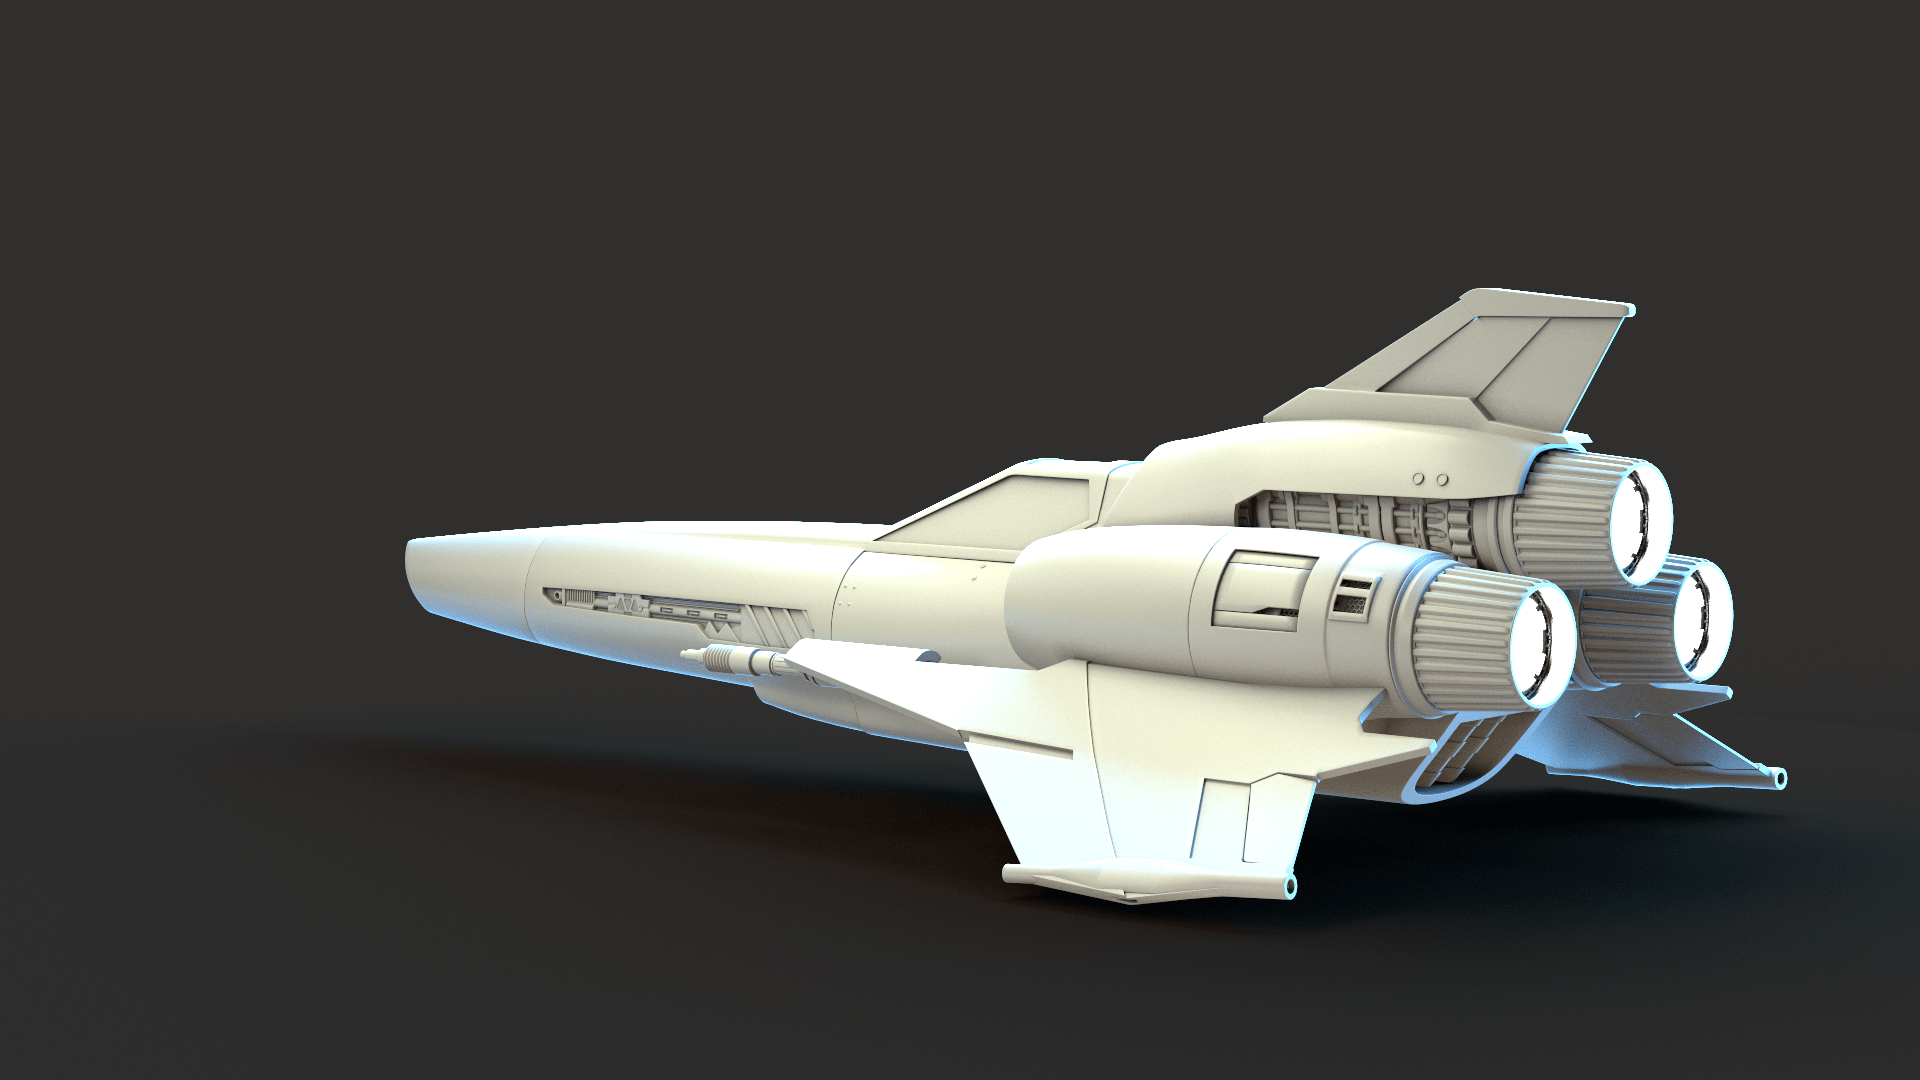
Beauty Render with VRayDirt used as the Diffuse channel for V-Ray Material with tuned settings.
The Diffuse Render Element with VRayDirt used as the Diffuse channel for V-Ray Material with tuned settings.
Part II: Using the AO pass as a mask for a VRayMtlBlend
In this section, we learn how to use the AO pass as a mask for a VRayMtlBlend to control blending between two materials.
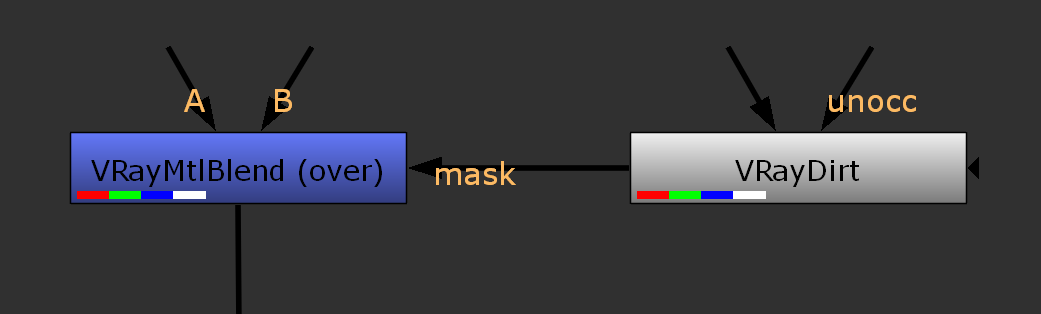
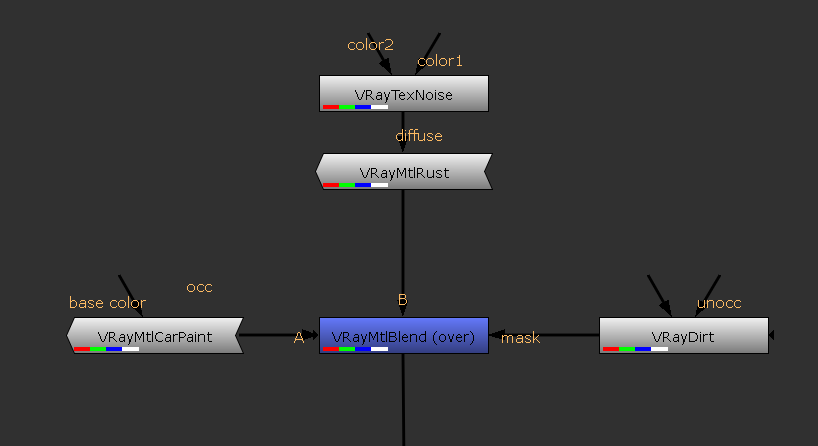
1. Create a VRayMtlBlend material and connect the VRayDirt texture as a mask.
2. Create a VRayMtl material, name it VRayMtlRust, and connect the B input of the VRayMtlBlend material.
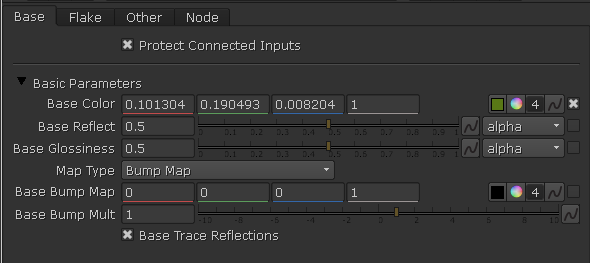
3. Create a VRayTexNoise texture and connect it to the diffuse input of the VRayMtlRust material. This acts as a basic rust color and gives some mild variation to the diffuse channel.
4. Create a VRayMtlCarPaint material, name it VRayMtlCarPaint, and connect the A Input of the VRayMtlBlend material.

A Beauty Render of VRayMtlBlend with a VRayDirt acting as a mask between VRayMtlRust & VRayMtlCarPaint
The Diffuse Render Element ofVRayMtlBlend with a VRayDirt acting as a mask between VRayMtlRust & VRayMtlCarPaint
Part III: Adding variation the VRayDirt used as a mask for a VRayMtlBlend
In this section we learn how to add some variation to the VRayDirt which is being used as a blend control mask for the VRayMtlBlend and its two materials.
1. Create a VRayTexNoise texture and connect it to the Occluded Color channel of the VRayDirt.
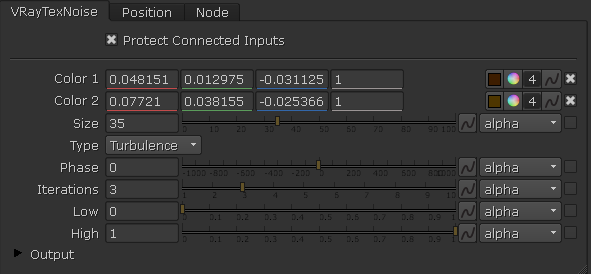
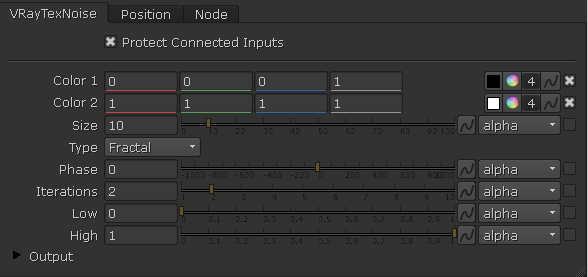
2. Ensure that Color 1 of the VRayTexNoise texture is set to black and that Color 2 of the VRayTexNoise texture is set to white.
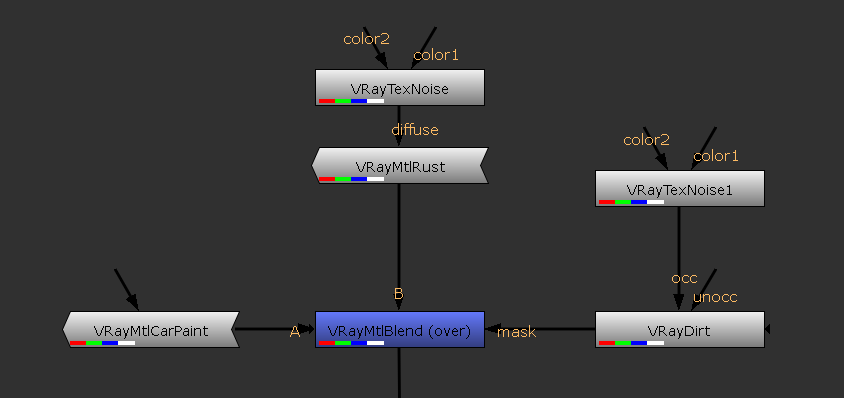
3. Change the Type in the VRayTexNoise texture to Fractal, with Iterations set to 2, and Size set to 10.
4. Render the image.
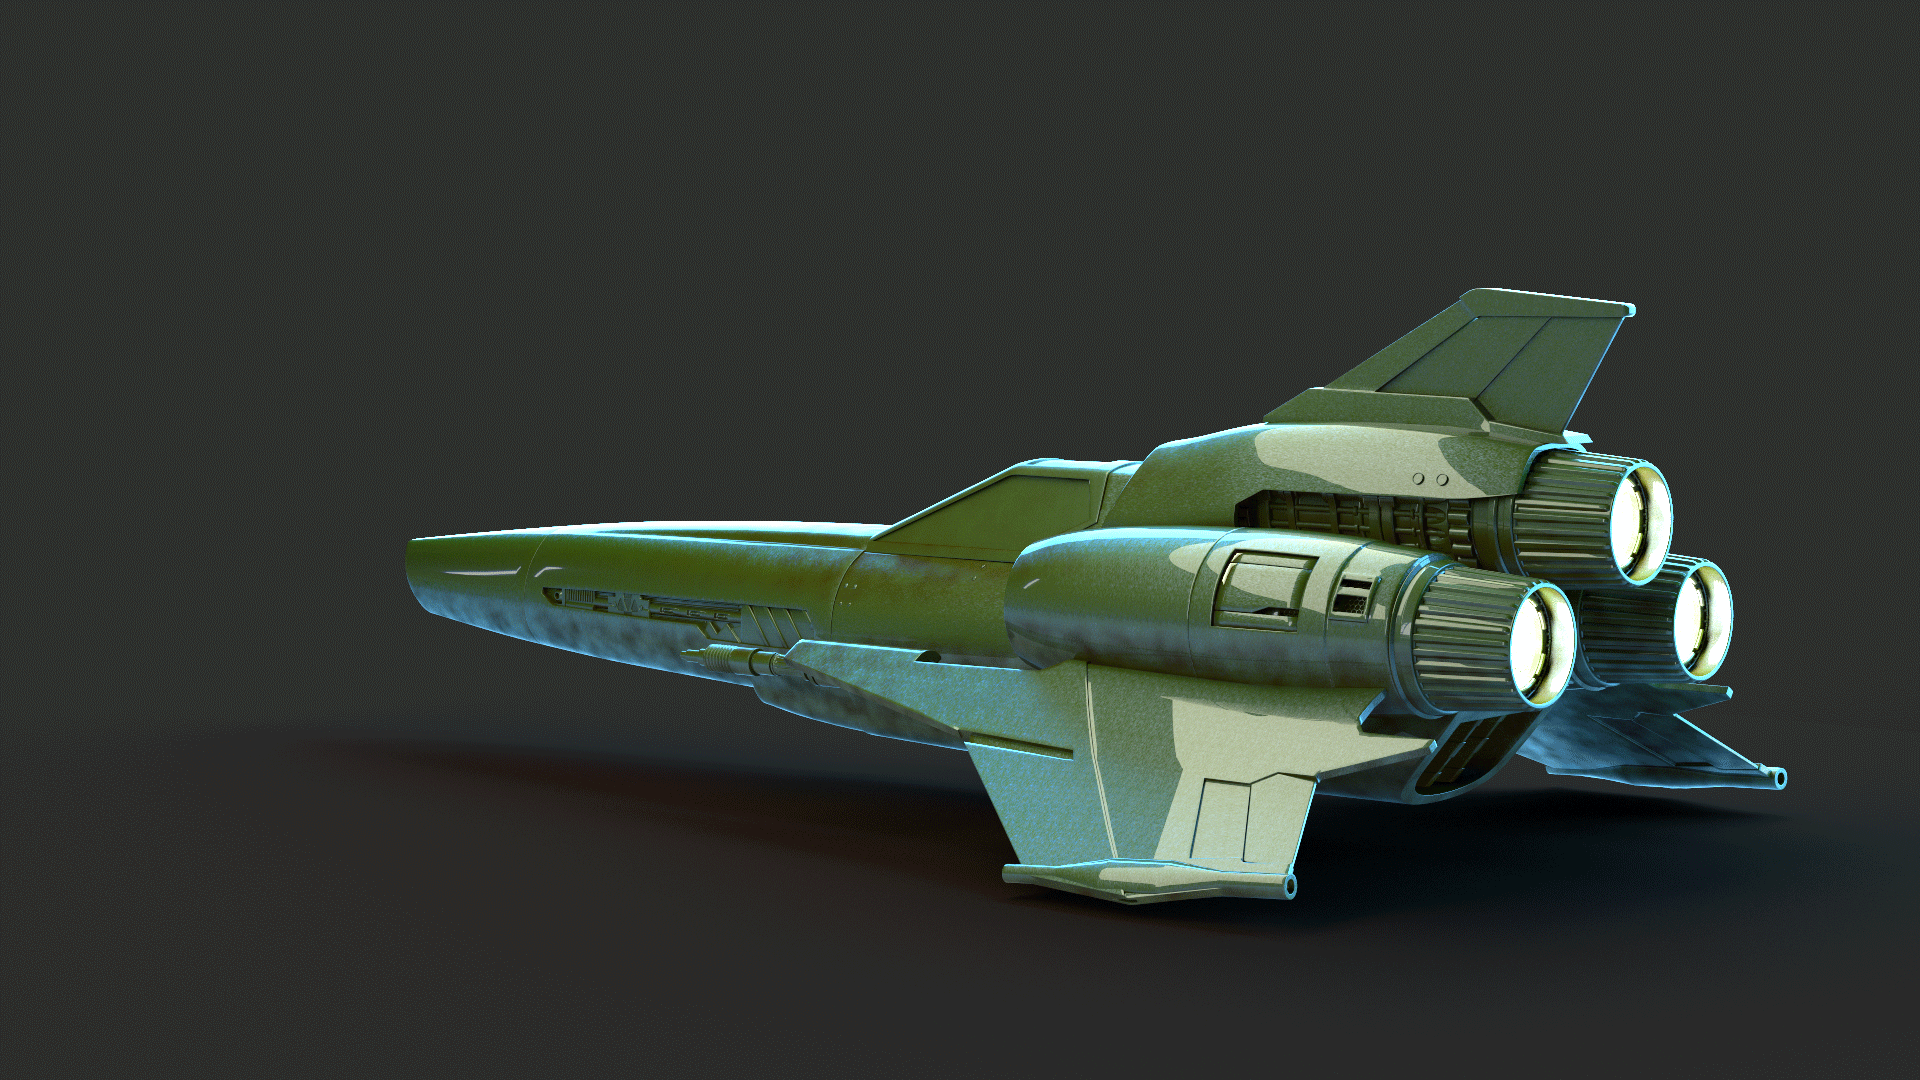
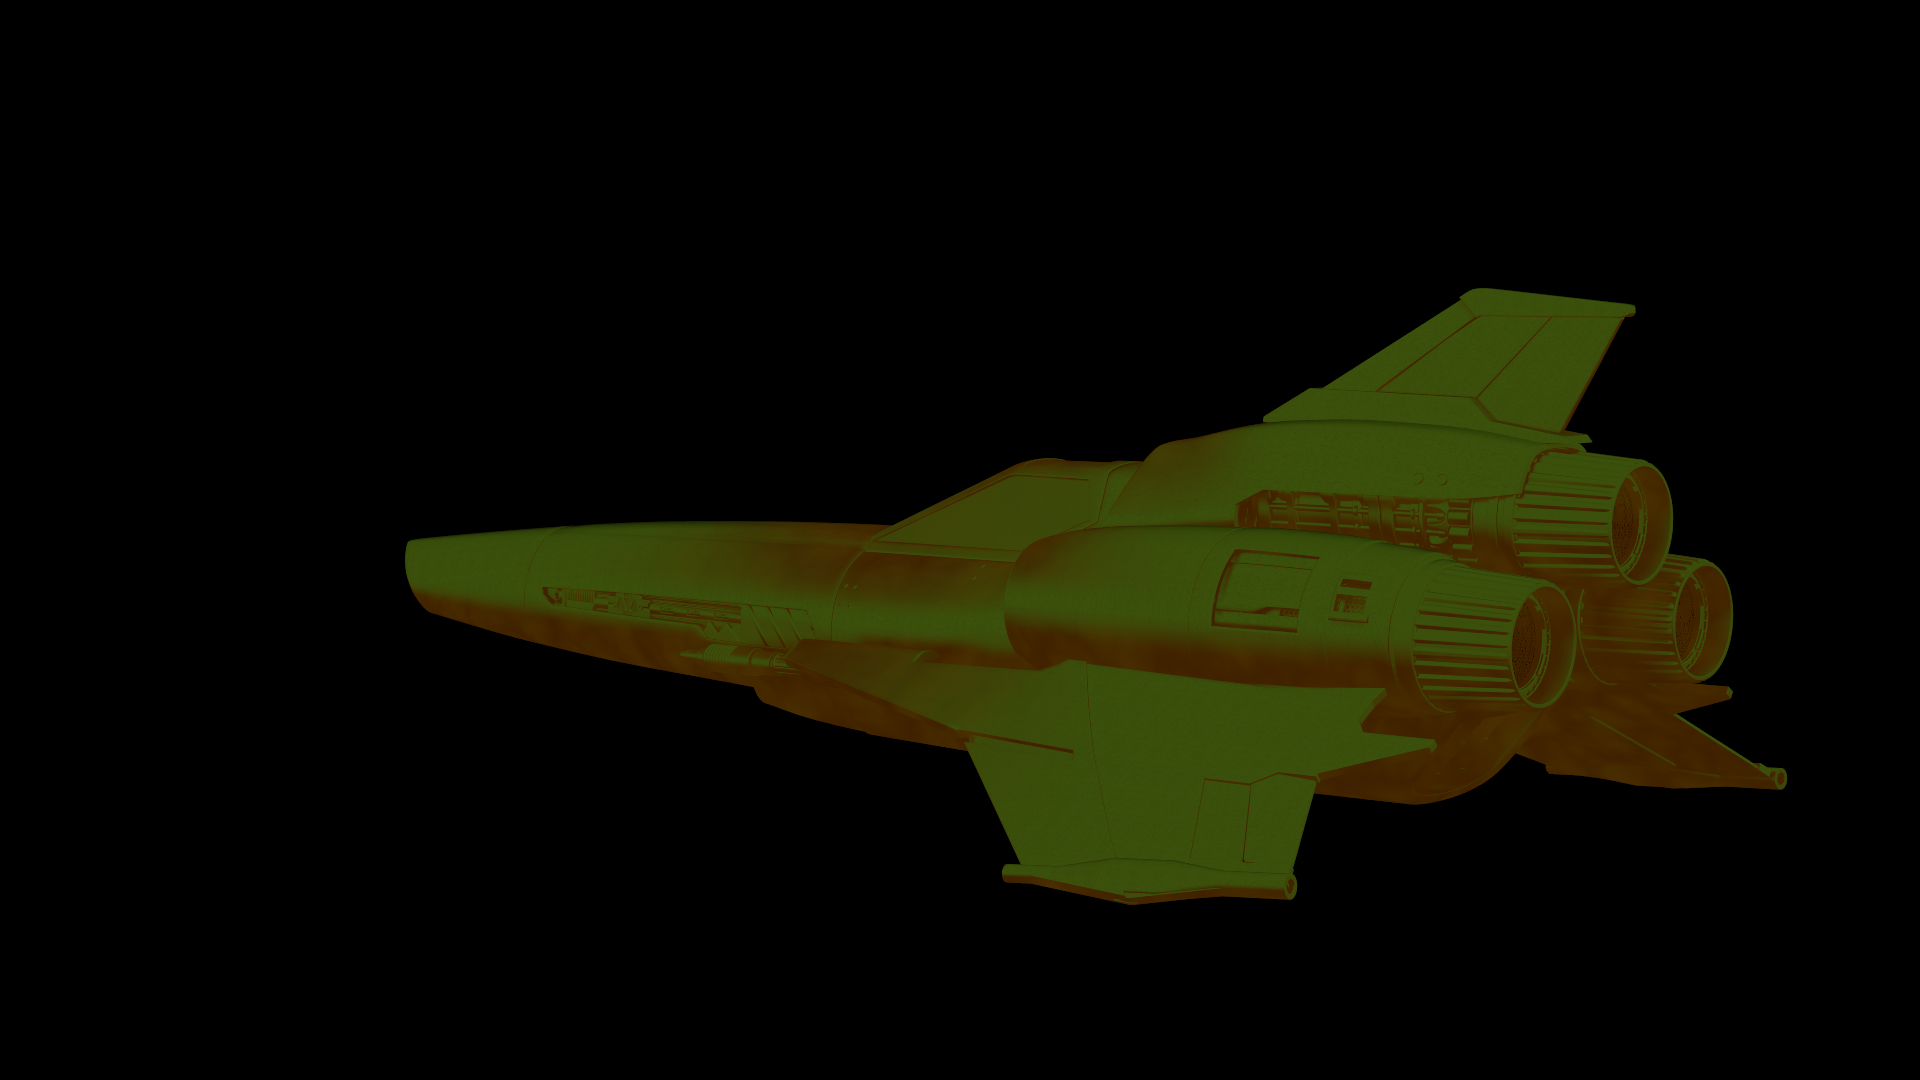
A Beauty Render of VRayMtlBlend using a VRayDirt as a mask between VRayMtlRust and VRayMtlCarPaint, with VRayTexNoise adding variation to the VRayDirt.
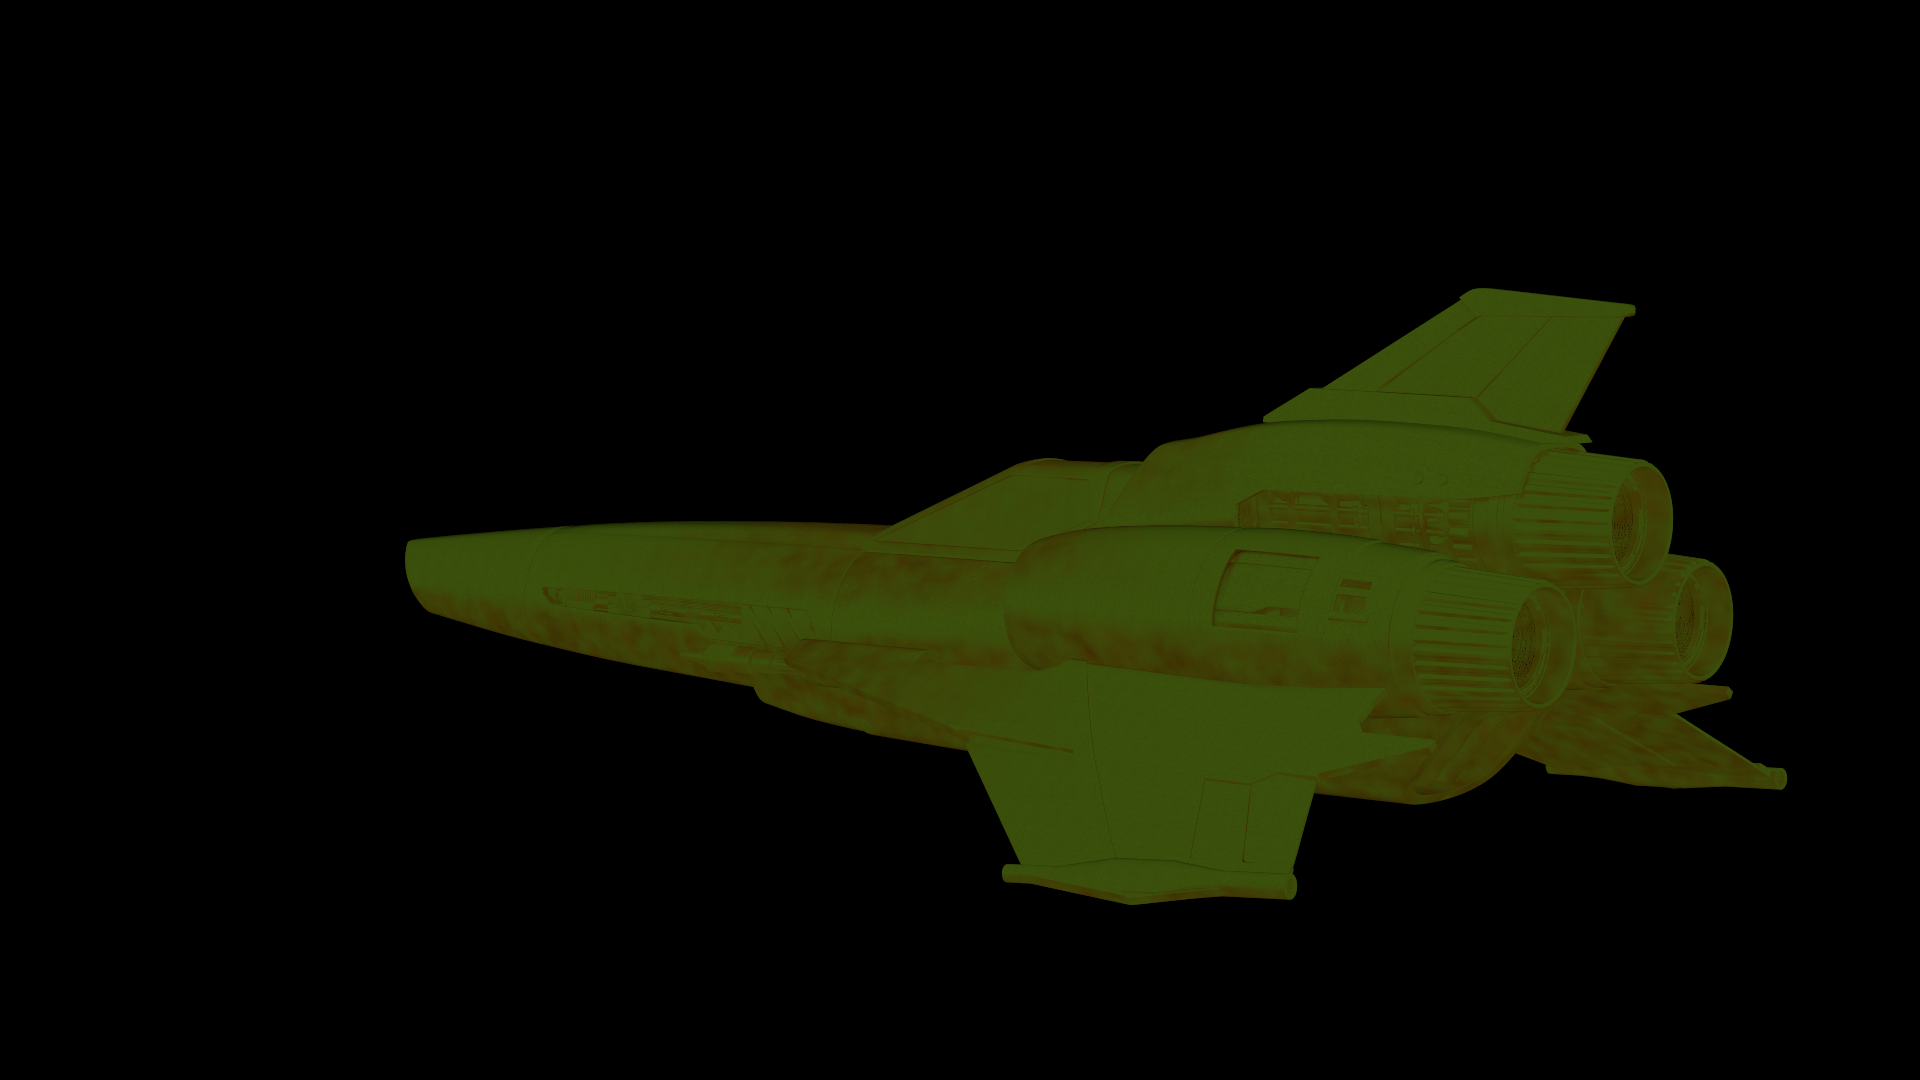
The Diffuse Render Element of VRayMtlBlend with a VRayDirt as a mask between VRayMtlRust and VRayMtlCarPaint, with VRayTexNoise adding variation to the VRayDirt.