
This page provides information on the Normals Color Channel which creates a normals image from surface normals in the scene.
Overview
Normal is a Color Channel that stores the camera space normal map using the geometry's surface normals. The Normal channel is useful for adjusting lighting in the composite. For example, the red, green and blue channels can be adjusted in compositing software.
Bump maps are not represented in this render element; to include bump maps, use the Bump Normals Render Channel.
UI Path
||Node Editor|| > Add > Render Channels > Normals
Node
Name - The name of the render channel.
Filtering - Enables or disables the AA filtering for the current render channel.
Normal Color Generation
The Normal Render Element uses screen space to determine the colors in the render element. With screen space in the camera view:
The X axis runs left-right perpendicular to the camera viewing angle. This is represented in the Red channel of vrayRE_Normals with 1 being left-facing geometry and 0 being right-facing geometry.
The Y runs up-down perpendicular to the viewing angle. This is represented in the Green channel of vrayRE_Normals with 1 being up-facing geometry and 0 being down-facing geometry.
The Z runs forward-back to the viewing angle. This is represented in the Blue channel of vrayRE_Normals with 1 being forward-facing geometry and 0 being back-facing geometry.
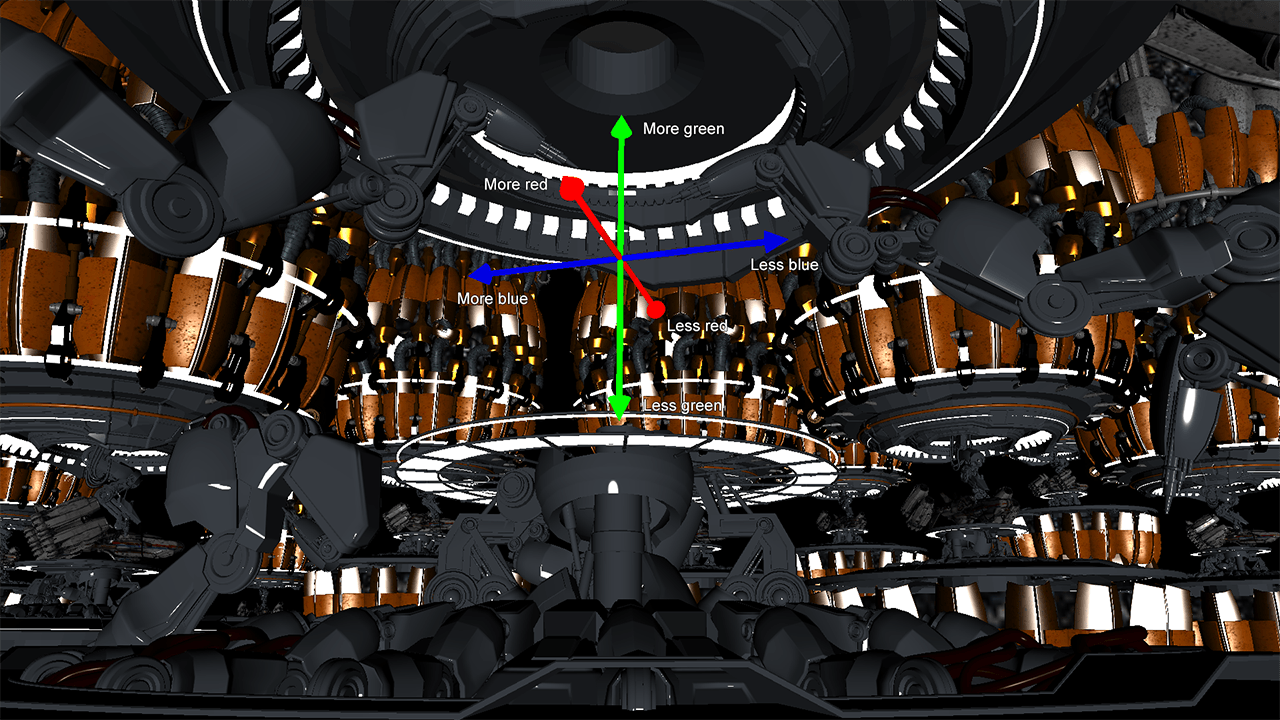
Screen space XYZ coordinate system
relationship to camera and RGB colors
(Some geometry has been hidden in this screenshot for the sake of clarity)
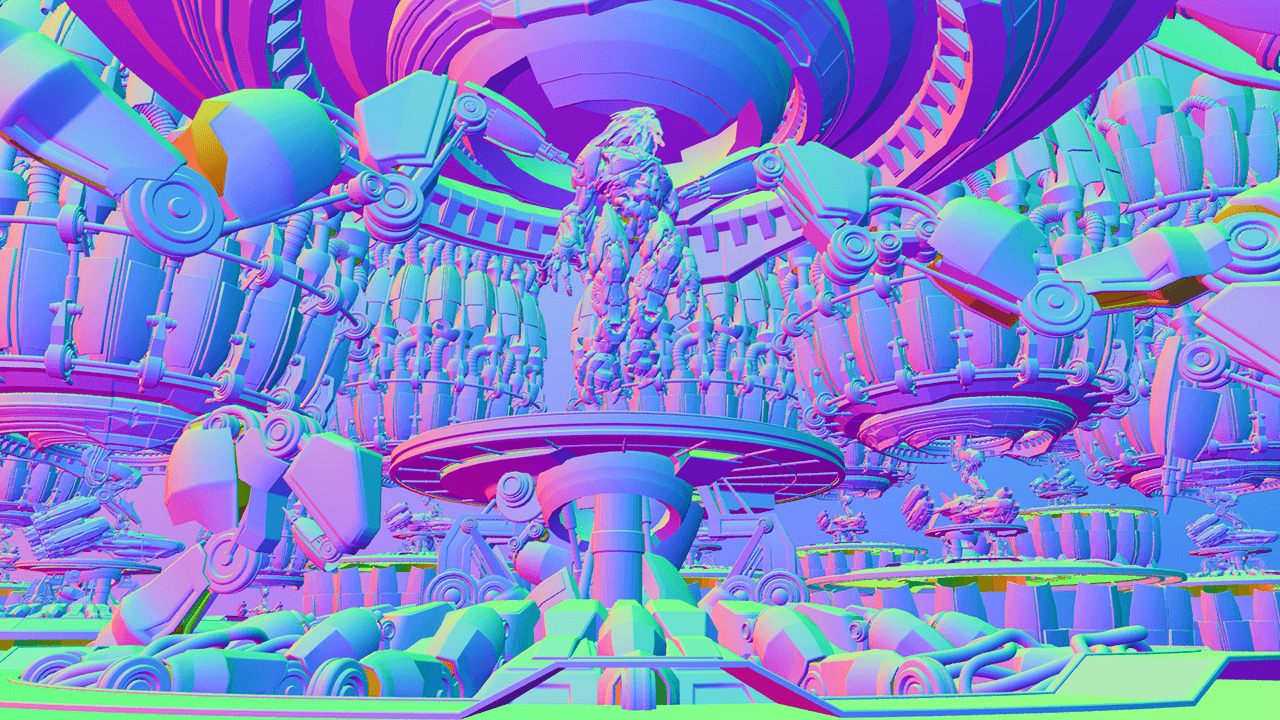
Full vrayRE_Normals Render Element
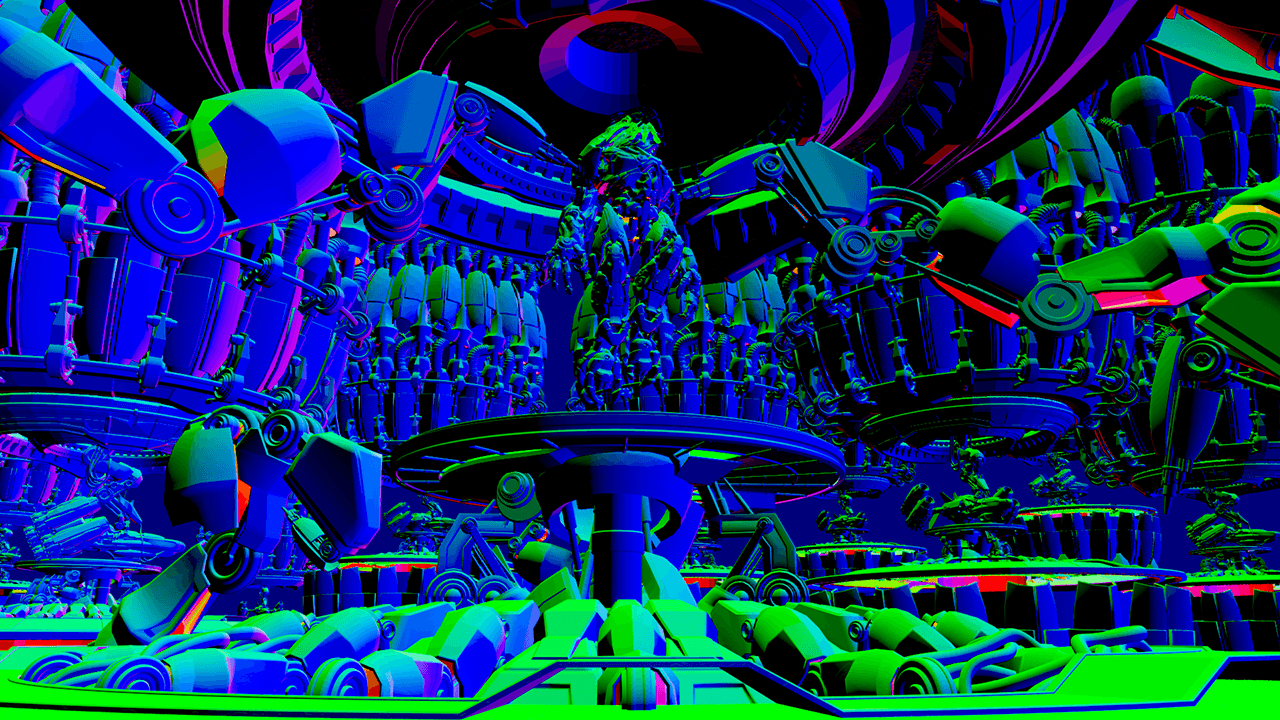
World Normals Render
World Normals renders all visible objects in the scene with a color ramp based on the world space X, Y, and Z coordinates of their polygonal normal, and represents the actual 3D coordinate in space. These can be both positive and negative, so a floating point image format should always be used when saving this output.
Common Uses - Relighting
The Normal Render Channel is useful for changing the appearance of lighting in a scene in a composite without the need for re-rendering.
In the example below a relighting workflow is used at a composite level to change the lighting in the scene. Note that it does not create any extra shadowing. This example is exactly the same under the hood as that shown in the Bump Normals page with the only change being that the Normals render element was used here instead of the Bump Normals render element.
Bump Normals Render Element
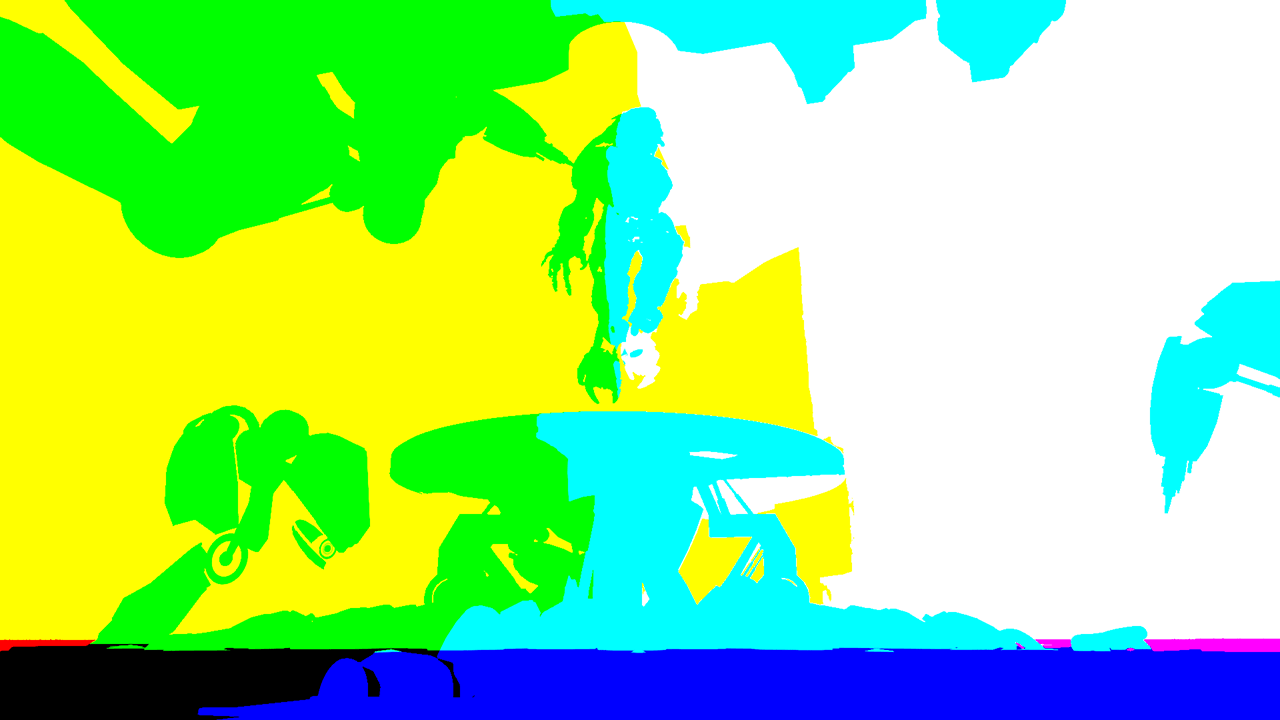
The World Positions pass

Original Beauty Composite
The resulting relit composite