This page provides information about the Environment fog in V-Ray for Cinema 4D.
Overview
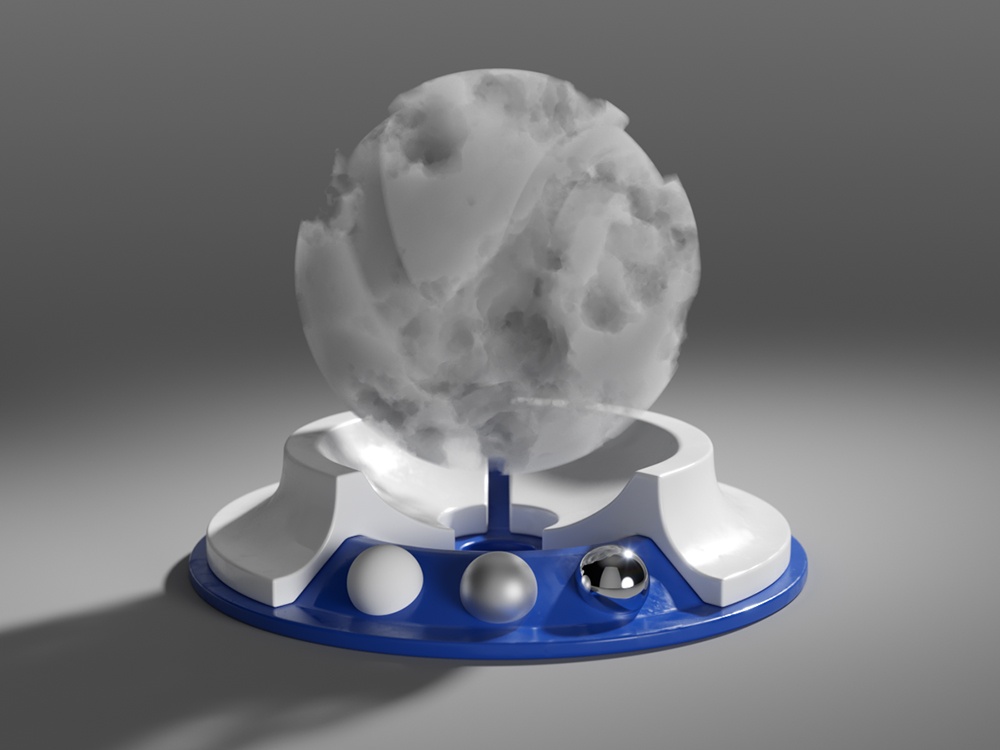
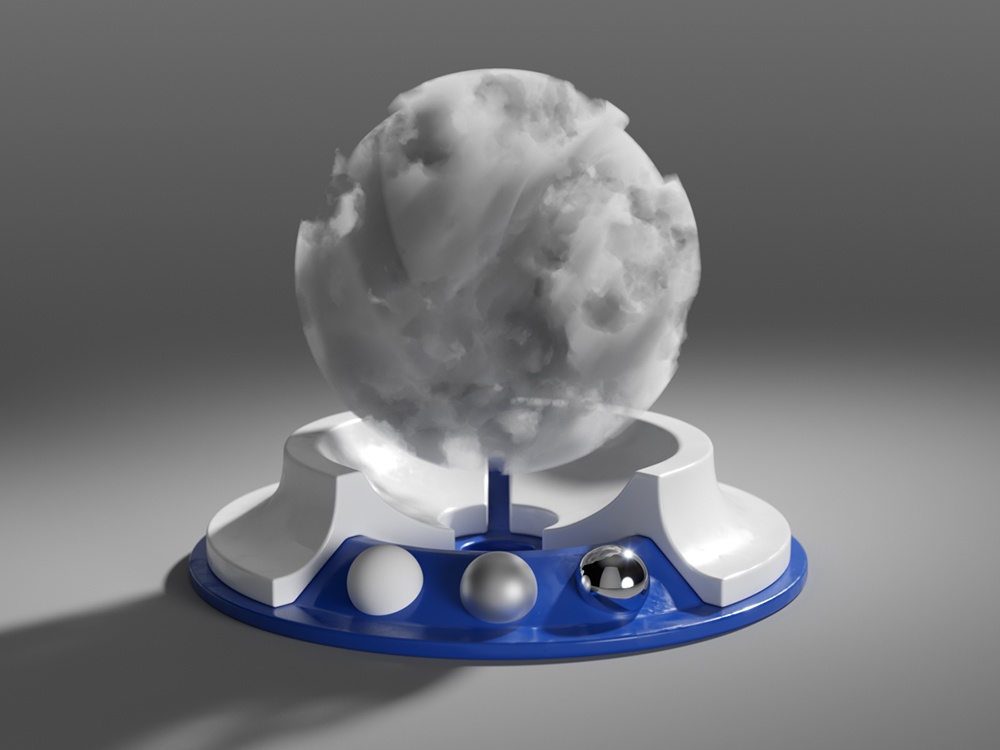
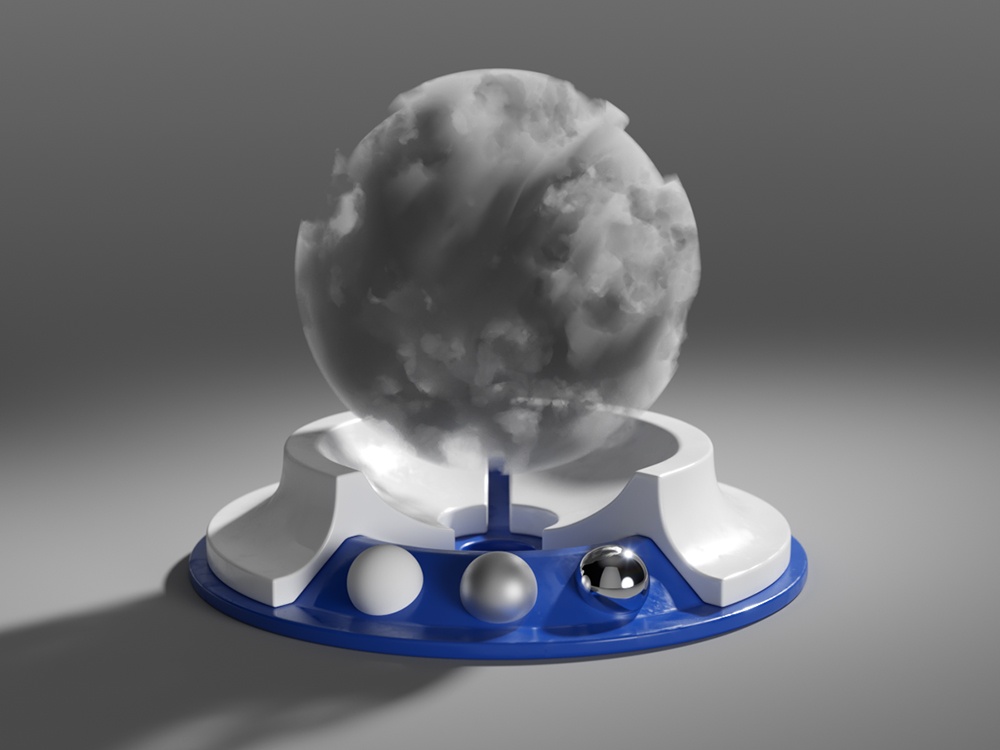
V-Ray Environment Fog is an atmospheric effect that allows the simulation of participating media like fog, atmospheric dust, and so forth. 3D texture maps can determine volumetric properties. The atmospheric effect can also be confined to geometry.
Environment Fog can use either of two algorithms to calculate volumetric lighting. The first algorithm is a simple exponential sampling scheme, which is used when no texture maps are specified. In this mode, Environment Fog takes several random points inside the volume and calculates the volumetric lighting at those points. The second algorithm is a raymarching scheme, used when any volume properties are mapped with a texture. In that case, Environment Fog traverses the fog volume in small steps, calculates the volume properties at each step, and computes the volume lighting accordingly.
How to Set Up
To use it as a global effect across the whole scene, go to V-Ray > Volumetrics > Environment Fog.
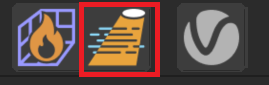
You can also create Environment Fog from the V-Ray Toolbar.

Fog Container
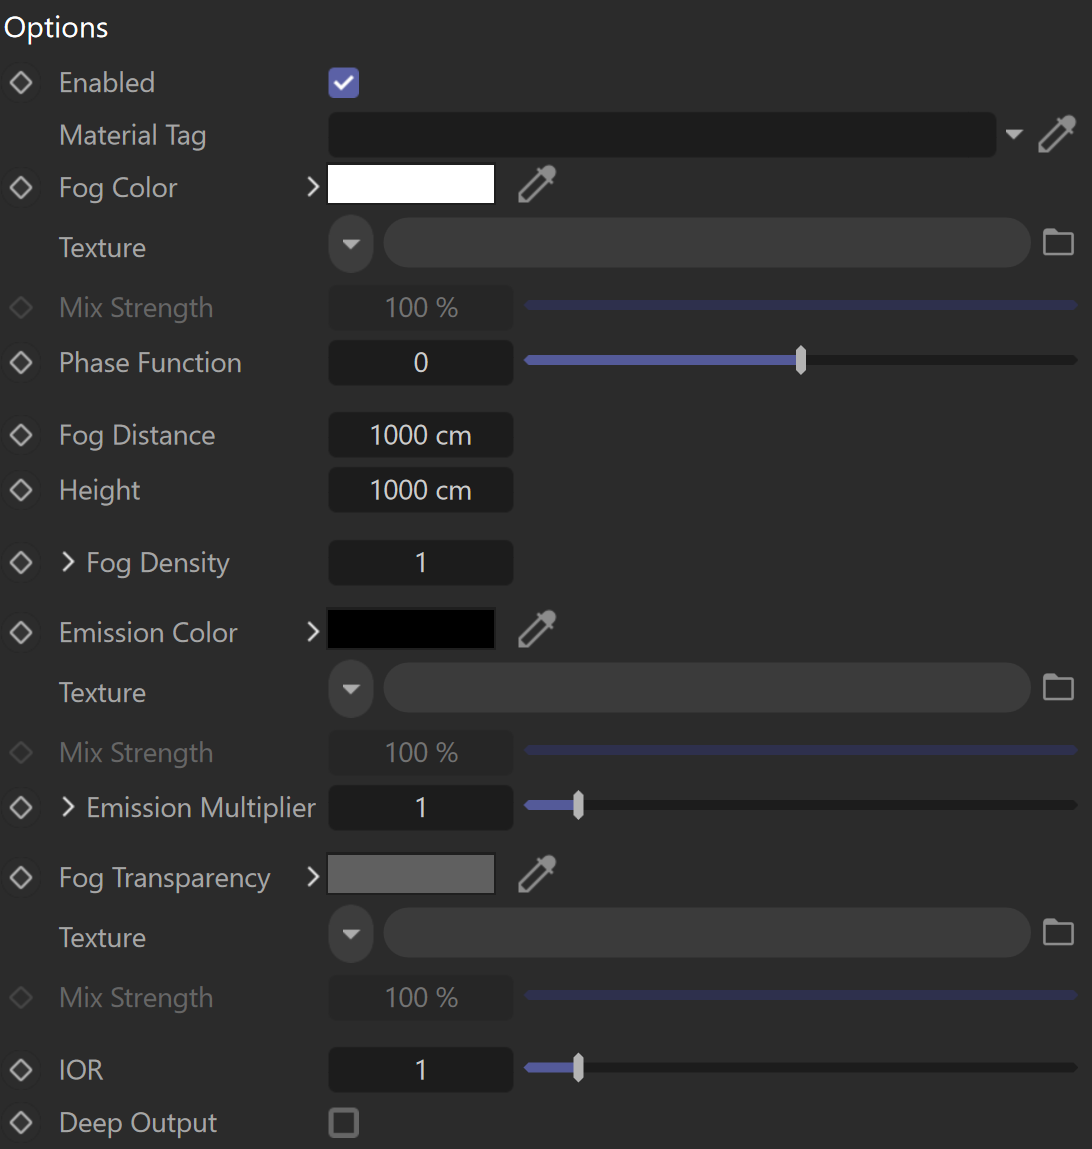
Options
Enabled – Enables or disables the Environment Fog.
Material Tag – Specifies a custom UV mapping for the displacement taken from the material currently attached in the field. If the field is empty, V-Ray uses the default or the UV mapping from the currently applied material to the object.
Fog Color – Defines the color of the fog when light sources illuminate it. You can also use a texture map to drive the fog color.
Phase Function – Controls how the light scatters inside the fog. The default value of 0.0 scatters the light uniformly in all directions. Positive values make the light scatter mostly forward. Negative values result in light scattering backward. Phase Function values very close to 1.0 or -1.0 are not recommended as they produce very directional scattering. See the example.
Fog Distance – Controls the fog density in centimeters, i.e., the distance that light travels inside the fog. Larger values make the fog more transparent, while smaller values make it more dense.
Height – If the fog is not contained within a volume, it is assumed to start from a certain Y-level height and continue downward indefinitely. This parameter determines the starting point along the Y-axis. Note the units are centimeters.
Fog Density – A multiplier for the Fog Distance parameter that allows a texture to be used for the density of the fog.
Emission Color – Controls the fog emission (self-illumination). You can use this parameter to substitute the ambient illumination inside the fog instead of using GI.
Emission Multiplier – Multiplies the Emission Color parameter.
Fog Transparency – Controls the transparency of the fog volume at a thickness given by the Fog Distance parameter. Brighter colors make the fog more transparent.
IOR – Index of Refraction for the volume, which describes the way light bends when crossing the material surface. A value of 1.0 means the light does not change direction.
Deep Output – Toggles writing deep data to the file. Note that enabling this option forces ray marching even for simple volumetrics, which can cause slower rendering.
Example: Phase Function
This example uses back lighting and the Scatter GI is turned on with 1 bounce. As you can see, negative values scatter the light backward and positive values scatter the light forward.

Phase Function = -0.75
Phase Function = -0.5
Phase Function = 0

Phase Function = 0.5
Phase Function = 0.75
Global Illumination
Scatter GI – When enabled, the fog also scatters global illumination. Note that this can be pretty slow. In many cases, global illumination within the fog can be substituted with a simple emission term. When this option is enabled, the currently selected global illumination algorithm in the V-Ray settings accelerates GI inside the volume (e.g., the light cache or brute force).
Scatter Bounces – When Scatter GI is enabled, this option controls the number of GI bounces calculated inside the fog.

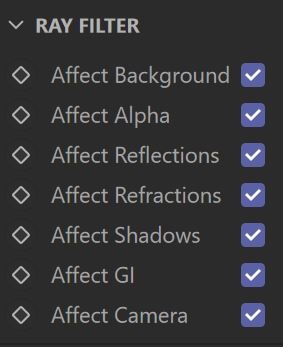
Ray Filter
Affect Background – Enables or disables the tracing of background rays through the volumetric.
Affect Alpha – Enables or disables the tracing of alpha rays through the volumetric.
Affect Reflections – Enables or disables the tracing of reflection rays through the volumetric.
Affect Refractions – Enables or disables the tracing of refraction rays through the volumetric.
Affect Shadows – Enables or disables the tracing of shadow rays through the volumetric.
Affect GI – Enables or disables the tracing of GI rays through the volumetric.
Affect Camera – Enables or disables the tracing of Camera rays through the volumetric.
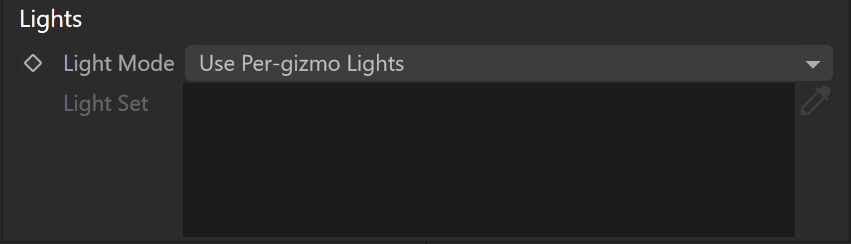
Lights
Lights Mode – Specifies which lights are considered when rendering the environment fog. It is used when certain lights affect specific objects in the scene while another group of lights is affecting the environment fog.
No lights – The lights in the scene do not affect the environment fog.
Use Per-gizmo Lights (default) – The lights attached to the environment fog set are ignored. Only the lights affecting the shape where the fog resides are used.
Override Per-gizmo Lights – Only the lights affecting the environment fog set are considered.
Intersect with Per-gizmo Lights – Only lights affecting both the shape and the environment fog set are considered.
Add to Per-gizmo Lights – Both lights affecting the shape and the environment fog set are considered.
Light Set – Creates a set of lights to be considered in one of the Lights Mode in the Environment fog.
A light that is a child of the Environment fog is considered in the default Light mode (Use Per-gizmo Lights), i.e. it is ignored.
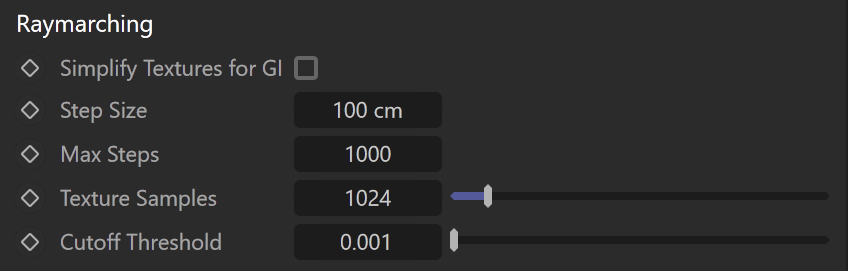
Raymarching
This sampler is used when any of the fog properties (color, density, or emission) is mapped with a 3D texture. The sampler steps through the volume, evaluating volumetric textures and lighting, until it leaves the volume (if the fog is contained within a volume), until the accumulated volume transparency falls below a certain cut-off threshold, or until a specified number of maximum steps is reached.
Simplify Texture for GI – When this option is enabled, V-Ray uses a simplified method for calculating the GI when rendering parts of the fog that are textured or are faded out.
Step Size – Determines the size of one step through the volume in centimeters. Smaller steps produce more accurate results but are slower to render. In general, dense volumes require smaller step sizes than more transparent volumes. In practice, step sizes that are two to three times smaller than the Fog distance parameter work well.
Max Steps – Specifies the maximum number of steps through the volume.
Texture Samples – Determines the number of texture samples for each step through the volume. This samples textures more accurately than the volumetric lighting. It is useful in cases where the textures vary much faster than the lighting itself (e.g., for detailed fractal textures).
Cutoff Threshold – Controls when the ray marcher stops traversing the volume. If the accumulated volume transparency falls below this threshold, the volume is considered opaque, and tracing is aborted. Higher values make the rendering faster but may introduce artifacts. This parameter is not available when the render engine is set to GPU.
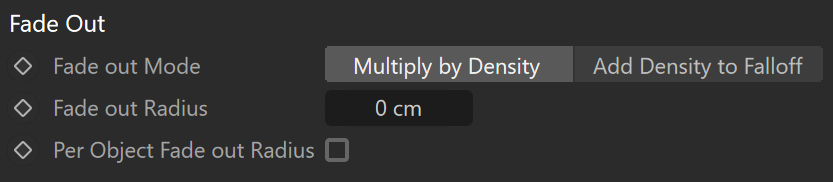
Fade Out
Fade out Mode – Allows you to choose between two different modes of fade-out: Multiply by density or Add density to fallout.
Fade out Radius – Allows you to set a radius for the fade out of the fog.
Per Object Fade out Radius – When enabled, the fade-out effect is applied to each fog volume independently.