![]()
Page History
...
| UI Button | ||||||||
|---|---|---|---|---|---|---|---|---|
|
...
| UI Button | ||||||||
|---|---|---|---|---|---|---|---|---|
|
| Section | ||||||||||
|---|---|---|---|---|---|---|---|---|---|---|
|
...
| UI Button | ||||||||
|---|---|---|---|---|---|---|---|---|
|
| Section | ||||||||||
|---|---|---|---|---|---|---|---|---|---|---|
|
...
| Section | ||||||||||
|---|---|---|---|---|---|---|---|---|---|---|
|
...
| UI Button | ||||||||
|---|---|---|---|---|---|---|---|---|
|
| Section | ||||||||||
|---|---|---|---|---|---|---|---|---|---|---|
|

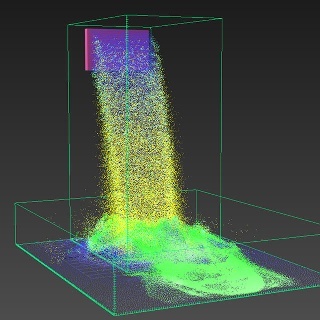
Smoke color by age
...
| UI Button | ||||||||
|---|---|---|---|---|---|---|---|---|
|
...
![]()
...
| UI Button | ||||||||
|---|---|---|---|---|---|---|---|---|
|
...
| UI Button | ||||||||
|---|---|---|---|---|---|---|---|---|
|
| Section | ||||||||||
|---|---|---|---|---|---|---|---|---|---|---|
|
...
| UI Button | ||||||||
|---|---|---|---|---|---|---|---|---|
|
| Section | ||||||||||
|---|---|---|---|---|---|---|---|---|---|---|
|
...
| Section | ||||||||||
|---|---|---|---|---|---|---|---|---|---|---|
|
...
| UI Button | ||||||||
|---|---|---|---|---|---|---|---|---|
|
| Section | ||||||||||
|---|---|---|---|---|---|---|---|---|---|---|
|
...
| UI Button | ||||||||
|---|---|---|---|---|---|---|---|---|
|
...