The Step % parameter is the main sampling control when rendering volumetric effects. The higher you can set the Step %, the faster the rendering will go. Eventually artifacts will start to appear for very high values, so that is where you must stop increasing the Step %.
The Step % option specifies the ray marching step of the camera rays as a percentage of the cell size. As the renderer traces rays through the simulator, this value controls how often to get information from the grid. If the Step % is more than 100, some cells will be skipped and artifacts may appear. A lower percentage might be necessary so that fine details are not lost when custom changes are made to the Opacity curves for Fire / Smoke.
Column
width
60%
Image slider
Panel
borderStyle
none
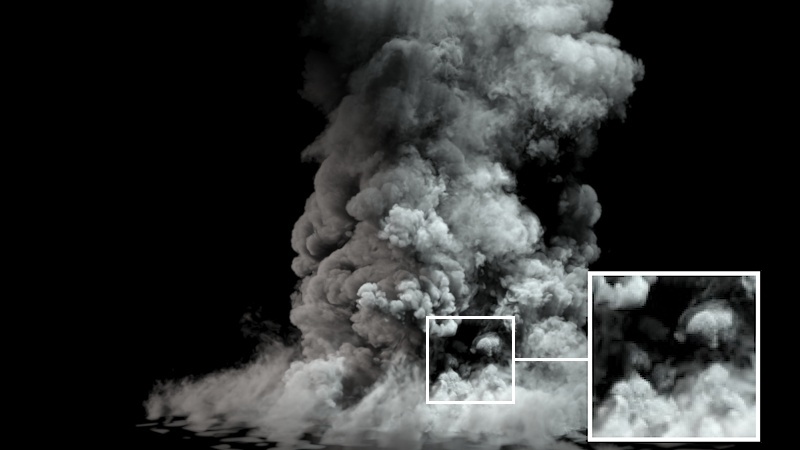
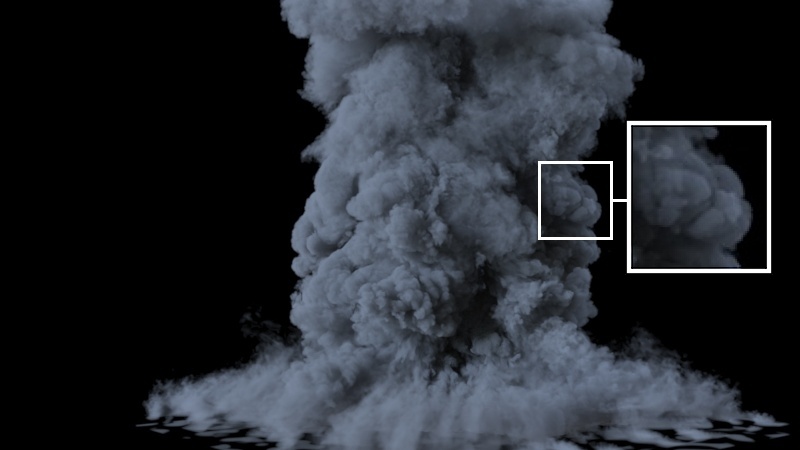
Step %: 90, Render Time: 4m 58seconds.
Panel
borderStyle
none
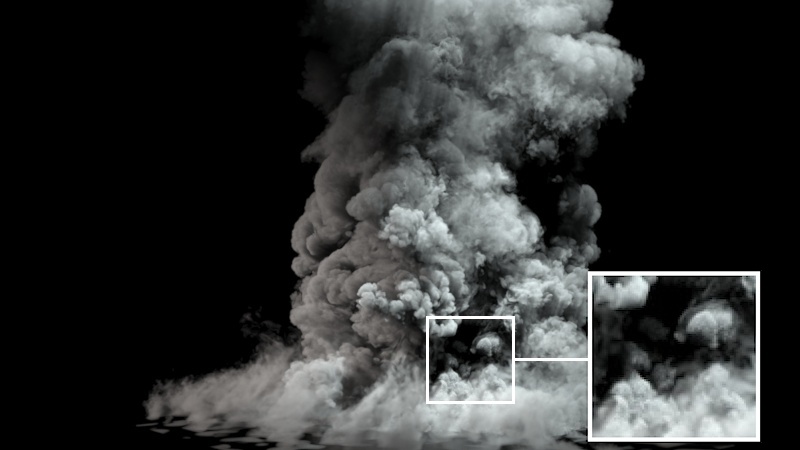
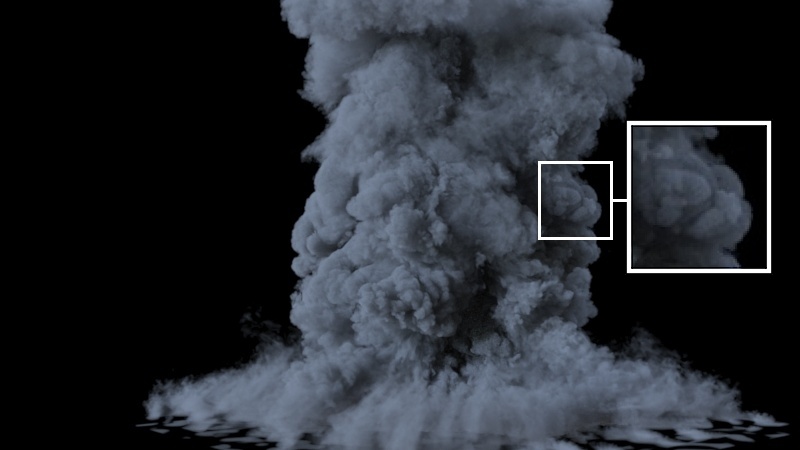
Step %: 200, Render Time: 2m 01 seconds.
Panel
borderStyle
none
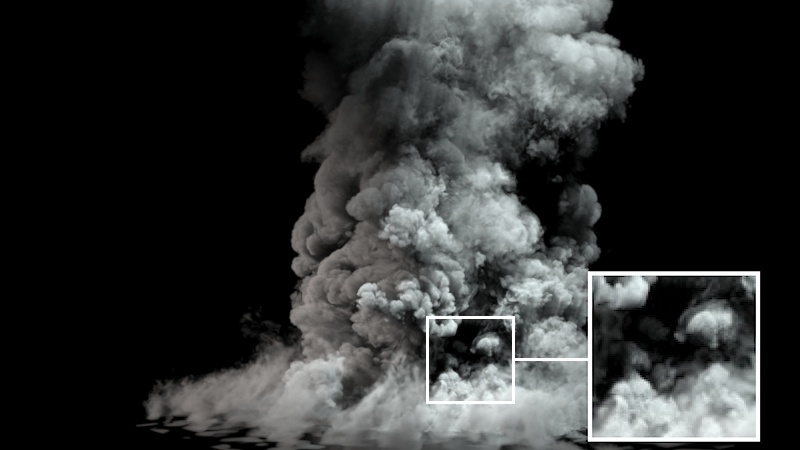
Step %: 300 , Render Time: 1m 49 seconds.
...
Section
Column
width
40%
Rendering rollout → Shadow Step %.
The Shadow Step % is similar to the Step % in a sense that it is responsible for the sampling quality of the volume but for the shadows cast by the volume over itself and the surrounding objects only. The higher you can set the Shadow Step %, the faster the rendering will go. Eventually the shadows will become washed out for very high values, so that is where you must stop increasing the Shadow Step %.
The Linear sampler will always render 20-30% faster than the Spherical. You should use Spherical only in case you are rendering a low-resolution simulation that shows some grid artifacts and steps, especially when looking along one of the grid axes.
In general, for lower-resolution simulations, the Phoenix Light Cache will significantly speed up the rendering. As the resolution increases, the benefit from using the Phoenix Light Cache diminishes. If Volume Light Cache is disabled, try enabling it to check if that will speed-up the rendering. You can reduce the render times significantly by increasing the Light Cache Speedup setting. Increasing it from 0.9 to 0.99 to 0.999 should yield a big difference in render speed.
The Light Cache Speedup should be increased until artifacts start appearing in the rendered image. Grid Light Cache artifacts will look like voxel-sized dark and bright spots. They would also flicker in animation. Grid artifacts start appearing when a voxel does not get to cast enough shadow rays – this is usually related to the lighting setup – e.g. the illumination is too dim, there are too many grids in the scene, etc. If you see these artifacts, then your Light Cache Speedup is too high and you have to decrease it. If decreasing it to zero still does not help, disable the Light Cache.
Disable the Volume Light Cache option if:
Reducing the Light Cache Speedup option to zero does not help resolve artifacts in the smoke. If you see bright and dark voxels, this means the light cache speedup is too high. If you see pixel sized noise, then it's the sampling - you should adjust the V-Ray settings accordingly (e.g. increasing the Max Subdivs for the Bucket Sampler).
You are rendering an animation and you notice flickering which will not go away after reducing the Light Cache Speedup.
You are using Progressive rendering.
There are multiple grids in the scene - for a large number of grids in the same scene, disabling the Phoenix Light Cache might speed things up, as opposed to a single grid where it's best to keep it enabled.