![]()
Page History
...
| UI Text Box | ||||
|---|---|---|---|---|
| ||||
The video is created using Phoenix FD 3.0, but the text version of the tutorial is updated and uses Phoenix FD 4.30 Official. In any case of doubt you may refer to the text. |
System Units Setup
...
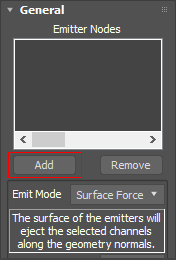
| Section | ||||||||||
|---|---|---|---|---|---|---|---|---|---|---|
|
...
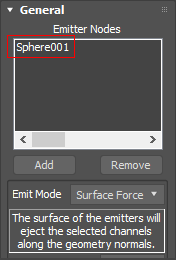
| Section | ||||||||||||||||||||||
|---|---|---|---|---|---|---|---|---|---|---|---|---|---|---|---|---|---|---|---|---|---|---|
|
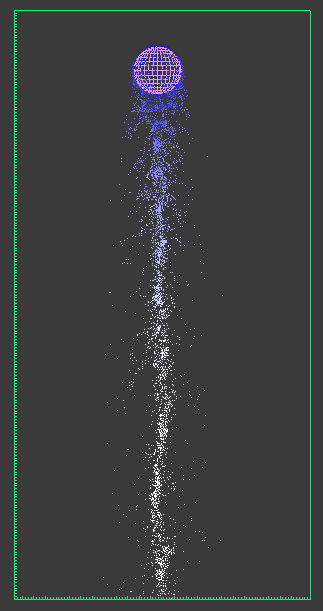
| Section | ||||||||||
|---|---|---|---|---|---|---|---|---|---|---|
|

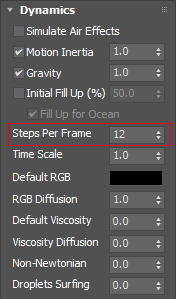
| Section | ||||||||||
|---|---|---|---|---|---|---|---|---|---|---|
|
| Section | ||||||||||
|---|---|---|---|---|---|---|---|---|---|---|
|
| Section | ||||||||||
|---|---|---|---|---|---|---|---|---|---|---|
|
| Section | ||||||||||
|---|---|---|---|---|---|---|---|---|---|---|
|

| Section | ||||||||||
|---|---|---|---|---|---|---|---|---|---|---|
|
...