![]()
Page History
This page includes details on the hair Sampler node used with V-Ray hair.
Overview
| Section | |||||||||||||||
|---|---|---|---|---|---|---|---|---|---|---|---|---|---|---|---|
|
Tutorial Assets
To download the files used in this tutorial, please click on the button below.

Tutorial Steps
Apply VRayHair3Mtl to hair system
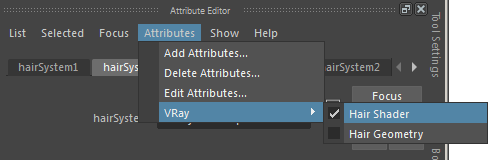
1. Select the Hair System in the Outliner and add the V-Ray Hair Shader Attributes. This is done by navigating to the hairSystemShape tab in the Attribute Editor, and selecting Attributes > VRay > Hair Shader.
2. Apply a VRayHairMtl3 shader to the HairShader slot in the Extra VRay Attributes rollout.

3. For clarity later in this tutorial, set the preset to White (matted). This will make the hair a natural white.
4. Do a quick render for reference.
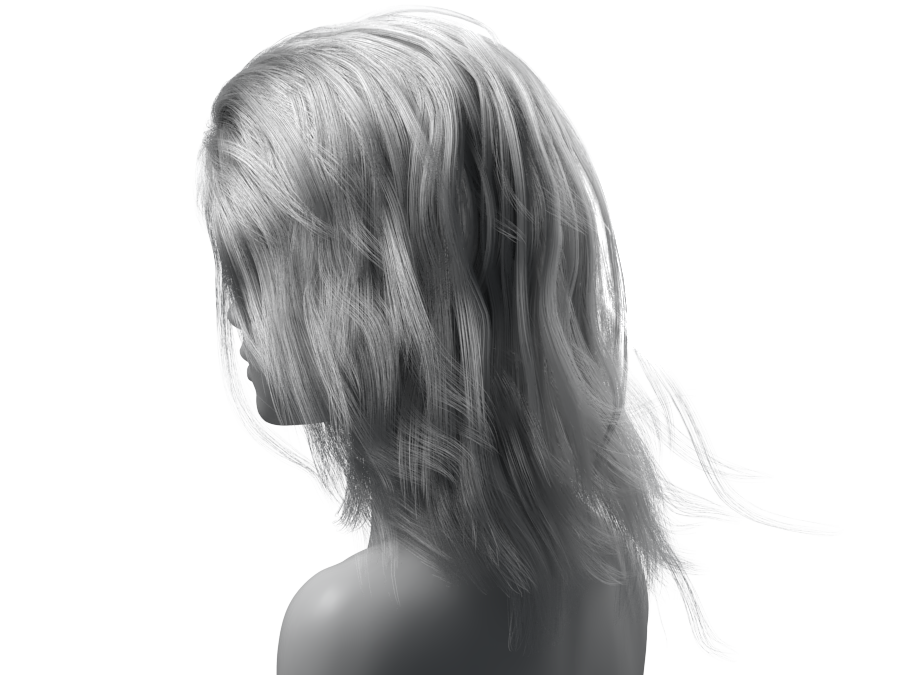
Resulting Render
Set up the Ramp
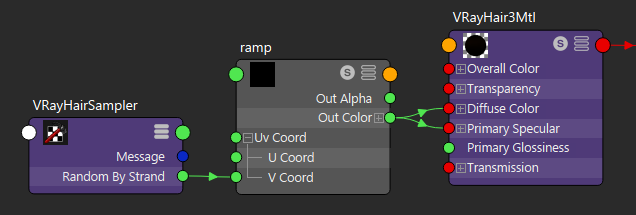
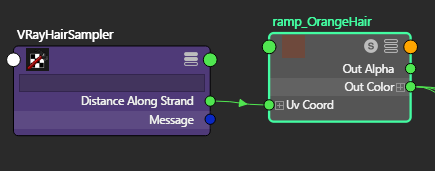
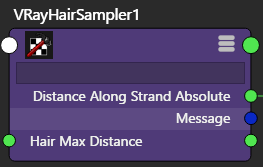
1. Create both a ramp and a VRayHairSampler node in the Hypershade.
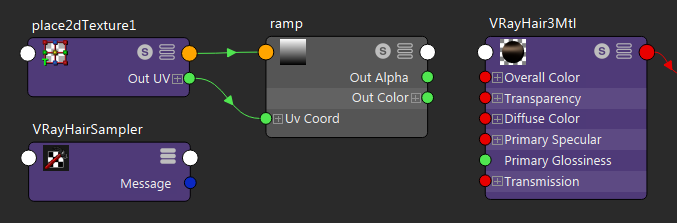
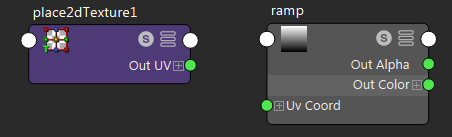
2. Disconnect the place2dtexture node from the ramp by selecting and deleting the inputs.
3. Click on VRayHairSampler's white output and select Other... to bring up the output selection window. From here, either distanceAlongStrand, distanceAlongStrandAbsolute, or randomByStrand can be selected.
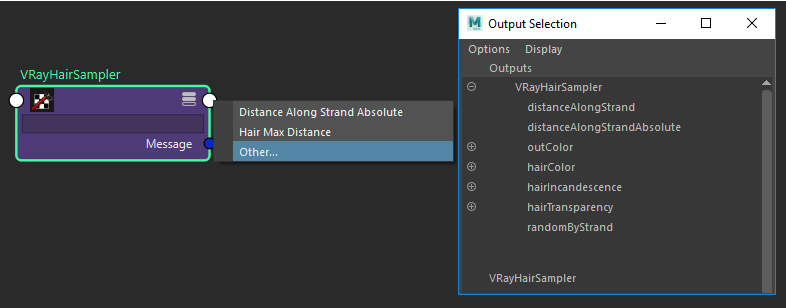
4. Connect this output from the VRayHairSampler to the V Coord input of the Ramp.

Color the Hair
1. Connect the ramp to the desired VRayHair3Mtl channel(s). Here, we connect the Out Color channel to both the Diffuse Color and Primary Specular channels to affect both the color and shininess of the hair.
2. Finally, select the desired colors for the ramp. Here are a couple of examples:
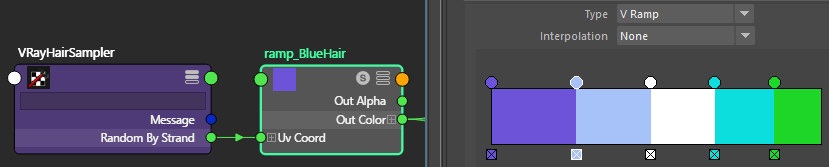
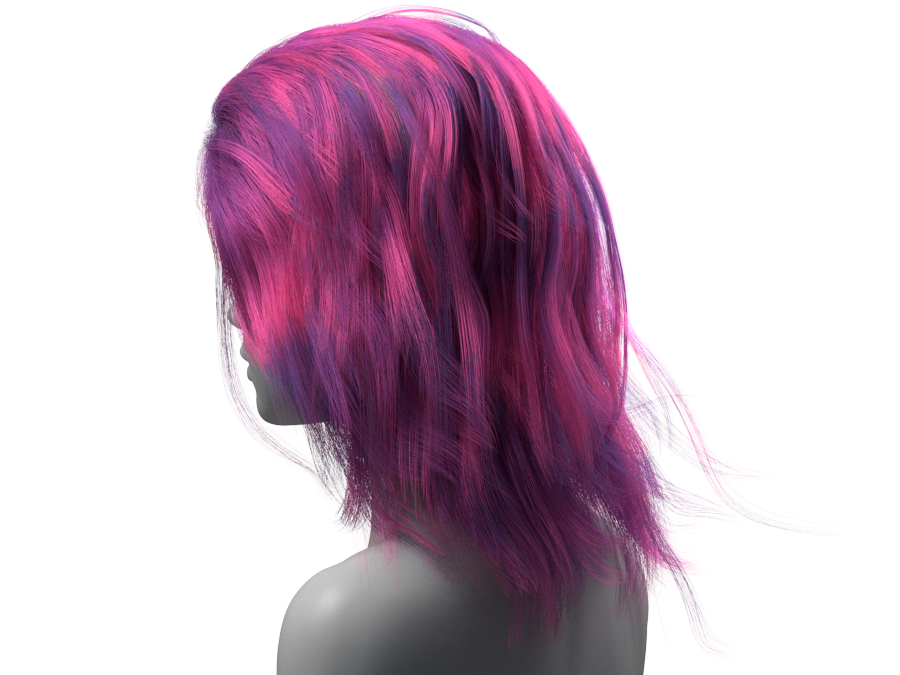
The ramp is driven by the randomByStrand parameter.
Multiple colors set with no interpolation.
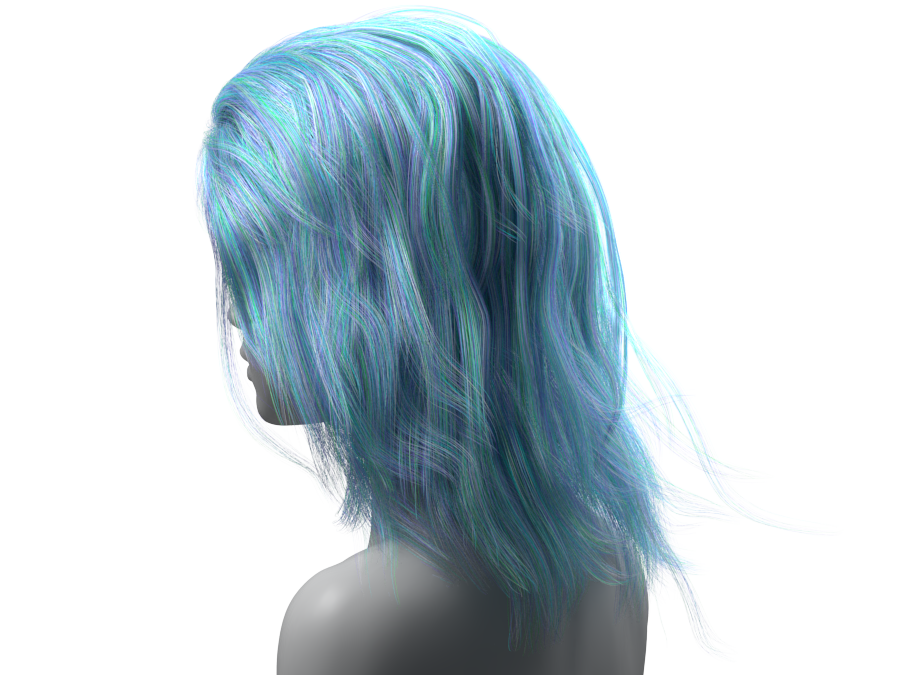
With randomByStrand, each hair strand recieves one color from the ramp.
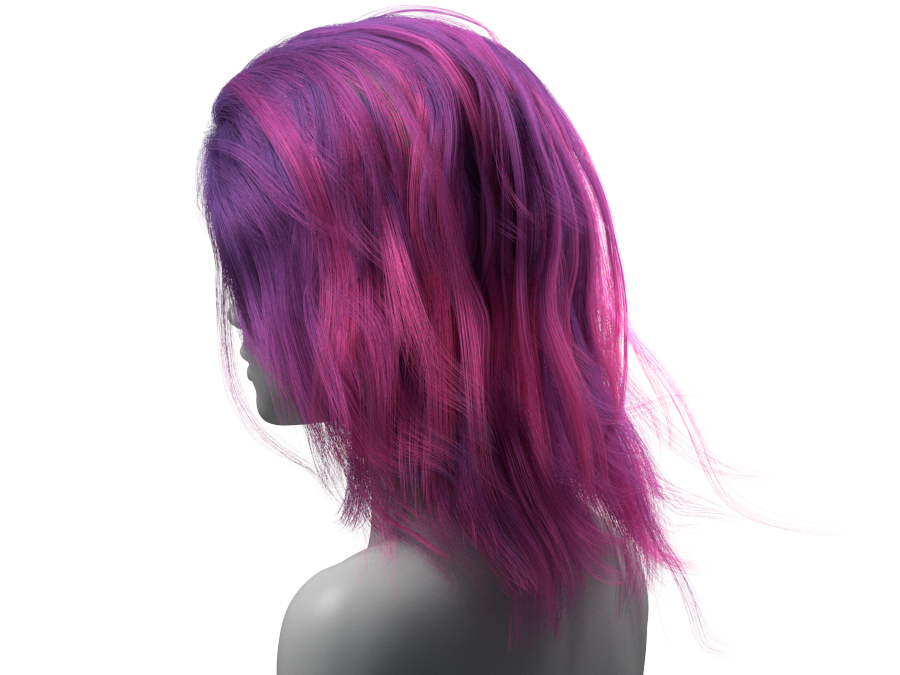
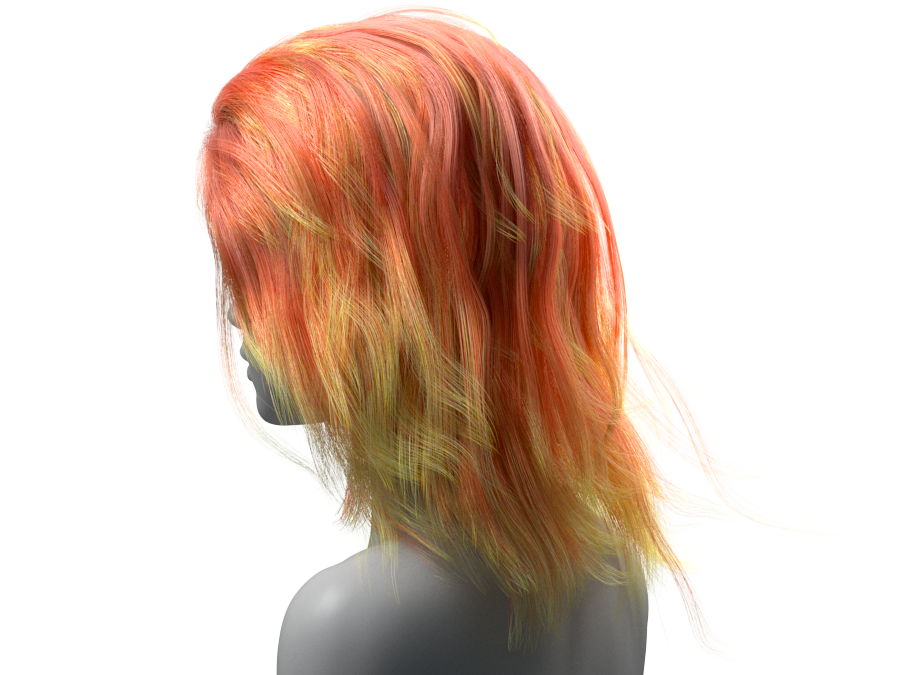
This ramp is used for both the distanceAlongStrand and distanceAlongStrandAbsolute parameters.
Multiple colors set with no interpolation.
| Section | ||||||||||||||||||||
|---|---|---|---|---|---|---|---|---|---|---|---|---|---|---|---|---|---|---|---|---|
|
| Section | ||||||||||||||||||||
|---|---|---|---|---|---|---|---|---|---|---|---|---|---|---|---|---|---|---|---|---|
|
Using the Hair Max Distance
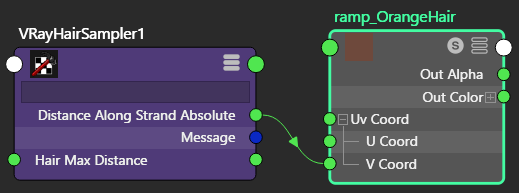
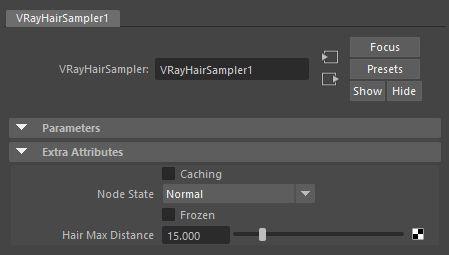
1. The Hair Max Distance parameter allows you to set the max strand length when using distanceAlongStrandAbsolute. This option is mappable, allowing different parts in a hair system to have different max lengths.
2. It can also be set in the Extra Attributes rollout when the VRayHairSampler node is selected. Typically, this value should be equal to the longest strand of hair.
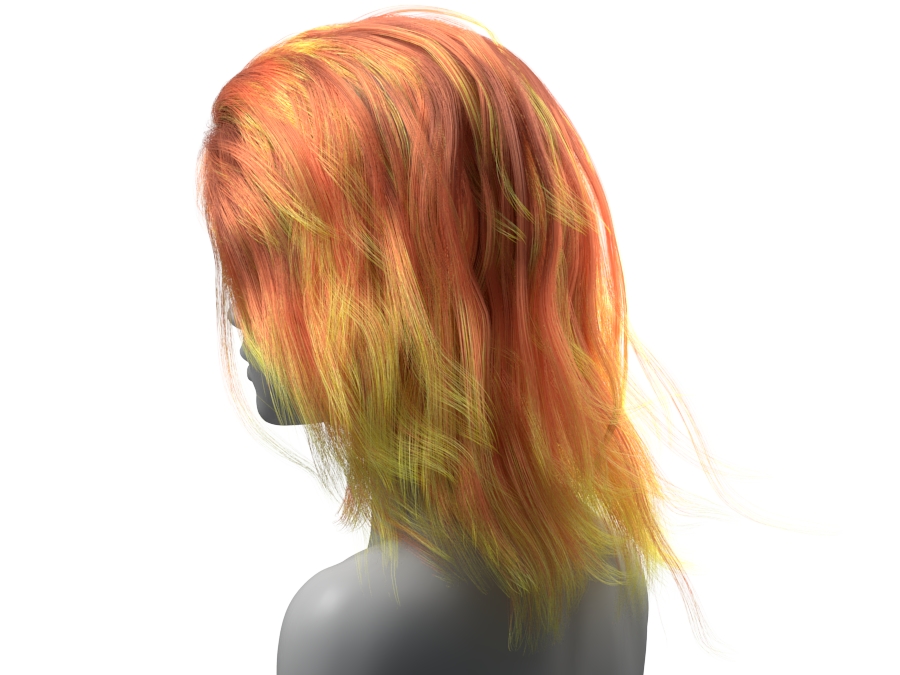
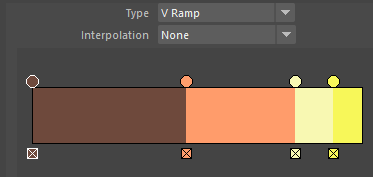
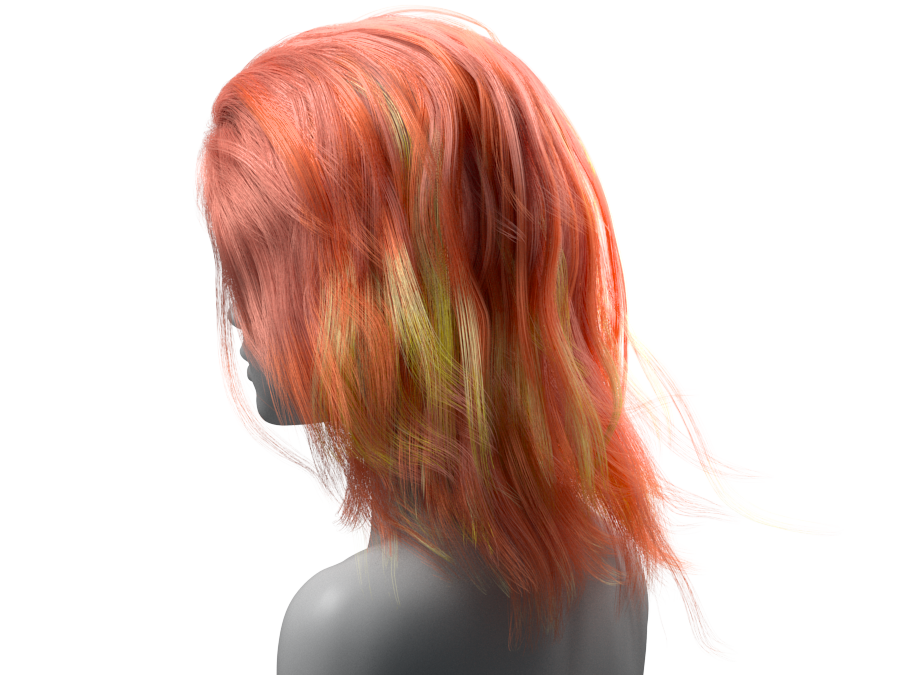
The following examples demonstrate length-dependent effects that can be produced.

This ramp is driven by the distanceAlongStrandAbsolute parameter.
Three colors set with linear interpolation.
| Section | ||||||||||||||||||||
|---|---|---|---|---|---|---|---|---|---|---|---|---|---|---|---|---|---|---|---|---|
|