Versions Compared

Key

  • This line was added.
  • This line was removed.
  • Formatting was changed.

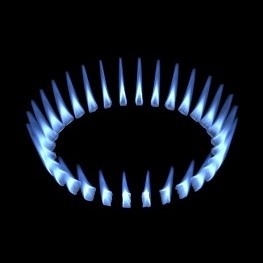
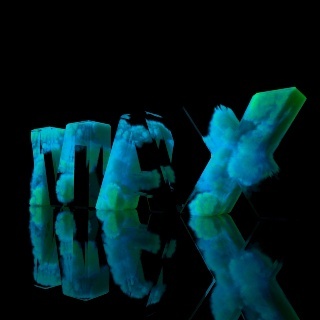
These are small and simple tech demos showing different techniques. They are more complicated than the toolbar Тоolbar Quick Setup presets but are simpler than the big Example Scenes.

...

UI Button
newWindowtrue
icondownload
titleDownload scene (312 KB)
urlhttps://drive.google.com/uc?export=download&id=1nvVhgIZ6dpD0x_YiD1yFiHapEVtOIrko14m6yA9rukPx4Lnuw40n7biYWrmQS5Sa3

Section
Column
width50%
Align
alignleft

The scene uses Plain Force  to create the wind. The streamlines are made up of Phoenix Drag particles. they are just carried with the velocity field. The Drag particles are emitted in lines from a box, and a Discharge Modifier with a curve with spikes is used in the Phoenix Source, so the streamlines appear only at certain positions over the emitter box. The top, bottom and side walls of the Grid are jammed, in order to channel the velocity better. Only the front and back walls are open. Forward Transfer advection helps keeping the streamlines tight. Also some Classic Vorticity is used. You could experiment with PCG or Direct Symmetric conservation. Additionally, you could make the grid completely 2D and use Multi-Pass advection which has a little different feel. The Drag particles are emitted with Velocity channel and then Motion Blur is used for the V-Ray rendering.

...

UI Button
newWindowtrue
icondownload
titleDownload scene (60 KB)
urlhttps://drive.google.com/uc?export=download&id=1sv1HC_wShfnD9KUziR6w660E37Mt1dCi16nzSTO5ssZ2rRUAc5HjFCEF617Cpj2nk

Section
Column
width50%
Align
alignleft
This scene consists of a very simple setup: a Simulator, emitting geometry and a Fire Source. The emissive geometry is an extruded star spline that emits through polygons with the same ID. This ID is used as an input of the Polygon ID option in the Fire Source. Of course, there are plenty of other methods to achieve this result (radial array of smaller geometries for example).

Tweaking of the following options has a significant impact on the final simulation’s result:

- Outgoing Velocity value in the source;
- Grid resolution - for this kind of a scene it's pretty low;
- Cooling - more cooling leads to shorter flames;
- Steps per Frame - high values produce smoother flames;
- Volumetric Options - tune the fire color, light emission, shape and a lot more from here.

...

UI Button
newWindowtrue
icondownload
titleDownload scene (23 KB)
urlhttps://drive.google.com/uc?export=download&id=1uNdxSbUWQ7g8Np_MuH_nXZimJesNlZXA1zhPvWXKeCdylhnUafCuvmfmDhPg7EyQC

Section
Column
width50%
Align
alignleft

The scene uses Particle flow system as a source with a short particle lifespan. The Smoke Dissipation is set to a value of 0.95 which makes the smoke dissolve quickly. The Conservation is set to PCG Symmetric and the Quality to 40 so we can have a nice swirling motion. The Steps per Frame parameter is set to 2 for compensating the fast moving fluid.

...

UI Button
newWindowtrue
icondownload
titleDownload scene (61 KB)
urlhttps://drive.google.com/uc?export=download&id=1144cxOSkRTwhQhWmDIAi5UhBEgZkVDap1C9HS_TeT2inEFuXv7gWB2sX6Fpman949

Section
Column
width50%
Align
alignleft
The scene uses a few spheres as emitters placed inside of the text. The text is used as Confine geometry so that the simulation is happening only inside its volume. For rendering the Smoke color is set to use the Smoke channel with a blue-green gradient. The text is used as a Cutter Geometry so that only the parts of the smoke that are inside of the text will be rendered.

...