Versions Compared

Key

  • This line was added.
  • This line was removed.
  • Formatting was changed.

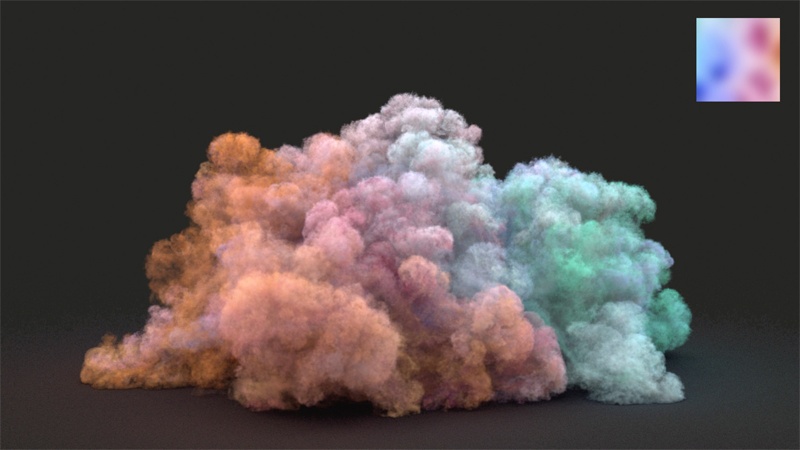
This page provides a tutorial on the different workflows available for controlling the RGB Grid Channel of the Chaos Phoenix Simulator in 3ds Max.

Overview


UI Text Box
typeinfo

This is an Entry Level tutorial which requires no previous knowledge of Phoenix. A basic understanding of 3ds Max would be helpful but is not a prerequisite for being able to follow along.

Section
Column
width40%

Requires Phoenix 3.11 Official Release and V-Ray Next Official Release for 3ds Max 2015 at least. You can download official Phoenix and V-Ray from https://download.chaos.com. If you notice a major difference between the results shown here and the behavior of your setup, please reach us using the Support Form.

The instructions on this page guide you through the different workflows available for controlling the RGB Grid Channel of the Phoenix Simulator in 3ds Max.

The tutorial is divided in chapters covering different topics such as:

  1. Using a Phoenix Source to emit a uniform RGB color.
  2. Using a Phoenix Source to emit RGB from a texture.
  3. Using a Phoenix Source to emit RGB from the vertex colors of the source geometry.
  4. Using a Phoenix Source in Brush mode to change the RGB color of Simulations while the simulation is running.
  5. Using a Phoenix Mapper in conjunction with a V-Ray Distance Texture to change the RGB based on the proximity of an object in the scene while the simulation is running.

All these workflows are suitable for both Fire/Smoke and Liquid simulations.

The Download button below provides you with an archive containing example scenes based on the instructions on this page.


UI Button
sizelarge
icondownload
titleDownload Project Files
urlhttps://drive.google.com/uc?export=download&id=1nNSfQDutMC6a-gd350Nl9kz1BnFXMAwh

Column
width60%


Units Setup


Section
Column
width40%

Scale is crucial for the behavior of any simulation. The real-world size of the Simulator in units is important for the simulation dynamics. Large-scale simulations appear to move more slowly, while mid-to-small scale simulations have lots of vigorous movement. When you create your Simulator, you must check the Grid rollout where the real-world extents of the Simulator are shown. If the size of the Simulator in the scene cannot be changed, you can cheat the solver into working as if the scale is larger or smaller by changing the Scene Scale option in the Grid rollout.

The Phoenix solver is not affected by how you choose to view the Display Unit Scale - it is just a matter of convenience.

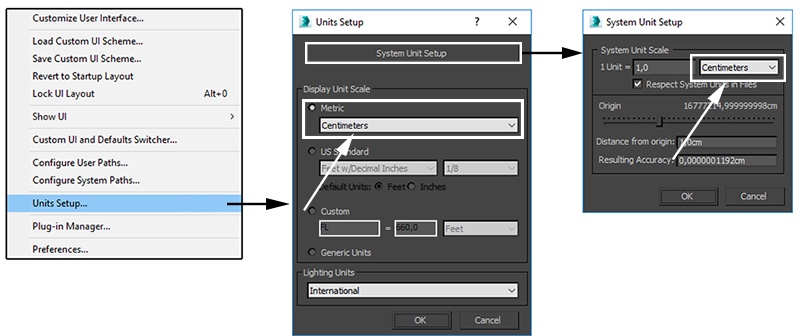
Go to Customize → Units Setup and set Display Unit Scale to Metric Centimeters.

Also, set the System Units such that 1 Unit equals 1 Centimeter.

Column
width60%


...