![]()
Page History
...
| Section | |||||||||||||||||||||||||||||||||
|---|---|---|---|---|---|---|---|---|---|---|---|---|---|---|---|---|---|---|---|---|---|---|---|---|---|---|---|---|---|---|---|---|---|
|

...
|

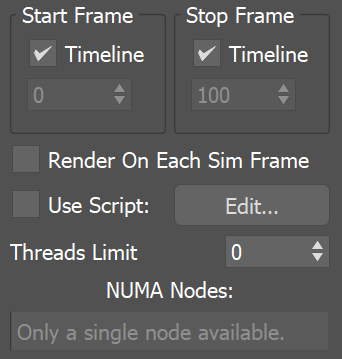
Parameters
...
| Section | ||||||||||||||||||||||||||||||||||||||||||||
|---|---|---|---|---|---|---|---|---|---|---|---|---|---|---|---|---|---|---|---|---|---|---|---|---|---|---|---|---|---|---|---|---|---|---|---|---|---|---|---|---|---|---|---|---|
|
...
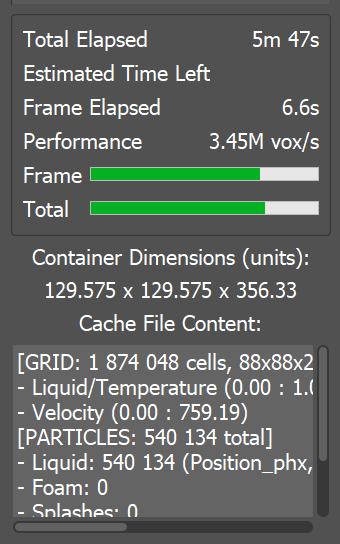
Cache File Content
...
| UI Text Box | ||
|---|---|---|
| ||
This area displays information on the current simulation. Any data from channels that have been loaded into the simulator are shown. This includes the minimum and maximum ranges for each channel. Check the Grid Channel Ranges and Particle Channel Ranges pages for more information. |
| Section | |||||||||||||||||||||||
|---|---|---|---|---|---|---|---|---|---|---|---|---|---|---|---|---|---|---|---|---|---|---|---|
|