![]()
Page History
This page provides information on the Phoenix Particle Texture (PhoenixFDParticleTexture).
Overview
...
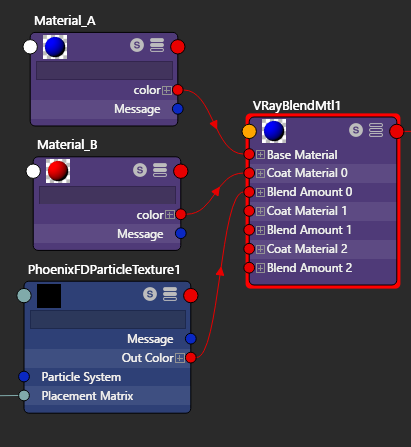
The Particle Texture is a 3D texture, which reads particles and colors the positions of each particle in a particle system. It can be created from the Hypershade in Maya.
...
| UI Text Box | ||
|---|---|---|
| ||
UI Path: ||Hypershade|| > Create panel > Maya section > 3D Textures |
Parameters
...
...
| Section | ||||||||||
|---|---|---|---|---|---|---|---|---|---|---|
|
...
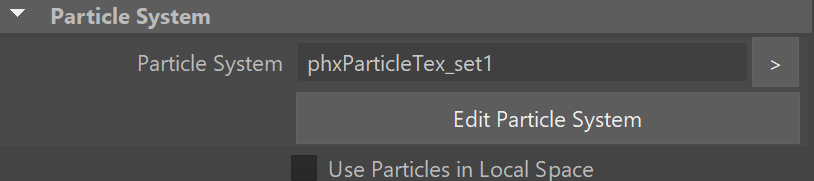
Particle Areas
...
| Section | ||||||||||
|---|---|---|---|---|---|---|---|---|---|---|
|

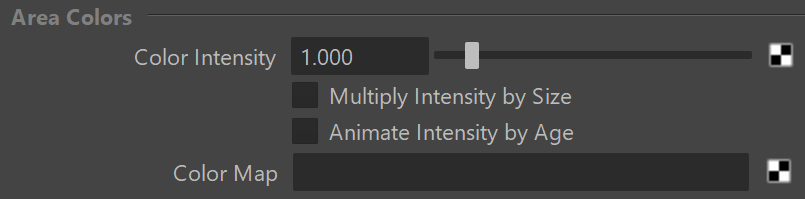
Area Colors
...
| Section | ||||||||||
|---|---|---|---|---|---|---|---|---|---|---|
|
Texture Shifting
...
| Section | ||||||||||
|---|---|---|---|---|---|---|---|---|---|---|
|

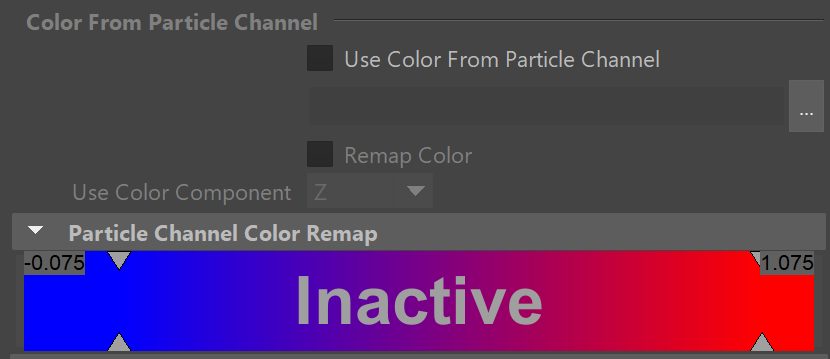
Color From Particle Channel
...
| Section | ||||||||||||||||||||
|---|---|---|---|---|---|---|---|---|---|---|---|---|---|---|---|---|---|---|---|---|
|
Setup for shading dry and wet materials
...
| Section | ||||||||||
|---|---|---|---|---|---|---|---|---|---|---|
|