![]()
Page History
...
Always – Cache files are always read by the preview.
Disable During Sim – Cache files are read only when the simulation is stopped. This would speed up the simulation and is good for overnight simulations where you don't need to watch the simulation constantly.
Don't Preview Caches – Cache files are never read for the preview. They will only be read during rendering, or in case any of the Phoenix tools requires them - e.g. the Particle Shader, the Grid Texture, etc.
Detail Reduction | detailReduction – Decreases the grid and particle detail in the preview. A value of 0 means no reduction. Increase this value if the interface starts to lag due to the simulation being very large. Note that this parameter does not affect the Mesh preview.
...
Graph Cells | showGridCells – Shows a lattice with the cell sizes on the sides of the Simulator's box or the Slice Preview.
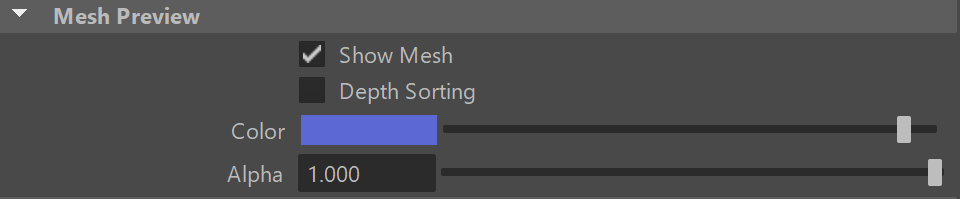
Mesh Preview
...
| Section |
|---|
...
|
...
|
...
|
...
| Anchor | ||||
|---|---|---|---|---|
|
...
| UI Text Box | ||
|---|---|---|
| ||
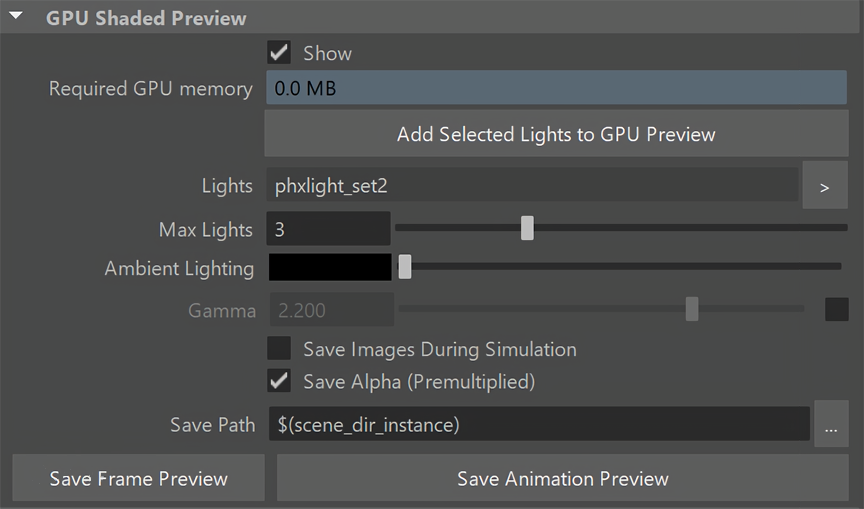
Note that the GPU Shade Preview is not a replacement for rendering. In order to display in real time, the preview ignores Displacement, as well as any volumetric texture mapping of the Fire or Smoke. There are also some limitations as to how it displays volumes when geometries intersect the sim, or are inside the grid. Finally, all lights are treated as directional, so using dome lights, area lights or global illumination would produce different render results than the GPU Preview. If you need to iterate on the final look of the simulation with complex lighting setups, you should use V-Ray GPU IPR, or another interactive rendering solution. |
...
| Section | |
|---|---|
|
...
|
...
Save Frame Preview | phxfdSaveFramePreviewSelectedSim – Saves an image preview for the current frame. If you have many instances of the same Simulator, you could also merge their GPU Previews in the same image using this example MEL command: phxfdSaveFramePreview (`ls -ap PhoenixFDSimulator1`,1, "",{}); Save Animation Preview | phxfdSaveAnimPreviewSelectedSim – Save an image preview for the whole simulation range. Note that the preview in the viewport will be disabled for faster processing. If you have many instances of the same Simulator, you could also merge their GPU Previews in the same image sequence using this example MEL command: phxfdSaveAnimPreview(`ls -ap PhoenixFDSimulator1`, 1, 5, 1, "",{}); | |||||||||||||||||||||||||||||||||||
...
|
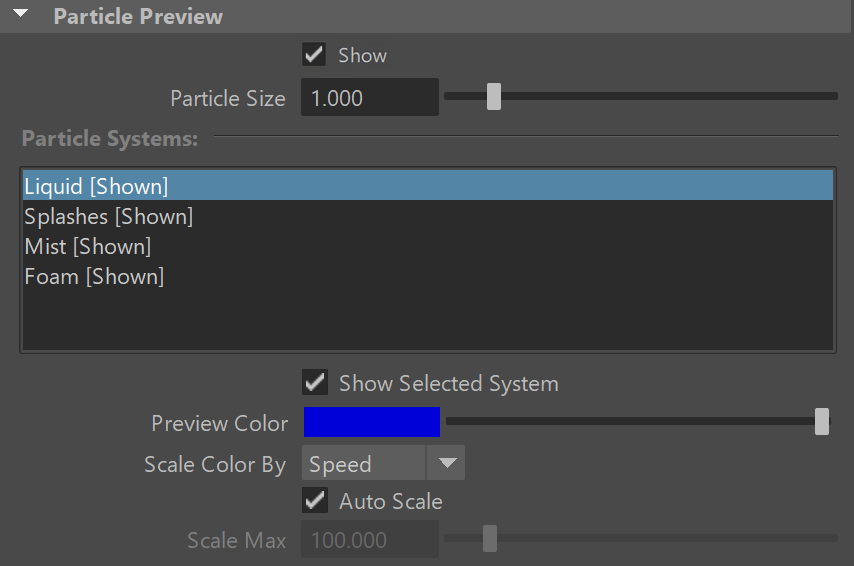
Particle Preview
...
| UI Text Box | ||
|---|---|---|
| ||
The parameters here control the visualization of Particle Types generated by the Simulator. Phoenix can only preview the Particle Types present in the cache file for the current frame. |
| UI Text Box | ||
|---|---|---|
| ||
You can specify a Particle Channel to use as a basis for adjusting the particle preview color, using the Scale Color By option. For example, you could set the Scale Color By option to the Speed particle channel, so that the faster the particles move, the whiter they appear in the preview. You can find more info on Particle Channels from the Particle Channel Ranges page. |
| Section |
|---|
...
|
...
|
...
|
...
|
...
Voxel Preview
...
| UI Text Box | ||
|---|---|---|
| ||
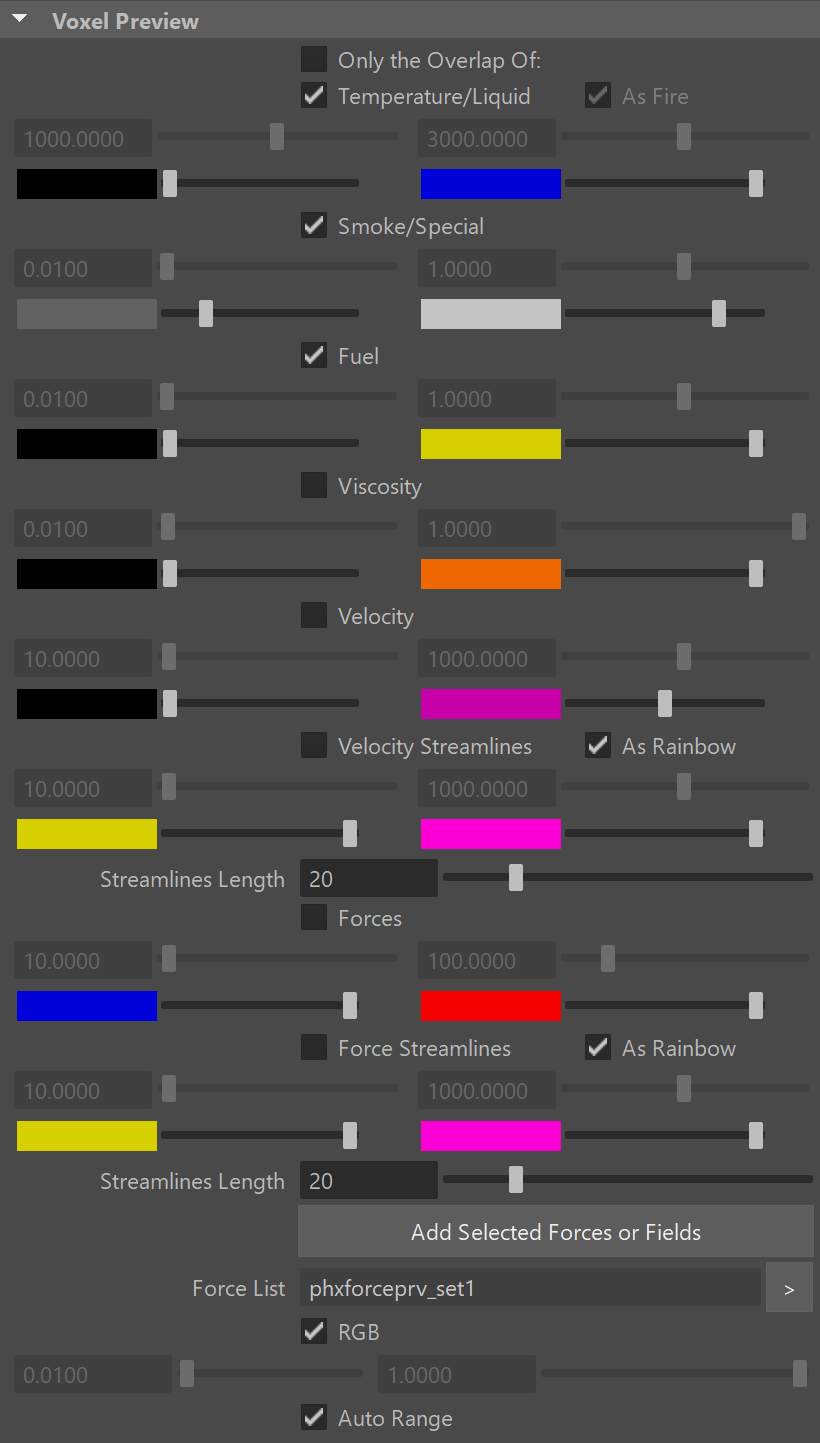
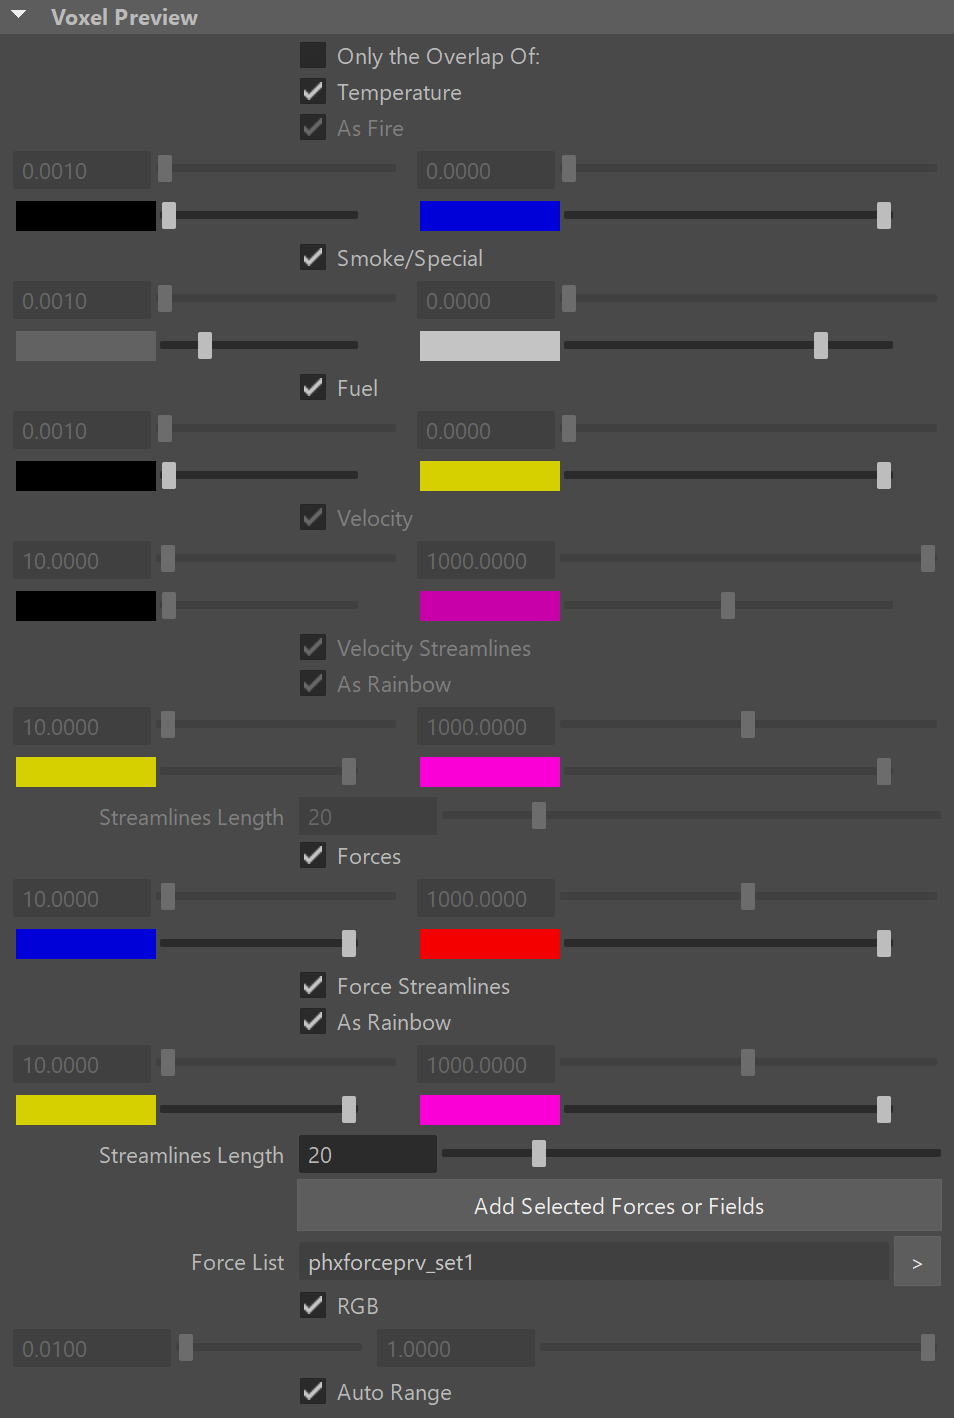
The Voxel Preview displays the Grid Channel content of each cell. Phoenix can only preview the channels present in the cache file for the current frame. All enabled channels are drawn if their content is between the corresponding thresholds. To see the list of available channels and their ranges for an input sim cache, go to the Cache File Content section of the Simulation rollout. You can also find more info on the Grid Channel Ranges page. |
...
| Section | ||||||||||||||||||||
|---|---|---|---|---|---|---|---|---|---|---|---|---|---|---|---|---|---|---|---|---|
|
Bake Streamlines
...
| Section | ||||||||
|---|---|---|---|---|---|---|---|---|
|
...
|

...
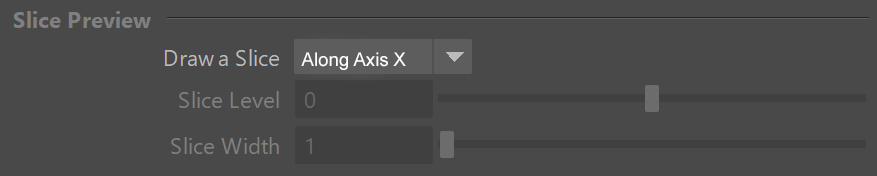
Slice Preview
...
| UI Text Box | ||
|---|---|---|
| ||
The Slice preview displays only a single slice of voxels which can be convenient for debugging and fine-tuning a simulation. |
...
| Section | ||||||||||
|---|---|---|---|---|---|---|---|---|---|---|
|