Versions Compared

Key

  • This line was added.
  • This line was removed.
  • Formatting was changed.

...

UI Text Box
typeinfo

This is an Entry Level tutorial which requires no previous knowledge of Phoenix. A basic understanding of Maya would be helpful but is not a prerequisite for being able to follow along.

Section
Column
width40%

This tutorial is created using Phoenix 4.30 Official Release and V-Ray 5. You can download official Phoenix and V-Ray from https://download.chaos.com.

The instructions on this page guide you through the process of setting up a basic liquid simulation in Phoenix for Maya. By the end of the tutorial, you will be able to create your own liquid simulations, understand how the simulation interacts with other objects and will know the basics of editing some of the main settings of the Phoenix Liquid Simulator.

To follow the described steps, you will need the Phoenix for Maya plugin installed. If you notice a major difference between the results shown here and the behavior of your setup, please reach us using the Support Form.


This tutorial is a companion to go along with the QuickStart video posted on our YouTube channel.


The Download button below provides you with an archive containing the start and end scenes.


UI Button
sizelarge
icondownload
titleDownload Project Files
urlhttps://drive.google.com/uc?export=download&id=1x1lp2k4eBMOyV5-4Mqkw-qN0u4hJH6cV

Column
width60%
HTML
<iframe width="720" height="480" src="https://www.youtube.com/embed/5i1grQXytt8" frameborder="0" allow="autoplay; encrypted-media" allowfullscreen></iframe>

...

Section
Column
width40%

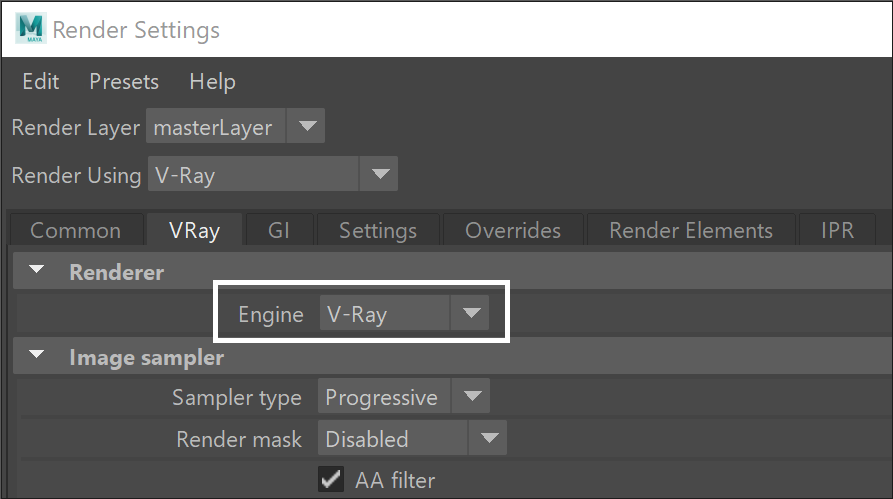
To prepare your scene for rendering a simulation make sure V-Ray is set as your Renderer in the Render Settings window.

Column
width60%


...


Section
Column
width40%

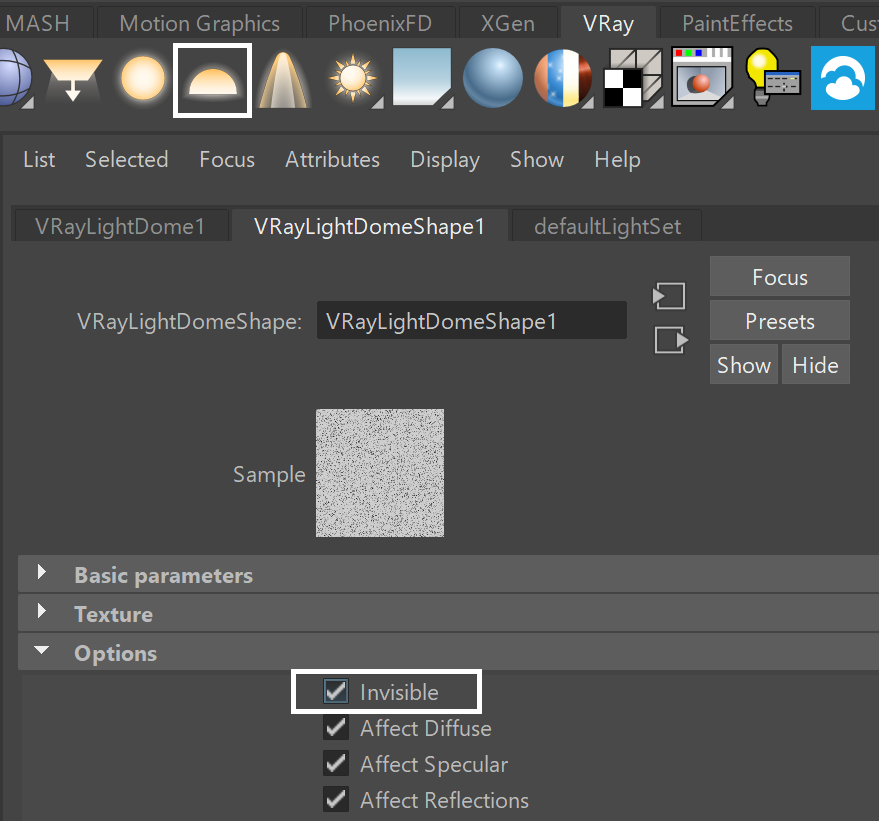
Add a Dome light to your scene and set it to be Invisible.

Column
width60%

...

Section
Column
width40%

We will begin by using a quick water preset.


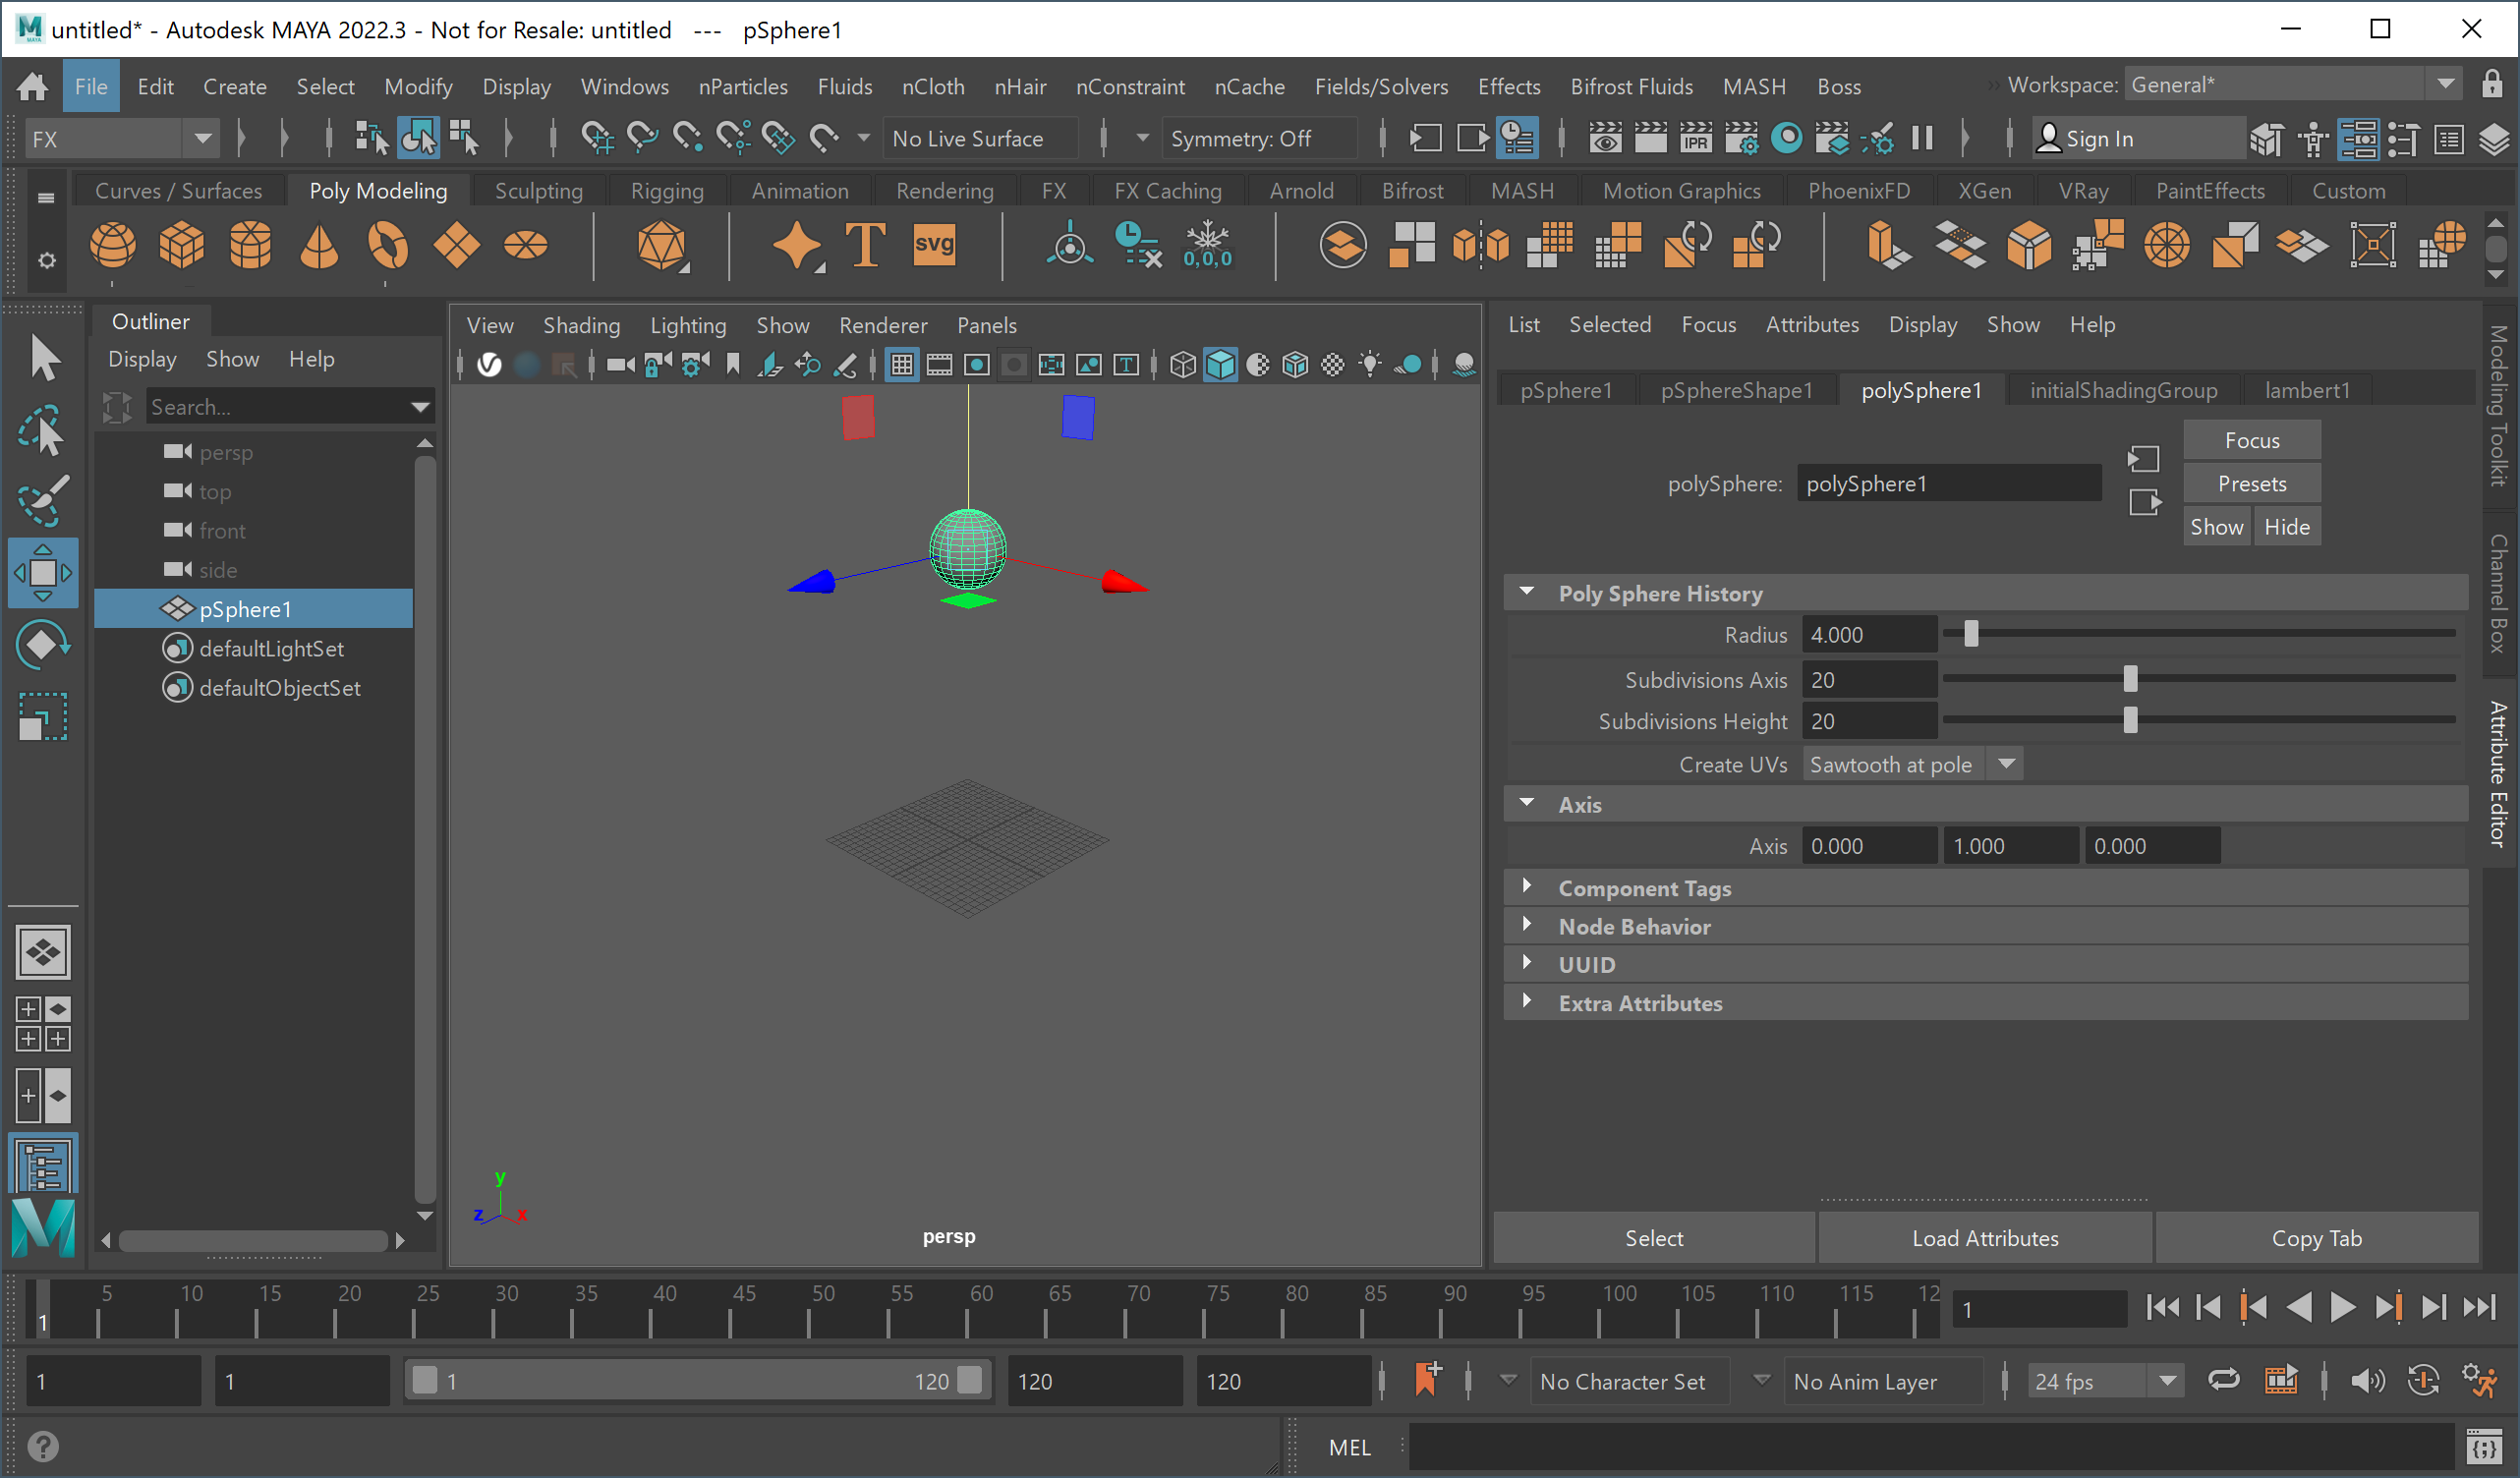
Create a polygonal sphere with a Radius of about 4.0 centimeters. This sphere will be the source of the liquid.

Column
width60%

...

Section
Column
width40%

Let’s take a look at setting up a water simulation manually.


If you're continuing from the Preset section above, select the Simulator and Source objects and delete them from your scene. If not, create a Sphere with a Radius of about 4.0 centimeters.

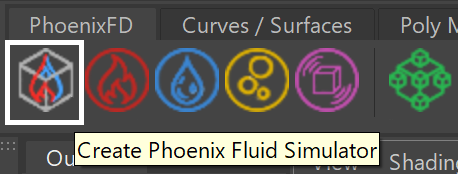
Click on the Create a Fluid Simulator button in the Phoenix Shelf and click and drag in the viewport to create a volume to encompass the sphere while leaving some room for the liquid to fall. Move the sphere near the top of the Simulator and make sure it is inside the volume.

Column
width60%

...

Section
Column
width40%

Now let’s make the liquid collide with and fill an actual object rather than just the Simulator’s grid.


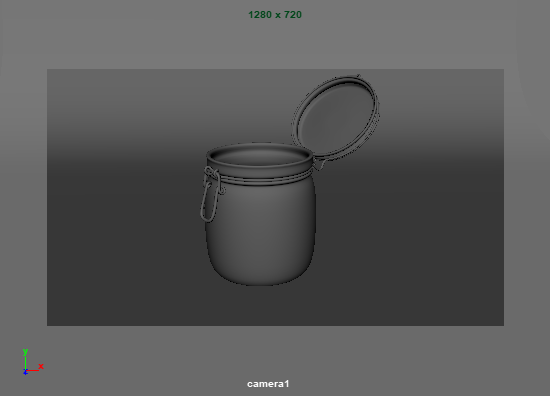
The following scene file can be downloaded from the Overview section above. It consists of a jar with a studio lighting setup and background.

Switch your view to camera1 see what will be rendered.

Column
width60%

...