![]()
Page History
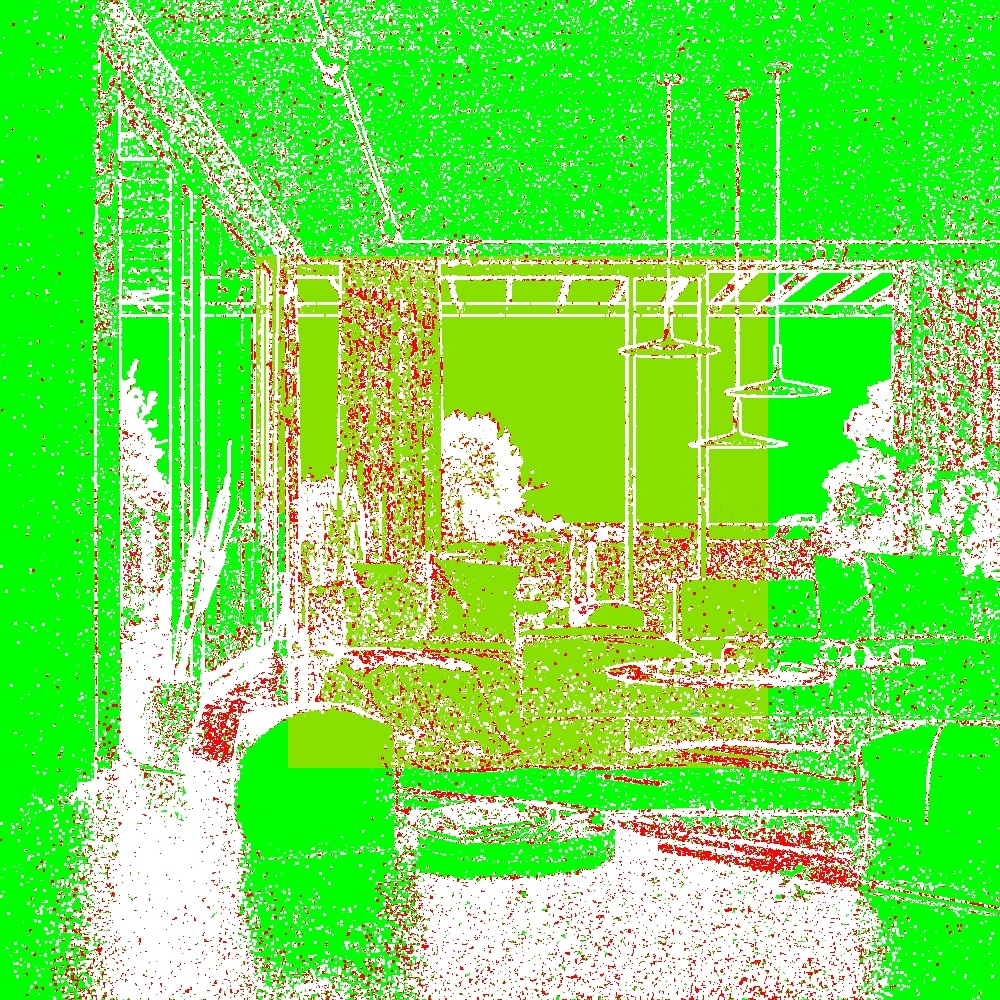
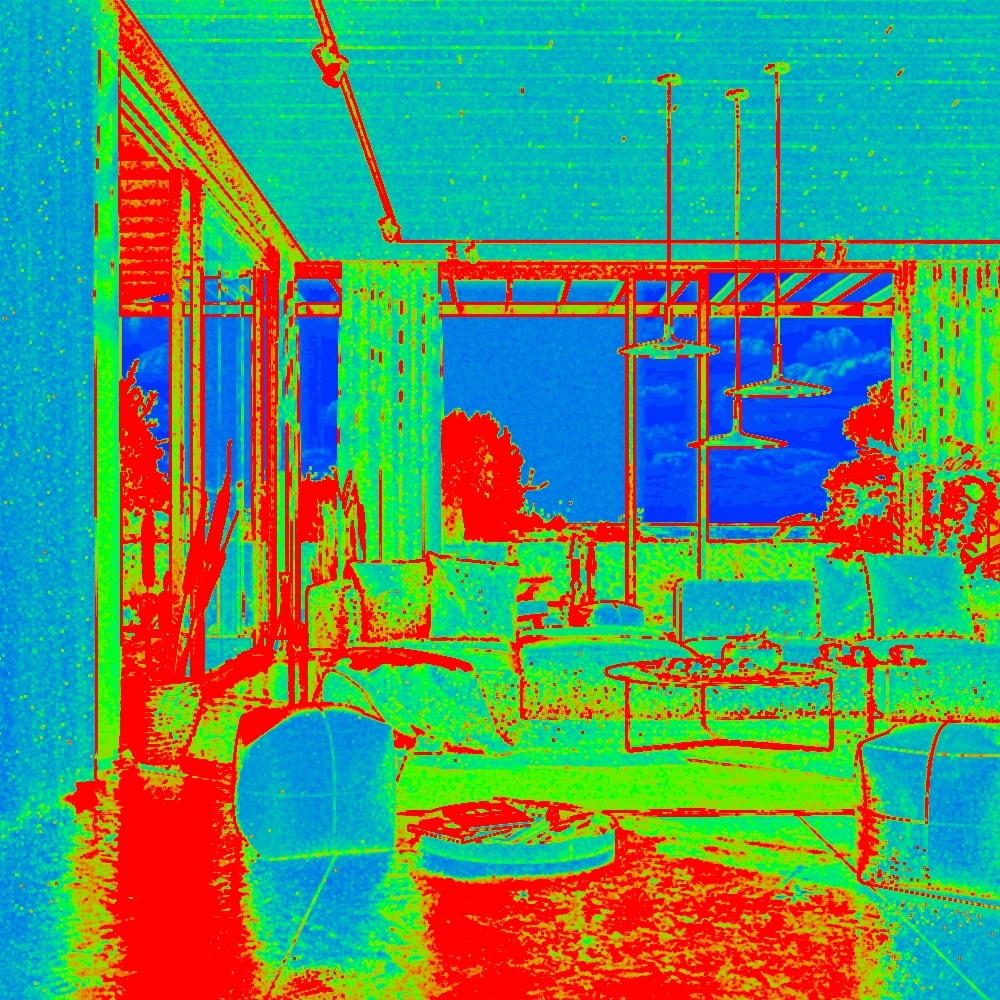
The Sample Rate Render Element displays the work being done by the image sampler as a red, green, and blue image.
Overview
...
| Section | |||||||||||||||||||||
|---|---|---|---|---|---|---|---|---|---|---|---|---|---|---|---|---|---|---|---|---|---|
|
...
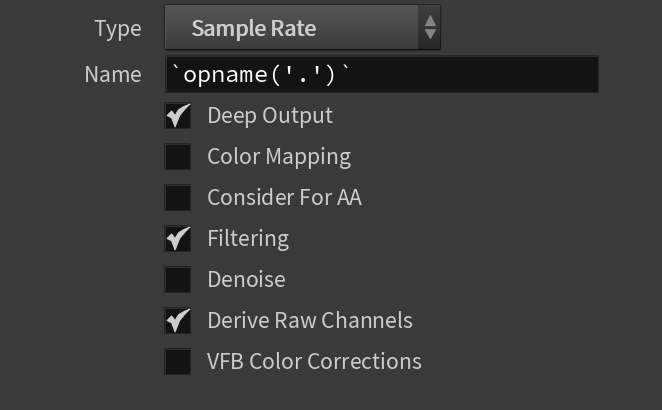
Attributes
...
| Section | ||||||||||||||||
|---|---|---|---|---|---|---|---|---|---|---|---|---|---|---|---|---|
|
Common Uses
...
Sample Rate can be used with both the Bucket and Progressive image samplers.
Bucket Image Sampler
...
The Sample Rate Render Element is useful for fine tuning render settings using a "red is bad" rule.
Below is a scene with minimal red in the Sample Rate Render Element, indicating that the sampler had a high enough Max Subdivs value to hit the desired noise level.
| Before after | ||||||||||
|---|---|---|---|---|---|---|---|---|---|---|
| ||||||||||
|

...
The image sampler is mostly able to reach the noise threshold using the subdivisions allotted.
...
In the next image, the sampler did not have a high enough Max Subdivs value to hit the desired noise level. The high amount of red shows that the image sampler cut off sampling before the image hit the desired noise level. Noise can be decreased by increasing the Max Subdivs parameter to allow the image sampler to reach the desired noise level. Click on the image to view a larger version.
| Before after | ||||||||||
|---|---|---|---|---|---|---|---|---|---|---|
| ||||||||||
|
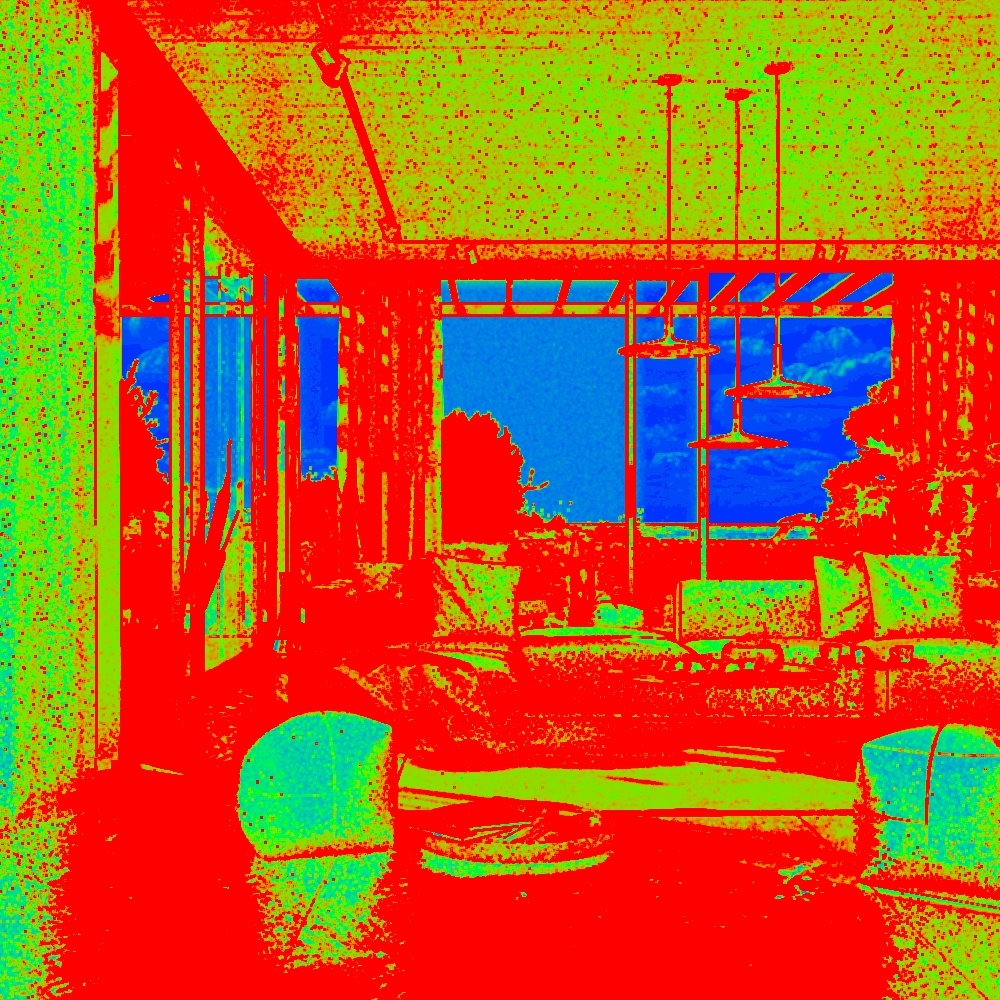
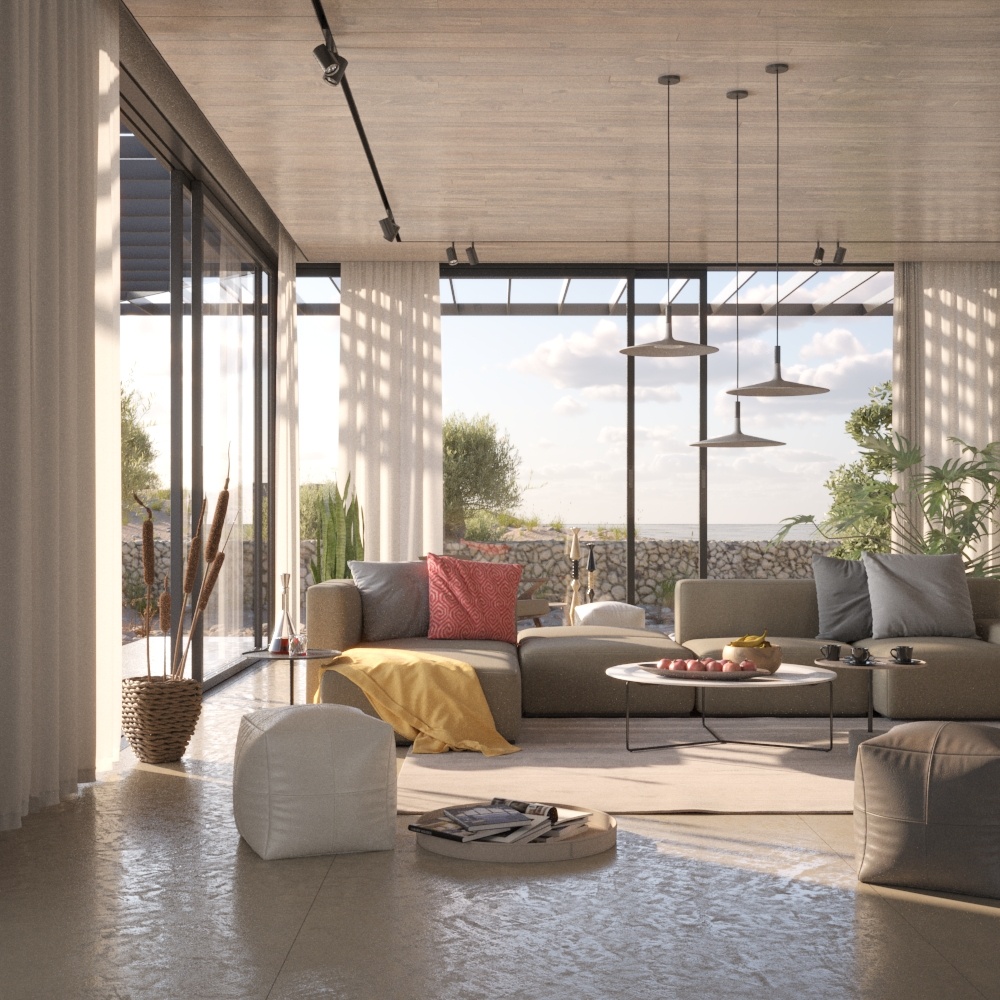
Render time = 6m 17s, Max Subdivs = 8, Noise Threshold = 0.01, Min shading rate = 6
The Image sampler is mostly not able to reach the specified noise threshold.
...
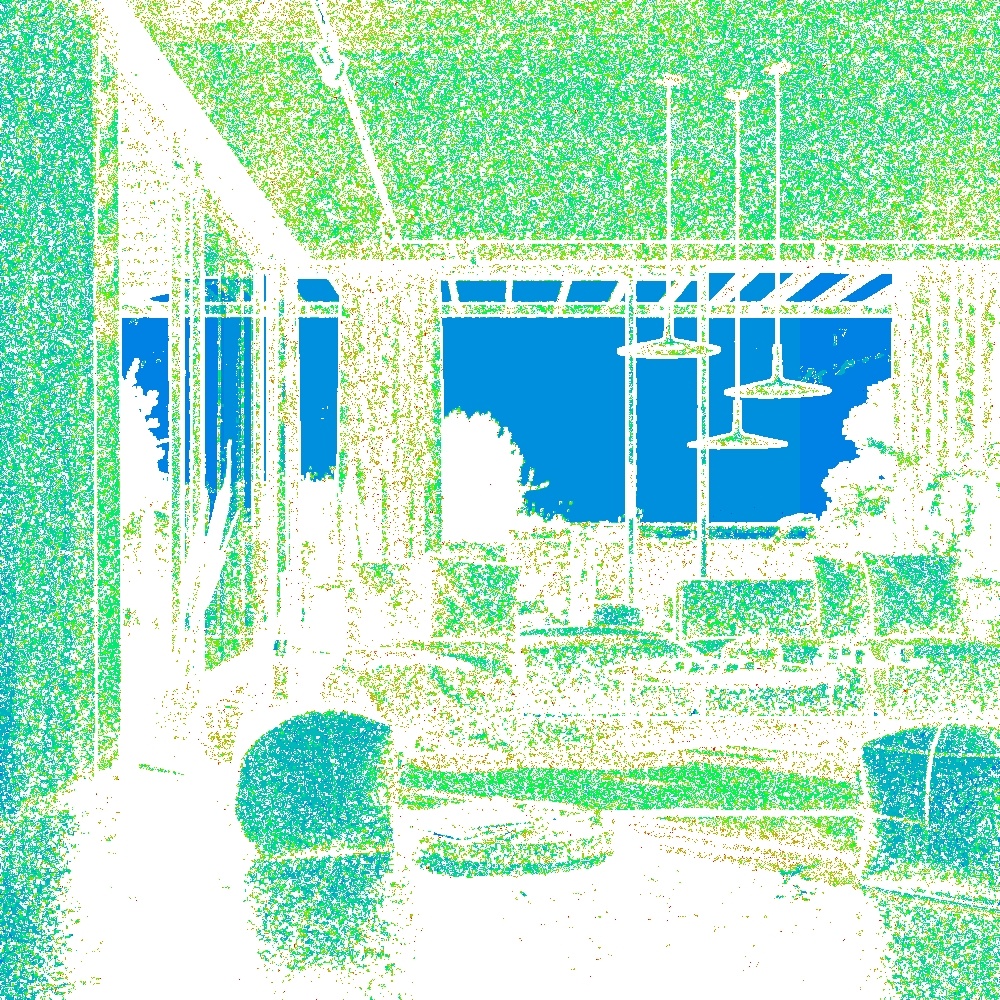
The primary samples can be allocated to the complex areas of the image by increasing both the Max Subdivs and the Noise Threshold values. This way, V-Ray has available enough primary samples to lower the noise of the complex areas in exchange for an overall slight increase in noise, while still keeping the render times down.
...
| Before after | ||||||
|---|---|---|---|---|---|---|
| ||||||
|
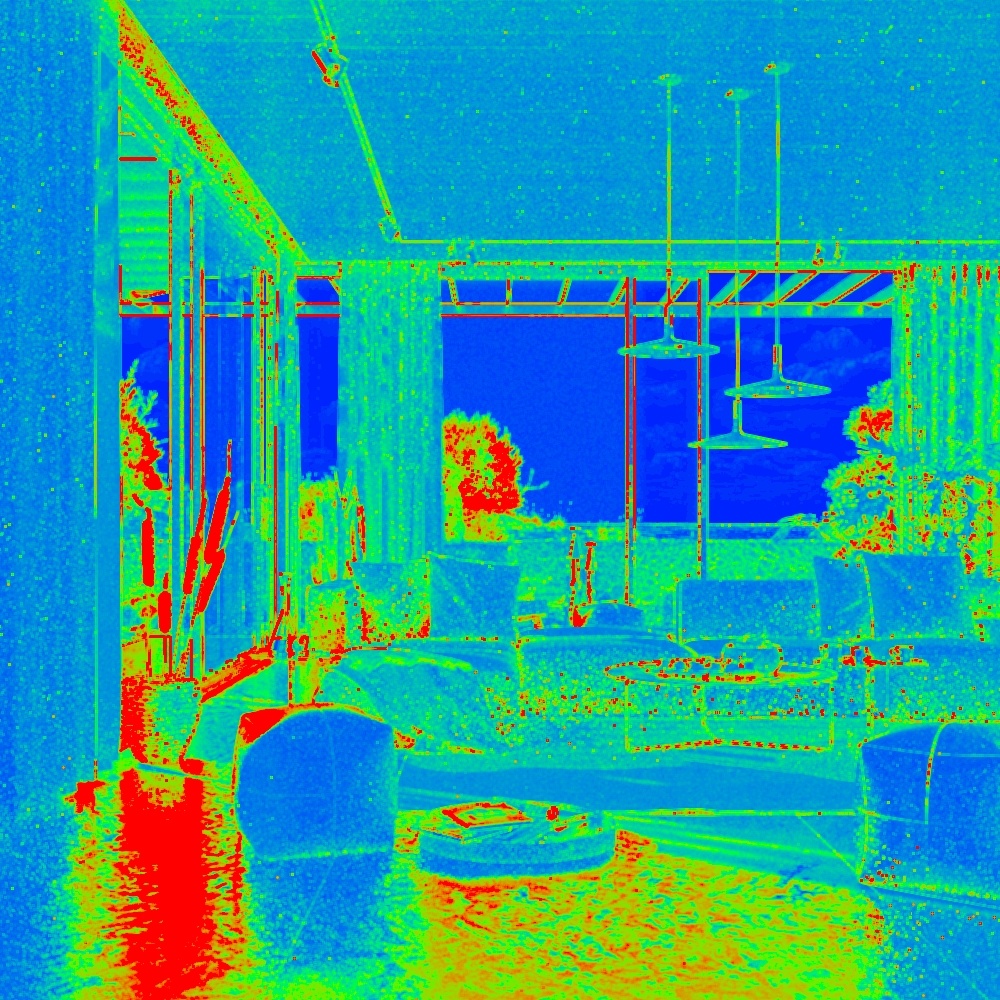
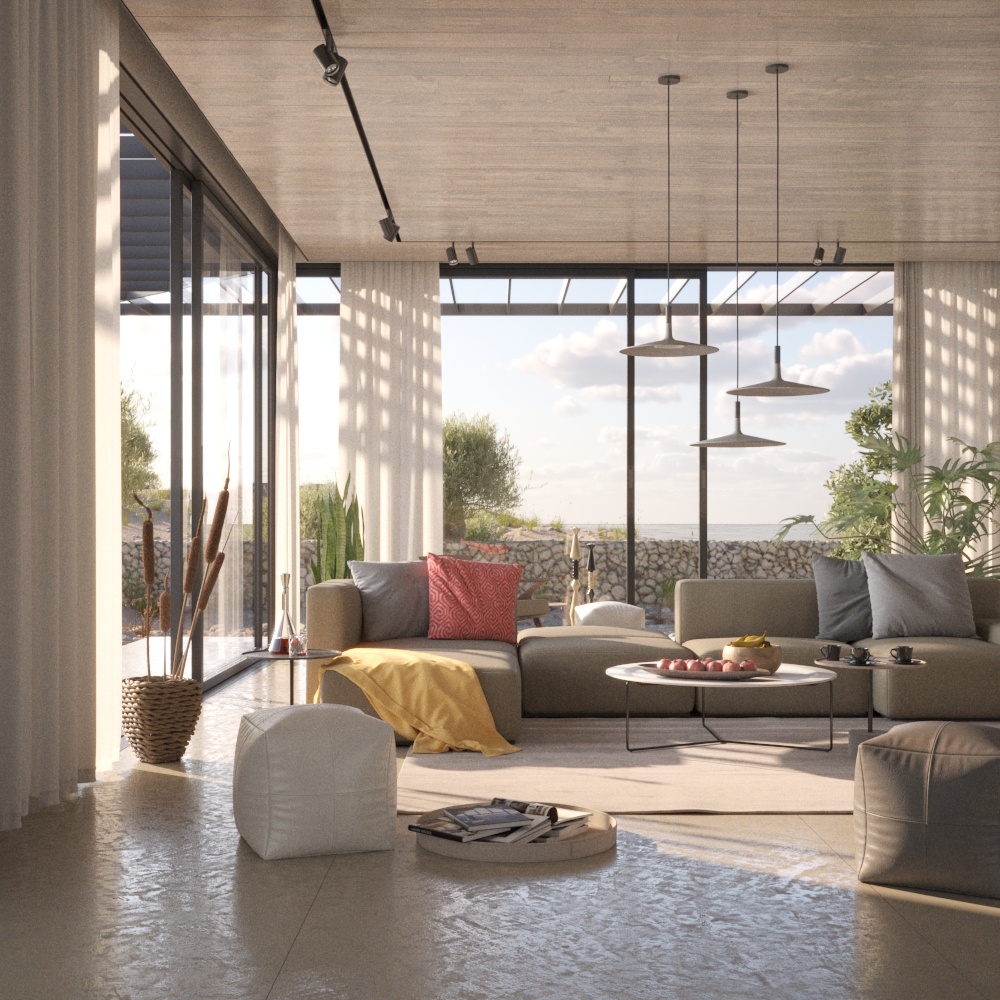
Render time = 5m 37s, Max Subdivs = 12, Noise Threshold = 0.02, Min shading rate = 6
Sample Rate Render Element with not enough max subdivs.
The Image sampler is mostly not able to reach the specified noise threshold.
...
...
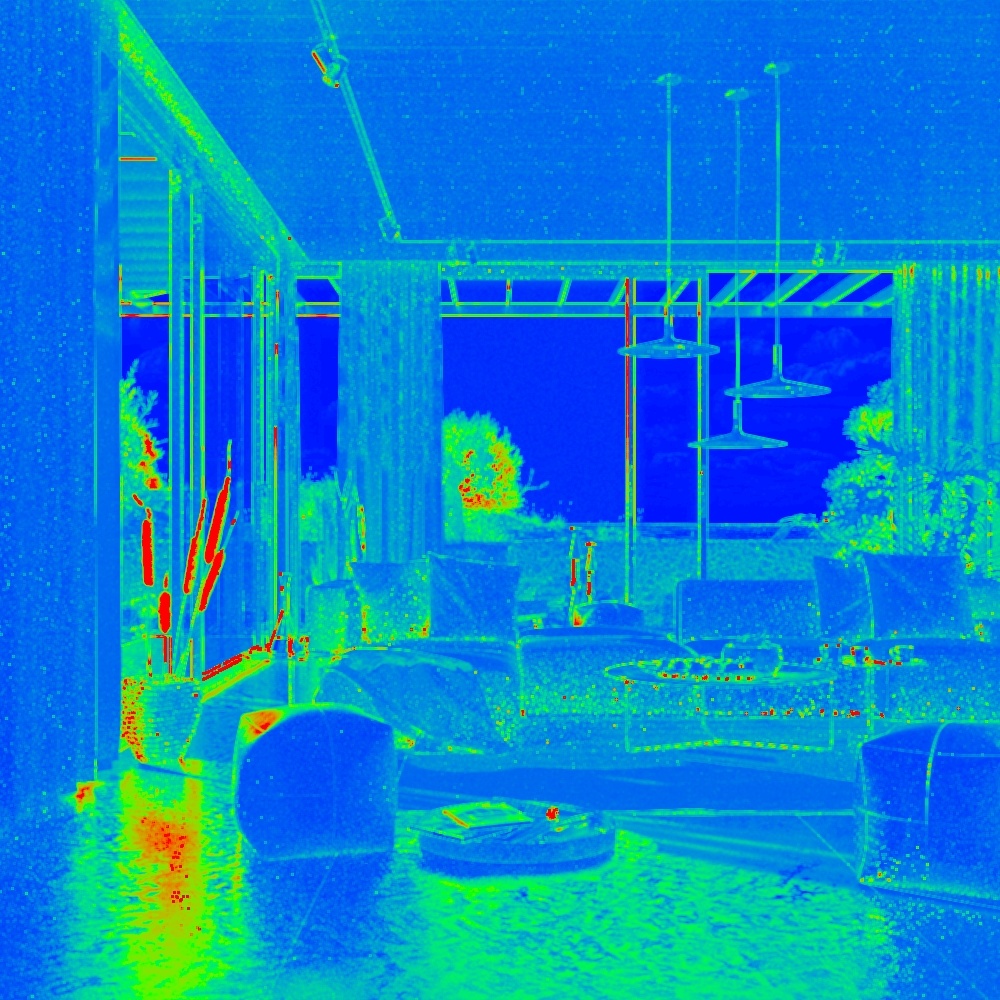
Alternatively, the image sampler can allocate primary and secondary samples by changing the Min shading rate value.
For this scene, increasing the Min shading rate allows the sampler more secondary samples to focus on cleaning the lighting, GI, reflections and refractions. In exchange, some of the detailed fur and high contrast areas are a bit noisier as there are not enough primary samples taken for those areas.
| Before after | ||||||||||
|---|---|---|---|---|---|---|---|---|---|---|
| ||||||||||
|

Render time = 8m 38s, Max Subdivs = 8, Noise Threshold = 0.01, Min shading rate = 20
Sample Rate Render Element with not enough max subdivs.
Less primary samples are needed to hit the desired noise level, since more secondary samples are taken.
Progressive Image Sampler
...
The Progressive sampler uses the same algorithm as the Bucket sampler. The main difference is that the maximum samples increase as the sampler finishes each pass.
| Section | |||||||||||||||||||||||||||||||||||
|---|---|---|---|---|---|---|---|---|---|---|---|---|---|---|---|---|---|---|---|---|---|---|---|---|---|---|---|---|---|---|---|---|---|---|---|
|