![]()
Page History
...
| Floatingpagetoc |
|---|
Overview
...
| Section | |||||||||||||||||
|---|---|---|---|---|---|---|---|---|---|---|---|---|---|---|---|---|---|
|
...
To download the files used in this tutorial, please click on the button below.
| Note |
|---|
You can right-click the download button and choose "Save Link As..." or "Save target as.." depending on your browser.. This will bring up a dialog to save the zip file without having to wait for the Preview mode to load. |
Part I - Opening Unreal project and initial setup
...
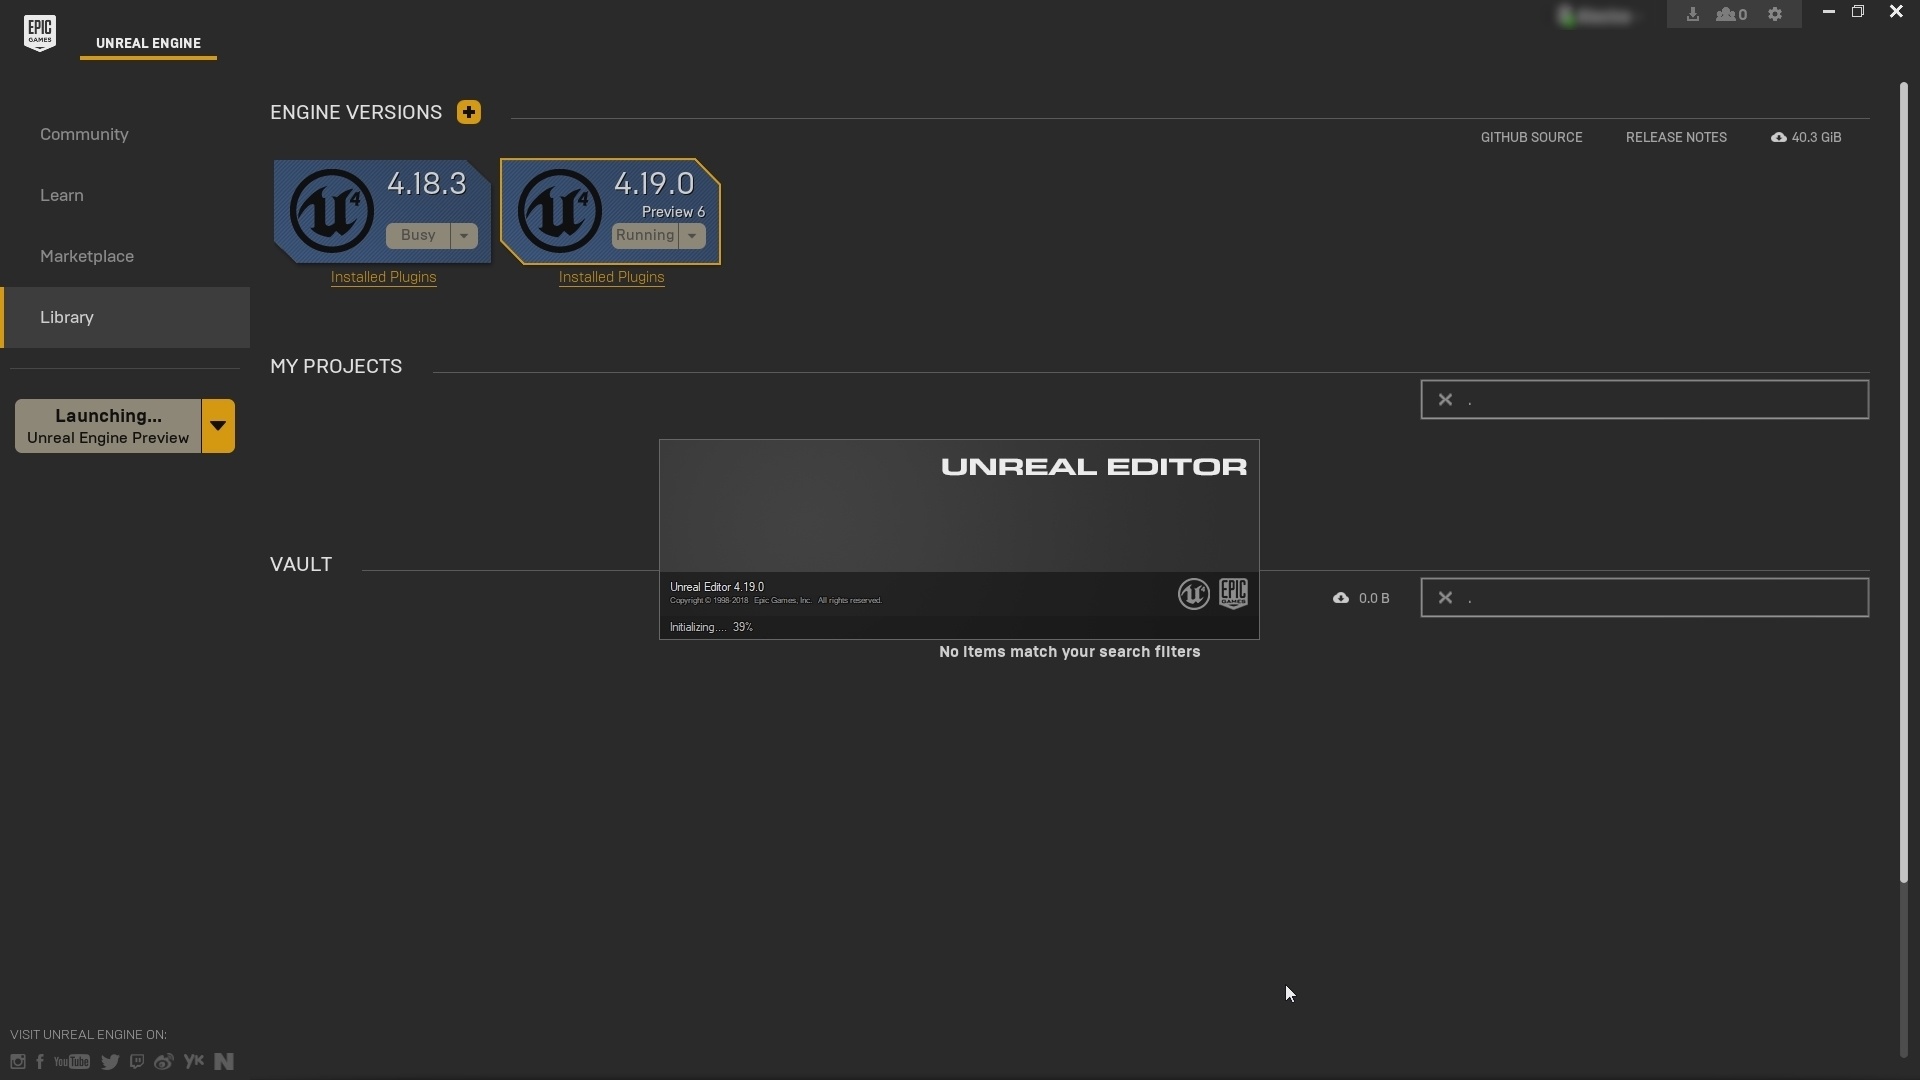
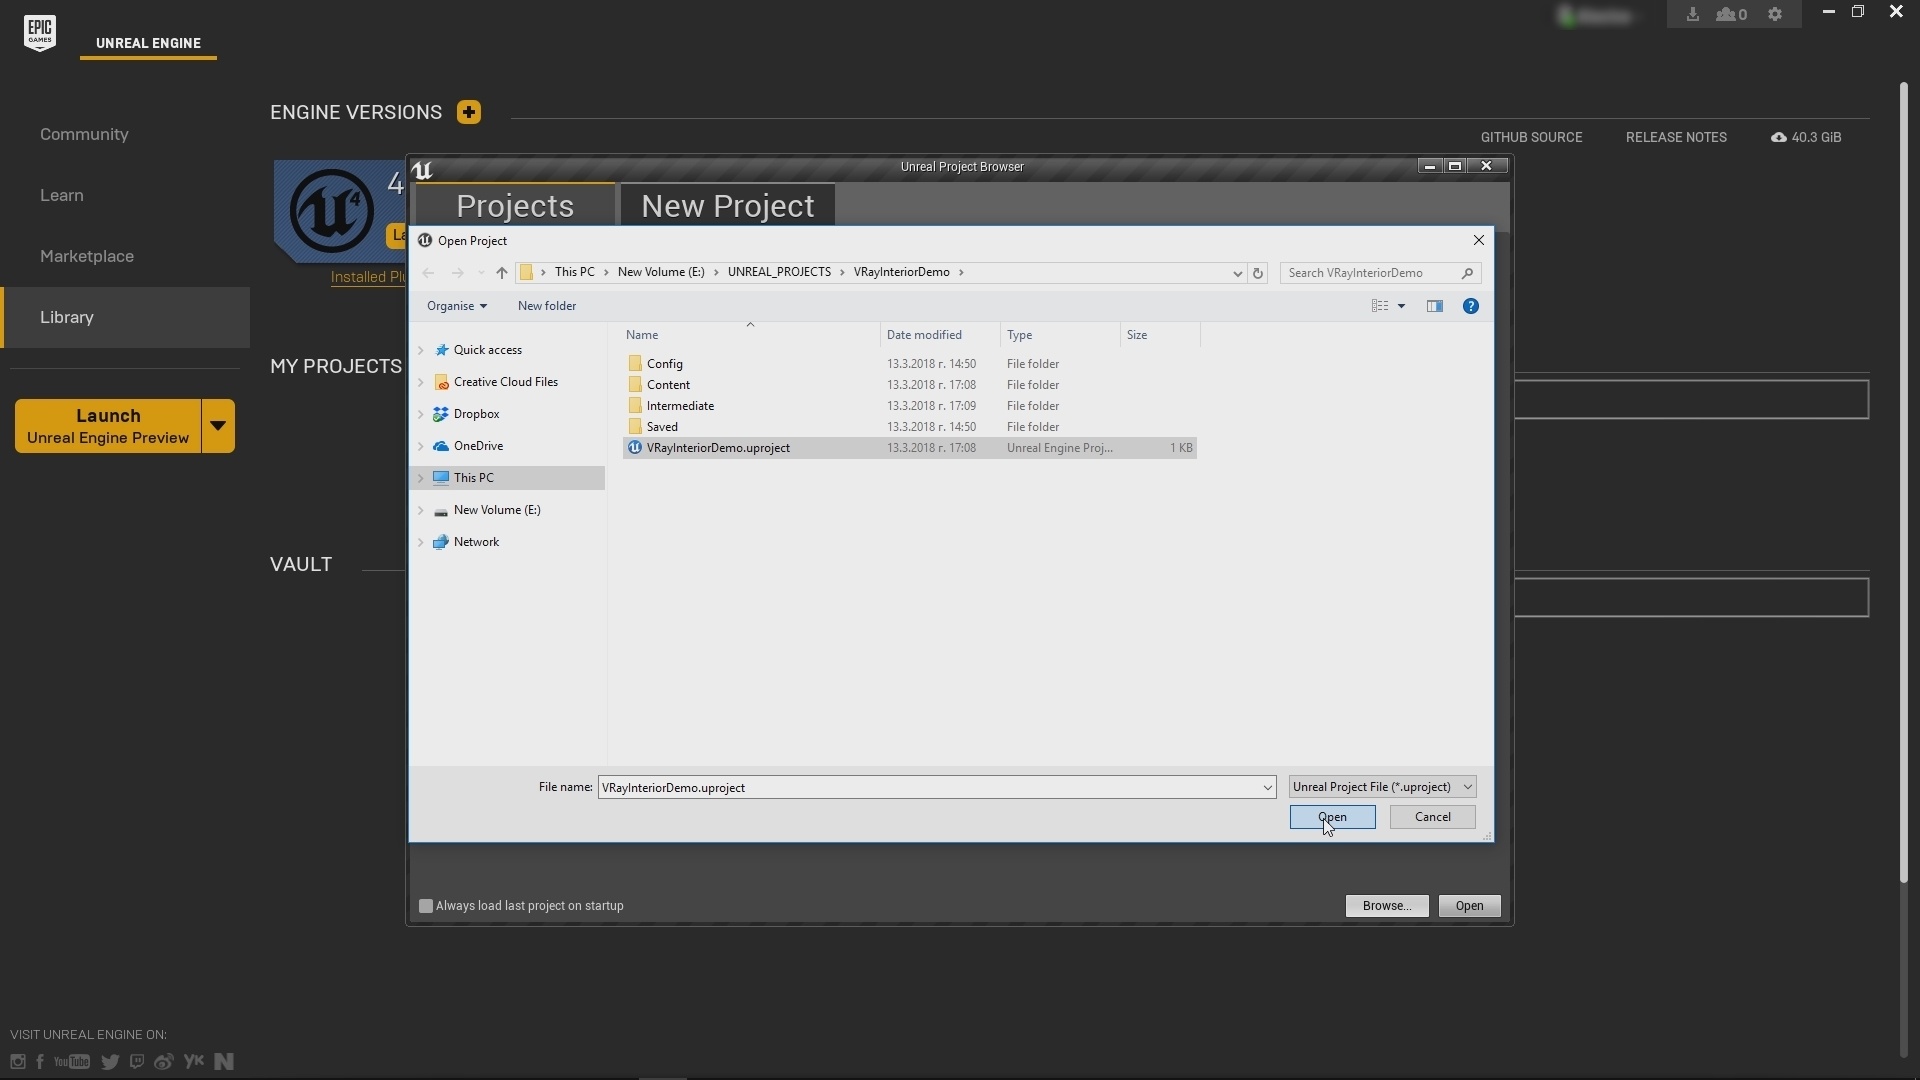
Launch you version of Unreal from the Epic Games Launcher. (currently supported versions are 4.18.3 and 4.19)(1.1). A window appears. Click the Browse button and navigate to the project you wish to open. In our case it is called VRayInteriorDemo.uproject. (1.2)
| Section | |||||||||||||||||
|---|---|---|---|---|---|---|---|---|---|---|---|---|---|---|---|---|---|
|
Step 2. Enable The V-Ray Plugin
...
| Section | |||||||||||||||
|---|---|---|---|---|---|---|---|---|---|---|---|---|---|---|---|
|
Part II - Camera, materials and Lightmass settings
...