![]()
Page History
...
| Section | ||||||||||
|---|---|---|---|---|---|---|---|---|---|---|
|
Step 3. Test LightbakeLight bake
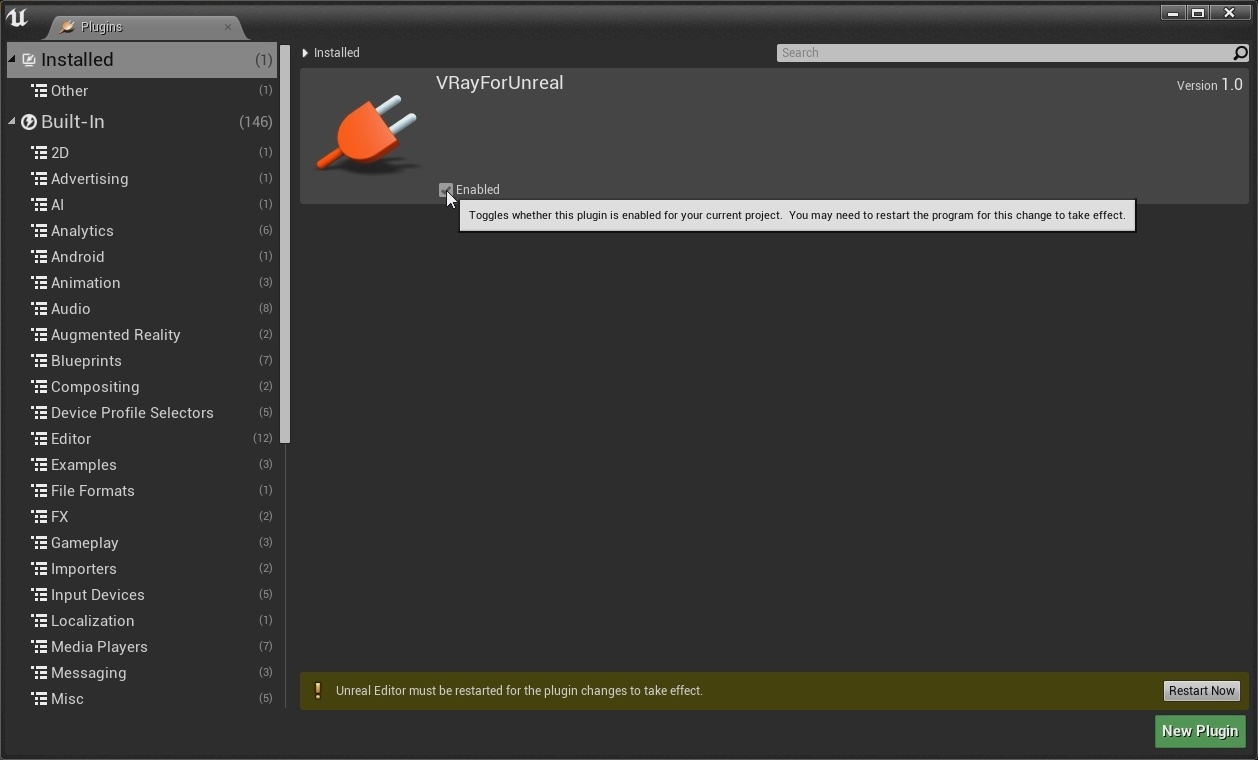
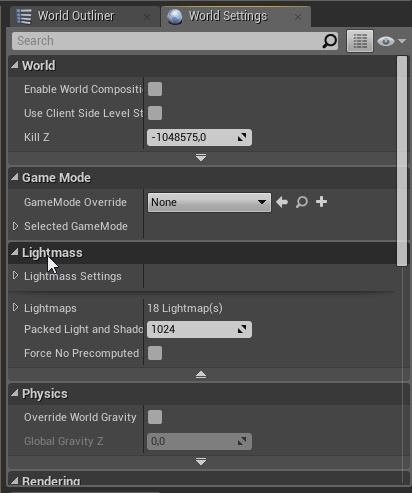
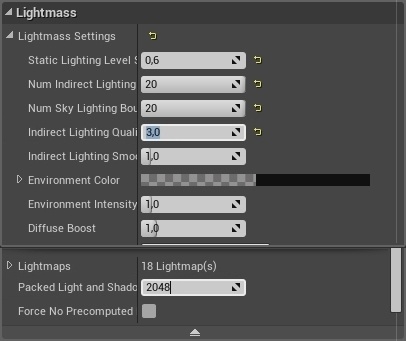
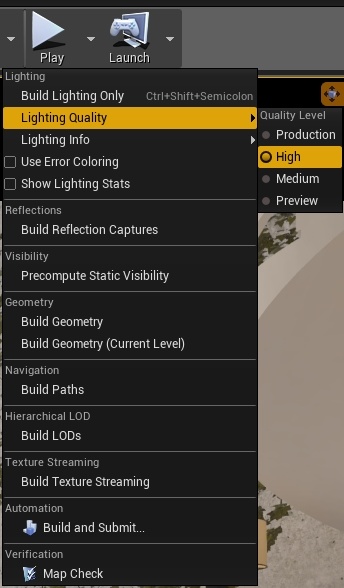
After Unreal is restarted and the project opened, do a test lightbake light bake to get a feel of the lighting in the scene. The scene contains one VRay Light Dome with an HDRI image plugged into the Dome Tex slot (3.1). Make sure to be on Preview in the Lighting quality to speedup the baking process (3.2). To do a test lightbake light bake go to Build options menu > Build Lighting Only (3.3).
...
| Section | |||||||||||||||
|---|---|---|---|---|---|---|---|---|---|---|---|---|---|---|---|
|
After a few minutes the final light bake is complete and we are ready for the final render (5.4).
| Section | |||||
|---|---|---|---|---|---|
|
Part III - Rendering the final image
...
Step 1. Render Image
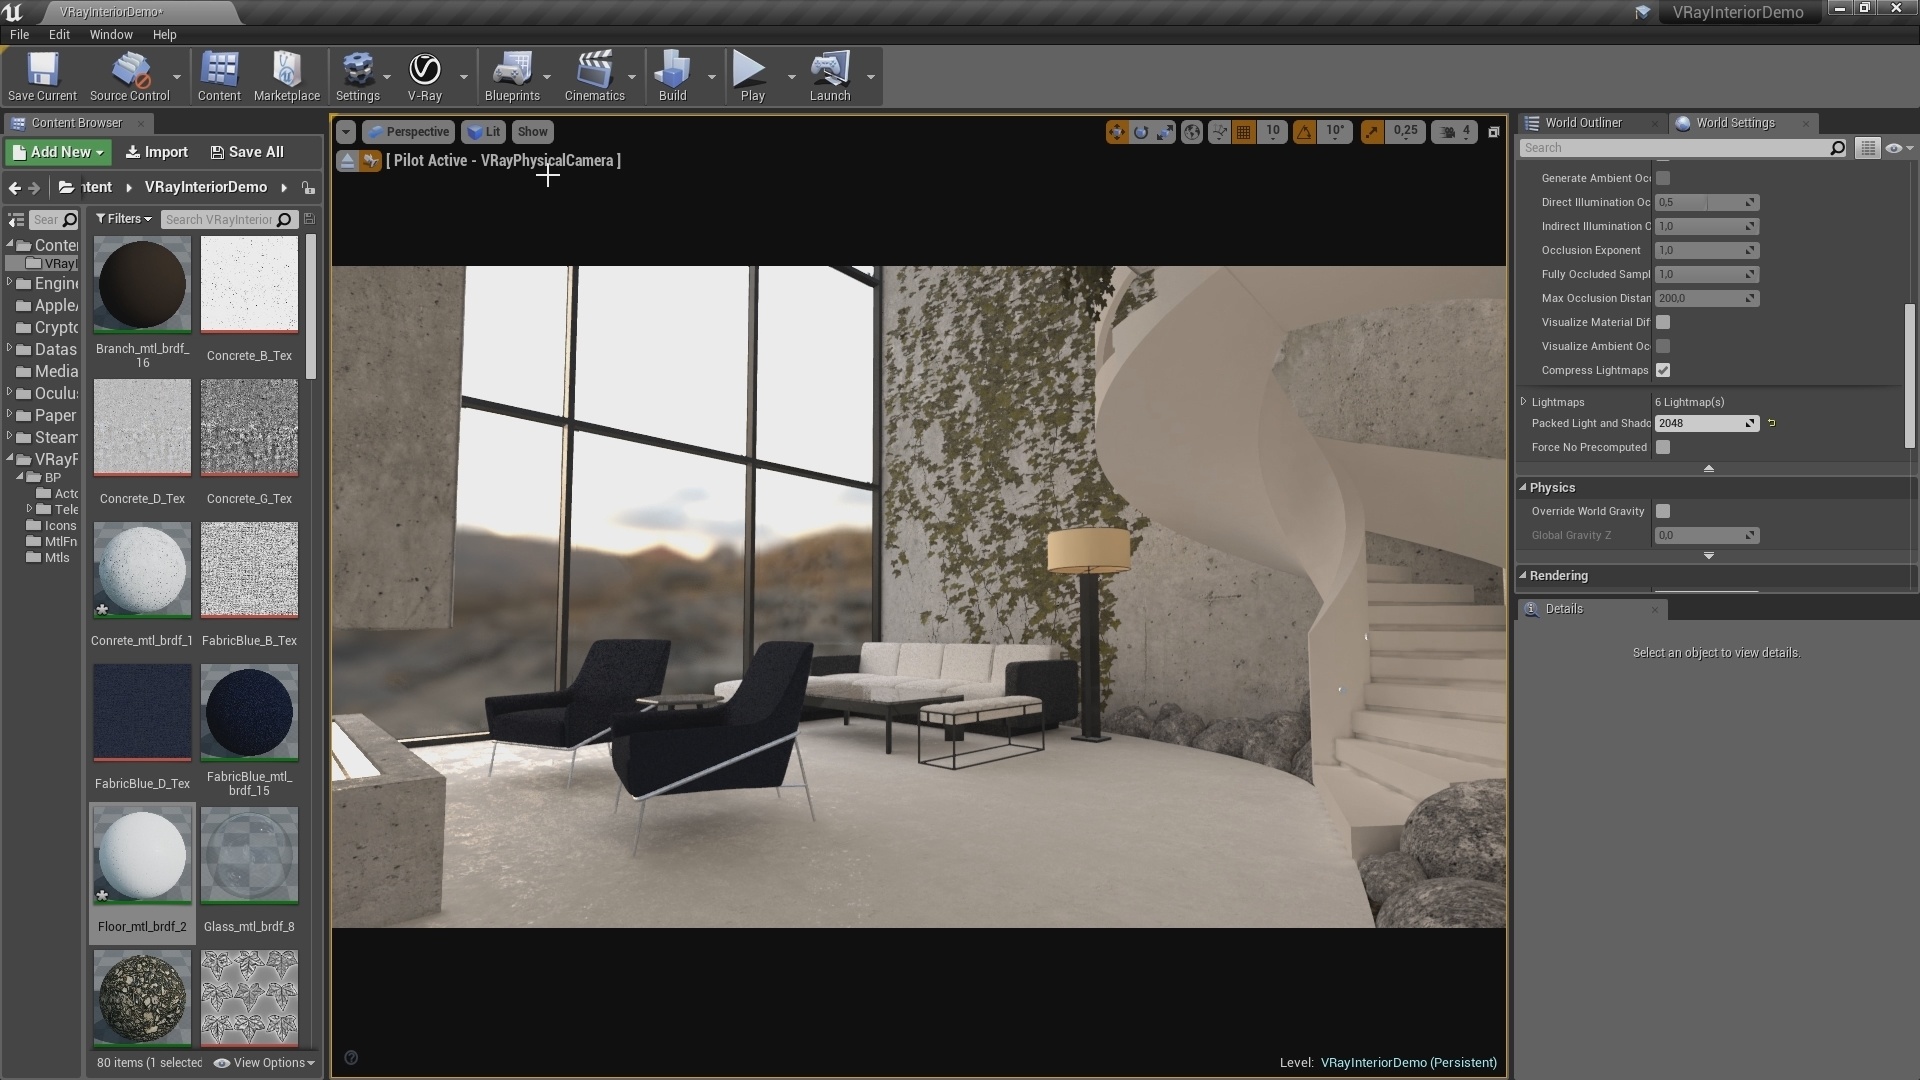
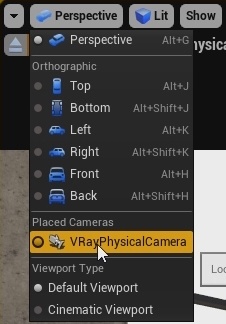
To render an image from Unreal using V-Ray make sure in the viewport you are looking from the camera (1.1) To render the image click the V-Ray button in the toolbar (1.2) (1.3).
| Section | |||||||||||||||
|---|---|---|---|---|---|---|---|---|---|---|---|---|---|---|---|
|

Step 2. Refine the Render inside the VFB
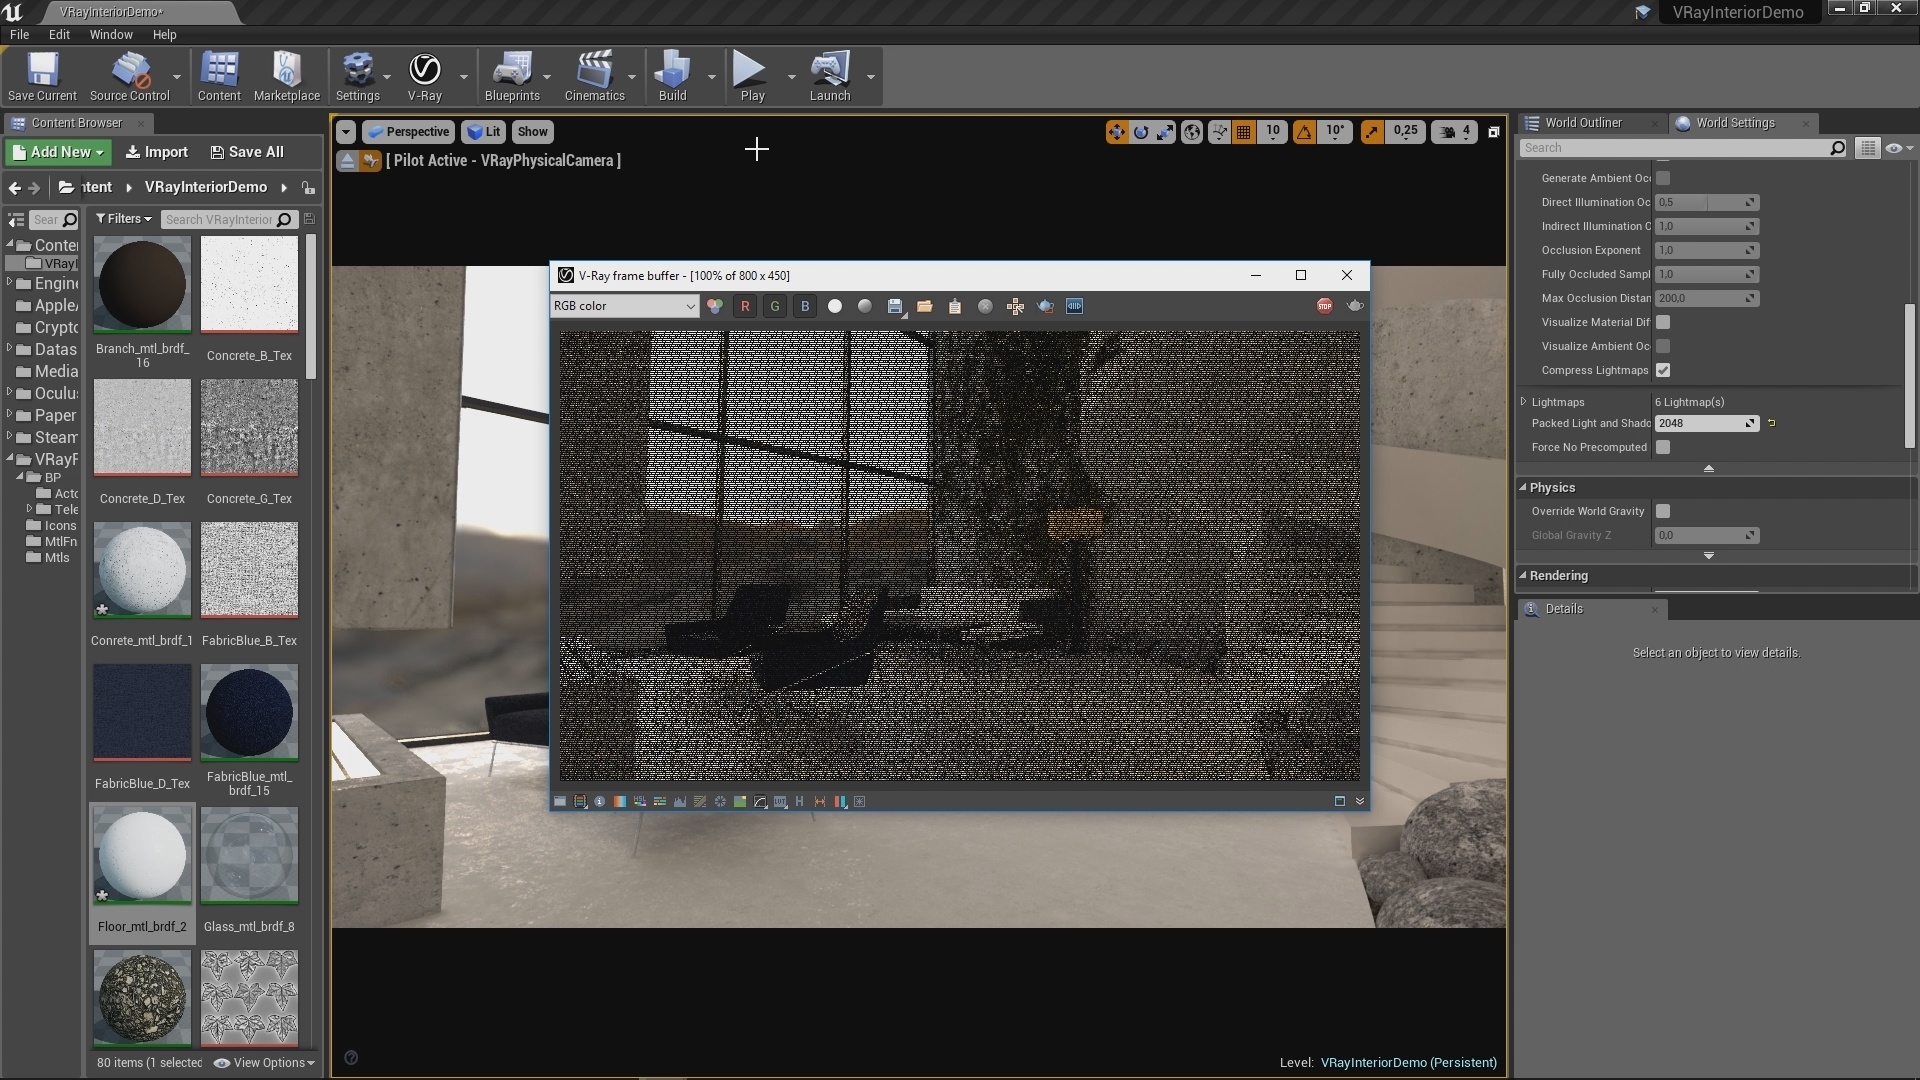
As you can see the render begins filling in over time. Once we get past the earlier passes, we can fine tune the render without the need for external photo editing applications while the render continues to a cleaner and cleaner result.
In the VFB, open up the Show Corrections Control panel by clicking on the icon at the bottom right of the window.
Step 3. Save the Render
...