Versions Compared

Key

  • This line was added.
  • This line was removed.
  • Formatting was changed.

...

Section
Column
width40%

The quality of the liquid’s mesh depends on the Dynamics settings. In this setup the Gravity is set to 0.8, the Steps Per Frame to 7, Surface Tension Strength to 0.05.

Column
width60%


...


Section
Column
width40%

First, let's look

...

at Steps Per

...

Frame (SPF)

UI Text Box
typetip

One of the most important parameters of the simulator, with significant impact on quality and performance. To understand how to use it, keep in mind that the simulation is a sequential process and happens step by step. It produces good results if each simulation step introduces small changes, but it's also a trade-off between performance and detail, as described below.

For example let's take an object that is hitting the liquid surface with high speed. If at the first step the object is far away from the water and at the second step, the object is already deep under the water - the result won't look good. You have to introduce intermediate steps until the changes of each step get small enough. The Steps Per Frame option creates these steps within each frame. A value of 1 means that there are no intermediate steps and each step is exported into the cache file. A value of 2 means that there is one intermediate step, i.e. each second step is exported to the cache file while the intermediate steps are just calculated, but not exported.

Signs that the Steps Per Frame need to be increased are:

  • Liquid simulations have too many single liquid particles.
  • Liquid simulations are torn and chaotic.
  • Liquid simulations of streams have steps or other periodical artifacts.
  • Fire/Smoke simulations have artifacts that produce a grainy appearance.

More often than not, those issues will be caused by the simulation moving too quickly (e.g. the emission from the source is very strong or the objects in the scene are moving very fast). In such cases you should use a higher SPF.

Keep in mind that higher Steps Per Frame decreases the performance in a linear way, i.e. if you increase the SPF twice, your simulation will go twice as slow. However, the quality does not have a linear relation to the SPF. Each simulation step kills fine details, and thus for maximum detail it's best to use the lowest possible SPF that runs without any of the issues mentioned above. For additional information, please refer to Phoenix Explained.


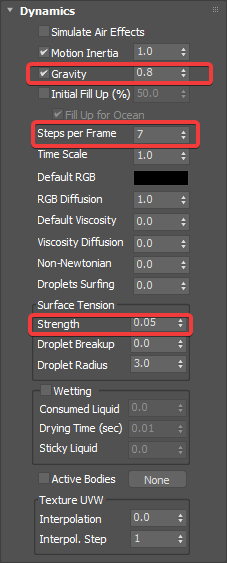
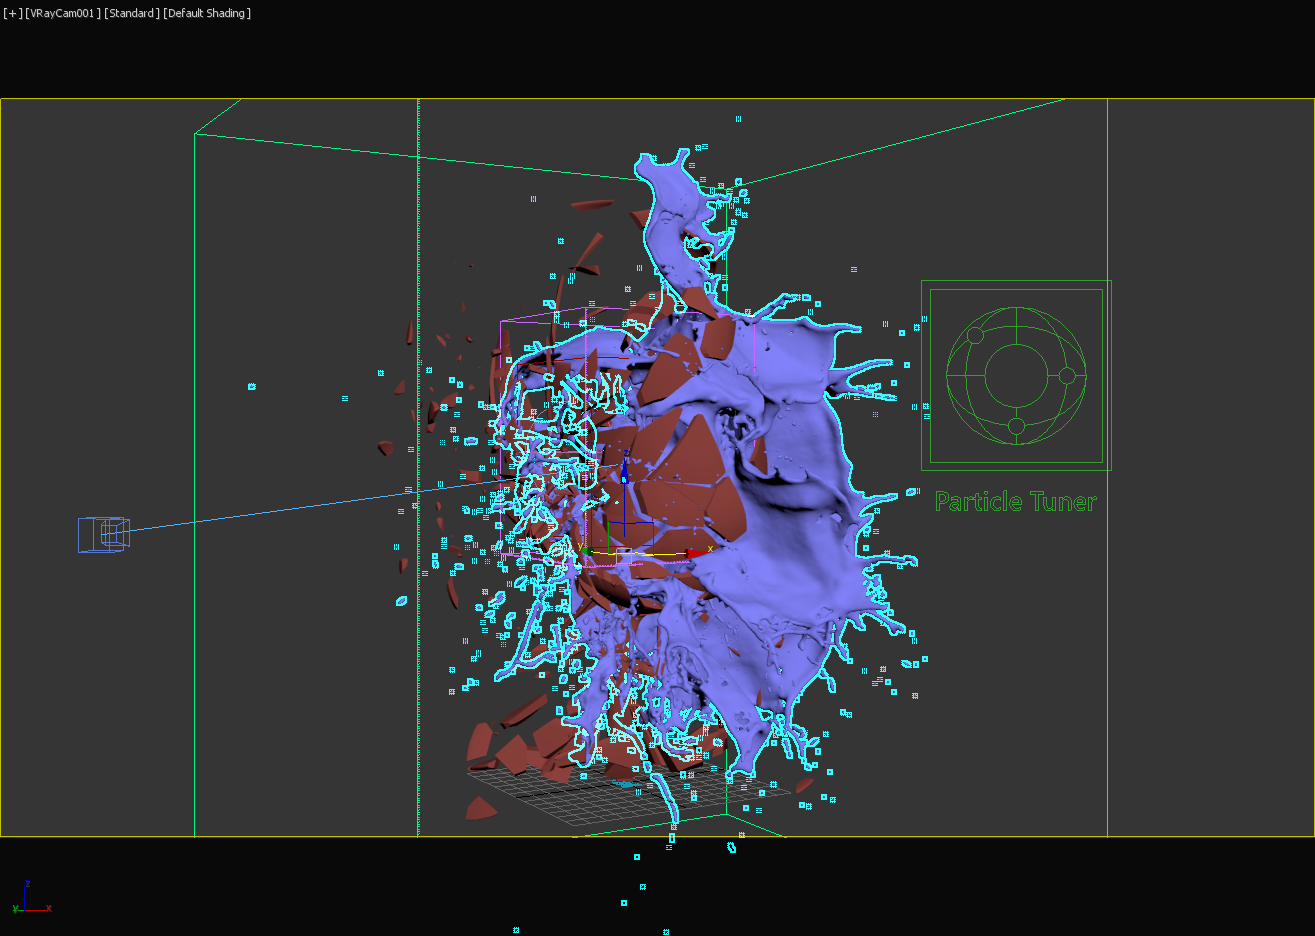
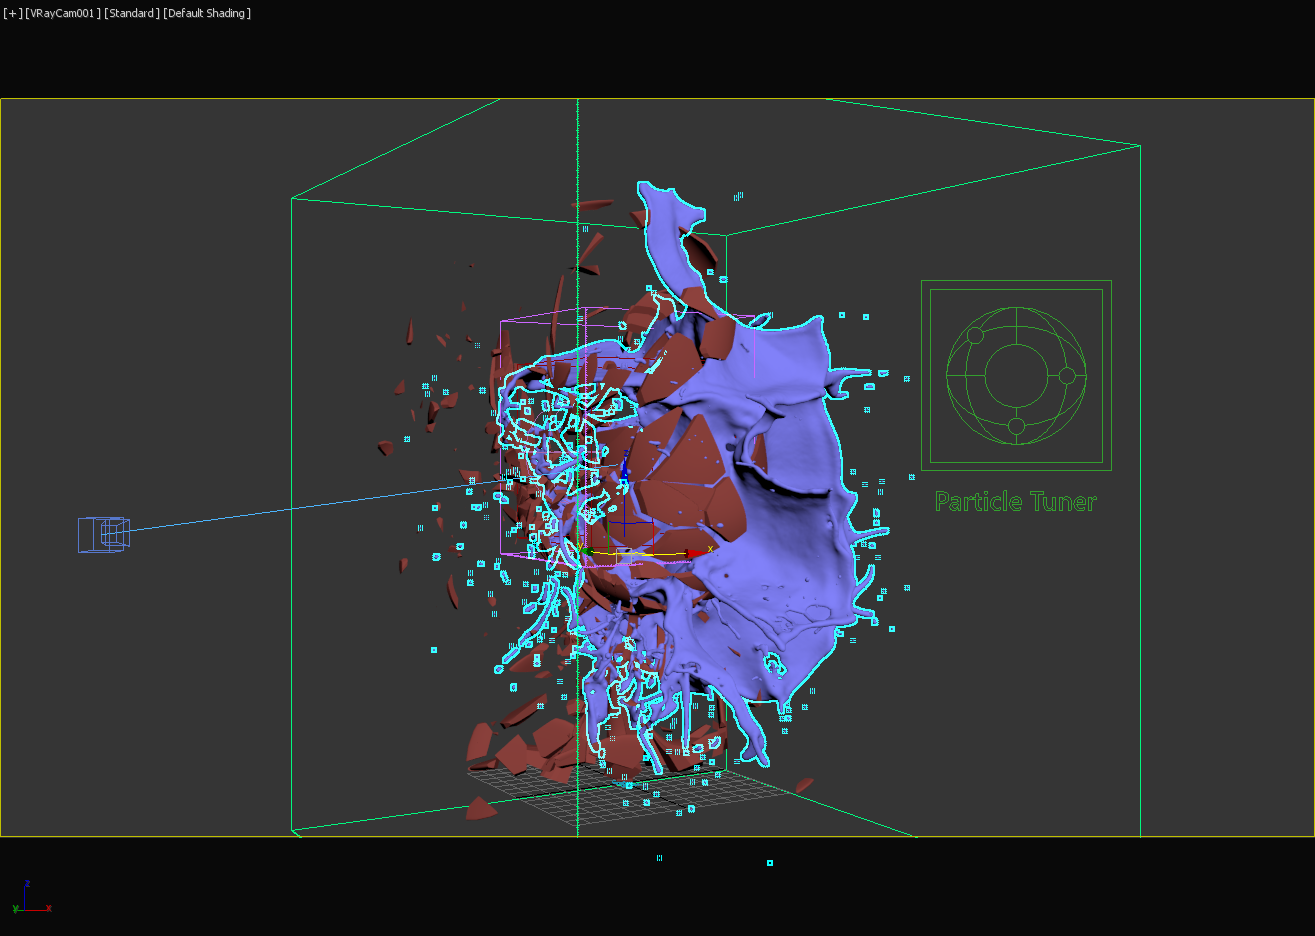
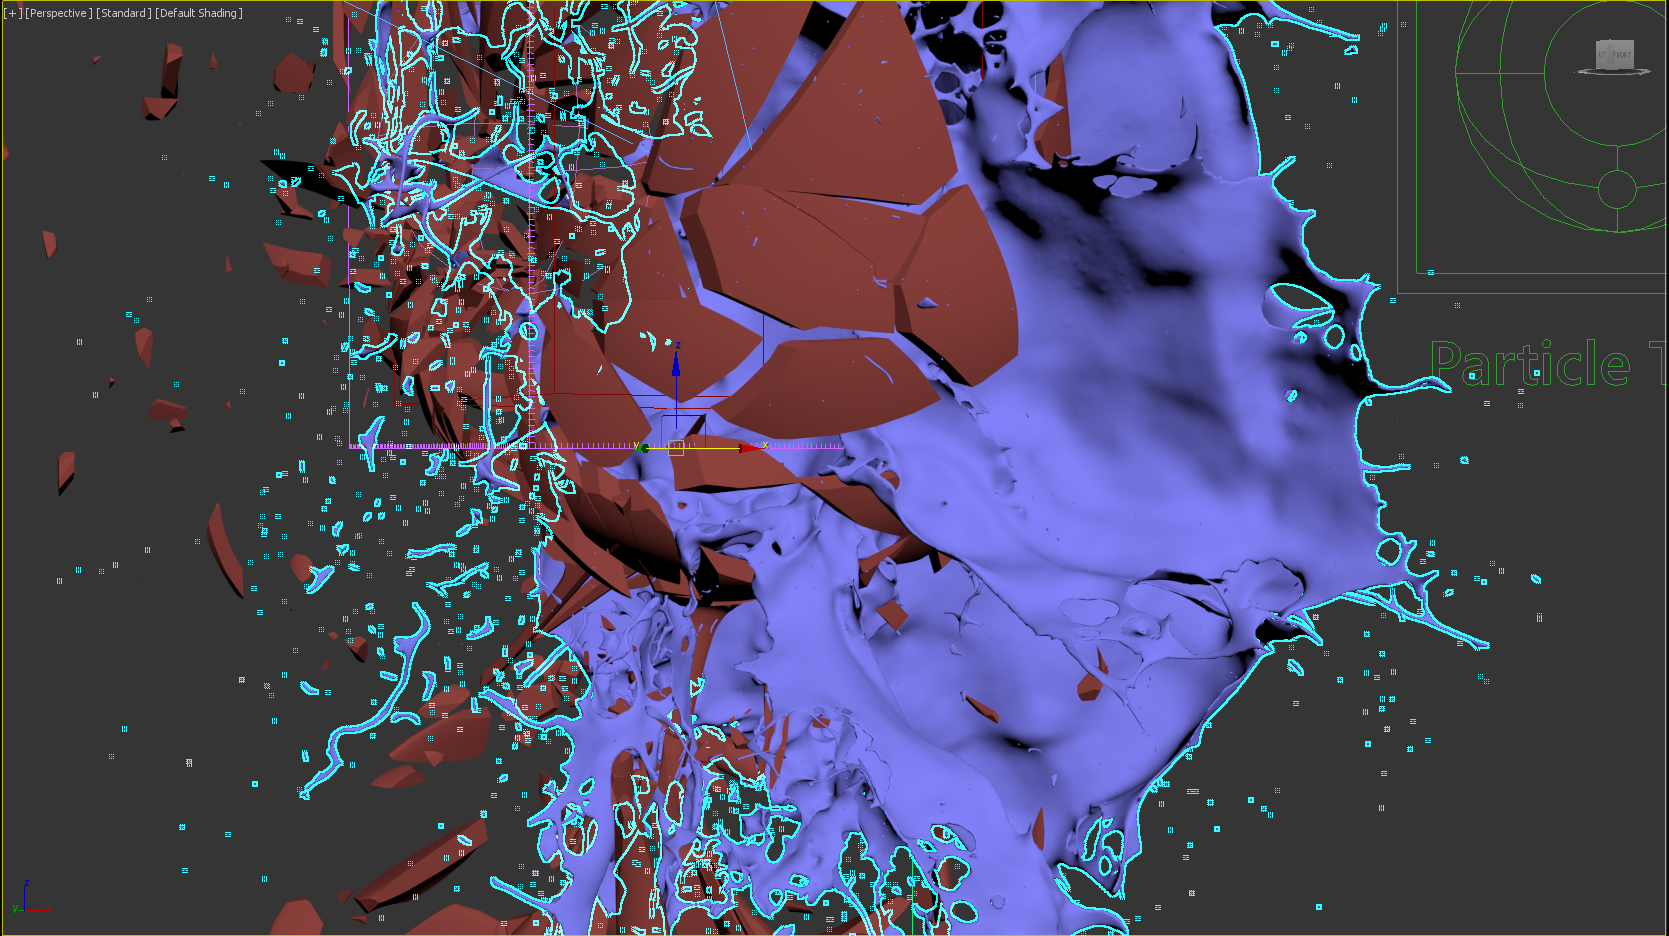
The following examples show the simulation with different SPF values.


Column
width60%
Image slider
Panel
borderStylenone
Section
50%
Column
width

Image Modified

Steps Per Frame = 1

 
Panel


50%
borderStylenone
Column
width

Image Modified

Steps Per Frame = 15


...


Section
Column
width40%

Next is

...

the Surface

...

Tension Strength. This parameter plays an important role in small-scale liquid simulations because an accurate simulation of surface tension indicates the small scale to the audience. Lower Strength values will cause the liquid to easily break apart into individual liquid particles, while higher values will make it harder for the liquid surface to split and will hold the liquid particles together. 


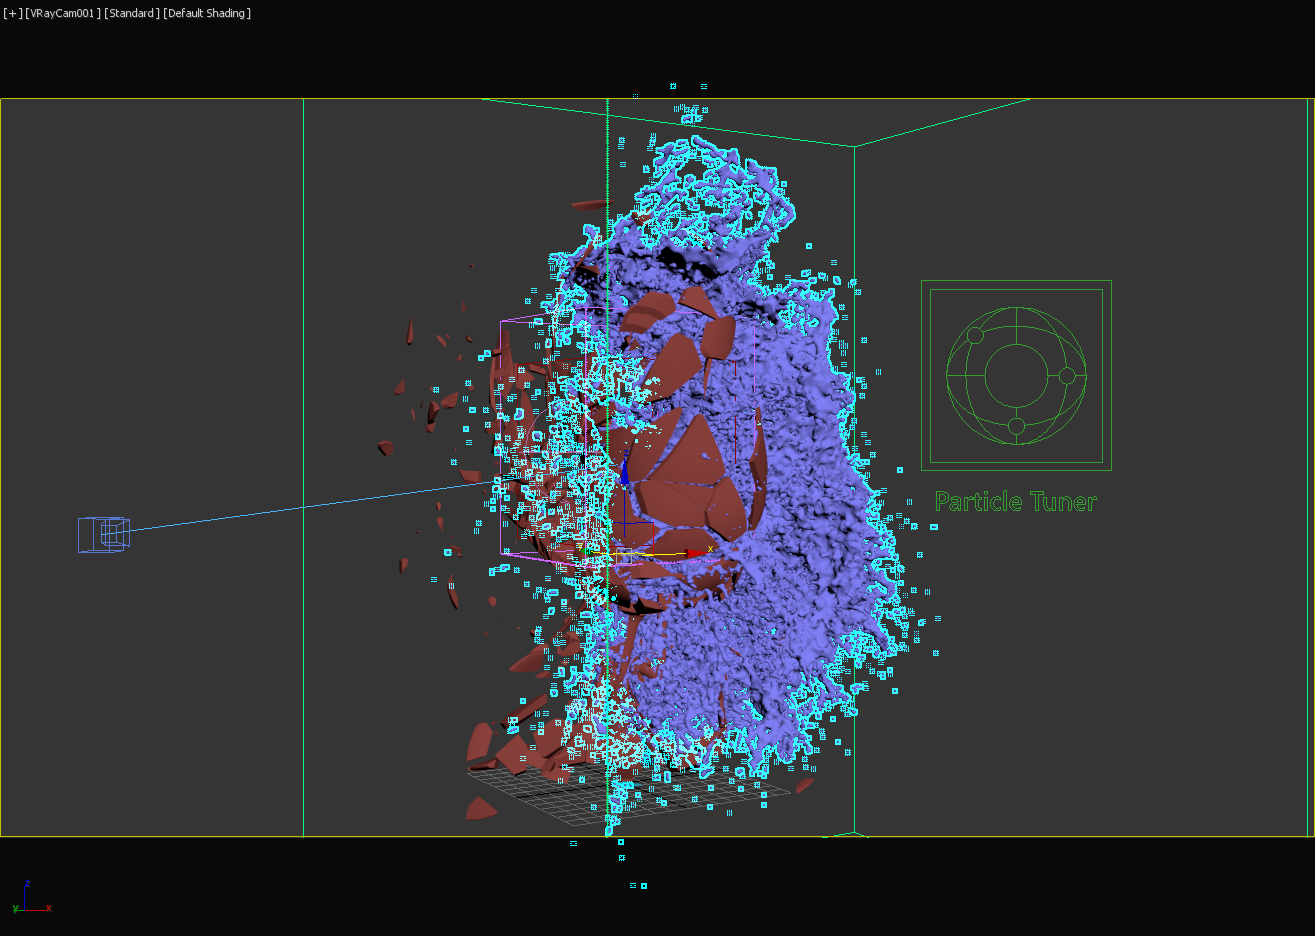
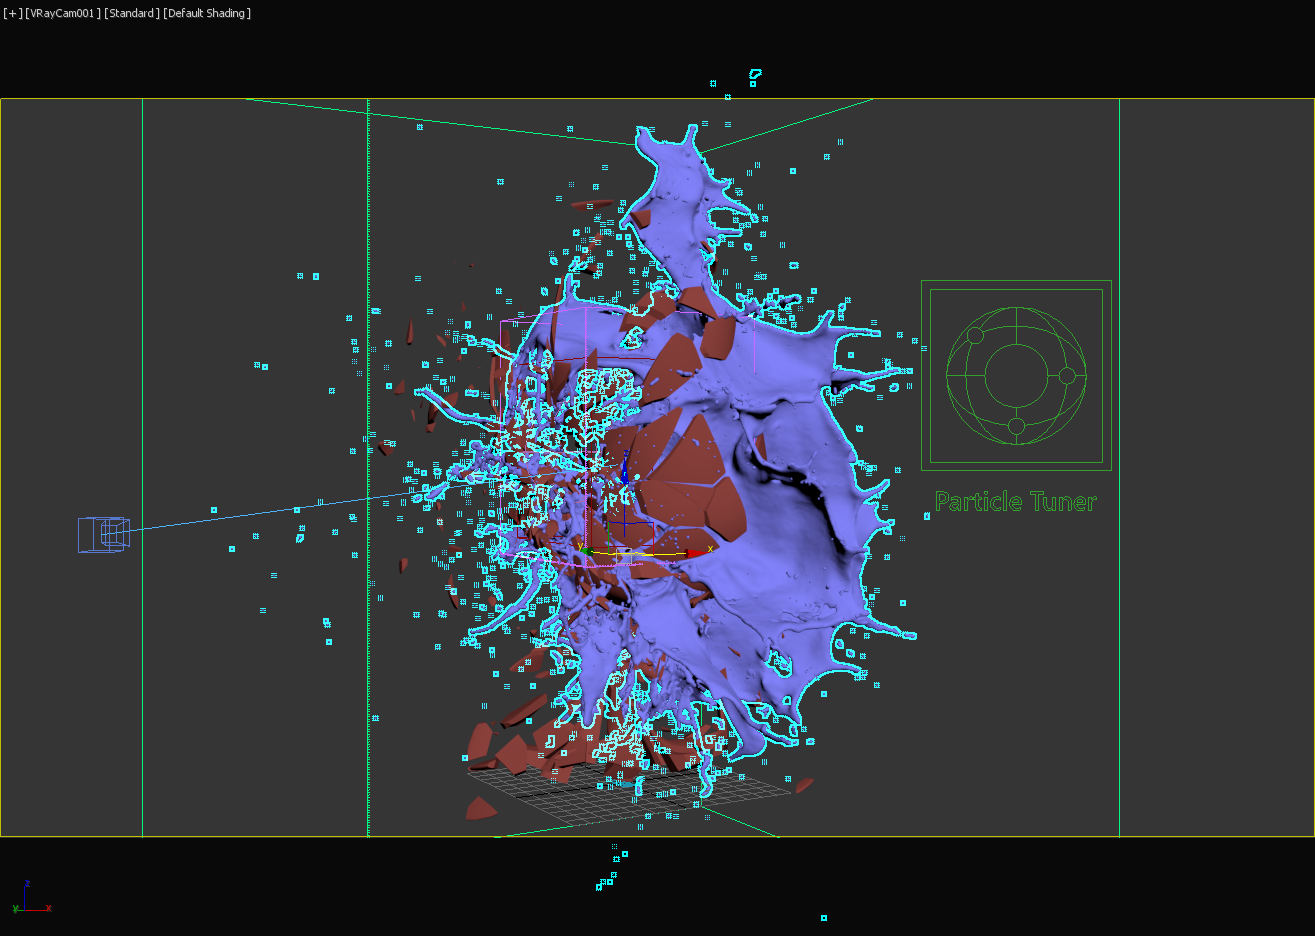
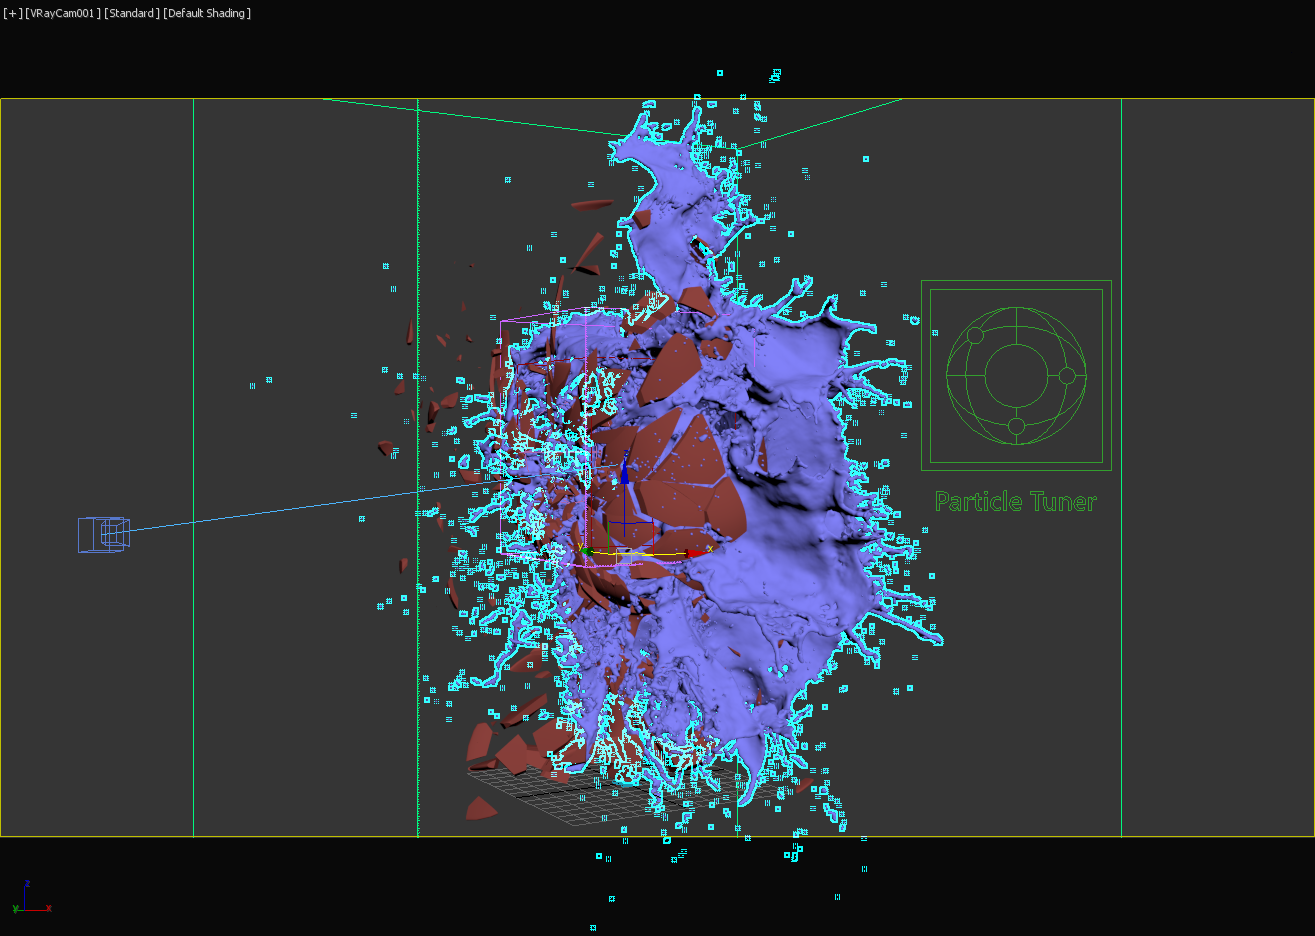
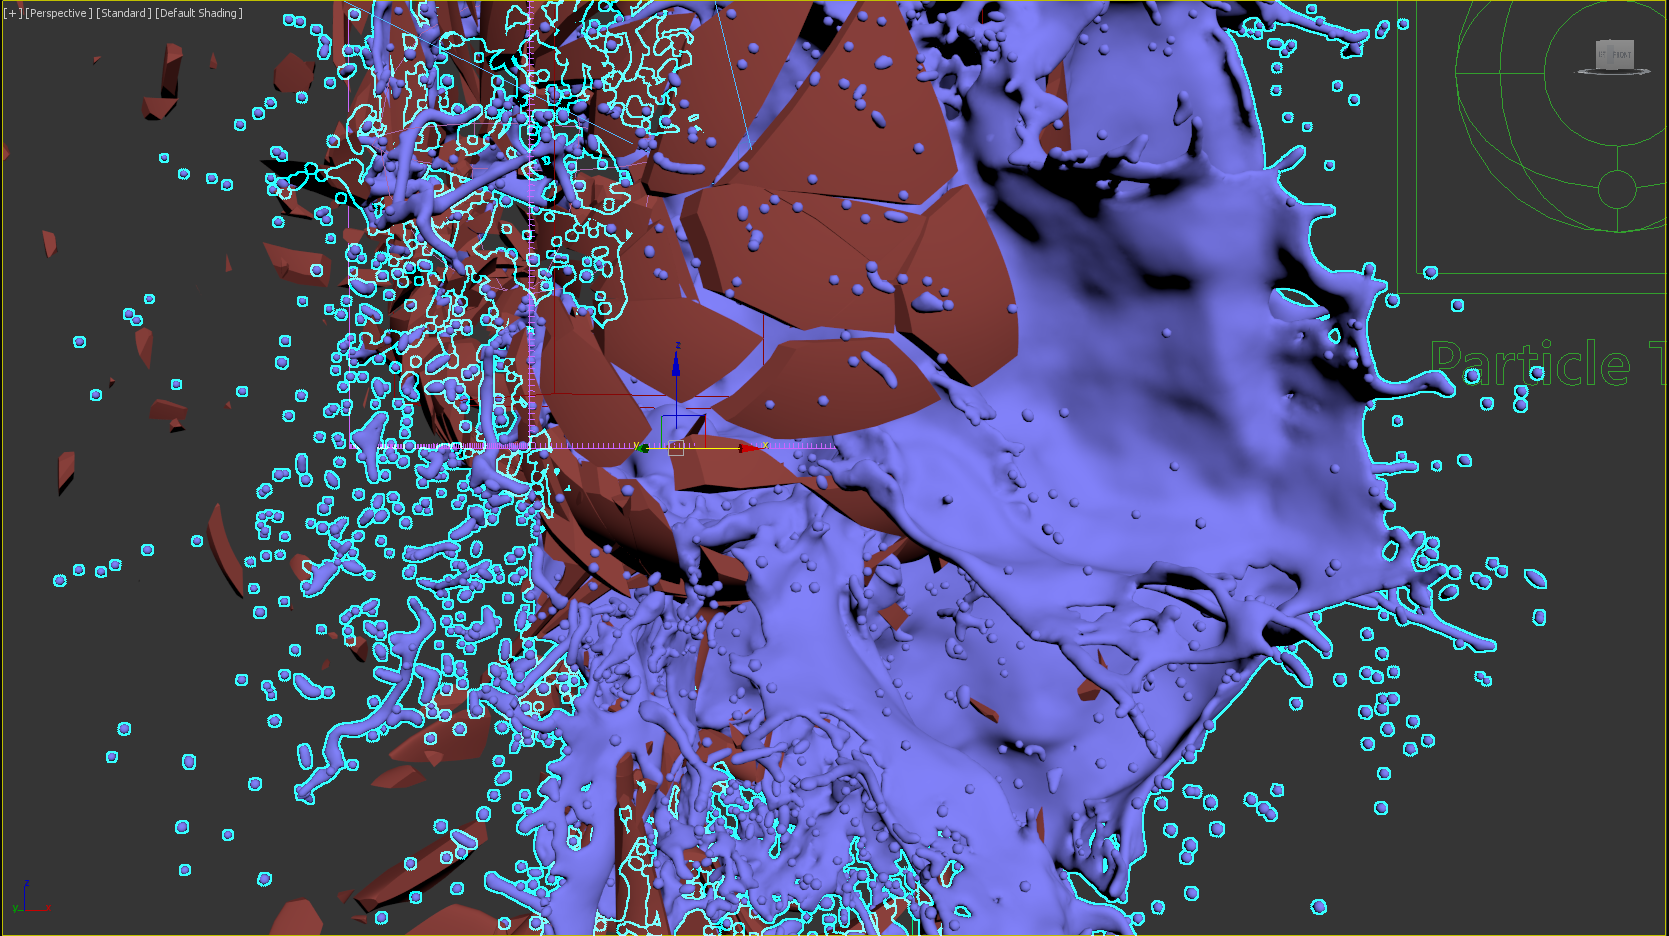
The following examples show the simulation with different Surface Tension Strength values.


Column
width60%
Image slider
Panel
borderStylenone
Section
Column
width5%


360pxcolumnwidth360pxcolumnwidth360px
Column
width
Image Modified

Strength = 0.0

Panel
borderStyle
none
Image Modified

Strength = 0.2

Panel
borderStyle
none
Image Modified

Strength = 0.5

Column
width5%


...


Section
Column
width40%

To preview the liquid as a mesh, simply enable the Show Mesh option in the Preview rollout. When enabled, shows the implicit surface as a mesh. This mode overrides the Voxel Preview mode.

Column
width60%

...

Section
Column
width40%

By default, Phoenix uses a grid-based method for creating the mesh rather than a particle-based one. As a result, the mesh may appear jagged in places. These artifacts can be reduced by adjusting the Smoothness parameter in the Rendering rollout.

Column
width60%


...


Section
Column
width40%

The example images

The following examples

show the simulation with different Smoothness values.


columnwidth50%
Column
50%
width60%
Image slider
Panel
borderStylenone

Image Modified

Smoothness = 0

Panel
borderStyle
none
Image Removed

Image Added

Smoothness = 100


...


Section
Column
width40%

Phoenix also offers a particle-based method for creating the liquid mesh that can be enabled through the Use Liquid Particles option. The resulting mesh will become thinner depending on the specified Particle Size.

We will leave Use Liquid Particles disabled for our scene.


columnwidth50%
Column
50%
width60%
Image slider
Panel
borderStylenone

Image Modified

Particle Size = 0.2

Panel
borderStyle
none

Image Modified

Particle Size = 1.0


...


Section
Column
width40%

Wetting can be used to make liquids stick to the collision geometry in your scene. By default, all solid objects are affected but the option to disable the Wetting effect for a certain body can be found on the Phoenix Properties for that geometry. 

Enable Wetting. Set the Consumed Liquid to 0.1 and the Sticky Liquid to 0.

Column
width60%

...