![]()
Page History
This page contains information on getting started with Chaos Phoenix for 3ds Max.
Overview
...
| UI Text Box | ||
|---|---|---|
| ||
This is an Entry Level tutorial which requires no previous knowledge of Phoenix. A basic understanding of 3ds Max would be helpful but is not a prerequisite for being able to follow along. |
...
If you are just getting started with Phoenix, it is recommended that you use the Quick Simulation presets and become familiar with the scene elements they create. As your experience with Phoenix increases, you will be in a better position to create these scene elements manually and set parameters appropriately.
Preparing a Simulation
...
| Section | ||||||||||
|---|---|---|---|---|---|---|---|---|---|---|
|
...
| UI Text Box | ||
|---|---|---|
| ||
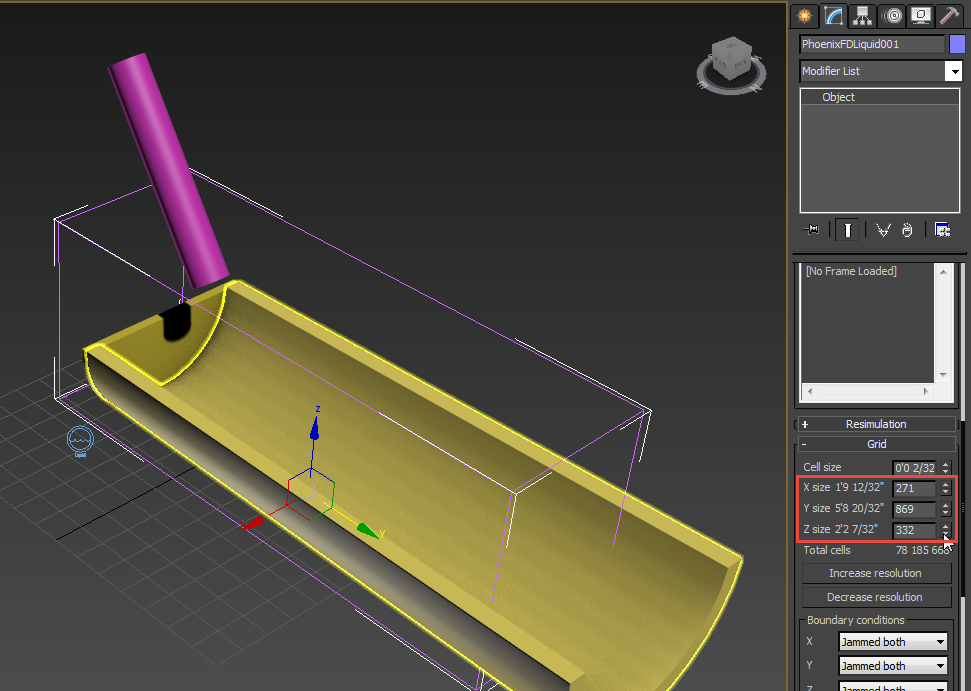
When possible, build emitters and vessels to real-world scale. Since Phoenix uses real-world calculations to create its effects, working with real-world units will make your work much easier. |
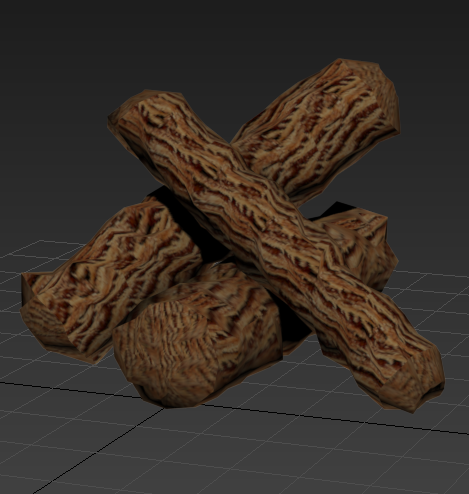
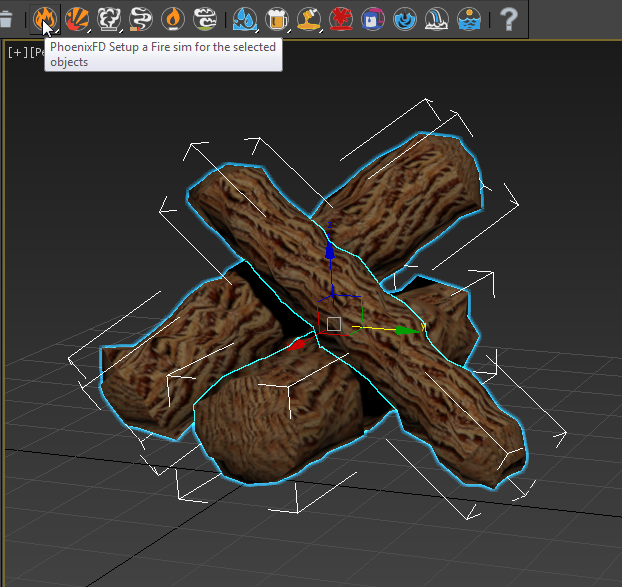
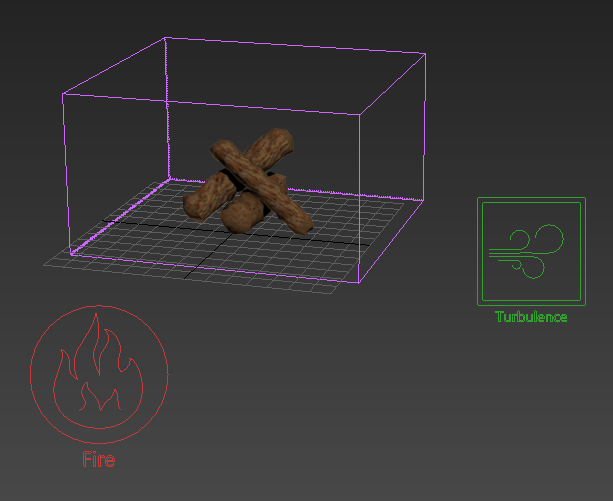
Fire Simulation
...
| Section | ||||||||||
|---|---|---|---|---|---|---|---|---|---|---|
|
...
| Section | |||||||||||||||
|---|---|---|---|---|---|---|---|---|---|---|---|---|---|---|---|
|
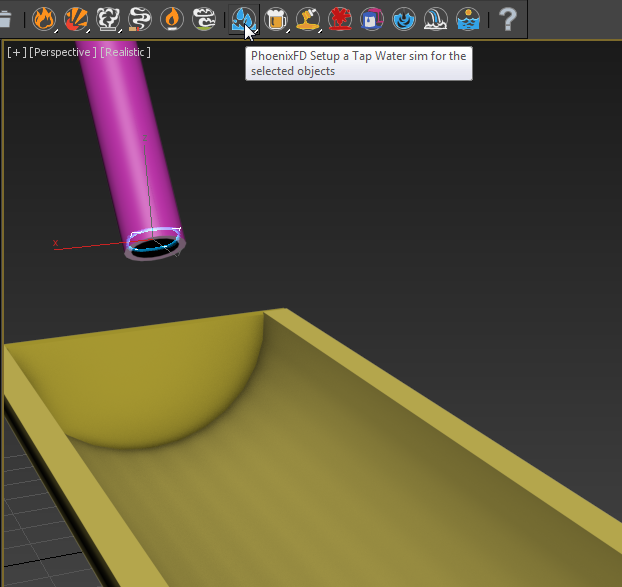
Liquid Simulation
...
| Section | ||||||||||
|---|---|---|---|---|---|---|---|---|---|---|
|
...
| Section | |||||||||||||||
|---|---|---|---|---|---|---|---|---|---|---|---|---|---|---|---|
|
Anchor runningSimulation runningSimulation
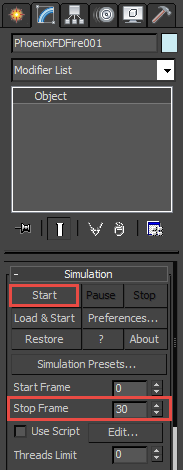
Running the Simulation
| runningSimulation | |
| runningSimulation |
...
| Section | ||||||||||
|---|---|---|---|---|---|---|---|---|---|---|
|
...