![]()
Page History
This page provides a detailed QuickStart guide to using V-Ray lights in NUKENuke.
Page Contents
| Table of Contents | ||
|---|---|---|
|
...
In this tutorial we are going take a look at the V-Ray lights in V-Ray for NUKENuke. In the Lights menu are are several options, which we explore in this tutorial:
...
To follow this tutorial, you will need to have the V-Ray for NUKE Nuke plugin installed. This tutorial is a companion to go along with the QuickStart video posted on our YouTube channel.
...
2) Adding a VRayLightRect Anchor LightRect LightRect
Add a VRayLightRect to the NUKE Nuke script and create a new scene named Lights. Connect the Lights scene to the main scene and the VRayLightRect to the Lights scene so that the VRayLightRect is now the only light lighting the geometry. Switch to the 3D view and move this light up above the geometry. Enter -90 for the rotate x value under the Axis tab.
...
Duplicate the VRayLightRect and connect this new light into the Lights scene. Right now this new light has exactly the same position and intensity as the version you copied it from. You are going to change this so that the new light illuminates the geometry from the side. First, press Pause on the interface to stop NUKE Nuke from updating the render in the viewer while you work on the VRayLightRect settings. Grab the new VRayLightRect, move it to the right in the 3D view, and pull it downwards in the Z axis so it’s level with the geometry as shown:
...
Add a VRayLightAmbient into the NUKE Nuke script and connect it to the Lights scene. This will act as the fill light. You could use the VRayLightDome as a fill light, but first let’s look at how to use VRayLightAmbient as the fill.
...
Add a VRayLightSphere (a point source light) into the NUKE Nuke script and connect it to the Lights scene. Disable all the other lights in the NUKE Nuke script so you can work on setting up the VRayLightSphere on its own. In the 3D view, move this light over to the right a little. As this is a large scene, we will need to scale up the light by changing the uniform scale value to 100.
...
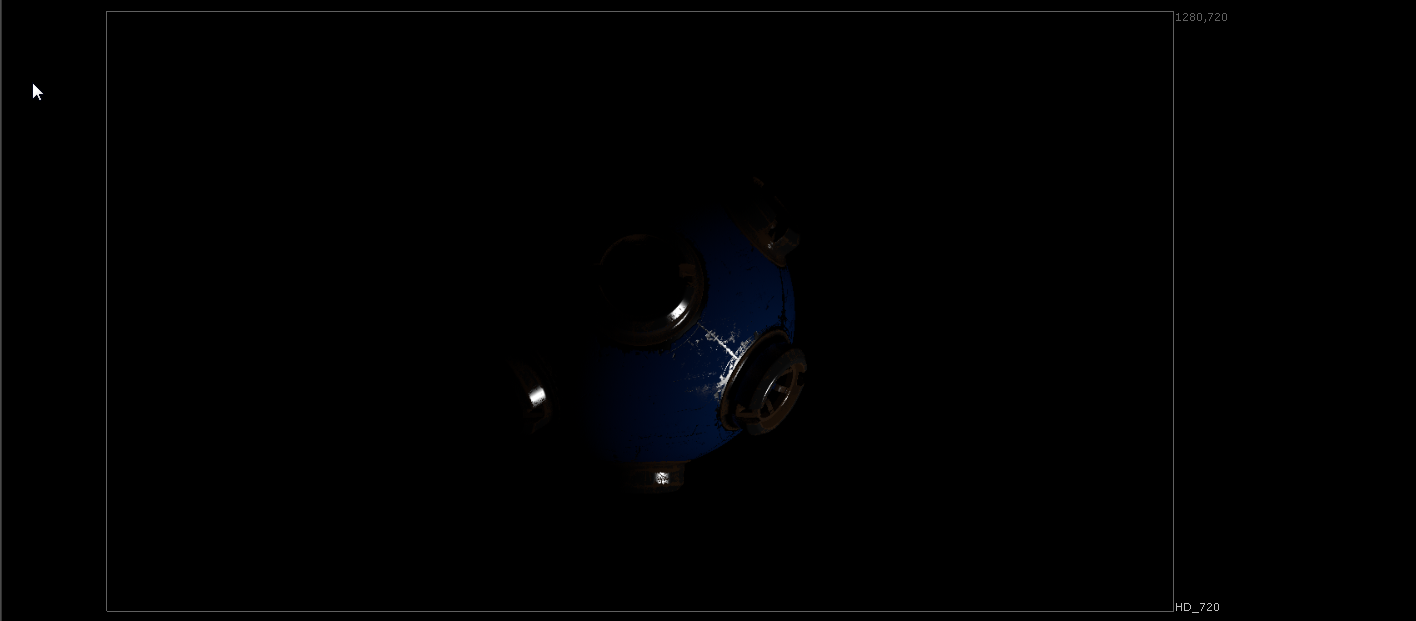
VRayLightSphere now invisible in the render
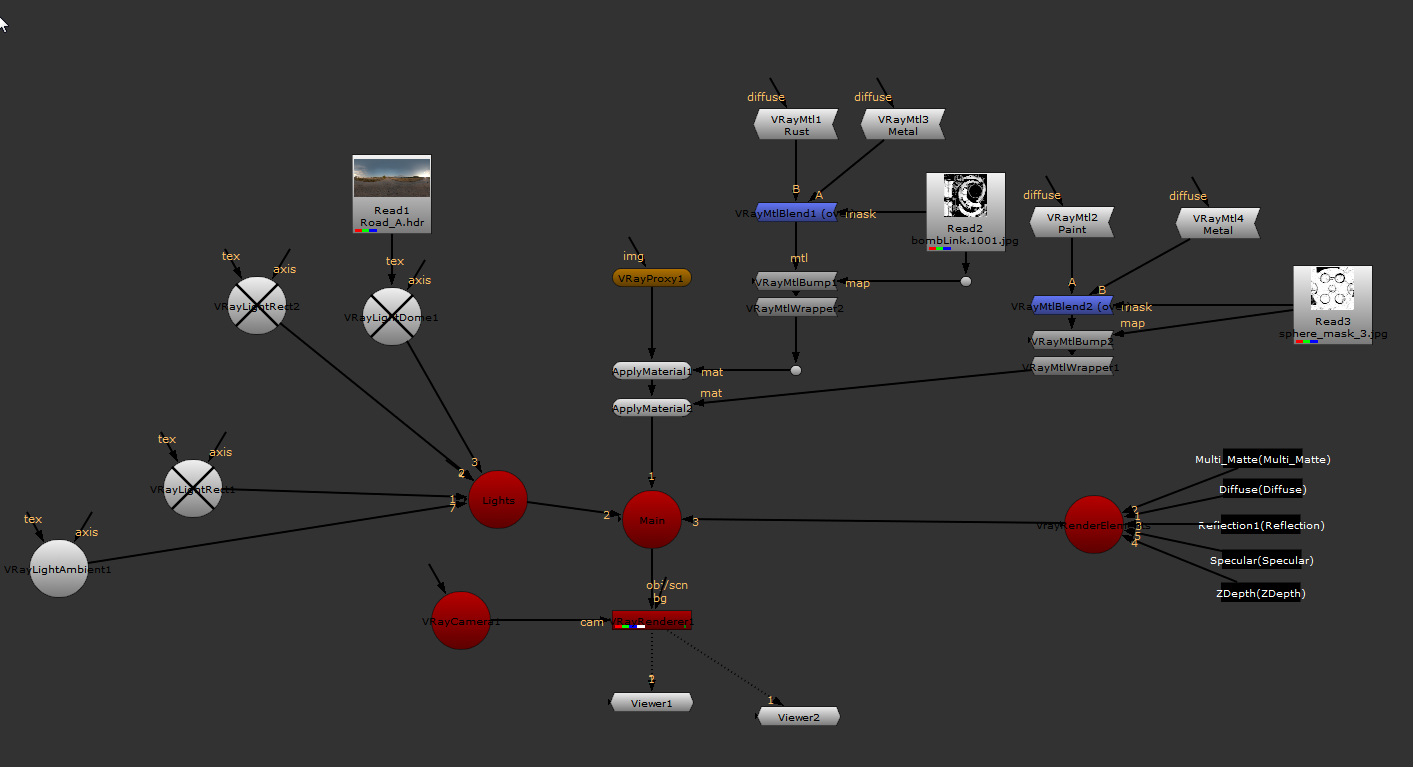
The layout of the NUKE Nuke script so far
5) Adding a VRayLightIES
Let’s next take a look at the VRayLightIES by adding it to the NUKE Nuke script and connecting it to the Lights scene. Ensure that for now the VRayLightSphere and all other lights are disabled so that you can only see the lighting contribution made by the VRayLightIES.
...
Let’s check out the VRayLightMesh next. This allows any mesh to be used as a light source within the NUKE Nuke script. Add a VRayLightMesh node into the NUKE Nuke script and connect it to the Lights scene. Add a Cube node (which we will use as geometry for the VRayLightMesh) and connect this to the mesh input of the VRayLightMesh node.
...
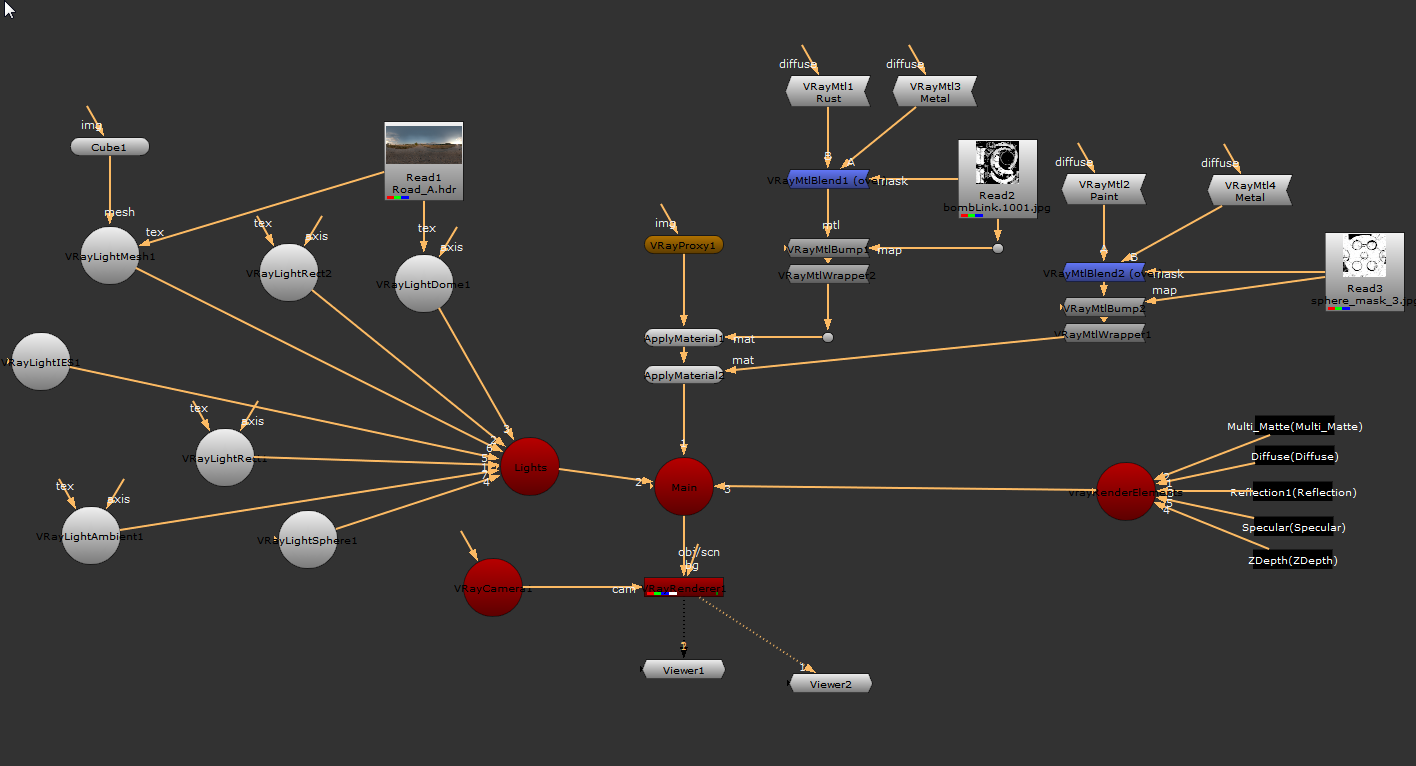
Final Scene layout of the NUKE Nuke script
Move the VRayLightMesh up on the Y axis in the 3D view, and move it to one side on the X axis. Now once again the scale is too small for the large scene scale, so change the uniform scale under the Axis tab to 500. Connect the tex input of the VRayLightMesh to the Road_A.HDR that we have been using so far in all the QuickStart videos. You can now see that the VRayLightMesh is both illuminating the render and also is visible in the render. Go to the main properties for the VRayLightMesh and enable the Invisible option. You will no longer be able to see the VRayLightMesh within the renders, even though it is still lighting the scene.
...
Turn on all the lights in the NUKE Nuke script back on by selecting each light, then hovering over them pressing the D key. With all the lights active, you can see the final lighting scheme we have produced.
In this tutorial, we have covered all the different light types that come with V-Ray for NUKE Nuke and how you can use them to light a scene.
...