![]()
Page History
This page provides information on the Curvature Map.
Overview
| Section | ||||||||||||||||||||
|---|---|---|---|---|---|---|---|---|---|---|---|---|---|---|---|---|---|---|---|---|
|
Parameters
| Section | |||||||||||||||
|---|---|---|---|---|---|---|---|---|---|---|---|---|---|---|---|
|
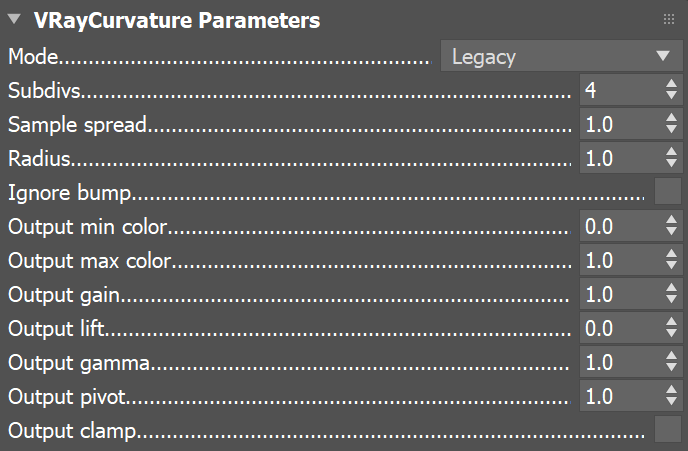
Anchor modes modes
Example: Curvature Modes
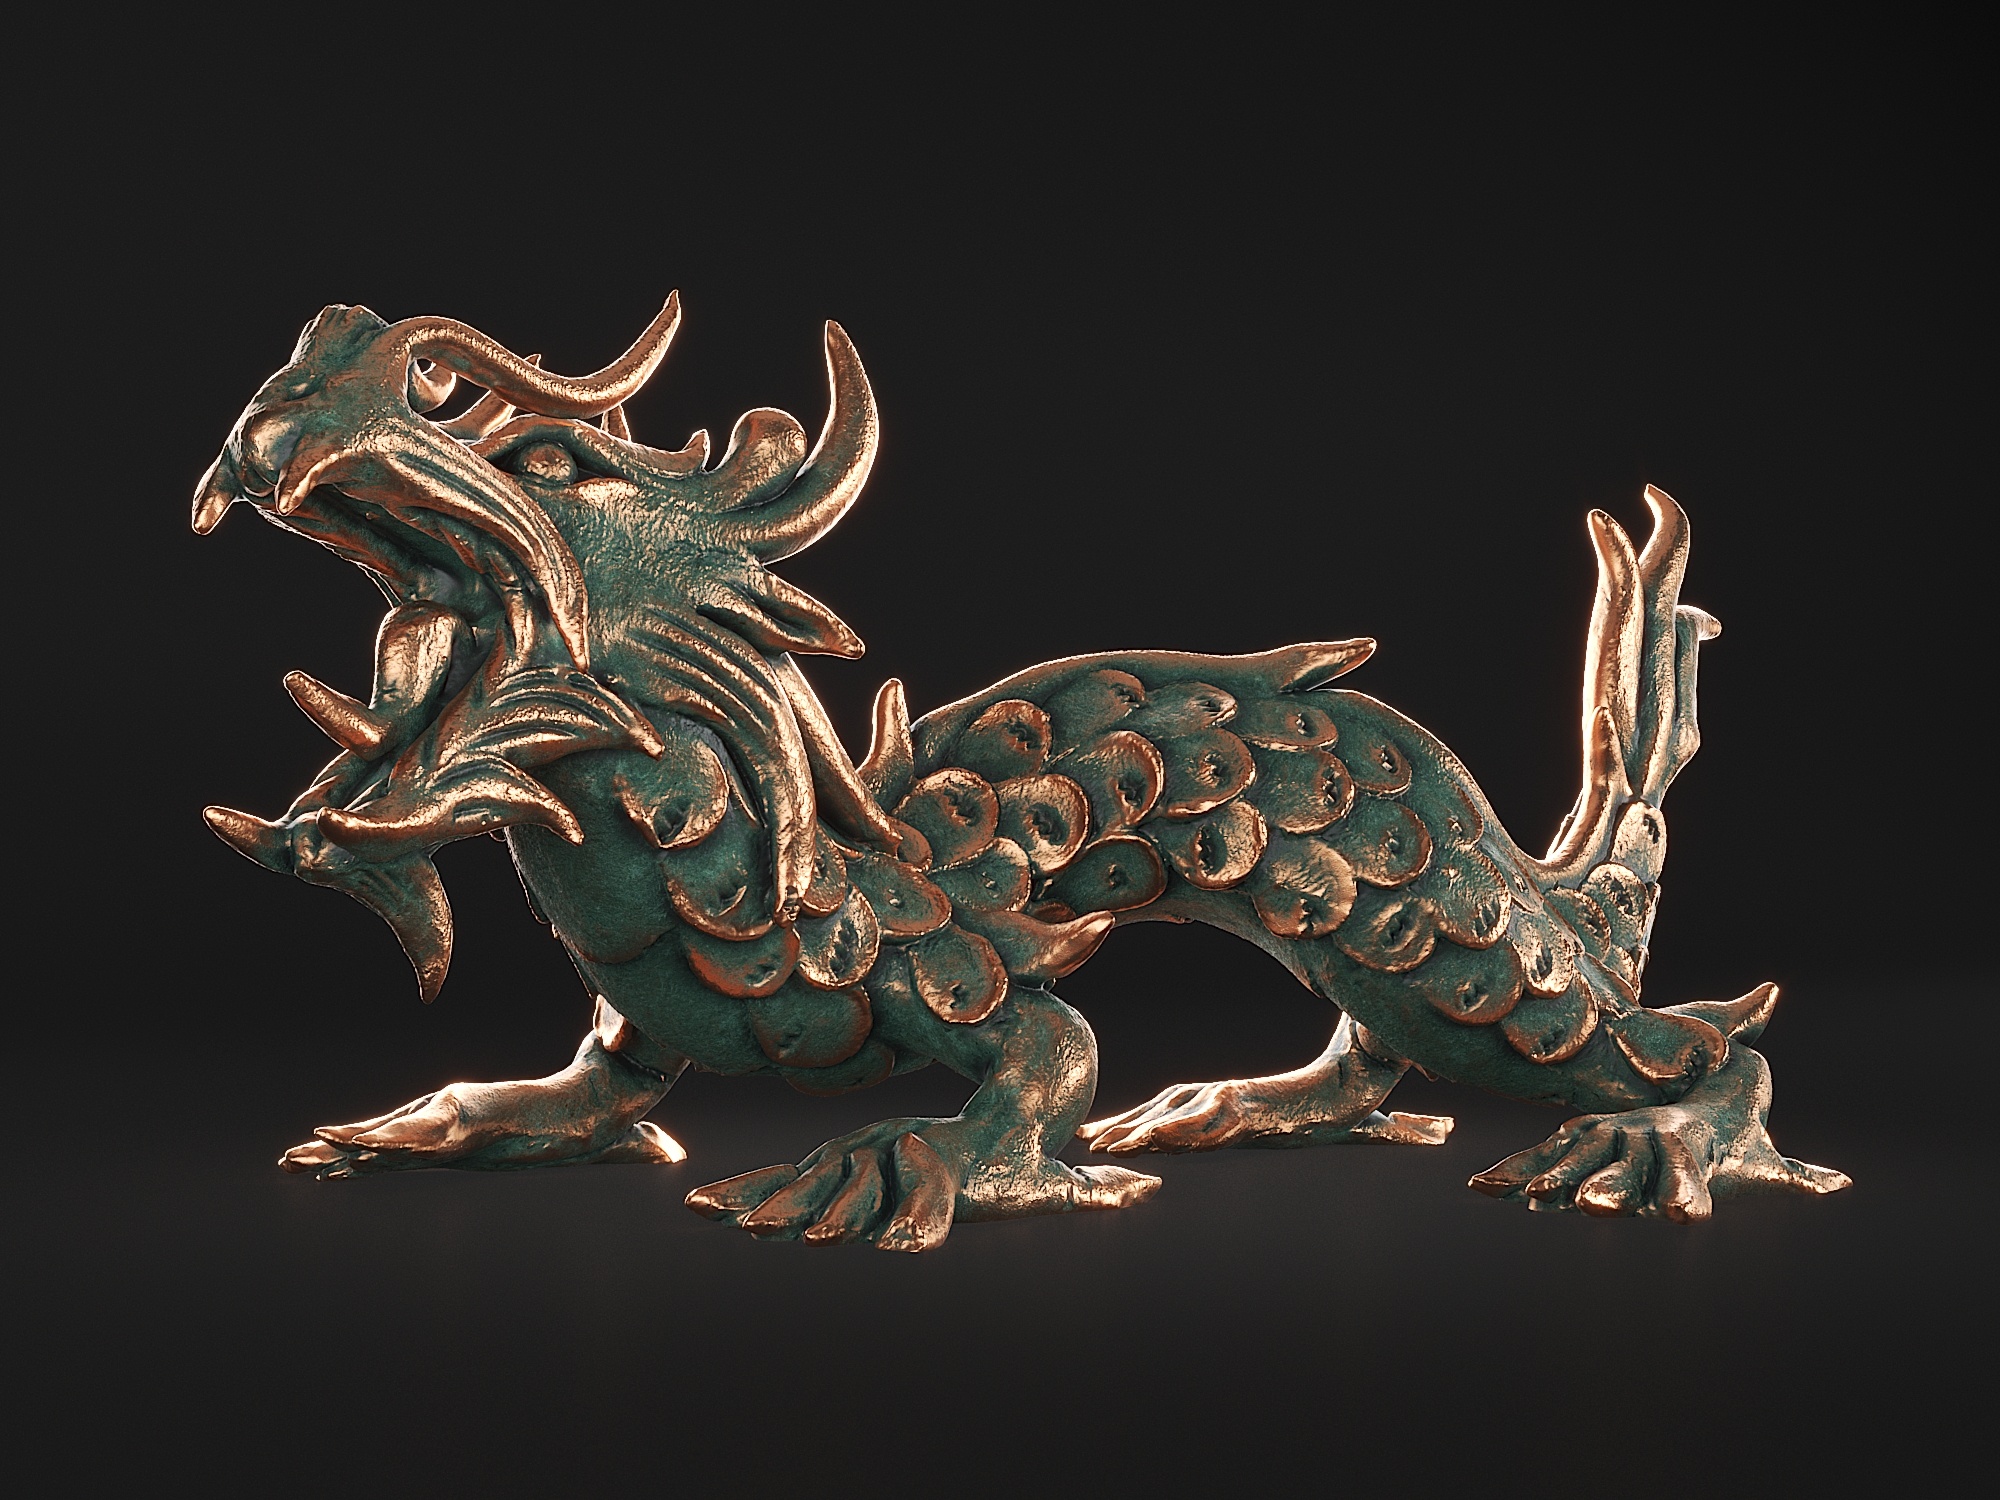
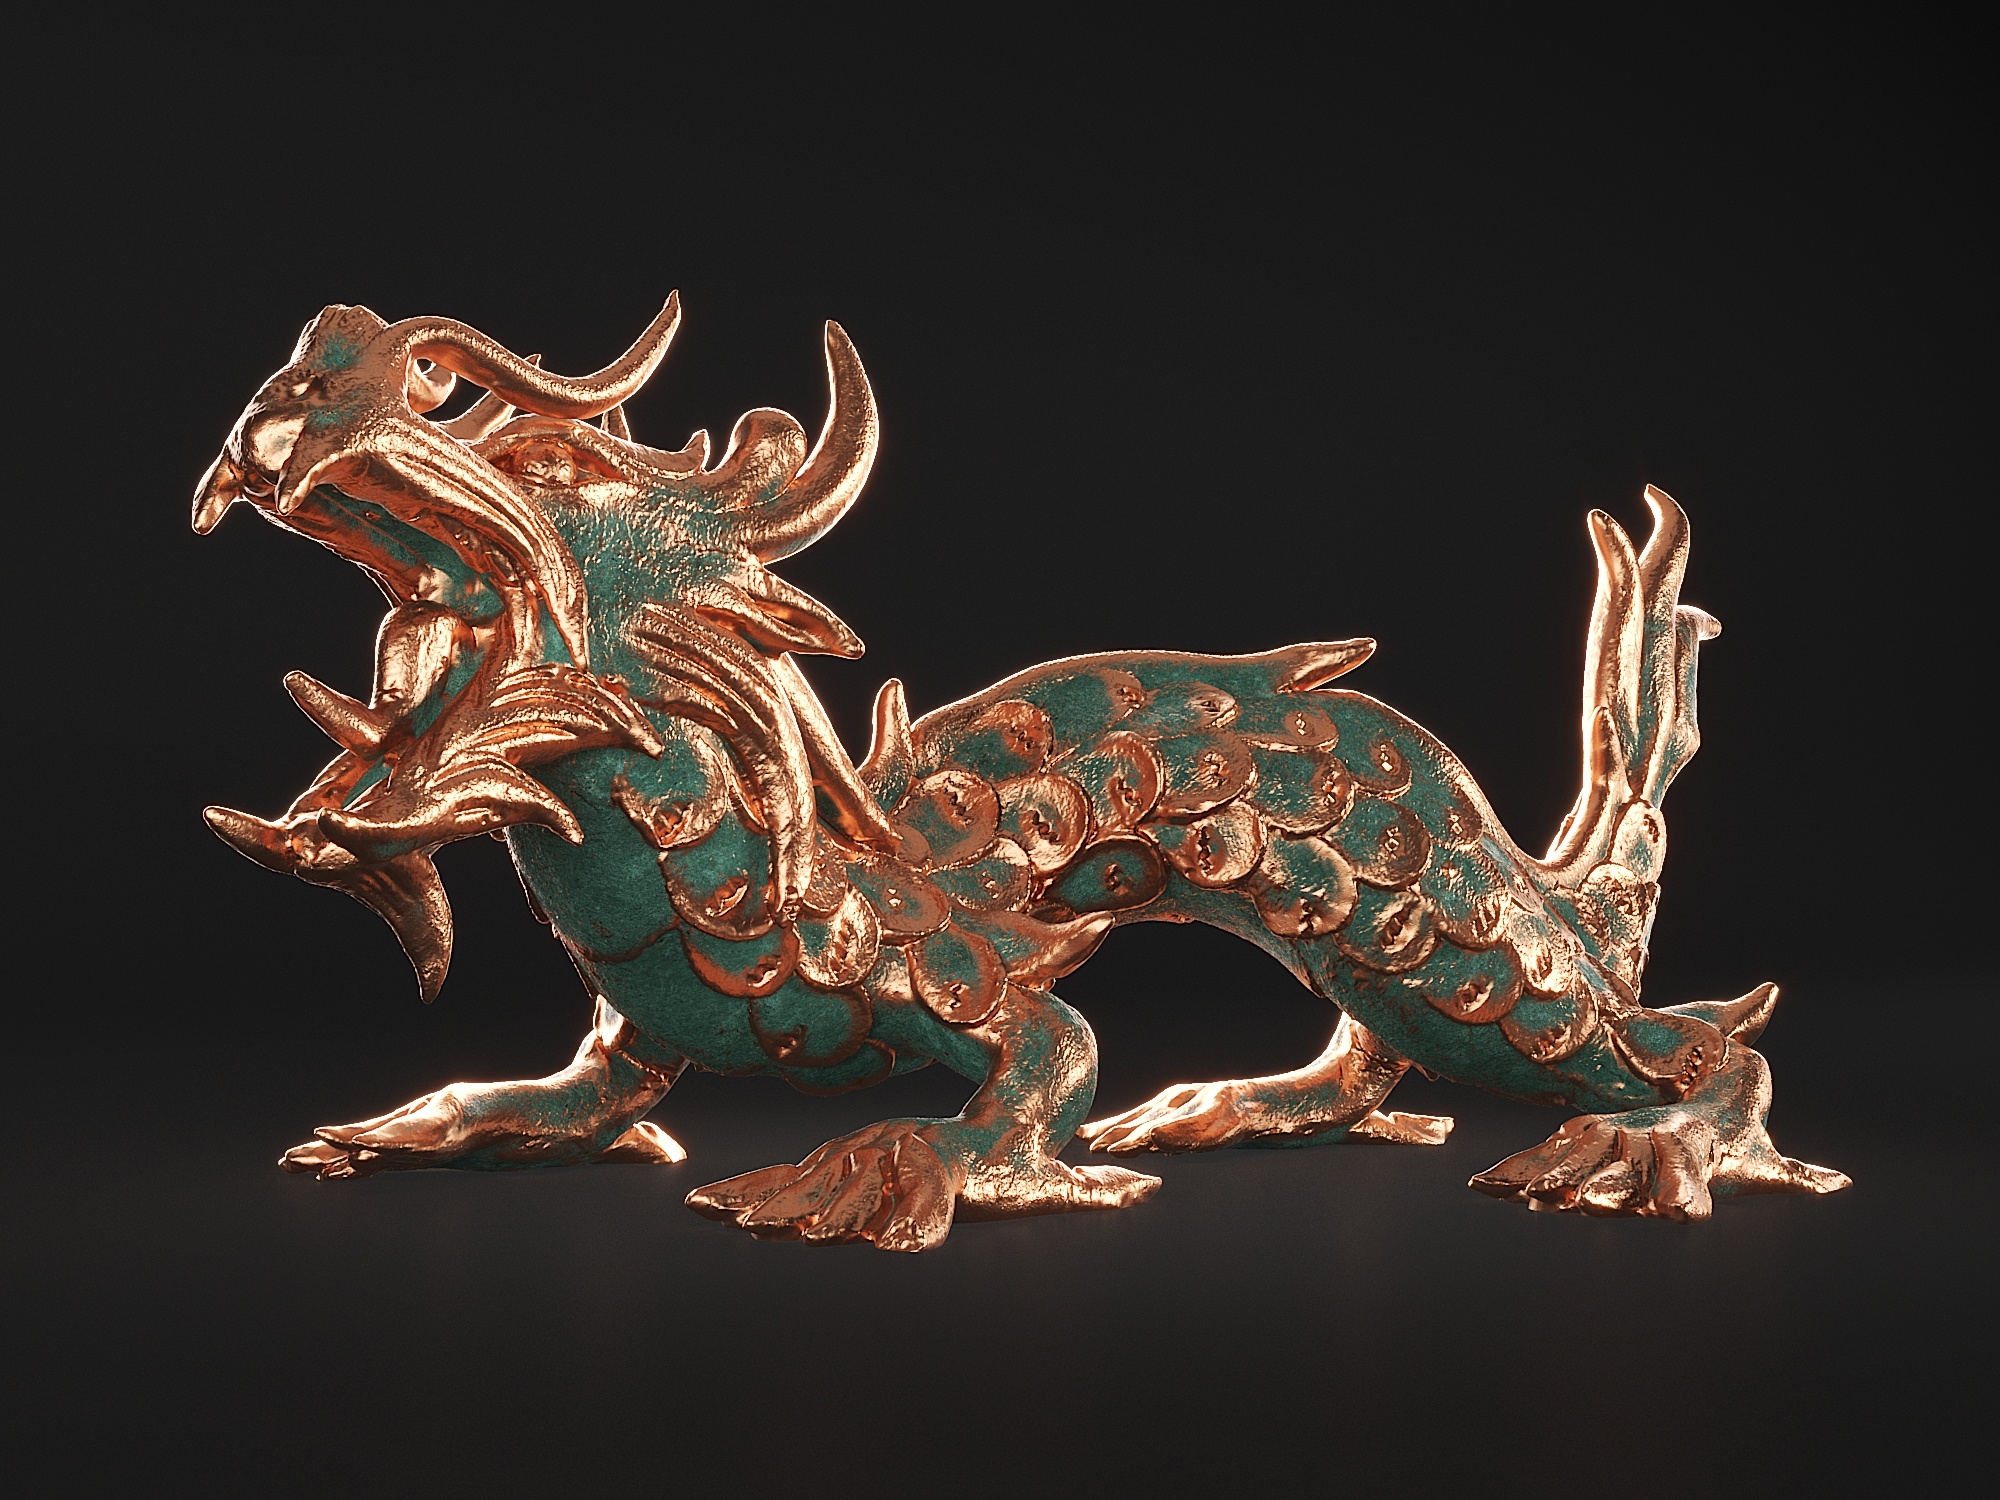
V- Ray Blend material (with mixed Copper and Patina materials) is applied to the geometry. V-Ray Curvature map is used as the blend amount. The Output Gain is set to 5.5 and the Output Gama- to 0.1. All other parameters are left at their default states. See the Both Mode note for specifics on how to set up that mode.
| Section | ||||||||||||||||||||||||||||||||||||||||
|---|---|---|---|---|---|---|---|---|---|---|---|---|---|---|---|---|---|---|---|---|---|---|---|---|---|---|---|---|---|---|---|---|---|---|---|---|---|---|---|---|
|

| Anchor | ||||
|---|---|---|---|---|
|
| UI Text Box | |||||||||||||||||||||||||||
|---|---|---|---|---|---|---|---|---|---|---|---|---|---|---|---|---|---|---|---|---|---|---|---|---|---|---|---|
| |||||||||||||||||||||||||||
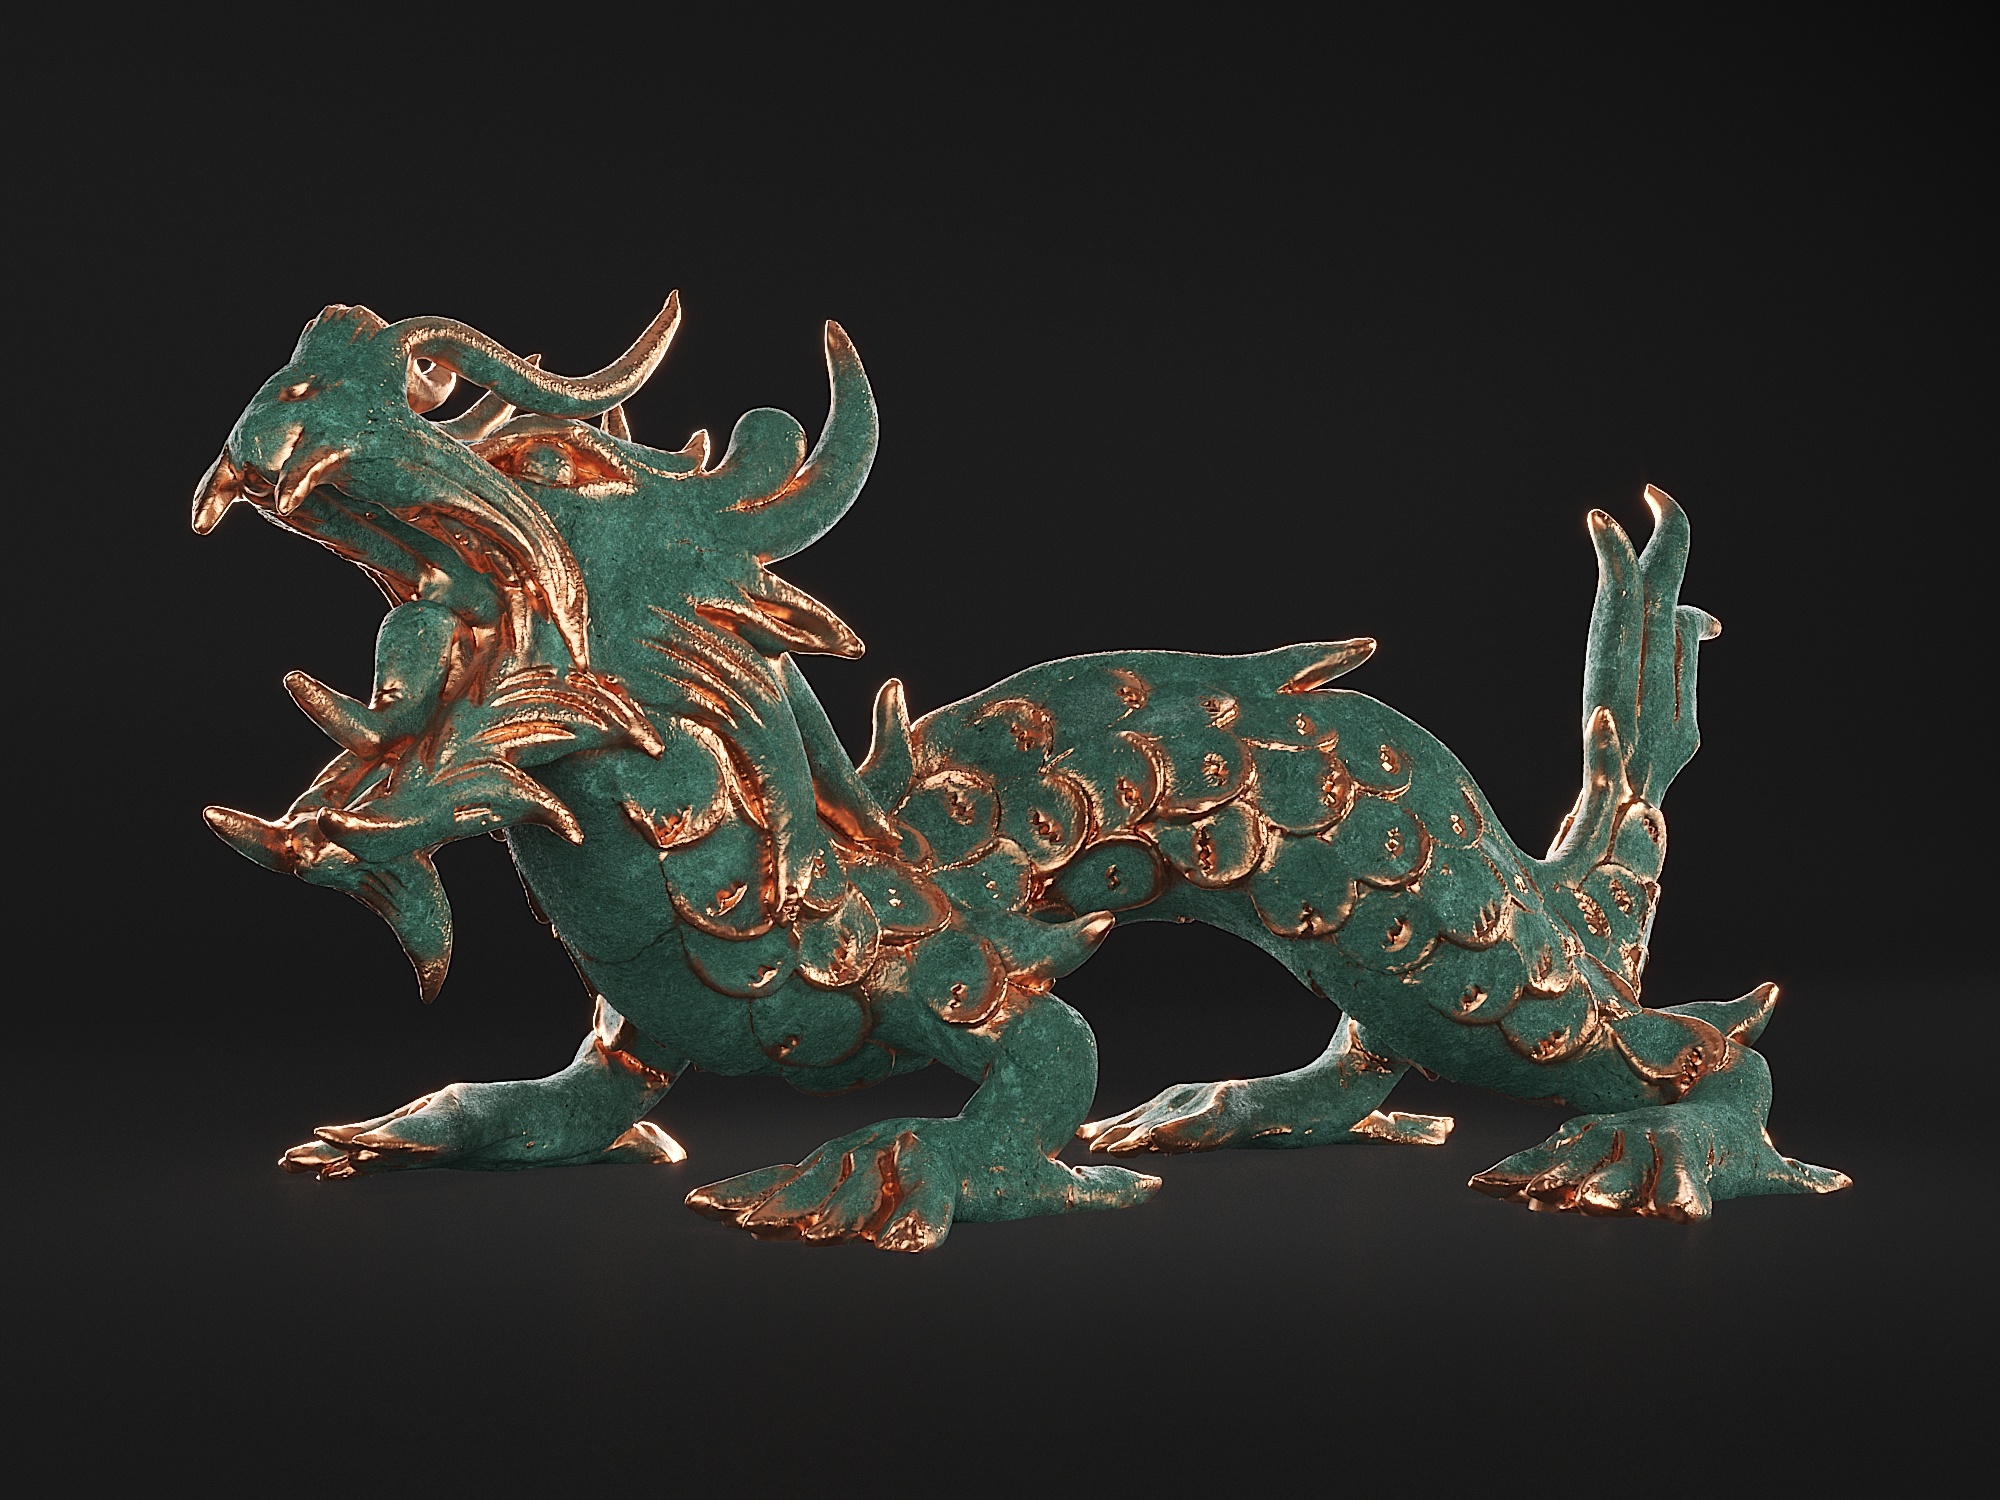
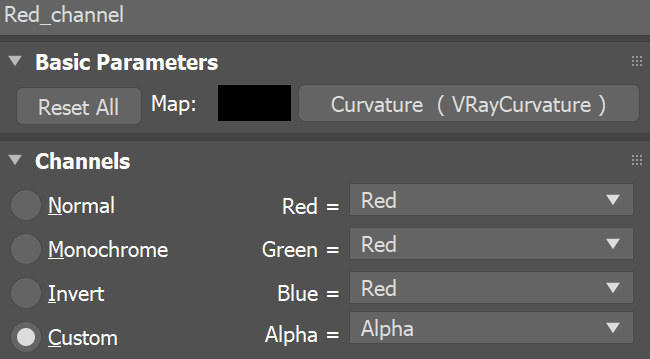
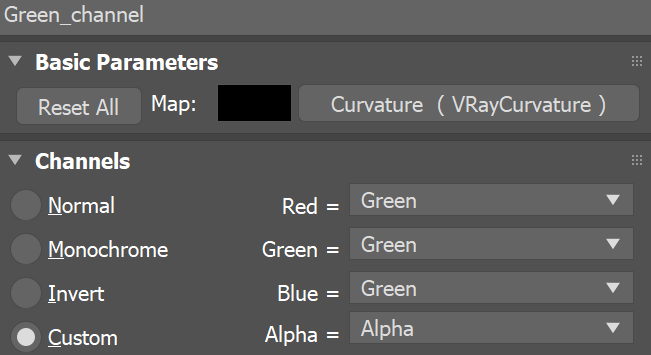
Both mode outputs a red and green color gradient instead of a black and white one. Using it as a blend amount for the VRayBlendMtl produces color blended materials. To avoid this, we use the Red and Green components of the VRayCurvature map separately to generate two monochromatic masks using Color Correction maps. This allows the generated red-green gradient to be used as a grayscale blend amount, like in all other Curvature modes. In this setup an additional (third) Dark Patina material is used, which appears in the most concave parts of the model. In addition Output Gama is set to 1.5 for more pleasant results. Click on the expanding preview to see the Slate Material Editor setup.
|

Anchor IgnoreBump IgnoreBump
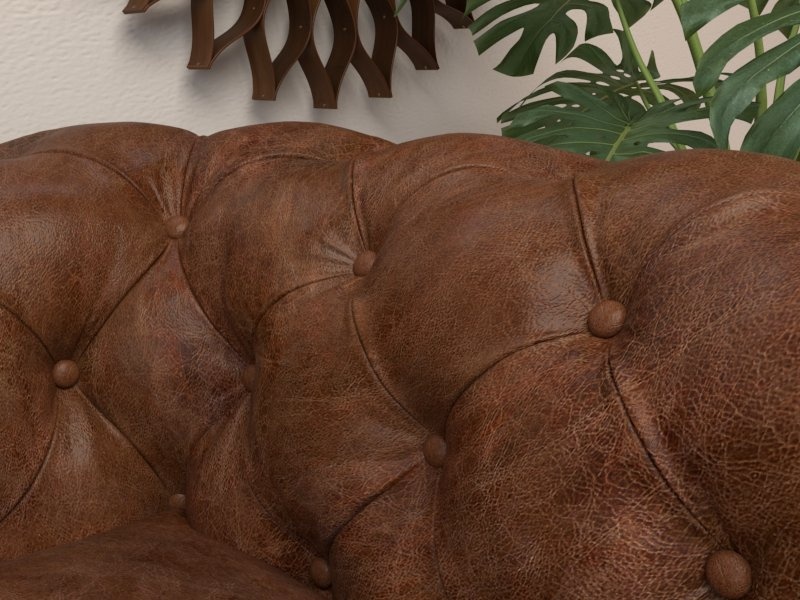
Example: Ignore Bump
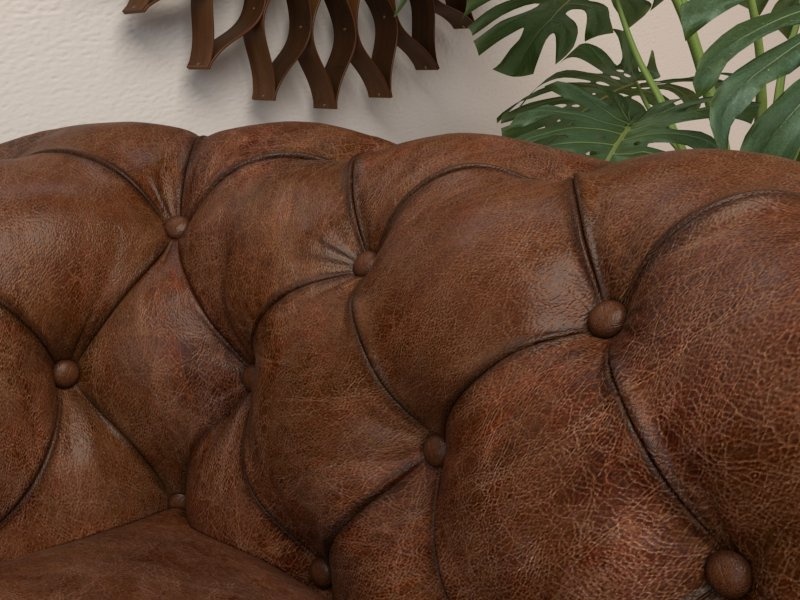
Here we've used a V-Ray Curvature map to darken the most protruded areas and simulate a burnished leather effect. To do so, a darker variant of the original diffuse leather map is created and both are linked through a Mix map. V-Ray Curvature map serves as the Mix Amount. For this model, the V-Ray Curvature map uses a Radius of 0.2 and the Output max color is set to 5.0. All other parameters are left at their default state.
| Section | |||||||||||||||||||||||||||||||||||
|---|---|---|---|---|---|---|---|---|---|---|---|---|---|---|---|---|---|---|---|---|---|---|---|---|---|---|---|---|---|---|---|---|---|---|---|
|

Notes
| Fancy Bullets | ||
|---|---|---|
| ||
|