![]()
Page History
...
| Info |
|---|
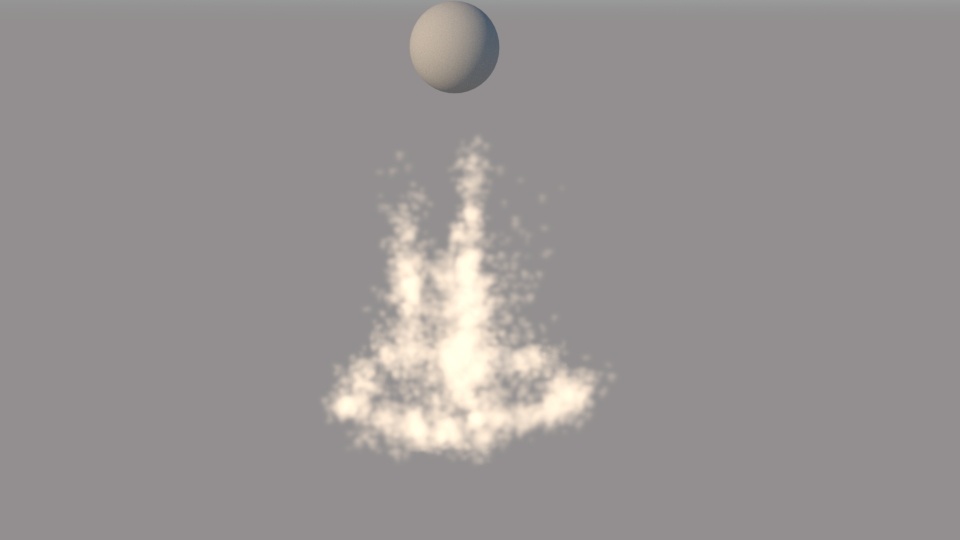
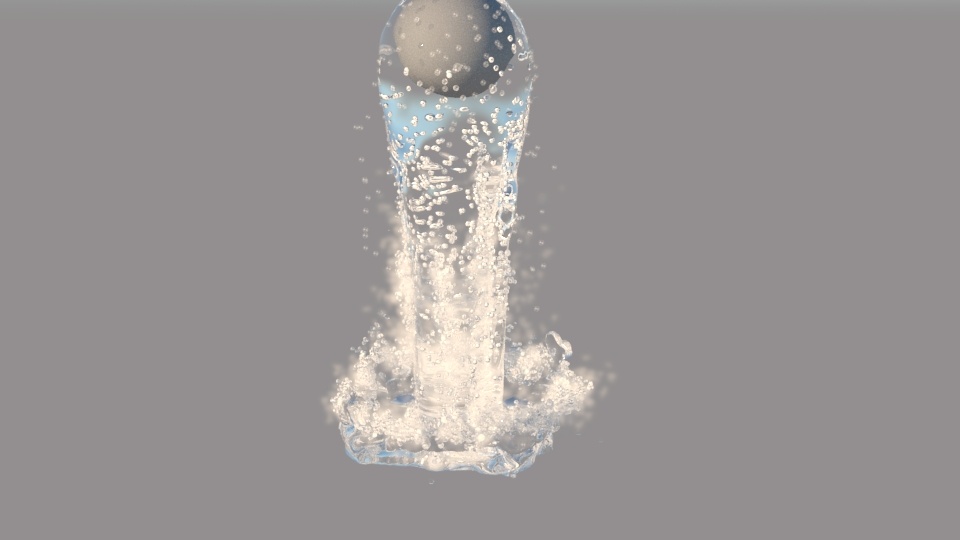
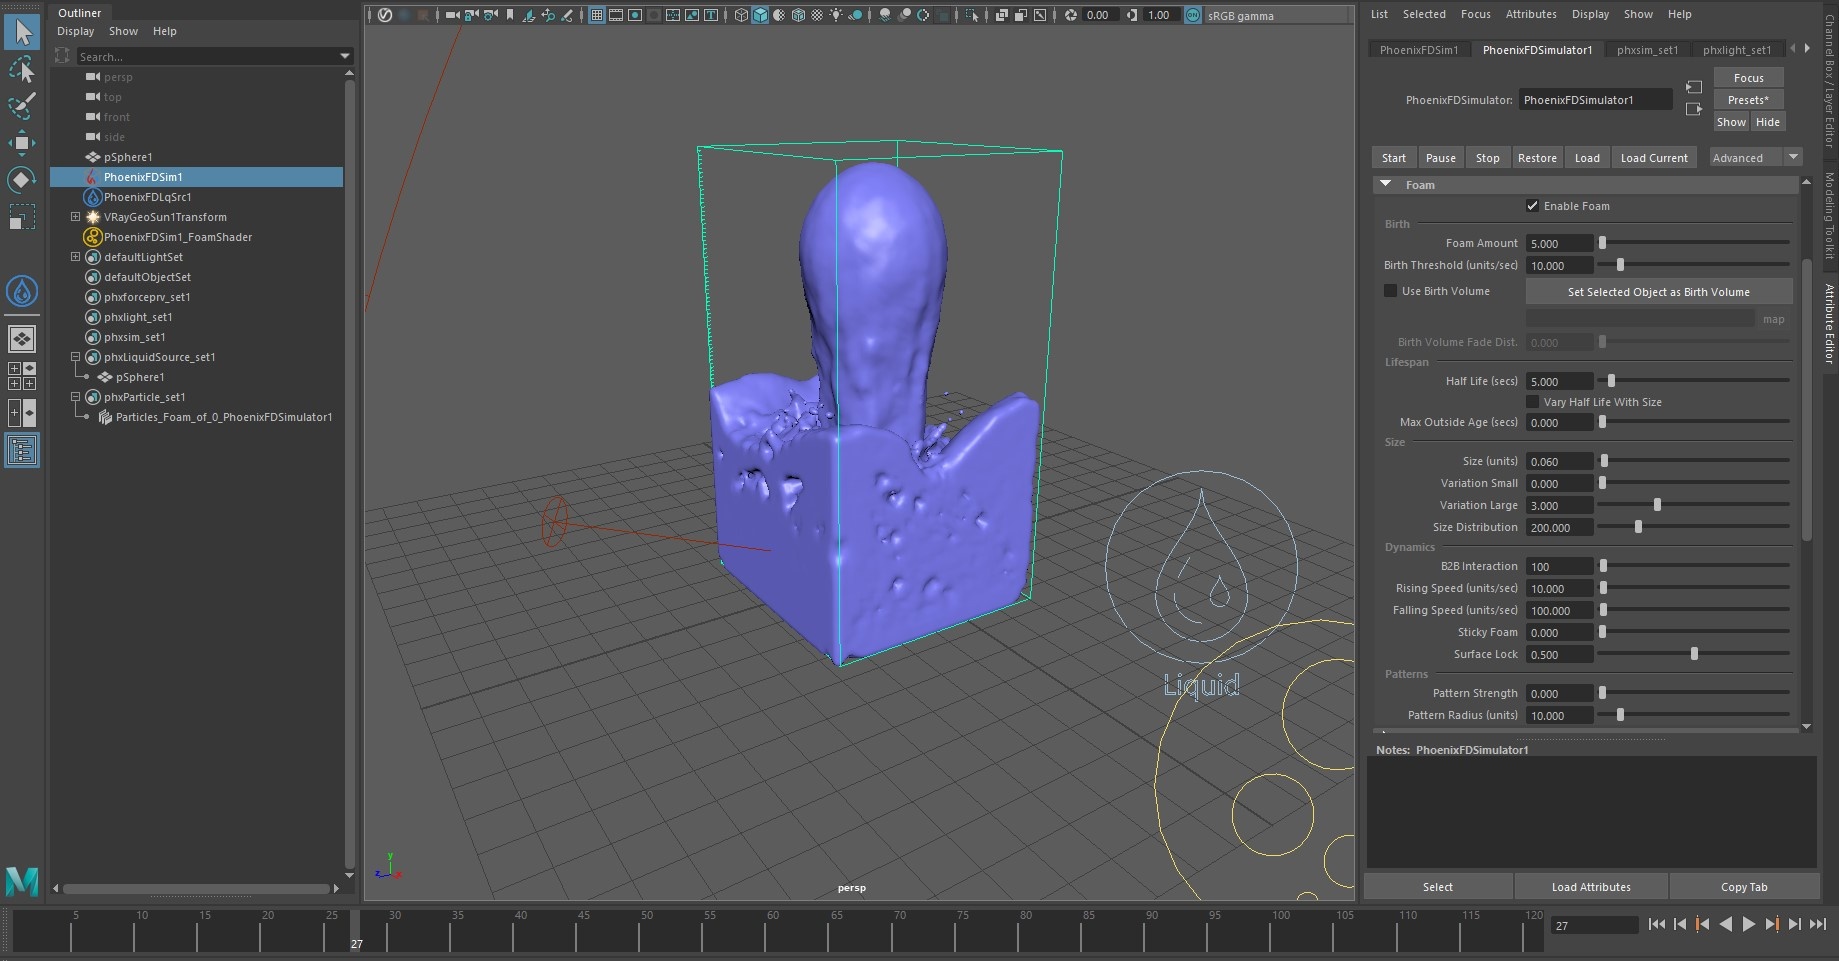
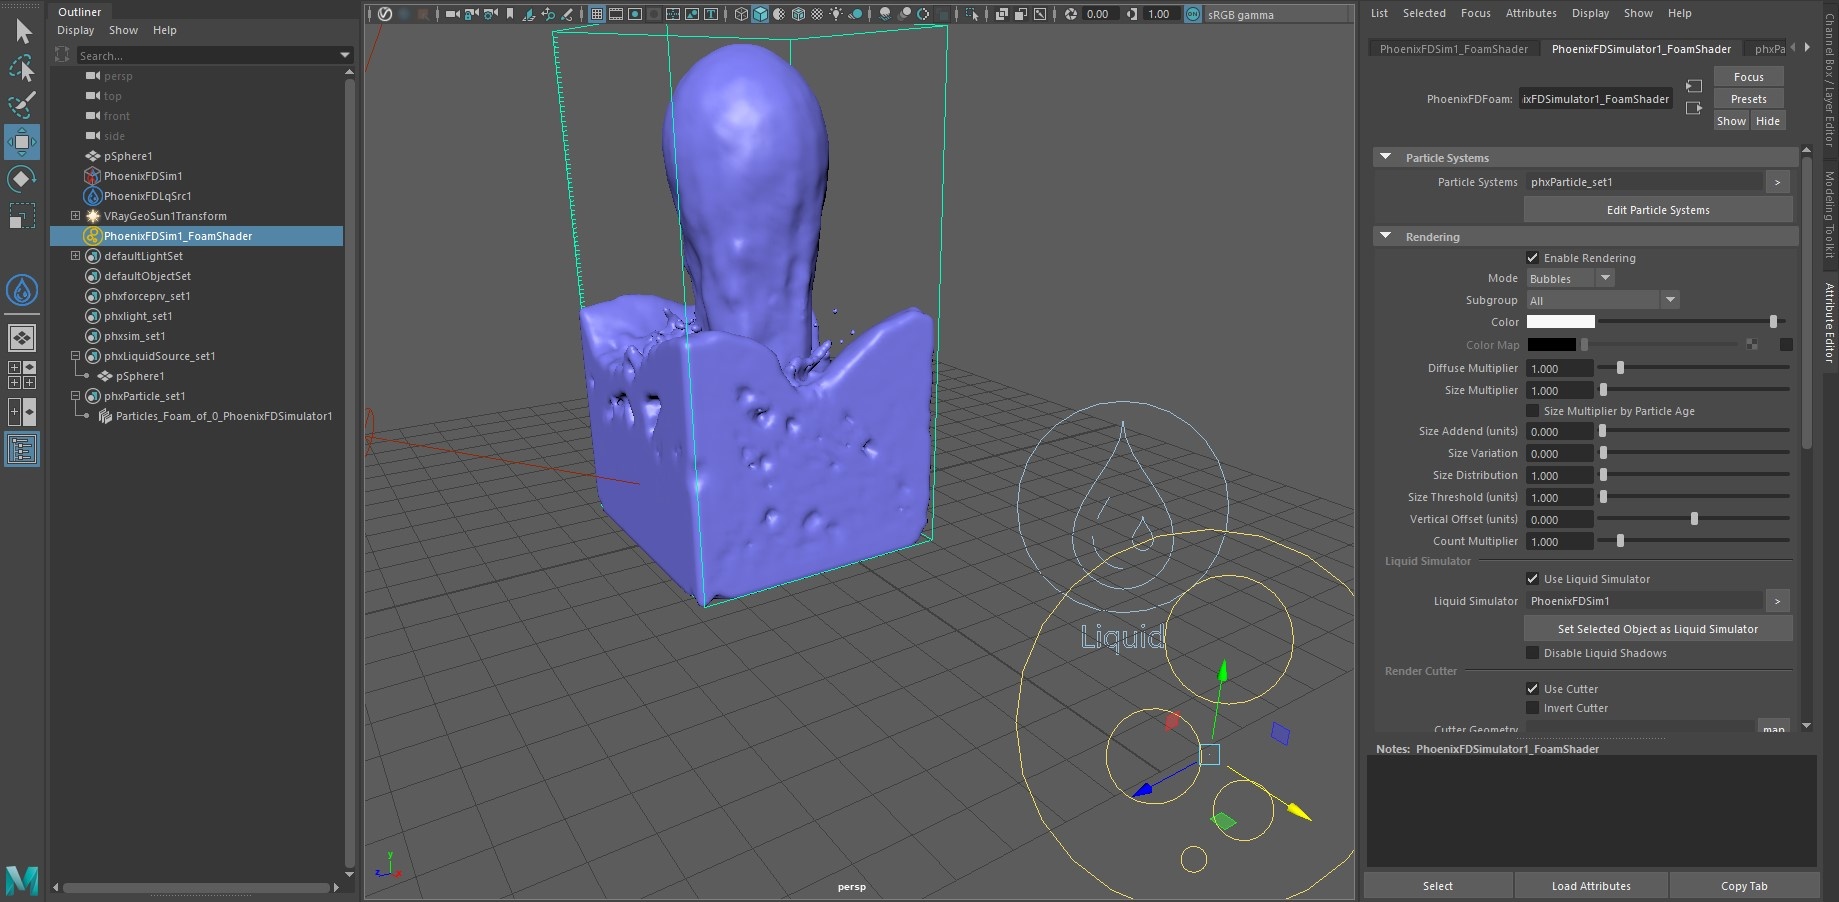
When possible, build emitters and Simulators to real-world scale. Phoenix FD uses real-world calculations to create its effects, so working with real-world units will make your task much easier. E.g. a waterfall should be tens of meters tall (thousands of centimeters), while a glass of water should be 0.2 m / 20 cm tall. It does not matter which unit you choose for displaying the units - meters, centimeters, inches, etc., as long as it corresponds to the real-world size of the effect. |
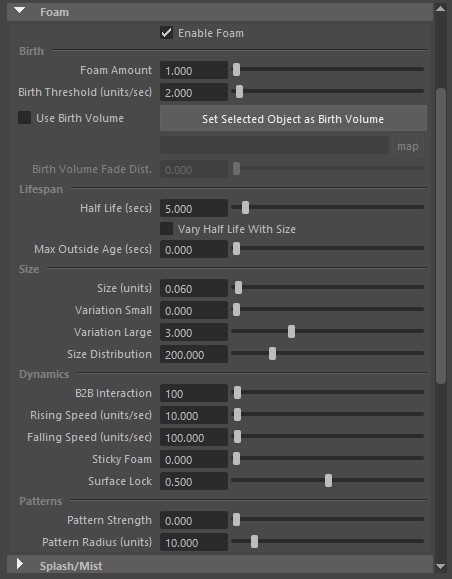
| Section | ||||||||||
|---|---|---|---|---|---|---|---|---|---|---|
|

...
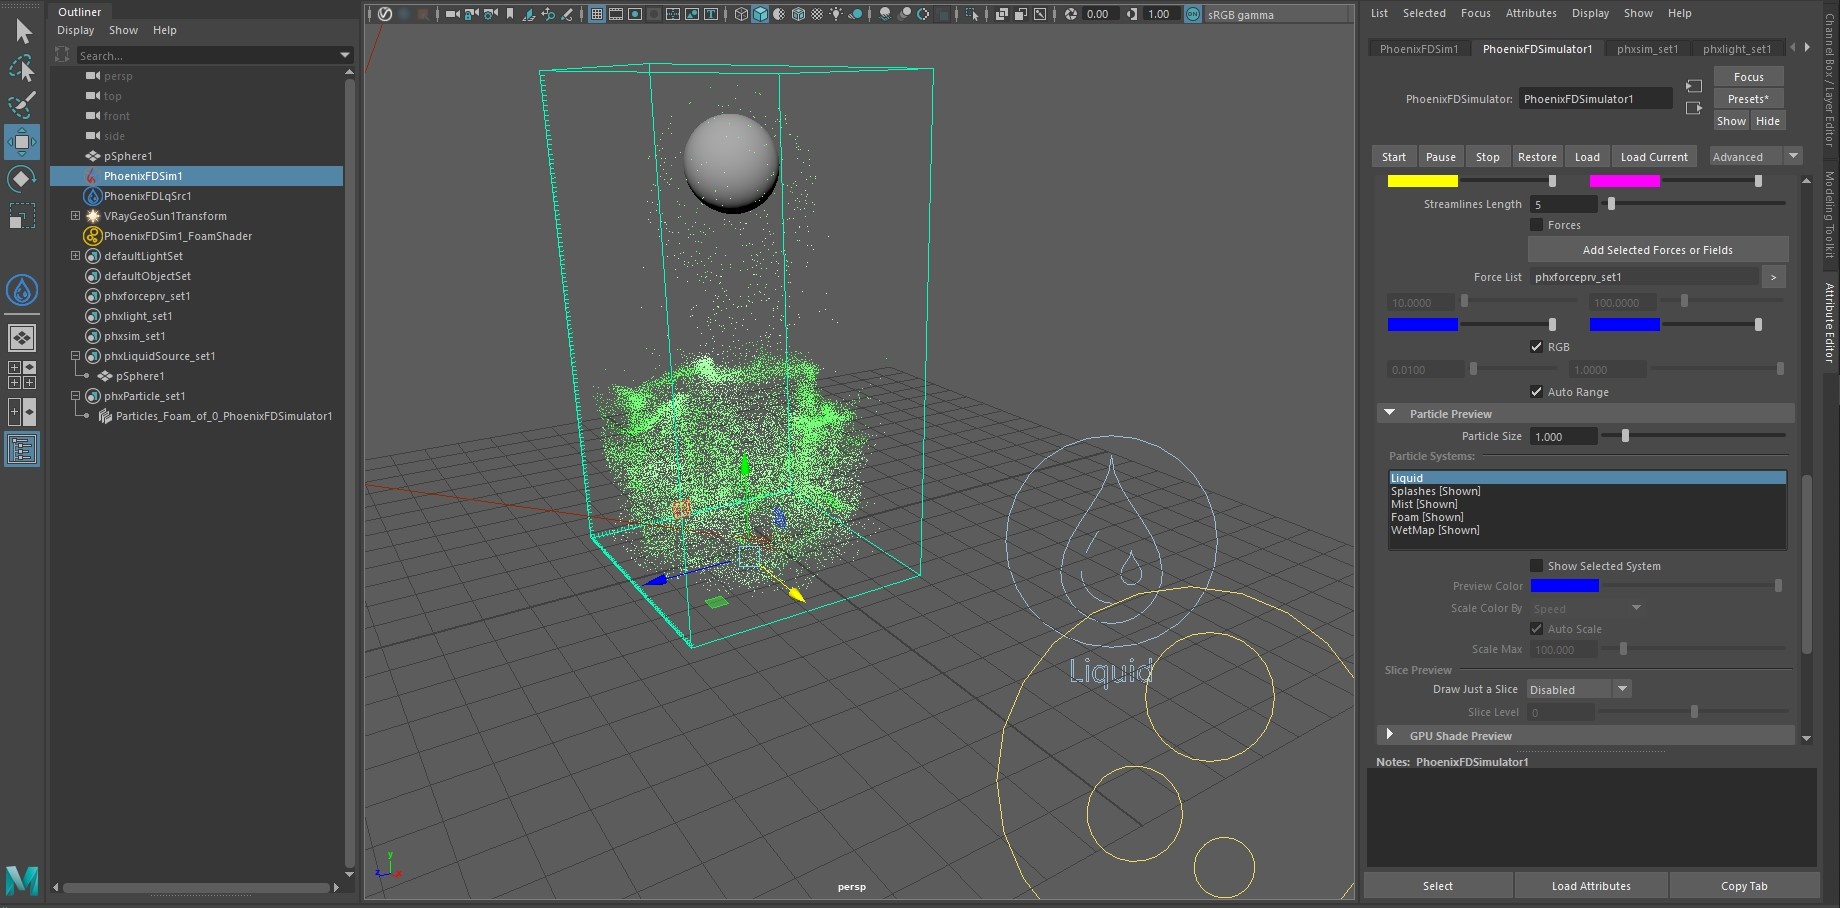
| Section | ||||||||||
|---|---|---|---|---|---|---|---|---|---|---|
|
...
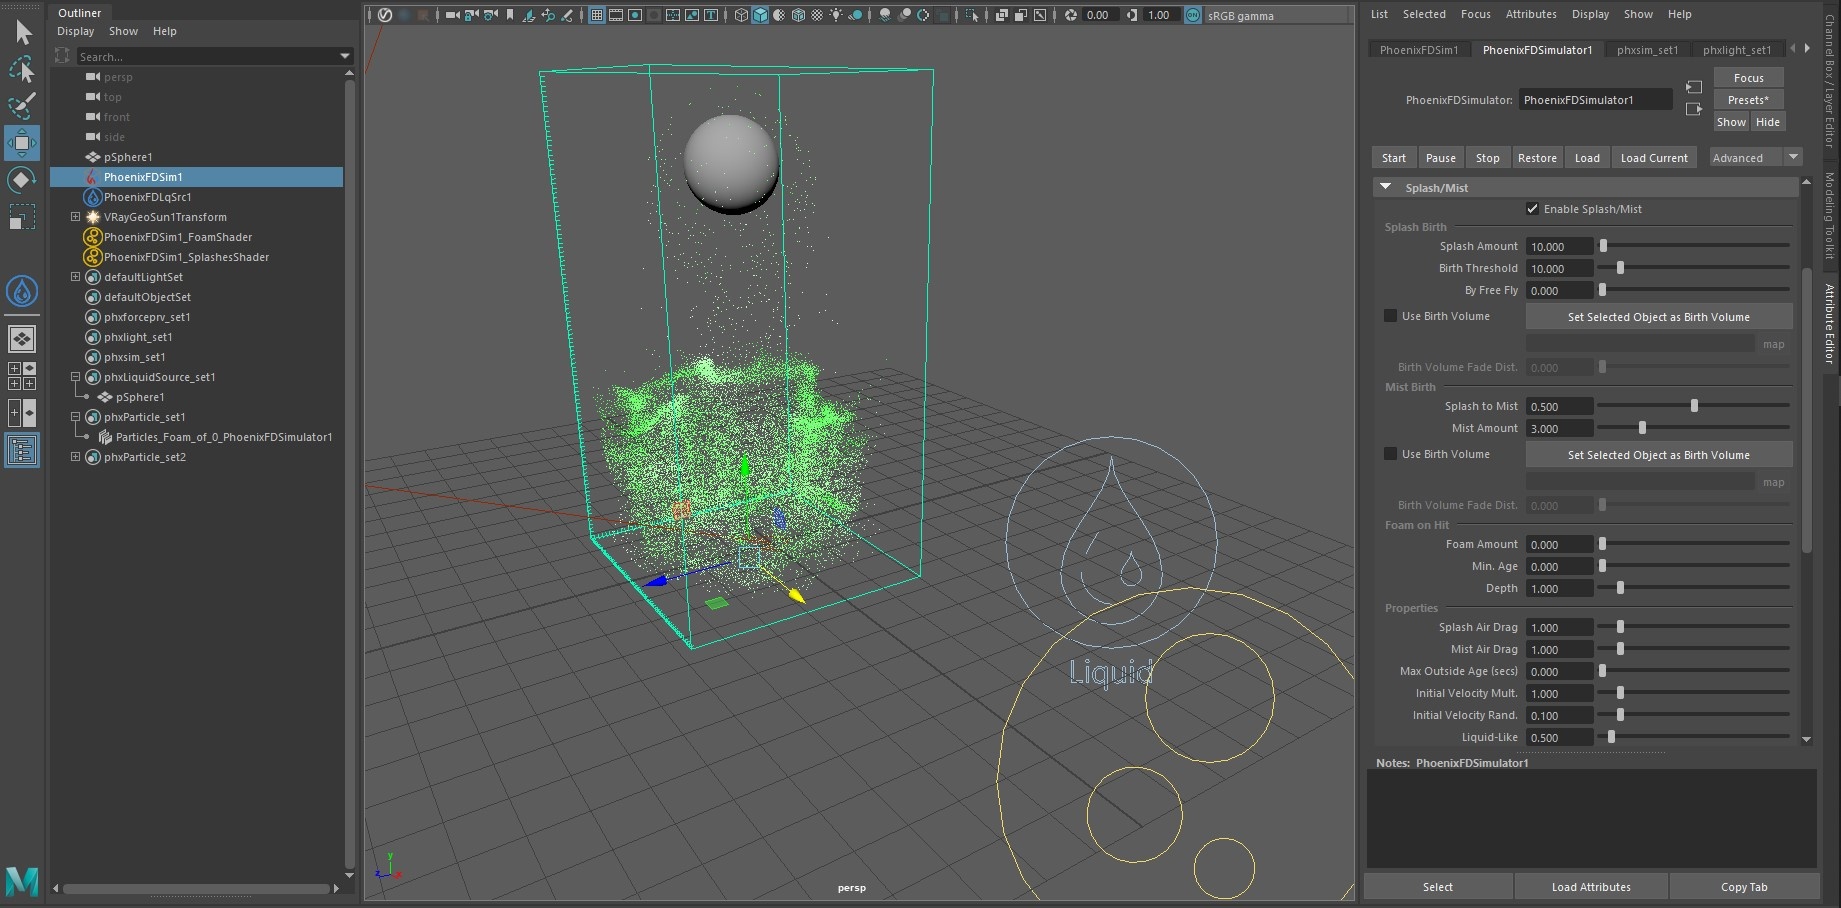
| Section | ||||||||||
|---|---|---|---|---|---|---|---|---|---|---|
|
...
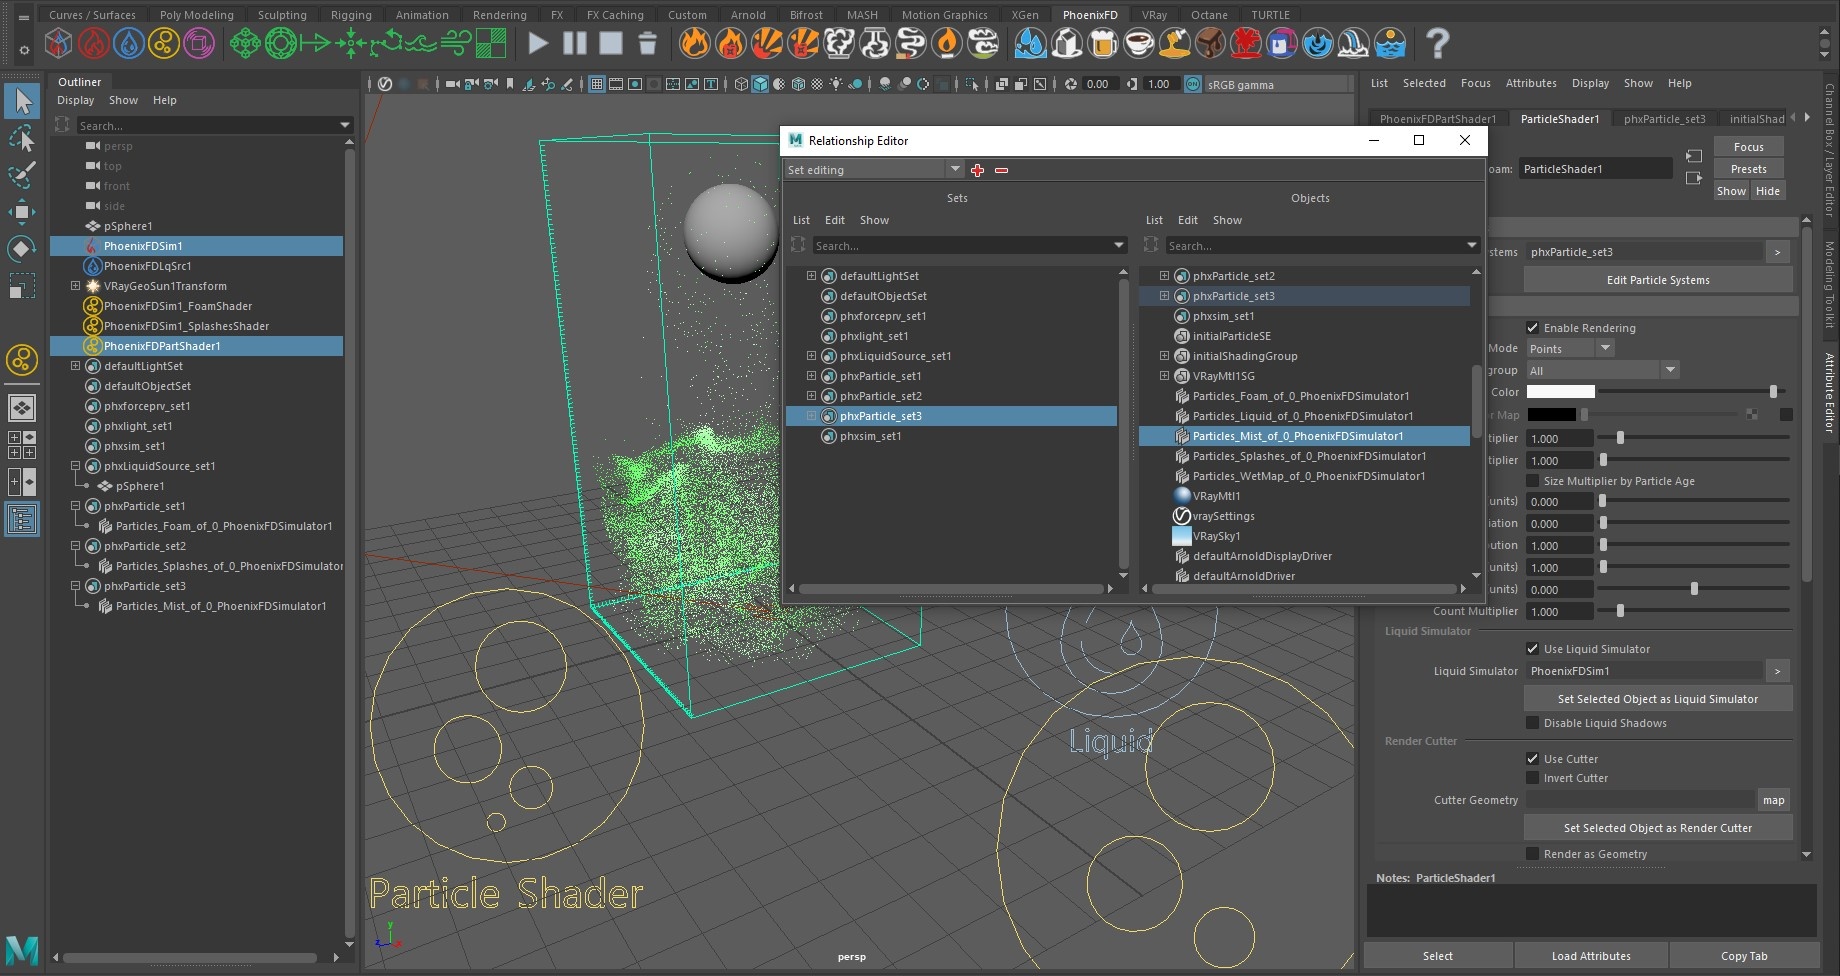
| Section | ||||||||||
|---|---|---|---|---|---|---|---|---|---|---|
|
...
| Section | ||||||||||
|---|---|---|---|---|---|---|---|---|---|---|
|
...
| Section | ||||||||||
|---|---|---|---|---|---|---|---|---|---|---|
|
...
| Section | ||||||||||
|---|---|---|---|---|---|---|---|---|---|---|
|
...
| Section | ||||||||||
|---|---|---|---|---|---|---|---|---|---|---|
|
...
| Section | |||||||||||||||||||||||||||||
|---|---|---|---|---|---|---|---|---|---|---|---|---|---|---|---|---|---|---|---|---|---|---|---|---|---|---|---|---|---|
|
...
| Section | ||||||||||
|---|---|---|---|---|---|---|---|---|---|---|
|
...
| Section | |||||||||||||||||||||||||||||
|---|---|---|---|---|---|---|---|---|---|---|---|---|---|---|---|---|---|---|---|---|---|---|---|---|---|---|---|---|---|
|