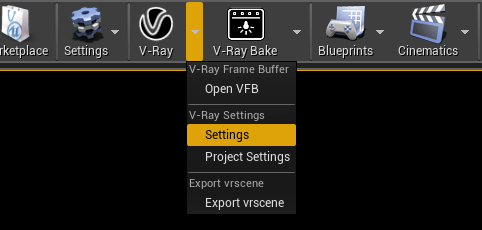
When the Settings button is pressed in the drop-down menu next to the V-Ray button in the toolbar, the V-Ray Settings tab pops up. It provides access to all options available in V-Ray for Unreal.
Column
width
5%
Column
width
45%
Image Added
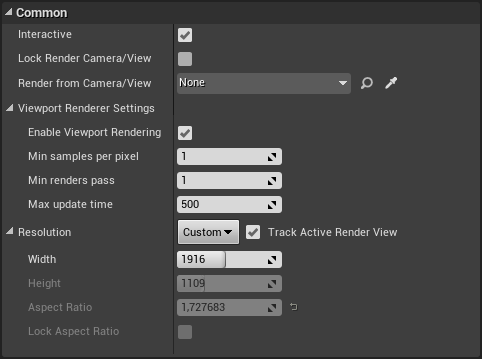
Common
...
Section
Column
width
50%
Interactive – Toggles between interactive and production rendering. Features such as Light cache and on-demand mipmapping are not supported in interactive mode. NEW - When Interactive is disabled an .exr and .png file (when Enable Viewport rendering is enabled) will be saved in <Project_Path>Saved\VRayOutput\Rendered when the rendering is complete.
Lock Render Camera/View – When enabled, locks the render camera from Render from Camera/View.
Render from Camera/View – Specifies the view to render from when the V-Ray render button is clicked.
Viewport Renderer Settings
Enable Viewport rendering – Toggles the render to be outputed in Unreal's viewport or in the VFB. Unreal's tone mapper post process effects and post process materials will be applied to the rendered image in the viewport.
Min samples per pixel – Minimum number of path per pixels to be reached before displaying the current render output.
Min renders pass –Minimum number of passes to be reached before displaying the current render output.
Max update time – maximum period of time before the current render output is displayed. This may be used to force image update if the number of samples or number of renders pass takes too long to get up to a predefined threshold.
Lock Image Aspect – When enabled, locks the X value and scales the Y according to the viewport size.
Resolution – Sets the output resolution for rendering.