![]()
Page History
This simple guide shows you outlines how to override materials in a scene.HideElements
Overview
...
V-Ray provides the Material Overrides feature for easy overriding of any material in the scene, or applying a completely different one. It is useful for:
| Fancy Bullets | ||
|---|---|---|
| ||
|
V-Ray also makes use of Solaris native features for overriding material properties.
Houdini Workflow
...
| Section | ||||||||||||||||||||
|---|---|---|---|---|---|---|---|---|---|---|---|---|---|---|---|---|---|---|---|---|
|

...
| Fancy Bullets | ||
|---|---|---|
| ||
|
Solaris Workflows
...
These workflows apply to Solaris only.
Geometry Spreadsheet
...
| Section | |||||||||||||||
|---|---|---|---|---|---|---|---|---|---|---|---|---|---|---|---|
|

...
| Section | ||||||||||||||||||||
|---|---|---|---|---|---|---|---|---|---|---|---|---|---|---|---|---|---|---|---|---|
|


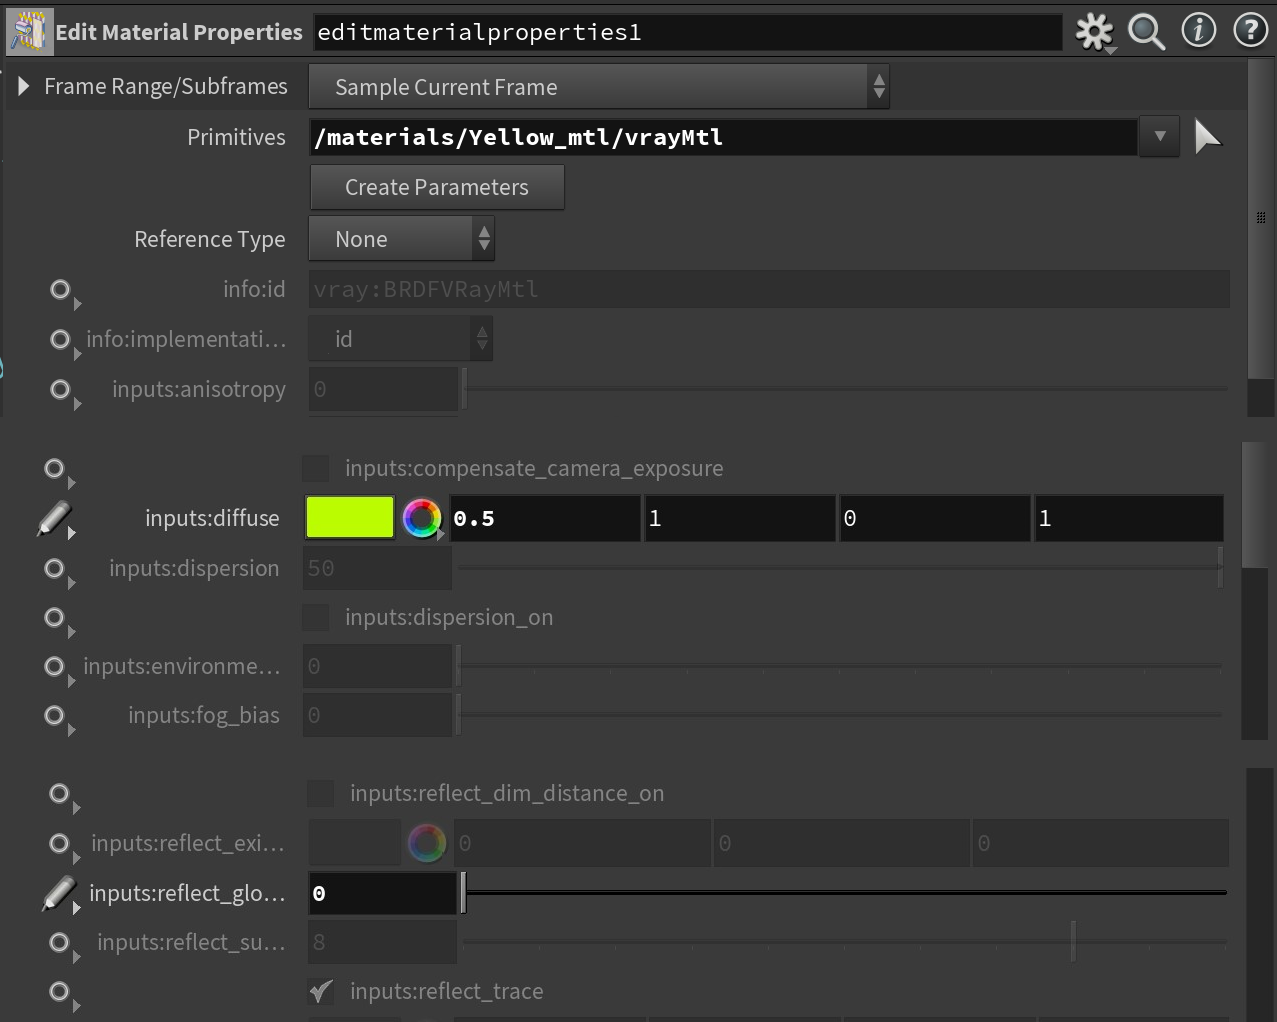
Edit Material LOPs
...
| Section | |||||||||||||||
|---|---|---|---|---|---|---|---|---|---|---|---|---|---|---|---|
|

...
| Section | |||||||||||||||
|---|---|---|---|---|---|---|---|---|---|---|---|---|---|---|---|
|

...
| Section | ||||||||||||||||||||
|---|---|---|---|---|---|---|---|---|---|---|---|---|---|---|---|---|---|---|---|---|
|