![]()
Page History
...
| Section | |||||||||||||||||||||||||
|---|---|---|---|---|---|---|---|---|---|---|---|---|---|---|---|---|---|---|---|---|---|---|---|---|---|
|
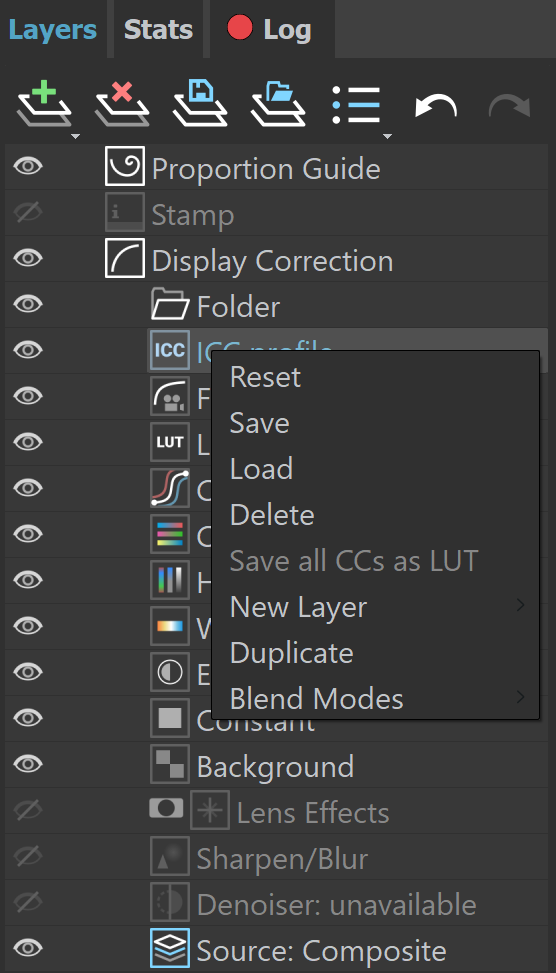
| Creates a layer or folder. Multiple layers of the same type can be added. Folder – Allows grouping multiple layers in folders and folders in sub-folders. |
| Deletes the selected layer(s). |
| Saves a layer tree preset. |
| Loads a layer tree preset. |
| Quick access to custom layer presets. You must set the path to it in the VFB Settings. |
| Undo various actions related to layers, such as create, delete, reorder, or modify a layer. |
| Redo various actions related to layers, such as create, delete, reorder, or modify a layer. |


...
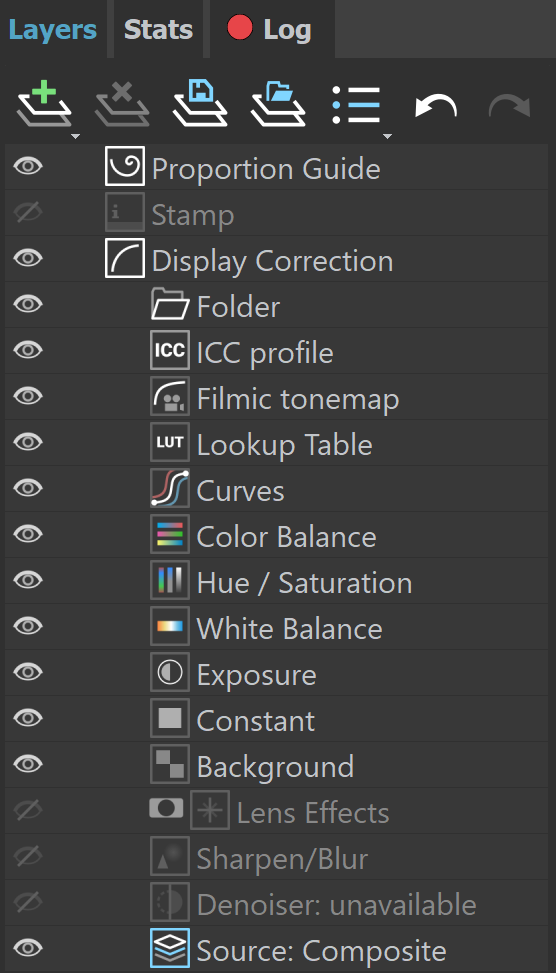
The Display Correction, Lens Effects, Denoiser, and Source layers are listed in the Layers panel by default to any rendered image. Their order cannot be changed.
Layers and folders can be disabled from the visibility icon (![]() ), reordered, nested, stacked in folders, etc.
), reordered, nested, stacked in folders, etc.
...
| Section | |||||||||||||||||||||||||||||||||||||||||||||||||||||||
|---|---|---|---|---|---|---|---|---|---|---|---|---|---|---|---|---|---|---|---|---|---|---|---|---|---|---|---|---|---|---|---|---|---|---|---|---|---|---|---|---|---|---|---|---|---|---|---|---|---|---|---|---|---|---|---|
|
...
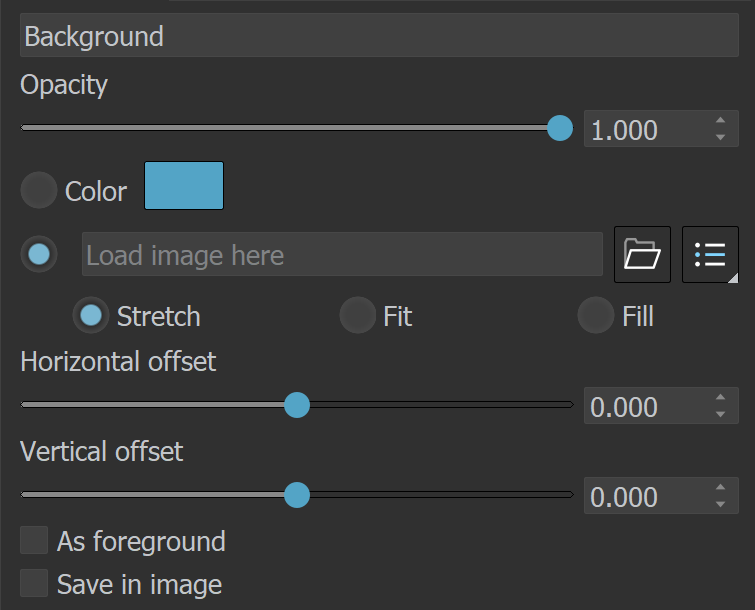
Background
...
| Section | |||||||||||||||
|---|---|---|---|---|---|---|---|---|---|---|---|---|---|---|---|
|

...
| Section | |||||||||||||||
|---|---|---|---|---|---|---|---|---|---|---|---|---|---|---|---|
|


Proportion Guide
...