Overview
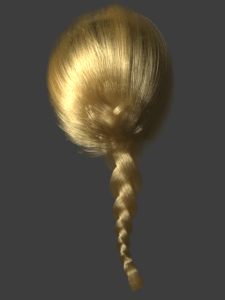
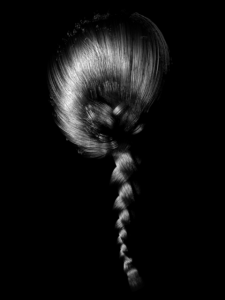
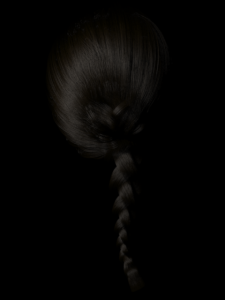
VRayHairMtl is a material that is primarily designed for rendering hair and fur. It can be used to render alembic hair geometry loaded through VRayProxy.
VRayHairMtl is frequently used with the VRayHairSampler node to randomize hair color per strand as well as set the color along each strand of hair for the most options in designing the look of hair.
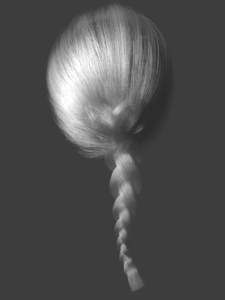
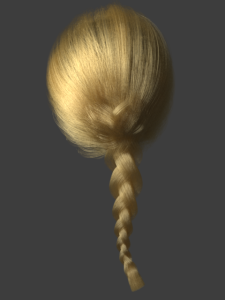
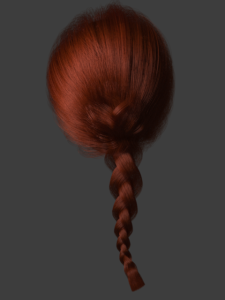
Image courtesy of Emilie Stabell & Brandon T. Cebenka
UI Path: ||Toolbar|| > V-Ray menu icon > Materials > VRayMtlHair
Components of VRayHairMtl
The material is based around three components - primary specular component, secondary specular component, and a transmission component. A diffuse component is also provided for rendering of materials made up of cloth threads or other non-translucent fibers.
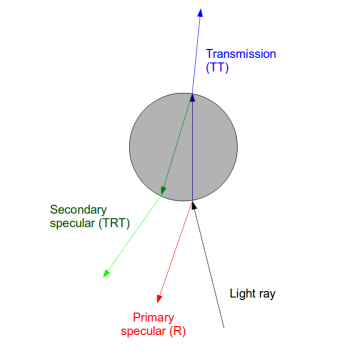
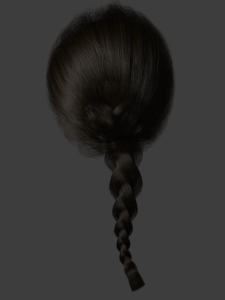
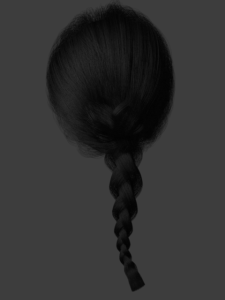
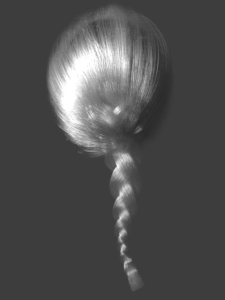
The primary specular component represents light that is reflected off the outer surface of a hair strand. The secondary specular component represents light that goes through the hair strand and is reflected off the back surface. The transmission component represents light that goes through the hair strand.
The image below illustrates the meaning of the three components:
General Parameters
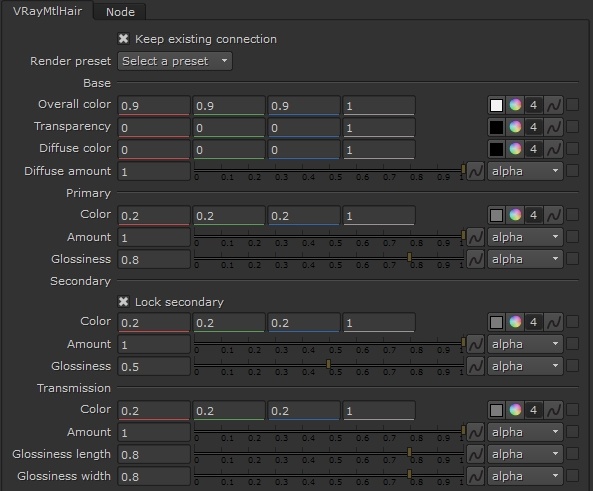
Render Preset – Allows you to choose one of several available preset materials. For more information, see the VRayHairMtl Presets example below.
Base
Overall Color – A common color multiplier for all color components in the material (except for opacity). Used to easily change the look of the entire hair material.
Transparency – Controls the transparency of the material. The transparency can be mapped along the hair strands using the VRayHairSampler texture. Making the hair more transparent towards the tip may produce more smooth and realistic anti-aliasing at the expense of increased render times. If you map the tip opacity, make sure you don't make the strands thinner at the tip as well - transparency already creates the effect of thinning strands. You can enable the Opaque Shadows and Opaque GI options to reduce render times for transparent hair. Note that with transparent strands, it may be necessary to increase the Max. Transp. Levels option in the global V-Ray settings too.
Diffuse Color – Controls the diffuse component of the shader. Use this for materials made out of cloth threads or other non-translucent fibers, as well as for dirty hair. Note that clean hair or fur does not normally have a diffuse component, so in that case leave the parameter black.
Diffuse Amount – The amount for the diffuse component of the material.
Primary
The primary specular component corresponds to light that is reflected off the outer surface of hair strands (see the figure above).
Color – The primary specular color component. Normally this is dark gray.
Amount – A multiplier for the primary specular color.
Glossiness – The glossiness for the primary specular component. Values closer to 1.0 make the hair more shiny and sleek. Lower values give it a matted look.
Secondary
The secondary specular component corresponds to light that is reflected off the back surface of the hair strands.
Lock Secondary – When enabled (the default), the color for the secondary specular component is derived from the color of the transmission component. Since a ray of light goes twice through the hair width, the color of the secondary specular component can be computed by multiplying the transmission color with itself. When this option is enabled, the hair color is mostly determined by the transmission color component.
Color – The color of the secondary specular component. If Lock Secondary is enabled, this value is ignored and the secondary specular color is derived from the transmission color.
Amount – A multiplier for the secondary specular component. If Lock Secondary is enabled, this value is ignored and the secondary specular amount is derived from the transmission amount.
Glossiness – The glossiness for the secondary specular component. Values closer to 1.0 correspond to shiny and sleek hair. Lower values correspond to matted hair.
Transmission
The transmission component corresponds to light that goes through the hair strands.
Color – The color for the transmission component. When Lock Secondary is enabled, this color determines the overall hair color.
Amount – The amount of the transmission component.
Glossiness Length – The glossiness of the transmission along the hair strand length. See the Examples for a demonstration of the effect of this parameter.
Glossiness Width – The glossiness for the transmission component across the hair strand width. For more information, see the Transmission Glossiness Length and Width Parameters example below.
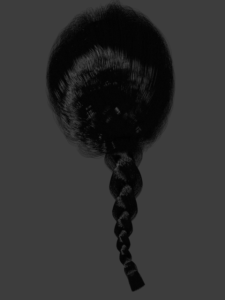
The transmission component of the VRayMtlHair is stored in the Refraction render channel.
Options
Opaque Shadows – When enabled, the hair material is always opaque for shadow calculations. This speeds up the rendering of transparent hair.
Opaque GI – When enabled, the hair material is always opaque for GI calculations. This speeds up the rendering of transparent hair.
Simplify GI – When enabled, a simplified diffuse version of the BRDF is used for GI calculations. This may speed up the rendering of hair but may significantly change the final look.
Use Cached GI – If it is disabled, the hair material will always be calculated with brute force GI. For more information, see the Effect of GI on Hair example below.
Light Multiplier – In the absence of GI, the hair may look very dark. GI is the proper way to correct this, but if GI must be really avoided, this multiplier can be used to brighten the hair.
Example: VRayHairMtl Presets
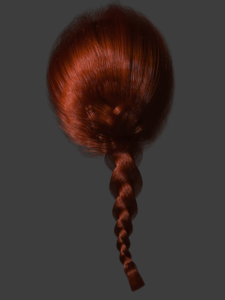
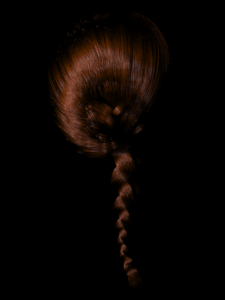
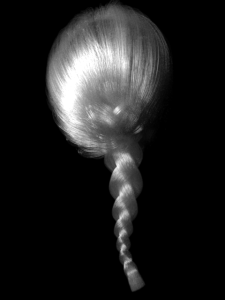
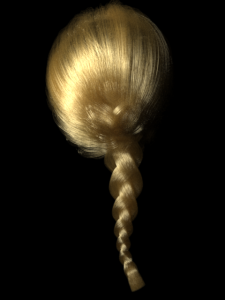
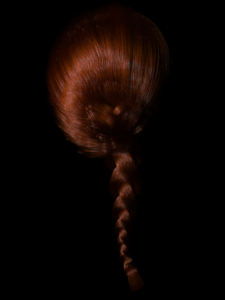
Here are some examples of the same hair geometry rendered with different presets. The scene is illuminated with one spherical V-Ray light, with GI set to brute force for the primary GI bounces, and light cache for the secondary.
White (matte)
Blonde (matte)
Red (matte)
Brown (matte)
Black (matte)
White (shiny)
Blonde (shiny)
Red (shiny)
Brown (shiny)
Black (shiny)
Example: Transmission Glossiness Length and Width Parameters
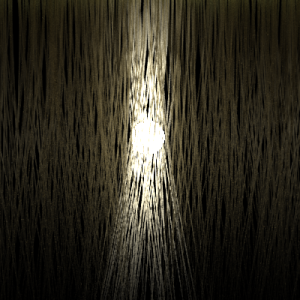
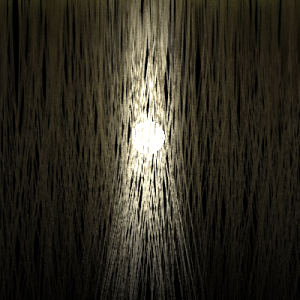
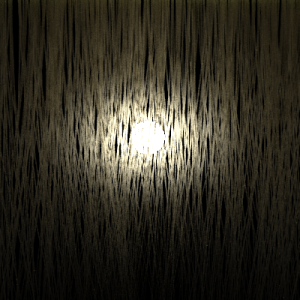
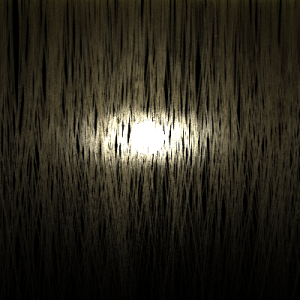
This example shows the effect of the Transmission Glossiness Length and the Transmission Glossiness Width parameters. It shows a number of vertical strands lit from behind by a spherical light.
Note how each parameter changes the way light scatters along the length and the width of the strands. Higher values for the length glossiness compress the transmission highlight along the strand length, while lower values expand it.
Length 0.87
Width 0.98
Length 0.85
Width 0.95
Length 0.95
Width 0.85
Length 0.98
Width 0.87
Example: Effect of GI on Hair
This example shows how important GI (multiple scattering) is for the appearance of hair, especially bright hair. The top row shows several of the presets rendered without GI, and the bottom shows the same scene when GI is enabled. Again, GI is brute force and light cache has retrace. The scene GI environment is black so that a spherical area light is the only light source.
GI is Disabled
GI is Enabled


